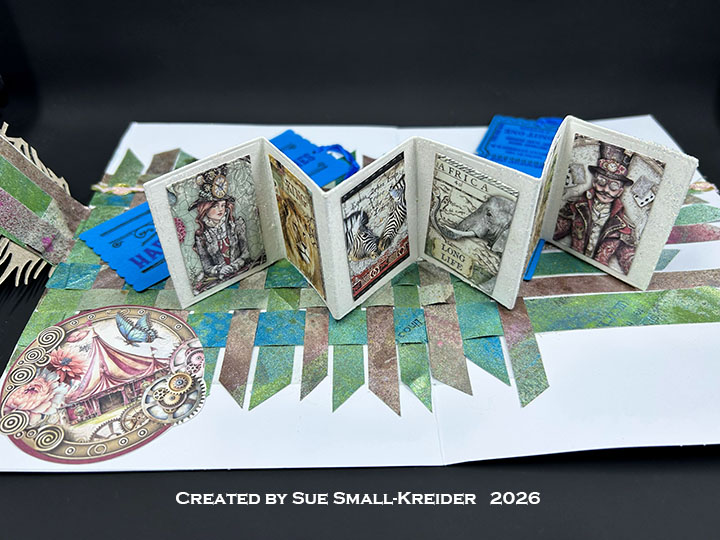
Having received the Spellbinders’ All-Clubs Crate for April 2026, I decided to play with the Fresh Packed Clear Stamp + Die of the Month, the Market Berries Stencil of the Month and Seed Co. Border Press + Foil of the Month sets.
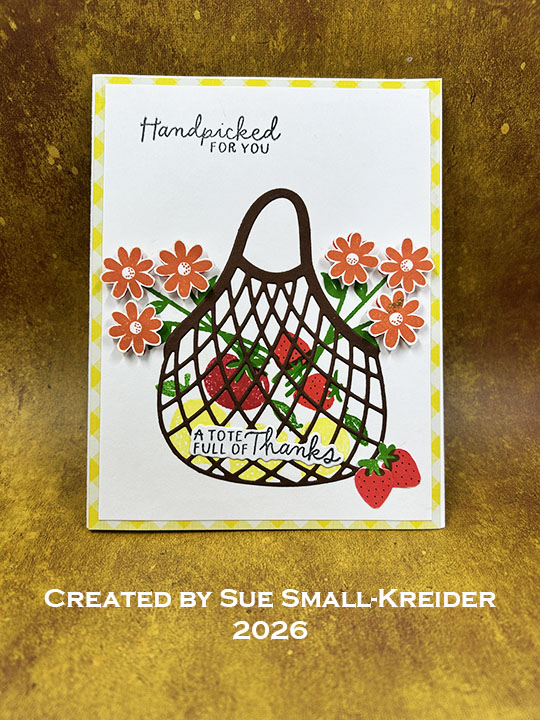
Market Tote: This is an A2 (4.24×5.5-inch) card with a yellow gingham paper mat. The die-cut brown bag is one of the dies in the Fresh Packed stamp & die set. The lemons, tomato, berries and flowers were stamped first using Chiffon, Grass Skirt, Mandarin Spice, Rockin’ Red, Samba inks. The tiny black seeds and texture were added with an ultra fine tipped pen. Next the bag was glued in place and then the sentiments which came from the same set and die-cut. The flowers were fussy cut out and popped-up with foam dots.
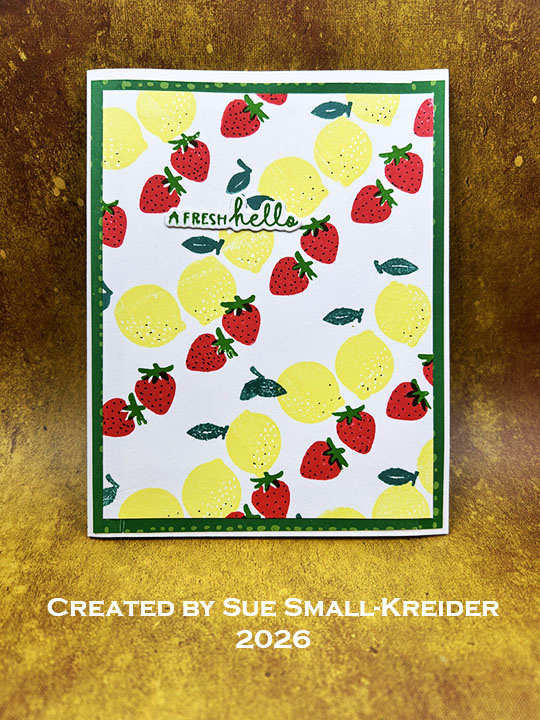
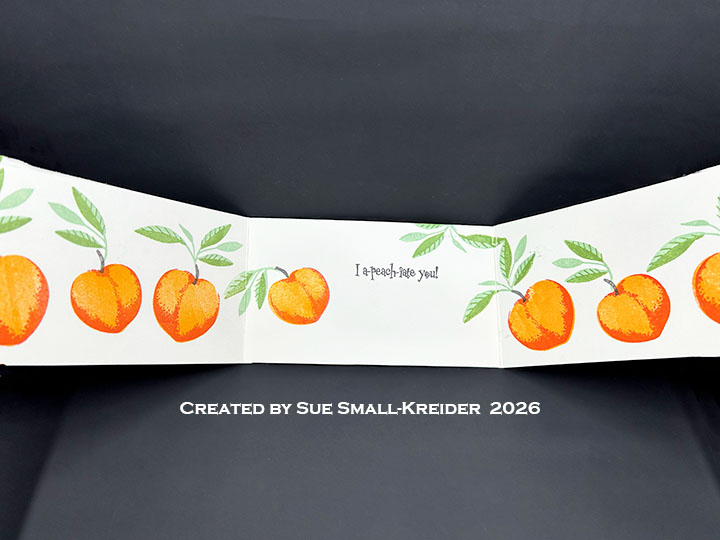
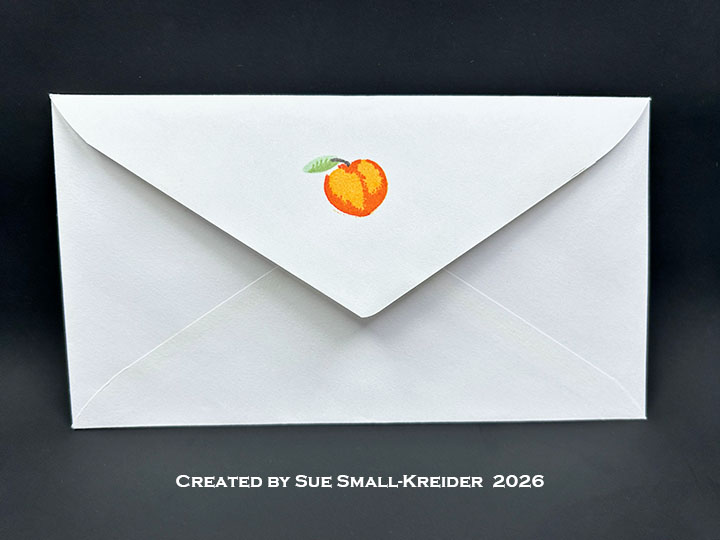
Stamped Lemons and Strawberries: This is an A2 (4.24×5.5-inch) card with a green pattern paper mat. The lemon and strawberries stamps from the Fresh Packed set were used with Chiffon, Grass Skirt and Samba inks. tiny black seeds and texture were added with an ultra fine tipped pen. The sentiment from the same stamp set is stamped in green, die-cut three times and glued together to add dimension.
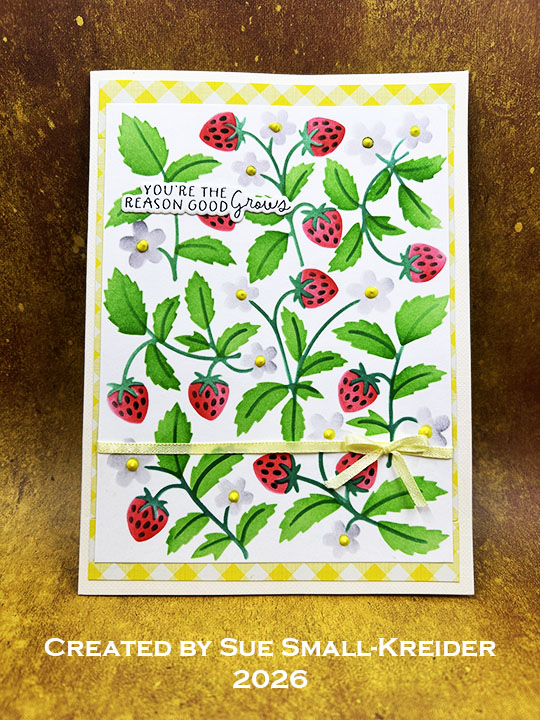
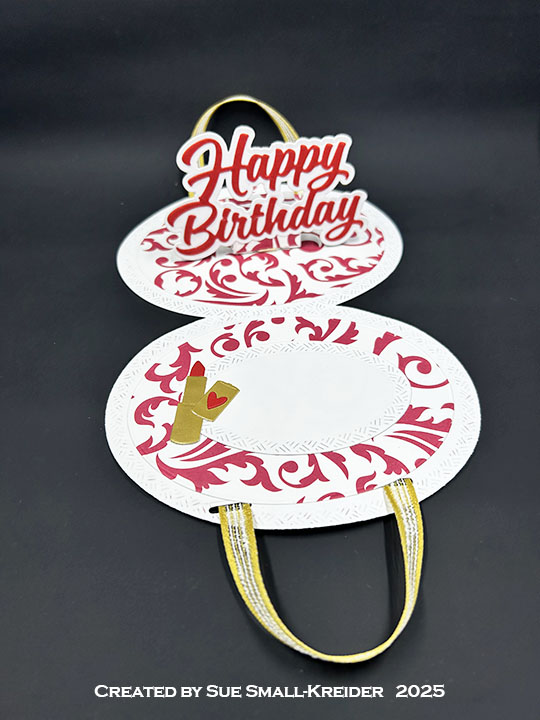
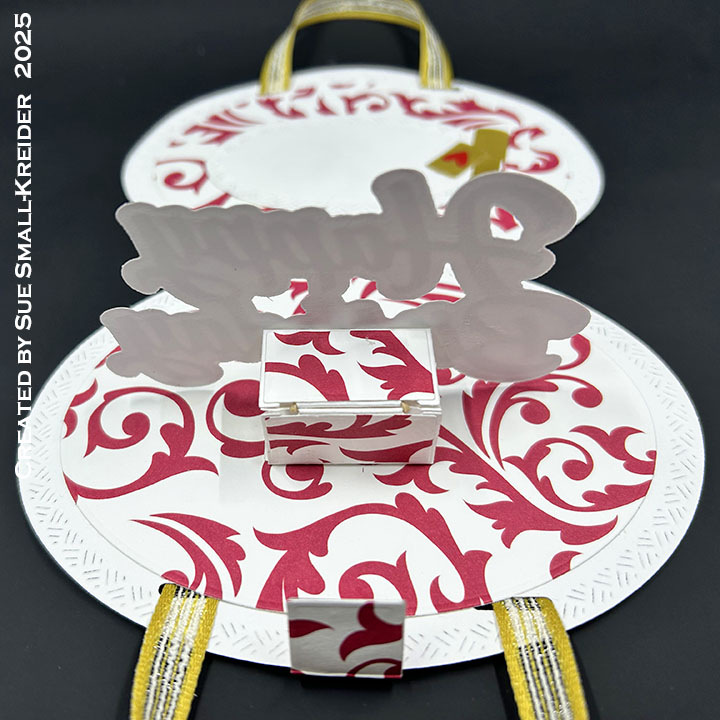
Stenciled Berry Plants: This is an A6 (4.75×6.25-inches) card which uses Market Berries Stencil of the Month with the ink colors of Gray Flannel, Grass Skirt, Samba & Sea Glass and Tuxedo Black. Yellow Pops of Color form the flower centers and an accent of yellow satin ribbon was added before the stenciled panel was glued on the cardbase. Sentiment is from the Seed Co. Border press plates on a bisque colored heavy weight cotton cardstock.
___________________________________
Thank you for experiencing this blog post.
I hope this inspires you and makes you smile.
Please like and leave comments 😊
Follow my YouTube channel, Instagram and Pinterest as well.
___________________________________
Disclaimer: Karen Burniston stamps and dies are provided free of charge by the manufacturer for review and use. All other items were personally purchased. Compensated affiliate links used where or when possible, meaning I will receive a small percentage commission from these manufacturers at no cost to you. This will allow me to add more content to my YouTube channel and help out a lot. Thank you.
Materials Used:
Stencils
- Spellbinders – 4.75×6-inch Plastic Stencils – Market Berries
Stamps & Press Plates
- Spellbinders – Clear Stamps & Metal Dies – Fresh Packed
- Spellbinders – Press Plates – Seed Co. Border
Papers
- Scrapbook.com – 6×8-inch -100lb Cardstock – Rainbow
- Spellbinders – 5.50×4.25-inch A2 Panels – Cotton 118lb. – Bisque
- White Cardstock
- A6 (4.75×6.25-inches) Cardbase – Ivory
Ink
- Memento – Fade Resistant Dye Ink – Gray Flannel & Tuxedo Black
- Pigma – Mircon 005 Fine Tip Pen – Black
- Catherine Pooler- Mini Ink Pads – Chiffon, Grass Skirt, Mandarin Spice, Rockin’ Red, Samba & Sea Glass
Adhesives
Tools
- Die Cutting Machine
- Paper Trimmer
- Stamping Blocks
- Gel Plate
- Scissors
- Paper Masking Tape
Miscellaneous
- 1/8-inch wide Satin Ribbon – Yellow
- Scrapbook.com – Pops of Color – Gloss – Sunshine