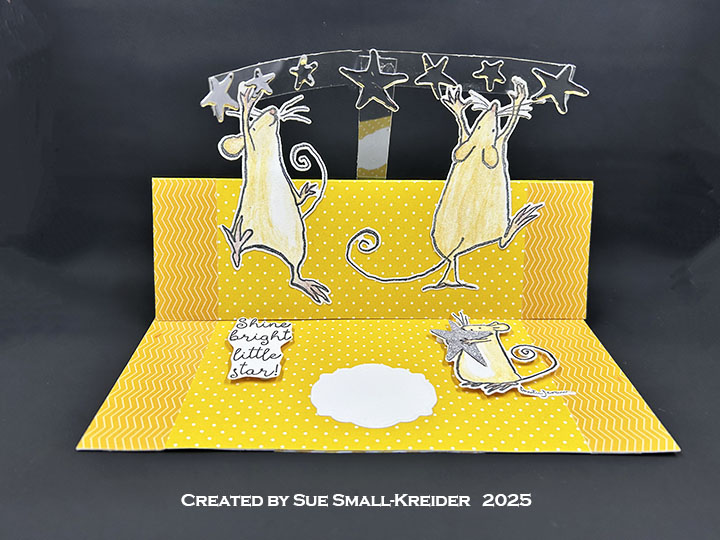
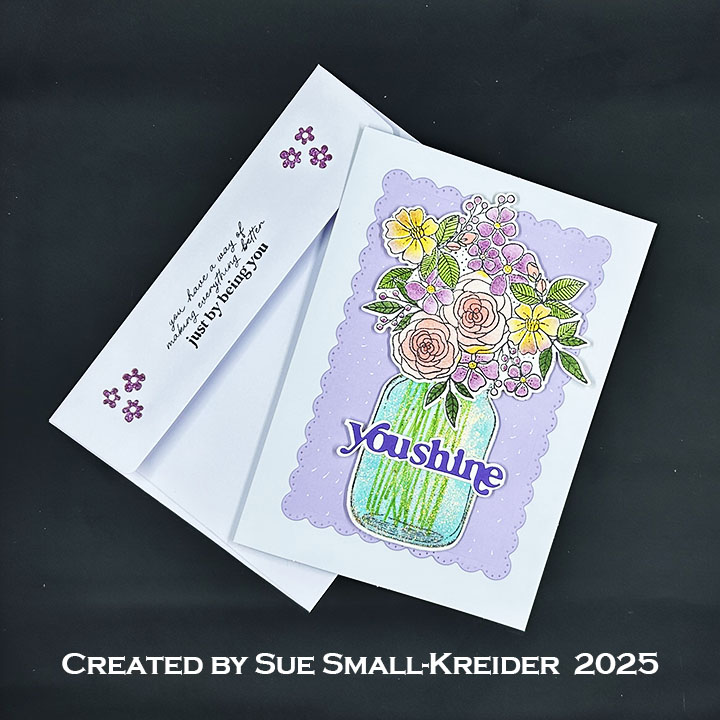
This card was made for Craft Roulette #267whose parameters included a 4 Bar card, craft store colors, se(s)/(ing)/sewn element, and stencil. I made a birthday card using dies by Karen Burniston and PinkFresh and sentiment stripes by Waffle Flower

Watch the process video to see how I made this card.
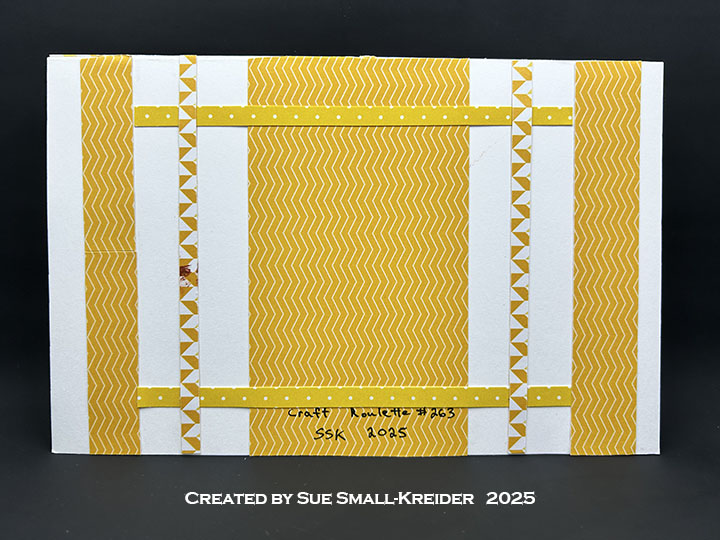
Cardbase: Score and fold a 7×5-inch piece of heavy white cardstock into 3.5×5-inch side fold card.
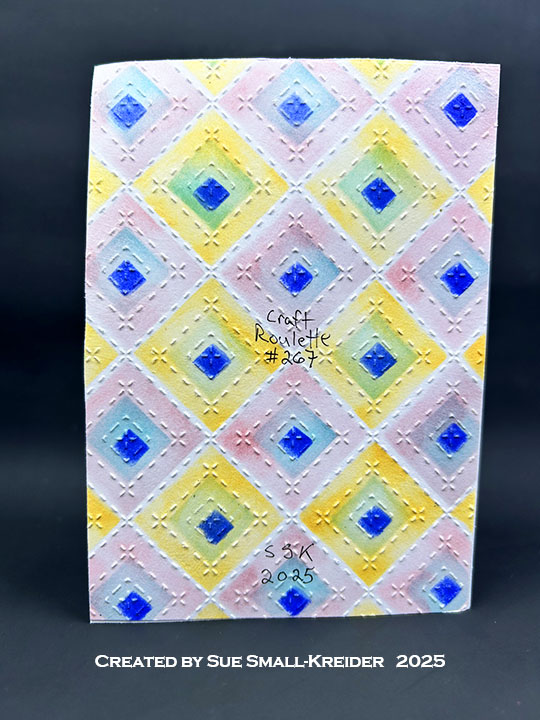
Stenciled Quilt Top Background: Follow directions in video to stencil the background. To create the stencils use 6×8.5-inch sheets of 100lb cardstock that have the stitched diamond die cut into the center of each of the four sheets. Using the stitch marks as your guide, cut the stencils using a craft knife and a metal straight edge or ruler.

Pop-up Twist Panel: Watch the assembly video at the bottom of the linked page. Stamp the quilt stamp onto medium weight cardstock. Die-cut the large mechanism from the Little Twist Panel Pop-Up set out of the stamped cardstock. Cut the panel from white cardstock. Cut decorative panels using the dies in set with your stamped cardstock.
Sewing Charms: Assemble as directed in Karen’s assembly video located at the bottom of the linked page for the Sewing Charms.
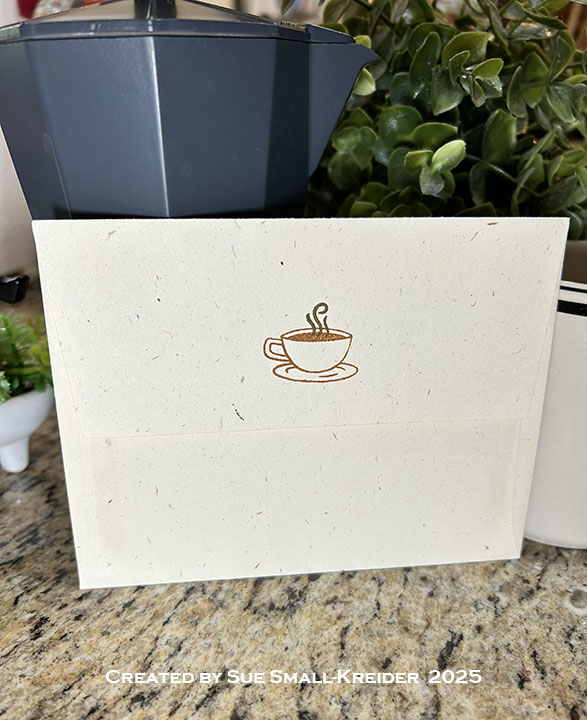
Envelope: The card fits into an A2 (4.25x 5.5-inches) size envelope.
___________________________________
Thank you for experiencing this blog post.
I hope this inspires you and makes you smile.
Please like and leave comments 😊
___________________________________
Disclaimer: Karen Burniston products are provided free of charge by the manufacturer for review and use. All other items were personally purchased. Compensated affiliate links used where or when possible, meaning I will receive a small percentage commission from these manufacturers at no cost to you. This will allow me to add more content to my YouTube channel and help out a lot. Thank you.
___________________________________
Materials Used:
Dies
- Karen Burniston in cahoots with Riley and Company – Little Twist Panel Pop-Up – 1232
- Karen Burniston in cahoots with Riley and Company – Sewing Charms – 1204
- PinkFresh – Coverplate Die – Stitched Diamonds – 276725
Stamps
- Spellbinders – Cling Stamp Set – Stephanie Low – Designer Series – Cool Vibes – SBS-150
Papers
- Waffle Flower – Sentiments – Birthday Die Cut– SCP240
- Waffle Flower – Sentiments – View Die Cut – SCP253
- White 100lb. Cardstock
Ink
- Ranger – Tim Holtz – Distress Ink – Blueprint Sketch, Dried Marigold, Saltwater taffy, Salvaged Patina
Adhesives
Tools
- Die Cutting Machine
- Paper Trimmer
- Scissors
- Paper Masking Tape
- Tweezers
- Blending Brushes
- Craft Knife
- Metal Ruler or Straight Edge