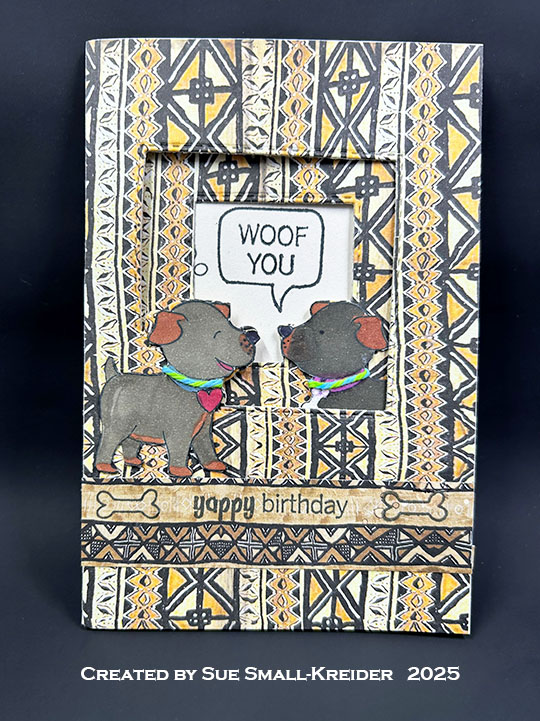
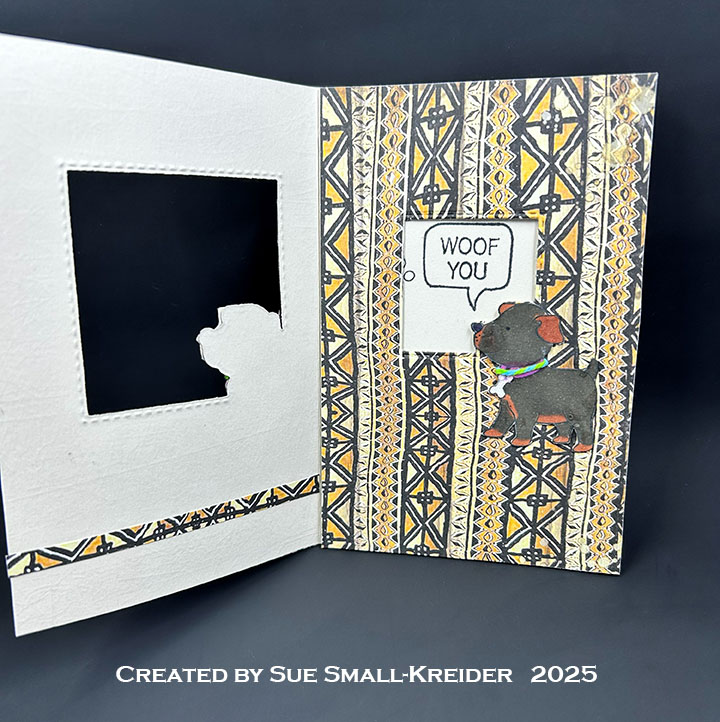
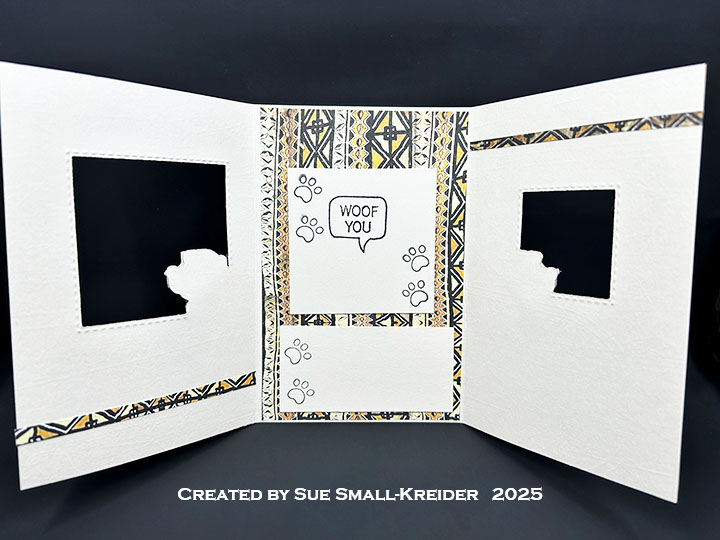
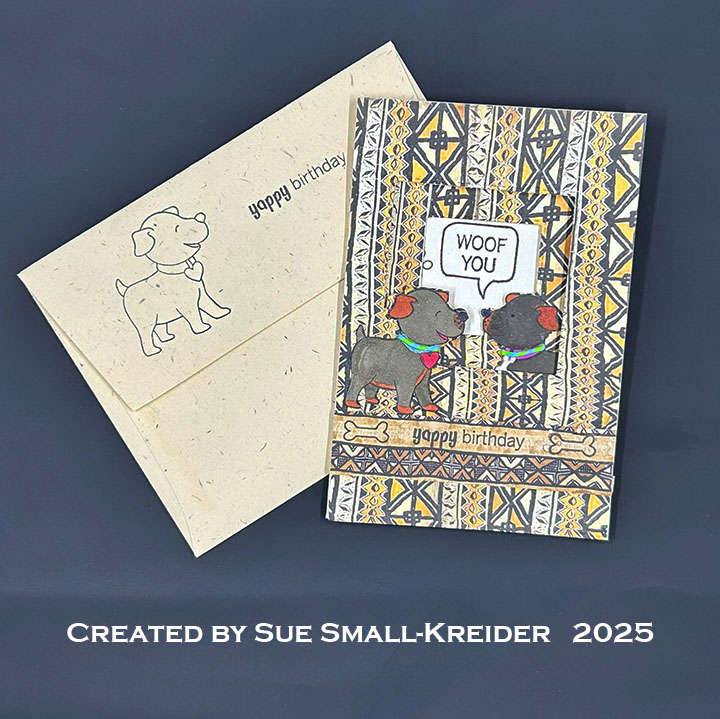
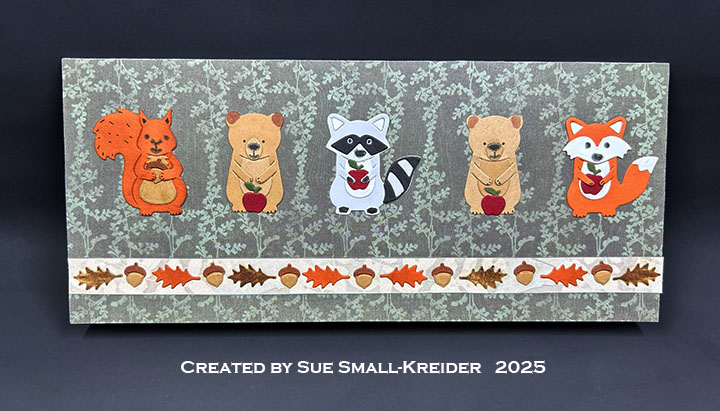
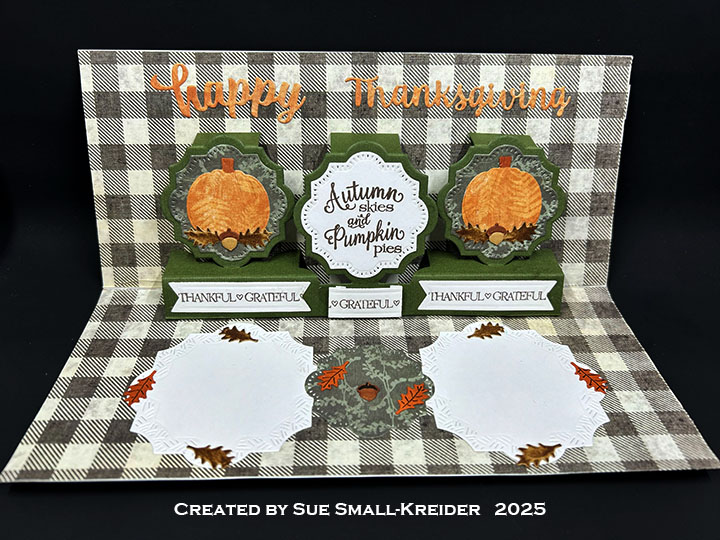
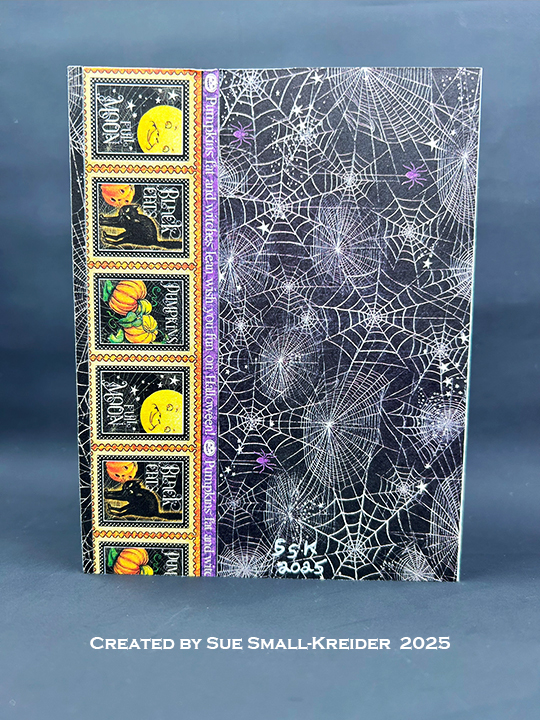
I started a new challenge for 2025 – the ATC calendar challenge. With a group of crafty friends, we are making a new image on a 4.25×5.5-inch calendar card for each month.
July’s card is made with Stampin’ Up’s Notes & Totes dies and stamps.
Learn how I made this calendar by watching the video below.
Disclaimer: Karen Burniston products are provided free of charge by the manufacturer for review and use. All other items were personally purchased. Compensated affiliate links used where or when possible, meaning I will receive a small percentage commission from these manufacturers at no cost to you. This will allow me to add more content to my YouTube channel and help out a lot. Thank you.
___________________________________
Materials Used:
Dies • Stampin’ Up – Stampin’ Cut & Emboss Dies – Notes & Totes
Stamps • Stampin’ Up – Clear Stamps – Notes & Totes
This card was made for CRAFT ROULETTE #273 whose parameters included a lady’s card, candy wrapper colors, camp(s)/(ing) element, and belt. I chose to make a trifold, slimline card that is interactive using Karen Burniston dies and some custom cut pieces of my own design.
Watch the process video to see how I made this card.
Cardbase: The cardbase is a trifold, so there are three panels (I made mine out of 80lb black and 110lb white cardstock, but you could make it all out of 100 lb black.) I cut two black panels at 3.75×8.5-inches for the card back. One white 4.125 x6-inches (Score at 3.75-inches and at 3.875-inches.) Cut another white panel at 4.125×7-inches (Score at 3.75-inches.) Cut two thumb holes in each panel as shown in video using die from Whirly Wheel die set. Follow video above for assembly order of panels. (You can follow the video with cutting the waves into the white cardbase panels or you and just round the tops of the panels as I eventually did.)
Flame Panels: Cut one 3.75×6-inch panel and one 3.75×7-inch panel. Using the waves die in the Curved Edges die set, cut the two panels with waves at the top. Cut two sets of five different fire colors using the waves die from 4×3-inch pieces of paper. Adhere the fire color pieces to the panels going from darkest to lightest colors. (I ended with a dark color next to custom cut and colored logs.)
Whirly Wheel Flames: (Watch the assembly video located at the bottom of the linked Whirly Wheeldie set.) Cut two sets of wheels, thermometer arms, and washers from heavy white cardstock. (I recommend adding the arrows before adding the clear packing tape by either using a marker and the die as a stencil or stamping using the Whirly Wheel Words stamp set.) Cover all die-cut pieces with clear packing tape. Assemble as shown in the video. Test flame shapes to add to Whirly Wheel arm making sure they stay within the card base when closed. Attach to arm as shown in video.
Marshmallow Sticks: I drew my marshmallows on sticks on a piece of 8.5x 3.5-inch white cardstock. They were fussy cut and then the sticks were colored dark brown. The marshmallows were covered with Nellie’s Choice Snow Effects, allowed to dry and then colored with light brown and hints of black to make the bubbling, toasted look of the marshmallows. The sticks were fitted and folded to the card before gluing on to the card back.
Sentiment Pop-Up: Die cut a white l-shaped mechanism from the Katherine Label Pop-Updie set. (Watch the assembly video located at the bottom of the linked die set.) Die cut in orange and red, the Happy Birthday and its shadow piece. Install the mechanism into card making sure it is high enough in the card not to interfere with the thumbholes. Color the top sides of the mechanism black to blend into the background. (I cut a 1.5×1.75-inch piece of black and colored afterwards. You could just color the three sides of the box part of the mechanism at this point.) Glue Happy Birthday onto its shadow and adhere to mechanism.
Sentiment Belt: Cut an 11×2.5-inch strip of dark brown textured cardstock. Fold it around the card loosely so it can slide off. Glue together back edges. On a computer design a 2×2.75-inch brown panel that says “Dear Sweet Lady, Wishing you S’more Funn!” followed by instructions on how to operate the card. An additional instruction panel is added to the back of the belt.
Envelope: The card fits into #10 business envelope (4.125x 9.5-inches).
___________________________________
Thank you for experiencing this blog post.
I hope this inspires you and makes you smile.
Please like and leave comments 😊
___________________________________
Disclaimer: Karen Burniston products are provided free of charge by the manufacturer for review and use. All other items were personally purchased. Compensated affiliate links used where or when possible, meaning I will receive a small percentage commission from these manufacturers at no cost to you. This will allow me to add more content to my YouTube channel and help out a lot. Thank you.
Watch the process video to see how I made this card.
Cardbase: I started with a purchased side-fold 4×6-inch A6 cardbase. Cover the four panels with decorative papers cut using the scalloped edge die in the Rectangles and Labels – Crosshatch set. Use the large frame die in the Flip Frame Pop-Up set to cut the card front frame. The dog comes from the Cat and Dog die set. I inked the white dog slightly with gray ink and used a fine tipped black marker to stencil in his face and paw areas.
Rainbow Flip Pop-Up: Watch the assembly videos for the Flip Frame Pop-Up and Rainbow Add-Ons located at the bottom of each linked die set.
Sentiments: All the sentiments used on the card come from the Rainbow Greetings stamp set and are stamped in brown ink. They are cut out using the two smallest label dies in the Rectangles and Labels – Crosshatch set.
Envelope: The card fits into an A6 (4×6-inches) size envelope.
___________________________________
Thank you for experiencing this blog post.
I hope this inspires you and makes you smile.
Please like and leave comments 😊
___________________________________
Disclaimer: Karen Burniston products are provided free of charge by the manufacturer for review and use. All other items were personally purchased. Compensated affiliate links used where or when possible, meaning I will receive a small percentage commission from these manufacturers at no cost to you. This will allow me to add more content to my YouTube channel and help out a lot. Thank you.
Here is a quick summary of cards using the new Karen Burniston Whirly Wheel die set.
(HINT: Click on the photo to go to the tutorial on how to make it.)
________________________
Thank you for experiencing this blog post.
I hope this inspires you and makes you smile.
Please like and leave comments 😊
________________________
Disclaimer: Karen Burniston products are provided free of charge by the manufacturer for review and use. All other items were personally purchased. Compensated affiliate links used where or when possible, meaning I will receive a small percentage commission from these manufacturers at no cost to you. This will allow me to add more content to my YouTube channel and help out a lot. Thank you.
Here are some of the projects I’ve made with the new Karen Burniston Arch Pop-Up
(HINT: Click on photo to bring up tutorial on how the project was made.)
________________________
Thank you for experiencing this blog post. I hope this inspires you and makes you smile. Please like and leave comments 😊
________________________
Disclaimer: Karen Burniston products are provided free of charge by the manufacturer for review and use. All other items were personally purchased. Compensated affiliate links used where or when possible, meaning I will receive a small percentage commission from these manufacturers at no cost to you. This will allow me to add more content to my YouTube channel and help out a lot. Thank you.
Welcome to our Karen Burniston Products – KB Riley LLC June Release Blog Hop. The Design Team have come together with Karen today for a fun blog hop to celebrate the release of 10 new dies and 5 new stamp sets. Sneak peeks of the new release started last week, and the dies are available to order NOW!(Giveaway details at the end of post.)
For my double Whirly Wheel Father’s Day card, I used several of the new dies including the Fishing Lures Charms and Whirly Wheel.
Watch the process video to see how I made this card.
Cardbase: From white 100 lb cardstock cut a 4×8.75-inch rectangle and a 3.75×8.75-inch rectangle. Score the white 4×8.75-inch rectangle down the long side .25-inch from the edge and fold up as a tab. From patterned cardstock cut a 3.75×8.75-inch rectangle. Assemble as shown in video above.
Cut decorator panels of patterned cardstock using the Long Rectangles – Crosshatchdies and glue inside the card.
Worms and Fish:Cut the largest fish lure and tail of one of the other fish lures from the Fish Lures Charms die set. Glue tail onto large fish and trim excess off the tail piece. Trim off loop at fish’s mouth. Color with glitter brush markers. Cut eight worms from brown cardstock. Add details with a white gel pen. Cut one large silver hook and add to one worm for the card front.
Double Whirly Wheels: Cut two wheels and two large thermometer arms from sturdy cardstock using the Whirly Wheel die set. Cut one washer form a sturdy cardstock. (Color doesn’t matter as it will be hidden.) Using stencil feature, ink on arrows on wheel. Assemble wheels as shown in video above.
The key to having double wheels is to glue the washers of each wheel to a separate front panel with a thin sheet of copier paper sandwiched between the two wheels to prevent any catchpoints.
Can of Worms: Cut A 3×3.5-inch piece of silver mirror cardstock. Score the backside of the piece at .5, .75, 1, 1.25, 1.5, 1.75, 2, 2.25, 2.5 inches. From the same cardstock, emboss and then cut out a circle using the Circles – Crosshatch dies as shown in the video above. Assemble as shown in the video. Decorate with worms.
Sentiments: The sentiments were stamped in black using the Fishing stamp set. The two smallest fancy label dies in the Rectangles and Labels – Crosshatch set were used for the sentiments.
Envelope: The card fits into a #10 business envelope.
Disclaimer: Karen Burniston products are provided free of charge by the manufacturer for review and use. All other items were personally purchased. Compensated affiliate links used where or when possible, meaning I will receive a small percentage commission from these manufacturers at no cost to you. This will allow me to add more content to my YouTube channel and help out a lot. Thank you.
To celebrate the release Karen Burniston and each of the Karen Burniston – KB Riley LLC Design Team members will be giving away a $25 Gift Certificate to some lucky person who comments on our blog posts, so make sure you join the hop and comment on everyone’s blog post. Winners will be randomly chosen from ALL of the blog hop comments received on our blog posts by Monday, 23rd June 2025. Lots of chances to win some goodies, so just leave a comment on this post or any other blog hop posts to enter! Don’t forget to leave some way for us to contact you, in case you are a lucky winner!
This card was made for Craft Roulette #271 whose parameters included a matchbook card, park colors, key(s) element, and curved and straight.
Watch the process video to see how I made this card.
Cardbase: Start with a 6×11-inch piece of patterned cardstock and score and fold at 3 1/4, 3 3/4 and 8 1/4-inches. Thread cardstock through the Karen Burniston Long Flap and Closure smaller flap die and center before cutting curved edge of the purse flap. Use white maker to outline curved edge.
FrontBack
Ribbon Handle: Cut an 18-20-inch piece of 3/8 to 1/2-inch wide ribbon. Punch two holes through the folded flap and thread ribbon through the holes. Leaving enough ribbon for a purse strap, tie ribbon at holes before tying bow.
Keys and Clasp: Die cut a total of four keys using the key die in the Karen Burniston Katherine Label Pop-Updie set. Cut two from silver foil cardstock and two more keys from the white backside of the silver foil cardstock. Glue keys together to form two keys that are silver on both sides. Add a jump ring to each key and then add each key to the third jump ring before attaching it to the ribbon. Glue large sequin to center of flap as a decorative clasp.
Sentiments: All the sentiments used on the card come from the Craft Roulette Funn Sentiments #01 stamp set and stamped in blue ink. stamped in black ink.
Envelope: The card fits into an A7 (5x 7-inches) size envelope that has a strip of the decorative cardstock glued to the back envelope flap.
___________________________________
Thank you for experiencing this blog post. I hope this inspires you and makes you smile. Please like and leave comments 😊
___________________________________
Disclaimer: Karen Burniston products are provided free of charge by the manufacturer for review and use. All other items were personally purchased. Compensated affiliate links used where or when possible, meaning I will receive a small percentage commission from these manufacturers at no cost to you. This will allow me to add more content to my YouTube channel and help out a lot. Thank you.
It’s Sneak Peek Week for Karen Burniston’s June 2025 release of ten new dies and five new clear stamps. For this interactive popping-up space alien birthday card I used the new Whirly Wheel die set.
Watch the process video to see how I made this card.
Cardbase: For the finished 5×7 side-fold card, I started with a pre-folded clear acetate (plastic) A7 (5×7-inch) card base and cut one 5.125×7.125-inch rectangle from gray cardstock, another 5.125×7.125-inch rectangle from bluish silver mirror cardstock. And finally, the card back of two pieces of heavy black cardstock -one 5.5 x7.125-inches and the other is cut using the second largest die (4.2×6.2-inches) in the Rectangles and Labels -Crosshatchdie set for a mat. Watch the video above to see how I assembled the card from these pieces. Windows in card front were cut using the third and fourth smallest dies in the Oval – Crosshatch die set.
Space Background Panels: The space backgrounds were created with mica sprays and an opaque white spray done in a spray box. (I had to test my mica sprays first as some of the colors had clogged since the last time I had used them. Ended up using green, fuchsia, red and blue over a white base coat. Not more than 2-3 squirts from each color.)
Space Ship with Alien:Cut two sets of the pieces needed to make the ship and alien using the Space Charms die set.
Whirly Wheel: Cut a 3.5×8.5-inch rectangle from 100 lb. gray cardstock and cover both sides with clear packing tape. Cut one wheel and one large thermometer using the Whirly Wheel die set from the taped piece of cardstock. Using stencil feature, ink on arrows on wheel (or use the Whirly Wheel Words stamp set to stamp the gray cardstock before adhering the tape, then tape and die cut.) Assemble wheel as shown in video above.
Cut thumb holes into the cardbase pieces as shown in the video using the half moon shaped die in the Whirly Wheel set.
Envelope: The card fits into an A7 (5×7-inches) size envelope.
________________________
Thank you for experiencing this blog post.
I hope this inspires you and makes you smile.
Please like and leave comments 😊
________________________
Disclaimer: Karen Burniston products are provided free of charge by the manufacturer for review and use. All other items were personally purchased. Compensated affiliate links used where or when possible, meaning I will receive a small percentage commission from these manufacturers at no cost to you. This will allow me to add more content to my YouTube channel and help out a lot. Thank you.
It’s Sneak Peek Week for Karen Burniston’s June 2025 release of ten new dies and five new clear stamps. For this rainbow connection slimline birthday card, I used several of the new sets including Arch Pop-Up,Leaping Animals and Rainbow Add-Ons die sets and Rainbow Greetings stamp set.
Watch the process video to see how I made this card.
Cardbase: An 8×8.75-inch rectangle of white cardstock was scored and folded into a side-fold 4×8.75 size slimline card. Thin decorative papers were used to cover the cardbase. The inside panels were cut using the largest die from the Long Rectangles – Crosshatch die set. (See video above for details on how they were cut and attached.)
Arch Pop-Up: Cut out the two large arch dies in the Arch Pop-Up from solid 65-80lb. cardstock. Assemble as shown in the video above, adding the rainbow strips which were cut using double-sided adhesive tape. Attach the pop-up rainbow arch as shown in the video.
Frogs: Cut four green, leaping frogs from the Leaping Animals die sets. Cut three green, sitting frogs from the Bayou Animals die set. With a white gel pen and frog dies as stencils, add spots and mouths to frogs. Using the eyes die from either animal set, cut four sets of eyes from white and stencil the black pupil of the eye and add a white gel pen dot onto them.
Sentiments: All the sentiments were stamped using the Rainbow Greetings stamp set with in black ink. “Sprinkling a little Rainbow magic your way” and “Happy Birthday” were cut out using the smallest fancy label die in the Rectangles and Labels – Crosshatch die set. Use the largest cloud die in the Rainbow Add-Ons set to cut out “Hello there.”
Envelope: The card fits into #10 business (4.25x 9-inches) size envelope stamped with “Wishing you sunshine and rainbows” the back flap.
Disclaimer: Karen Burniston products are provided free of charge by the manufacturer for review and use. All other items were personally purchased. Compensated affiliate links used where or when possible, meaning I will receive a small percentage commission from these manufacturers at no cost to you. This will allow me to add more content to my YouTube channel and help out a lot. Thank you.