It’s time to see more of Karen Burniston’s February 2024 release of new dies.

There is a wonderful scene in the Julie Andrew’s movie Mary Poppins, where she takes measure of the children with her tape measure and when her measure is taken it says “practically perfect.” This is a birthday card for the “practically perfect” person in everyone’s life.
Cardbase: I used a purchased A7 (5×7-inch) cardbase and envelope. Cut four 5×7 panels of decorative paper. (I used a Mary Poppins themed paper collection from Carta Bella.) Glue two to the outside and two to the inside of the cardbase leaving the center fold uncovered. (I used two panels of striped paper inside the card, matching up the stripes at the fold.) Decorate the front and back with journaling cards from the paper collection. (I used two heart paper doilies to go under the front journaling card which was popped-up with foam tape, while the back had a copier paper scalloped border cut using the scalloped rectangle die in the Rectangles and Labels – Crosshatch set and trimmed to fit.)

Double Lorna Platform: Fold a piece of pink decorative cardstock 4×8-inches to form a 4-inch square. Using a bone folder, make the fold crisp. With the paper folded, place the largest die from the Lorna Label Pop-Up set with the open tab above the fold matching the score line with the fold. (I found that I had to use a shim to cut through the double thickness of the cardstock to get the die to cut through both layers. You may have to adjust the sandwich for your die cutting machine. Test first before cutting your decorative cardstock.)

Train the folds. Place the center fold of the double mechanism along the inside center fold of the cardbase. Tuck the tiny tabs on either side of the label base under and glue to the cardbase with both the mechanism and cardbase flat. Close card to train label base to pop-out. (I used a pencil to pop the tube-like base out the first time.) Glue the upper tabs to cardbase as shown on package directions.
Cut a label from white copier paper using the largest stitched label die and glue to the bottom label platform.
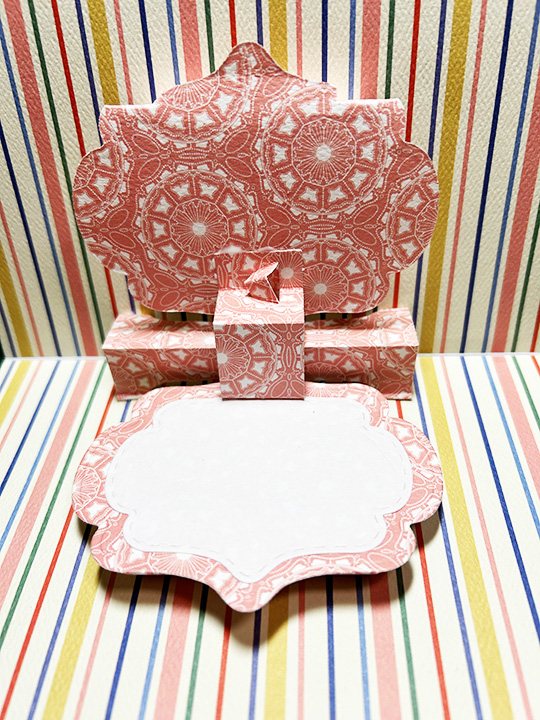
Tea Cup and Spoon Mechanism: When gluing the mechanism from the Tea and Coffee Pop-Up set onto the double Lorna platform, a strip the width of the Lorna platform must be cut from the bottom tab of the mechanism.

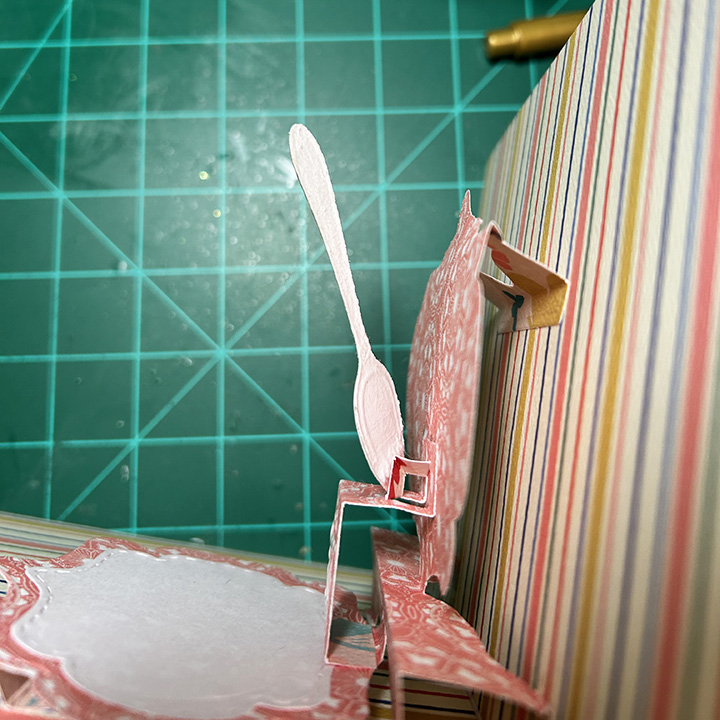
Spoon: Cut from a heavy silver foil cardstock using the spoon die in the Tea and Coffee Pop-Up set. (I used some silver packaging.) Glue the back of spoon to angled top mechanism making sure the position will be within the cup when open and within the card when closed.

Tea Cup and Saucer: Emboss the cup and saucer onto lightweight pink cardstock the die cut using the cup and saucer dies in the Tea and Coffee Pop-Up set. Leaving the cup in the die, ink through the stencil feature with pink ink. Remove from die and ink the cup’s handle, base and rim stripe with pink ink. Ink saucer base. With gold marker trace embossed lines on cup and saucer. Glue to front of mechanism.

Sentiments: A journaling card with “Sweet and Kind and Smart and Cheery” and a word tape measure border from the paper collection were used for the front and back of the card. “Happy Birthday” was cut from light blue cardstock using Word Set 2 – Birthday.
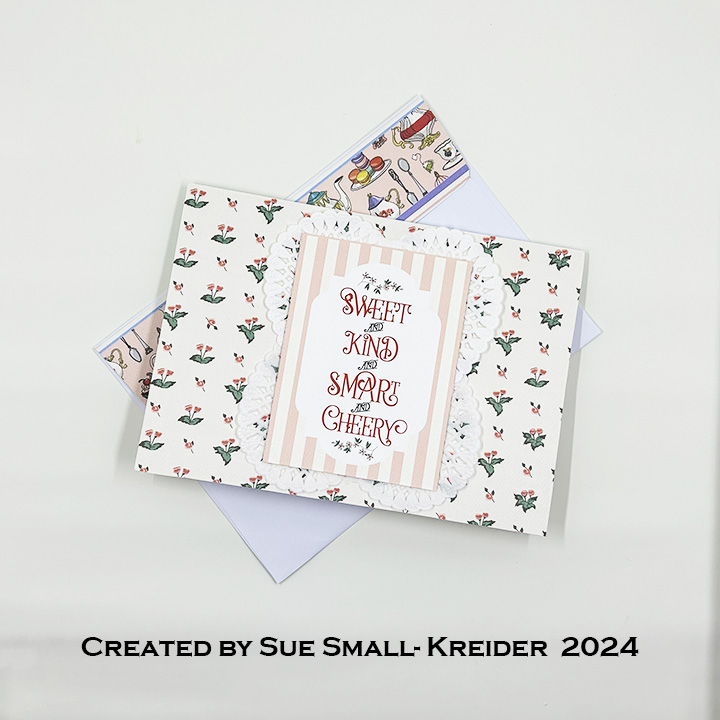
Envelope: The back flap of the envelope is covered with a border strip of a tea party.
Thank you for reading this blog post. I hope this inspires you and makes you smile. Please like and leave comments 😊
Materials Used:
Dies
- Karen Burniston in cahoots with Riley and Company – Tea and Coffee Pop-Up – 1269
- Karen Burniston in cahoots with Riley and Company – Lorna Label Pop-Up – 1266
- Karen Burniston in cahoots with Riley and Company – Rectangles and Labels – Crosshatch – 1233
- Karen Burniston in cahoots with Riley and Company – Word Set 2 – Birthday – 1003
Papers
- Carta Bella – 12×12 Double-Sided textured Paper Collection Kit – Practically Perfect
- White Copier Paper
- Pale Blue and Pink Lightweight Cardstock
- White Heart Shaped Paper Doilies – 4-inch wide
- Silver Foil Packaging
- Park Lane Paperie – A7 Cardbase and Envelope – White
Ink
- Ranger – Tim Holtz – Distress Ink- Saltwater Taffy
- Pigma – Mircon 01 Fine Tip Pen – Black
- Crafter’s Square – Metallic Marker .05 in Point – Gold
Adhesives
Tools
- Die Cutting Machine
- Bone Folder
- Craft Mat
- Sponge Dauber
- Stamping Blocks used as paperweights
- Scissors
- Pencil

One thought on “A Practically Perfect Birthday Card”