This Thank You gift bag was created to say thank you to everyone who has continued to do their jobs through this time of uncertainty, change and home isolation. Thank you to health carer workers, public service workers, restaurant and grocery store workers, to delivery and transportation workers, to gas station workers, to teachers and students who all keep doing their work from home or their regular work spaces. This is a bag full of thanks to those workers whose place of work have been closed or whose work hours have been cut who look out for and help their neighbors with health issues. This is a thank you to little ones who are trying to help their parents get through these stressful times.
Materials used include: Simply Made Crafts by Helen Griffin -Luxury Handbag Gift Box die set, Karen Burniston’s Word Set 1-Greetings die set, lightweight blue cardstock and black, silver and light blue paper scraps, double-sided tape and glue.


 Using Memento Tuxedo Black ink to stamp the images on white cardstock, I colored them with using watercolor pencils and a waterbrush. Once the colors were dry, I used a silver gel pen to color all the chrome trim on the bus and hubcaps. Using the matching dies, I cut the animals and bus out. I cut a second bus out to act as a backing for the bus. I had colored and cut a set of spare tires, so I cut away the tires on the colored bus so I could add dimension of the tires being beneath the bus.
 Next I played with the placement of the animals in the bus and once satisfied with their placement, I glued them to the backside of the blue bus. For the cake rack and the monkey, I had to add small slips of cardstock for supports for the foam tape that adhered them to the bus frame. The koala bear was also foam taped to the back bus using the die cut door opening as my placement guides. The tires were glued flat to the backing bus’s wheels. (And while I toyed with the idea of making the wheels on the bus spin – mimicking the children’s song – I deciding against it.) Doubled sided foam bits from my stash were sandwiched between the two bus layers for dimension. Baker’s twine was taped to the back of the colored balloons and poked between the bus layers and glued.
 Using Stampin’Up Dapper Denim blue ink I stamped both outside “For You on your birthday” sentiment on white cardstock and then the large “Happy Birthday” inside the card. The “For You” I heat embossed with sparkly snow embossing powder which added sparkle, but embossed clear.
 On the top inside panel I added another Art impression’s stamp of a tricycle riding elephant that I had colored and fussy cut out with its hat flying off.
 The completed card has the bus doors being able to be opened to shoe the koala bear.
 I decided to play with one of my new stamps and dies set from
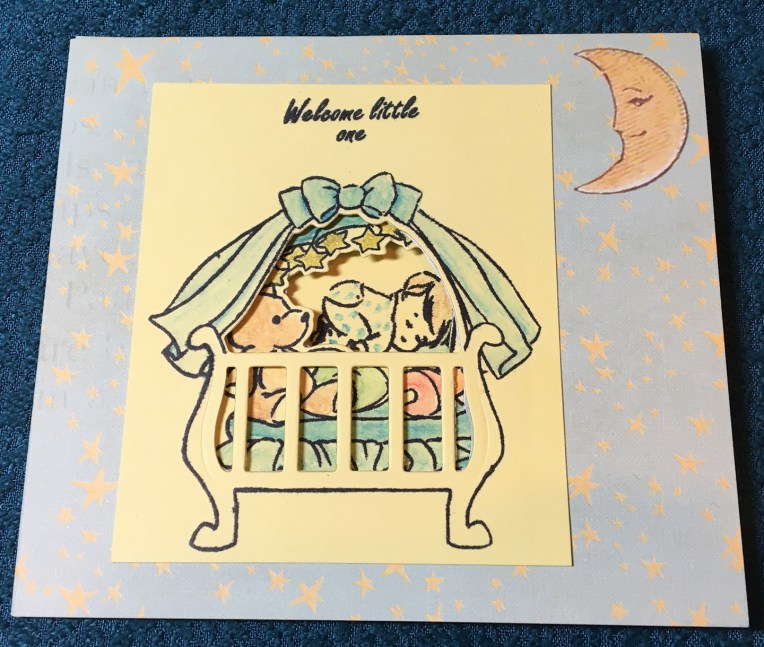
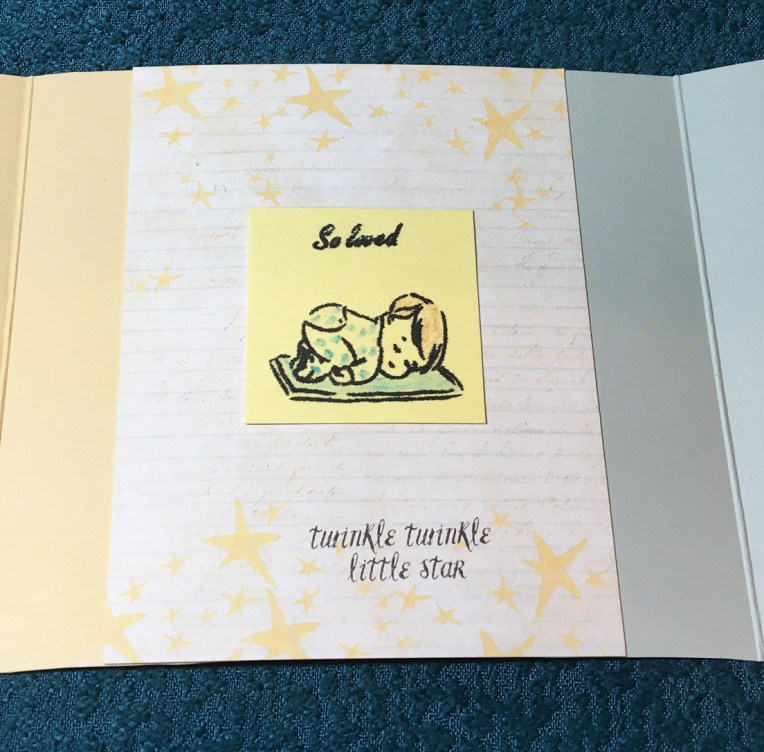
 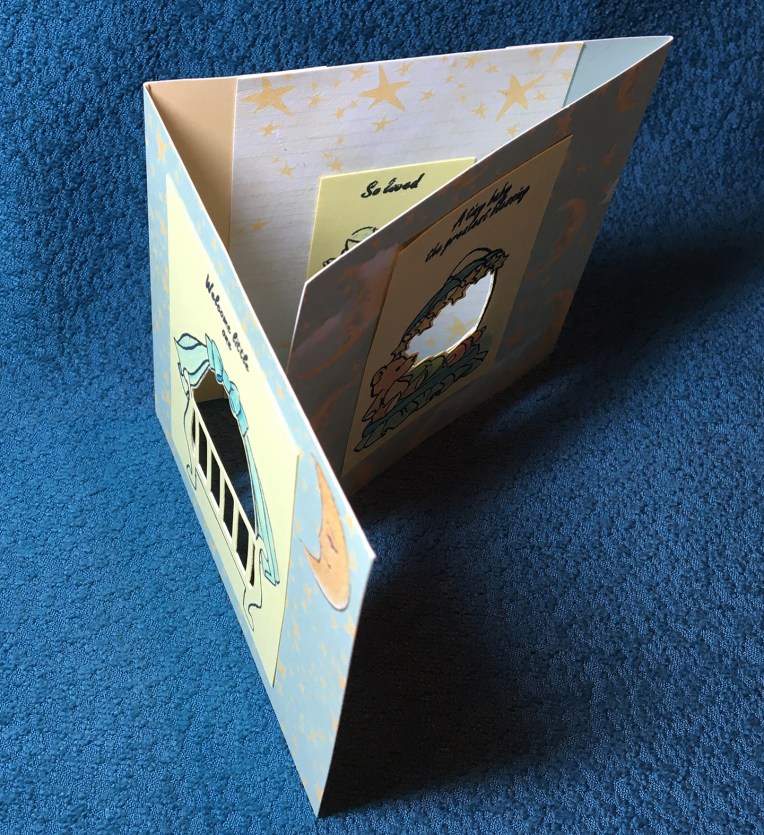 I started by following the instructions that came with the set and cut an 4 ½ x 11 inches piece of yellow cardstock and scored it at 3 5/8 inches from two long ends to come-up with a trifold card that is 4 ½ by 3 5/8 inches. You stamp the large crib first to the outside panel and die cut out the slats and crib opening. Next, using a stamping platform, I lined up the teddy bear stamp with the opening in the crib onto the second panel. Stamped and die cut as with first panel. Again, using the stamping platform, I lined up the baby stamp with the card close seeing through the openings in both panels. I stamped using Tuxedo Black memento ink.
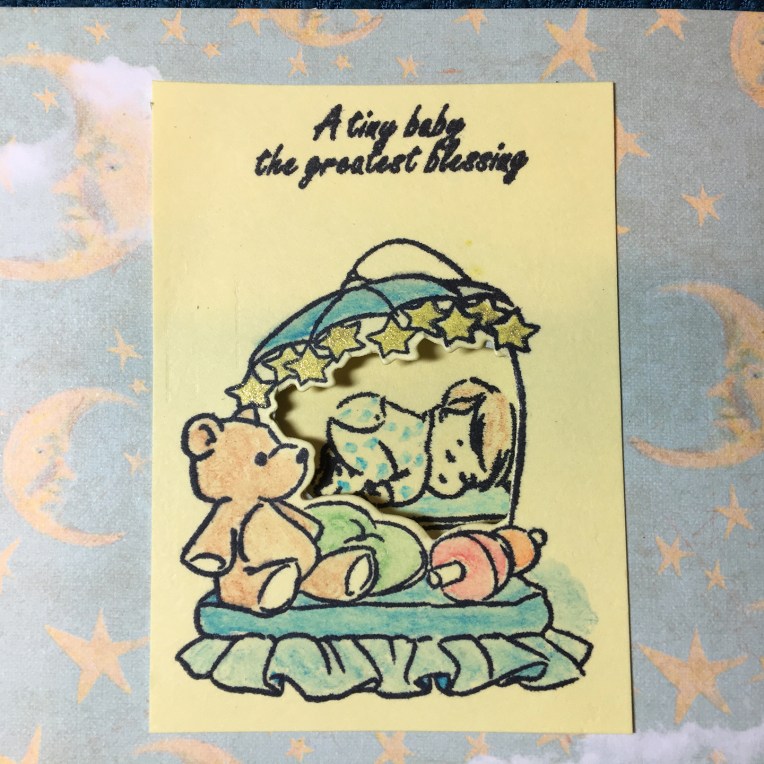


 Because the glitter is very clingy with static to the acetate, I decide to use this quality in my design and my shakers are only the thickness of some recycled cardboard box cut into a square and the circle die-cut out. I adhered a strip of acetate to the inside of the back panel of card base with double-sided tape. The cardboard squares were glued to back of card over the circle openings. With the card on a flat surface I put pinches of glitter into the cardboard circles and then added glue to edges of cardboard and dropped a square of acetate over each cardboard square to seal up the shaker. (If I had it to do over, I would have used the temple to mark out the cardboard and make it one long panel instead of squares.)
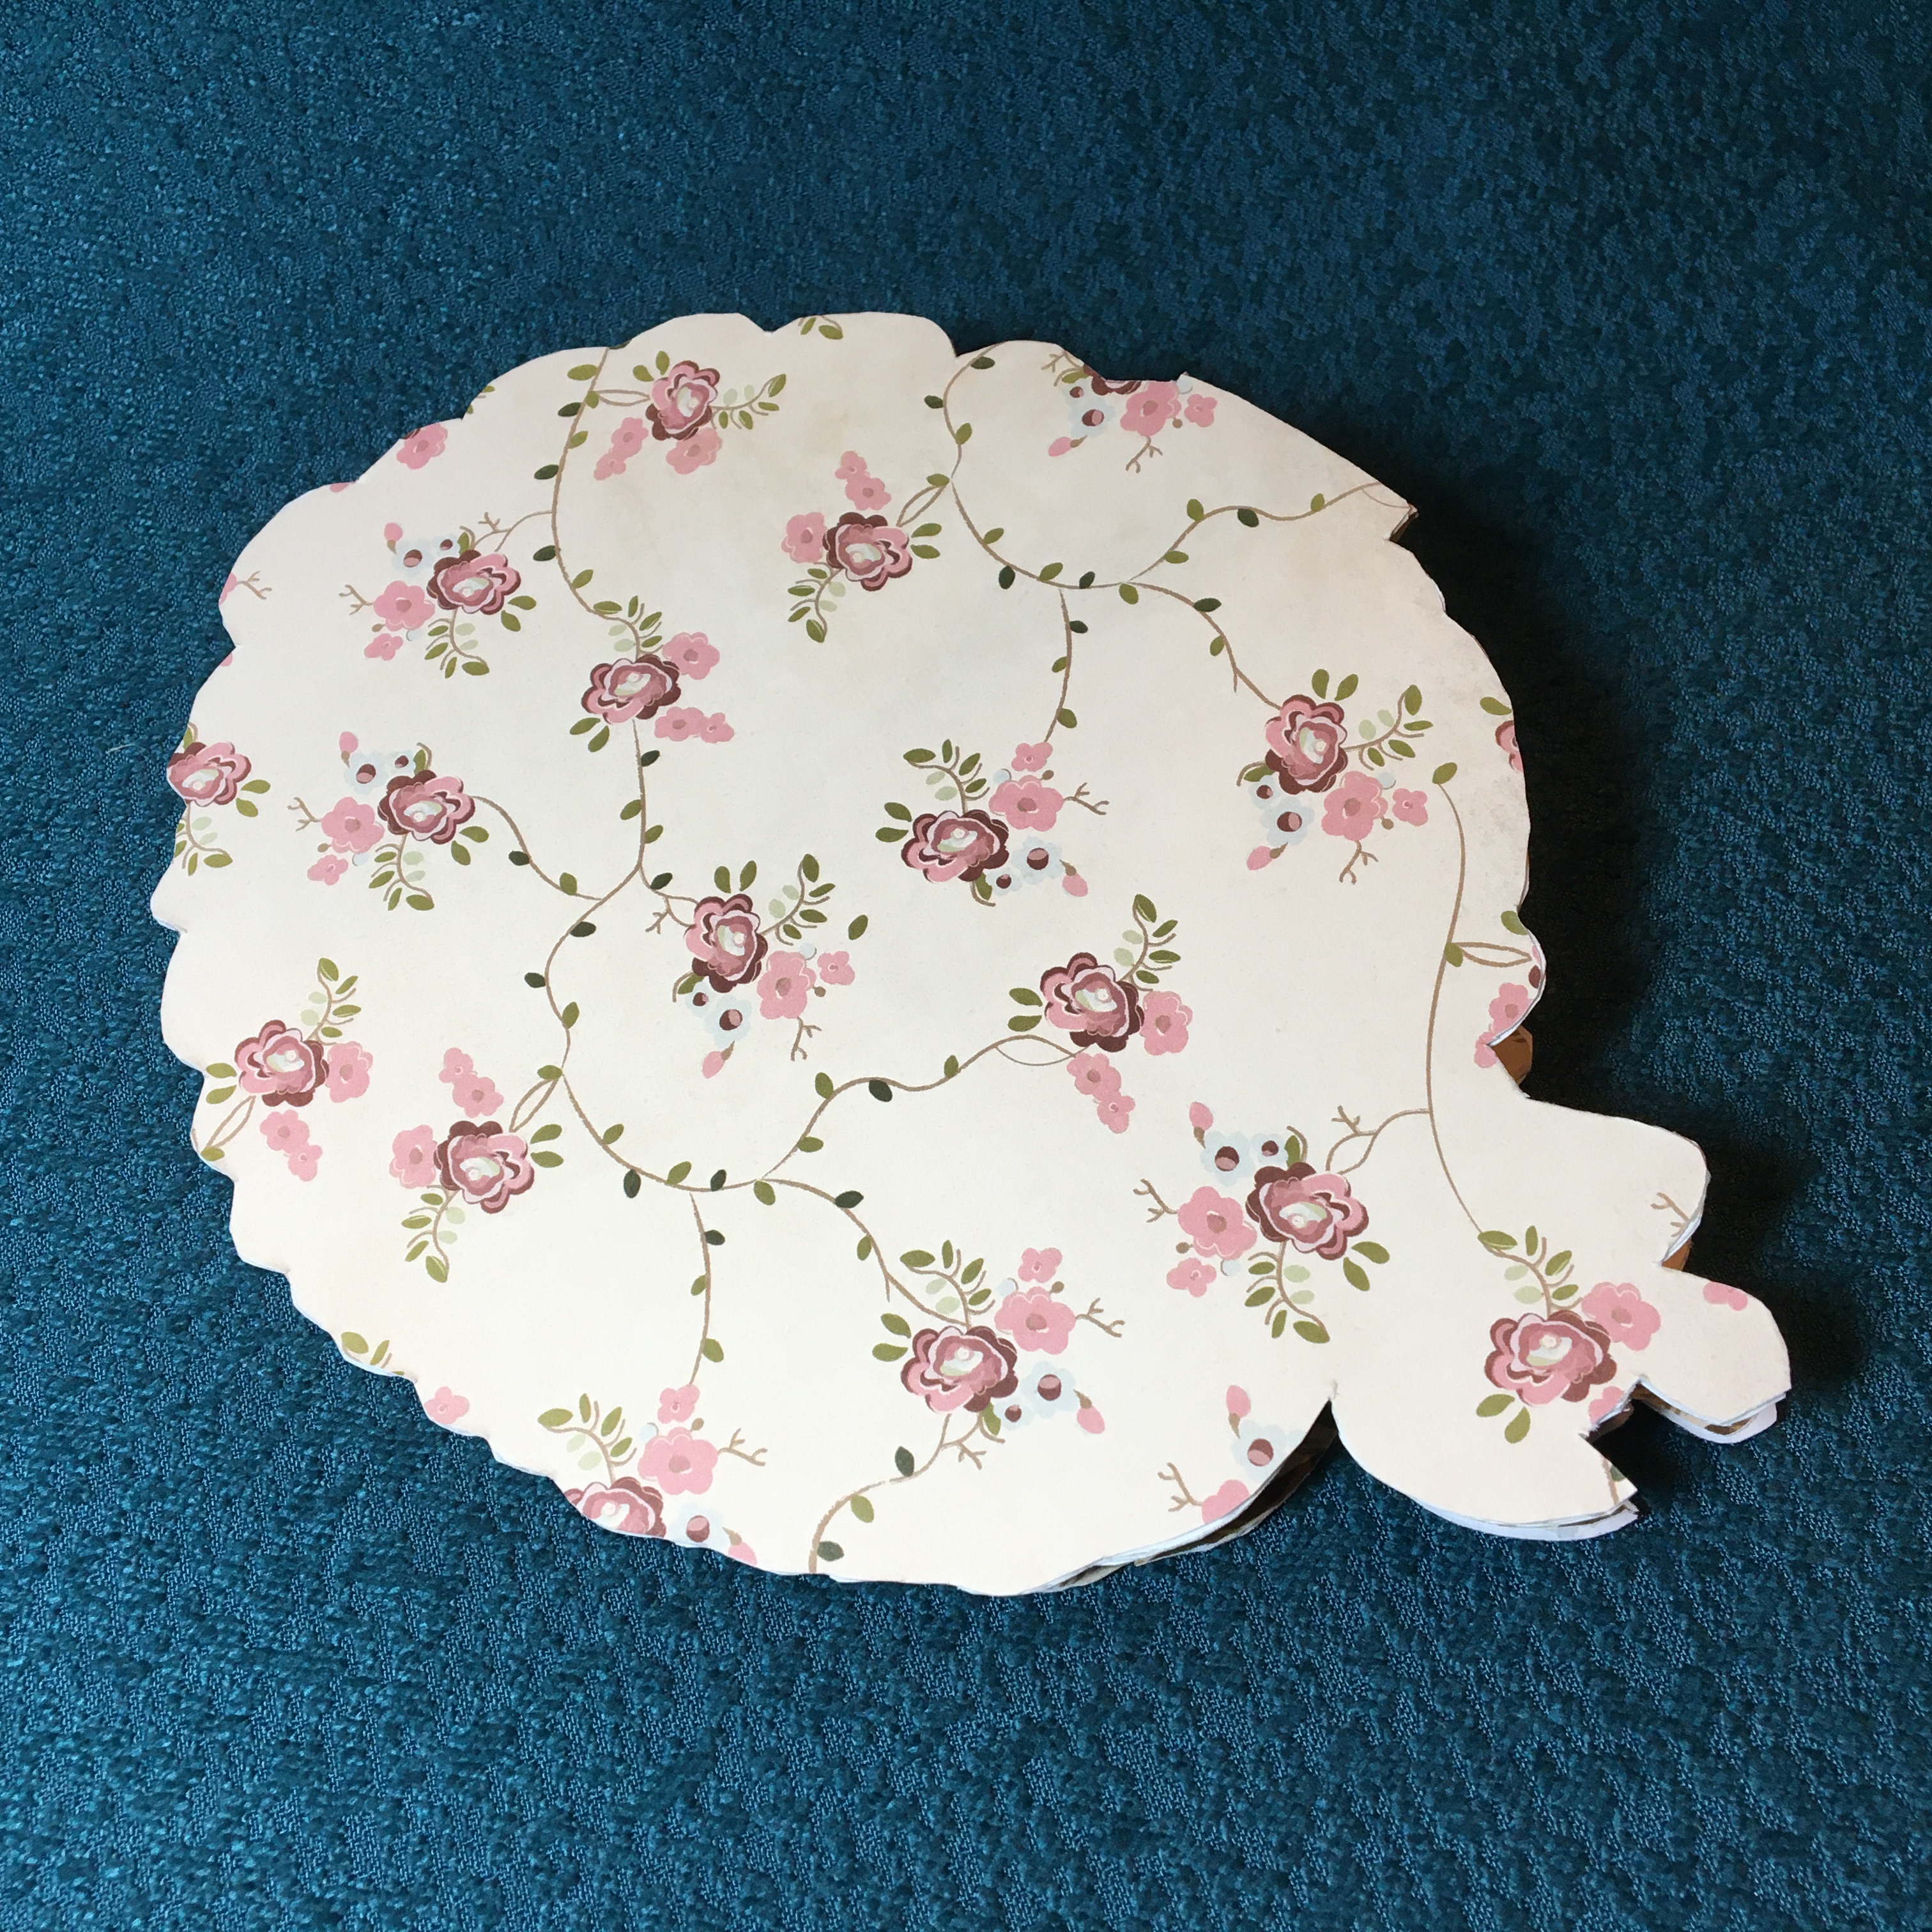
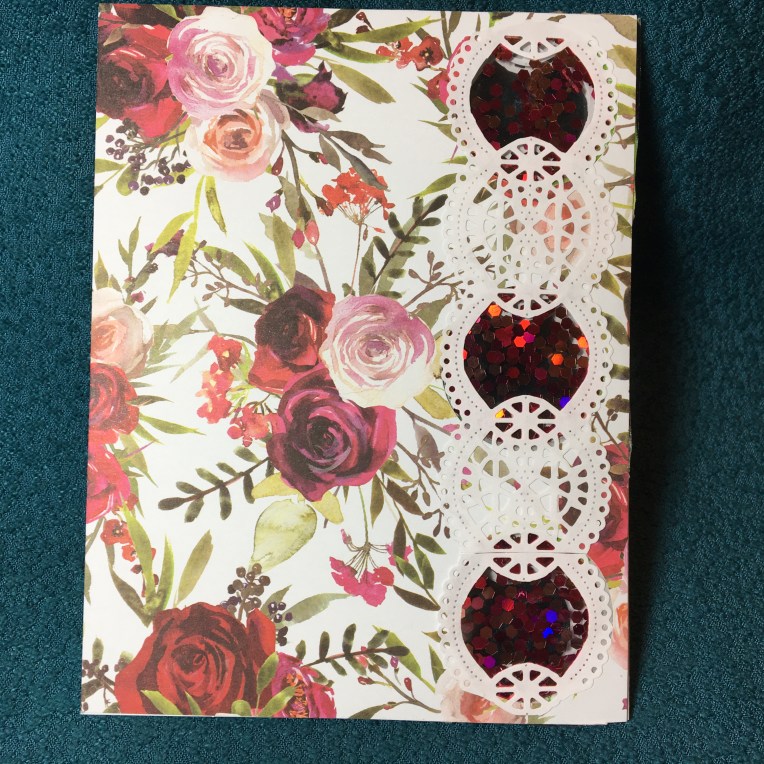 Next, I traced as best I could the shaker circles onto the back side of the two outer printed cardstock panels and the two inner patterned paper pieces. With printed sides place together and taped with removable tape, I cut both outer panels together. Repeated the same process with inner pattern paper. Using double-sided tape and a few drops of glue, I adhered the outer panels and the inner papers lining up all the shaker holes. To hide the small gaps, I die cut four strips of scalloped lace from thin white paper using an un-named die by Joanna Sheen in my stash. There are five circles in the lace, I cut out the top, middle and bottom inner circles to correspond with the shaker circles. I glued the four lace pieces over the inner and outer panels’ circles.
 The front of the card has a die cut scalloped oval with “Happy Mother’s Day” die cut from a recycled chocolate’s box. A multi-looped button is from tiny grosgrain red ribbon from my stash.
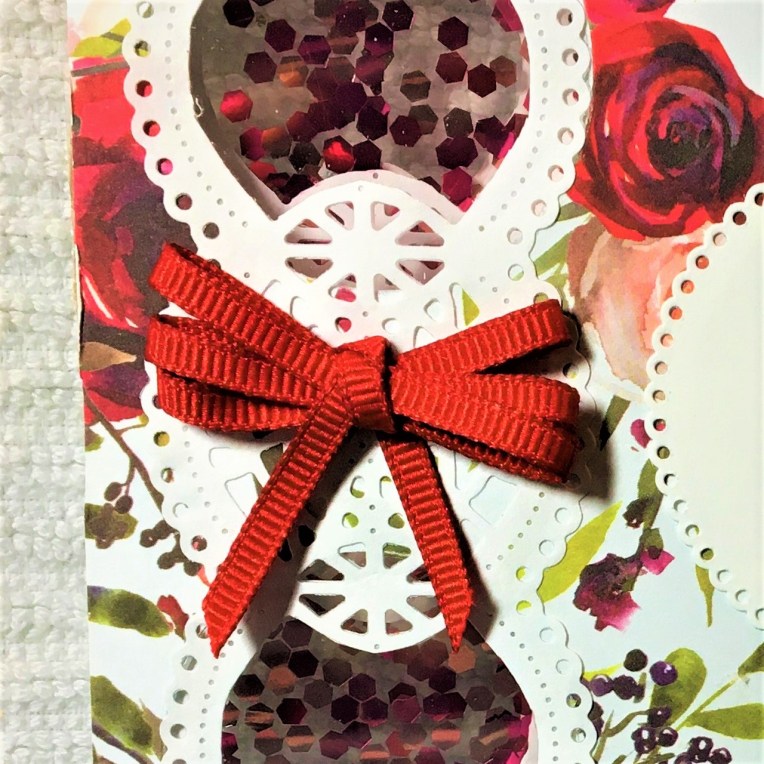 Materials:
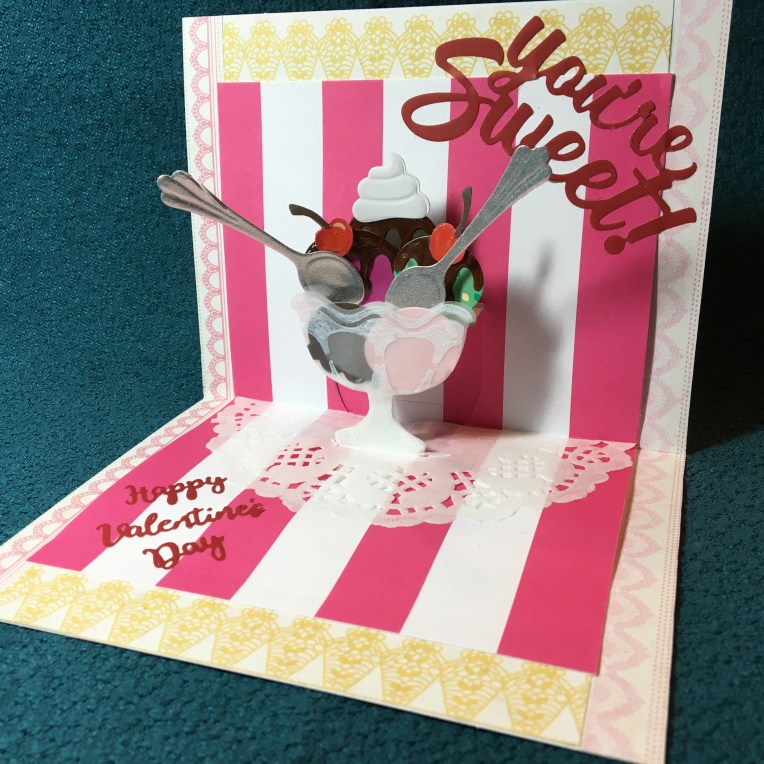

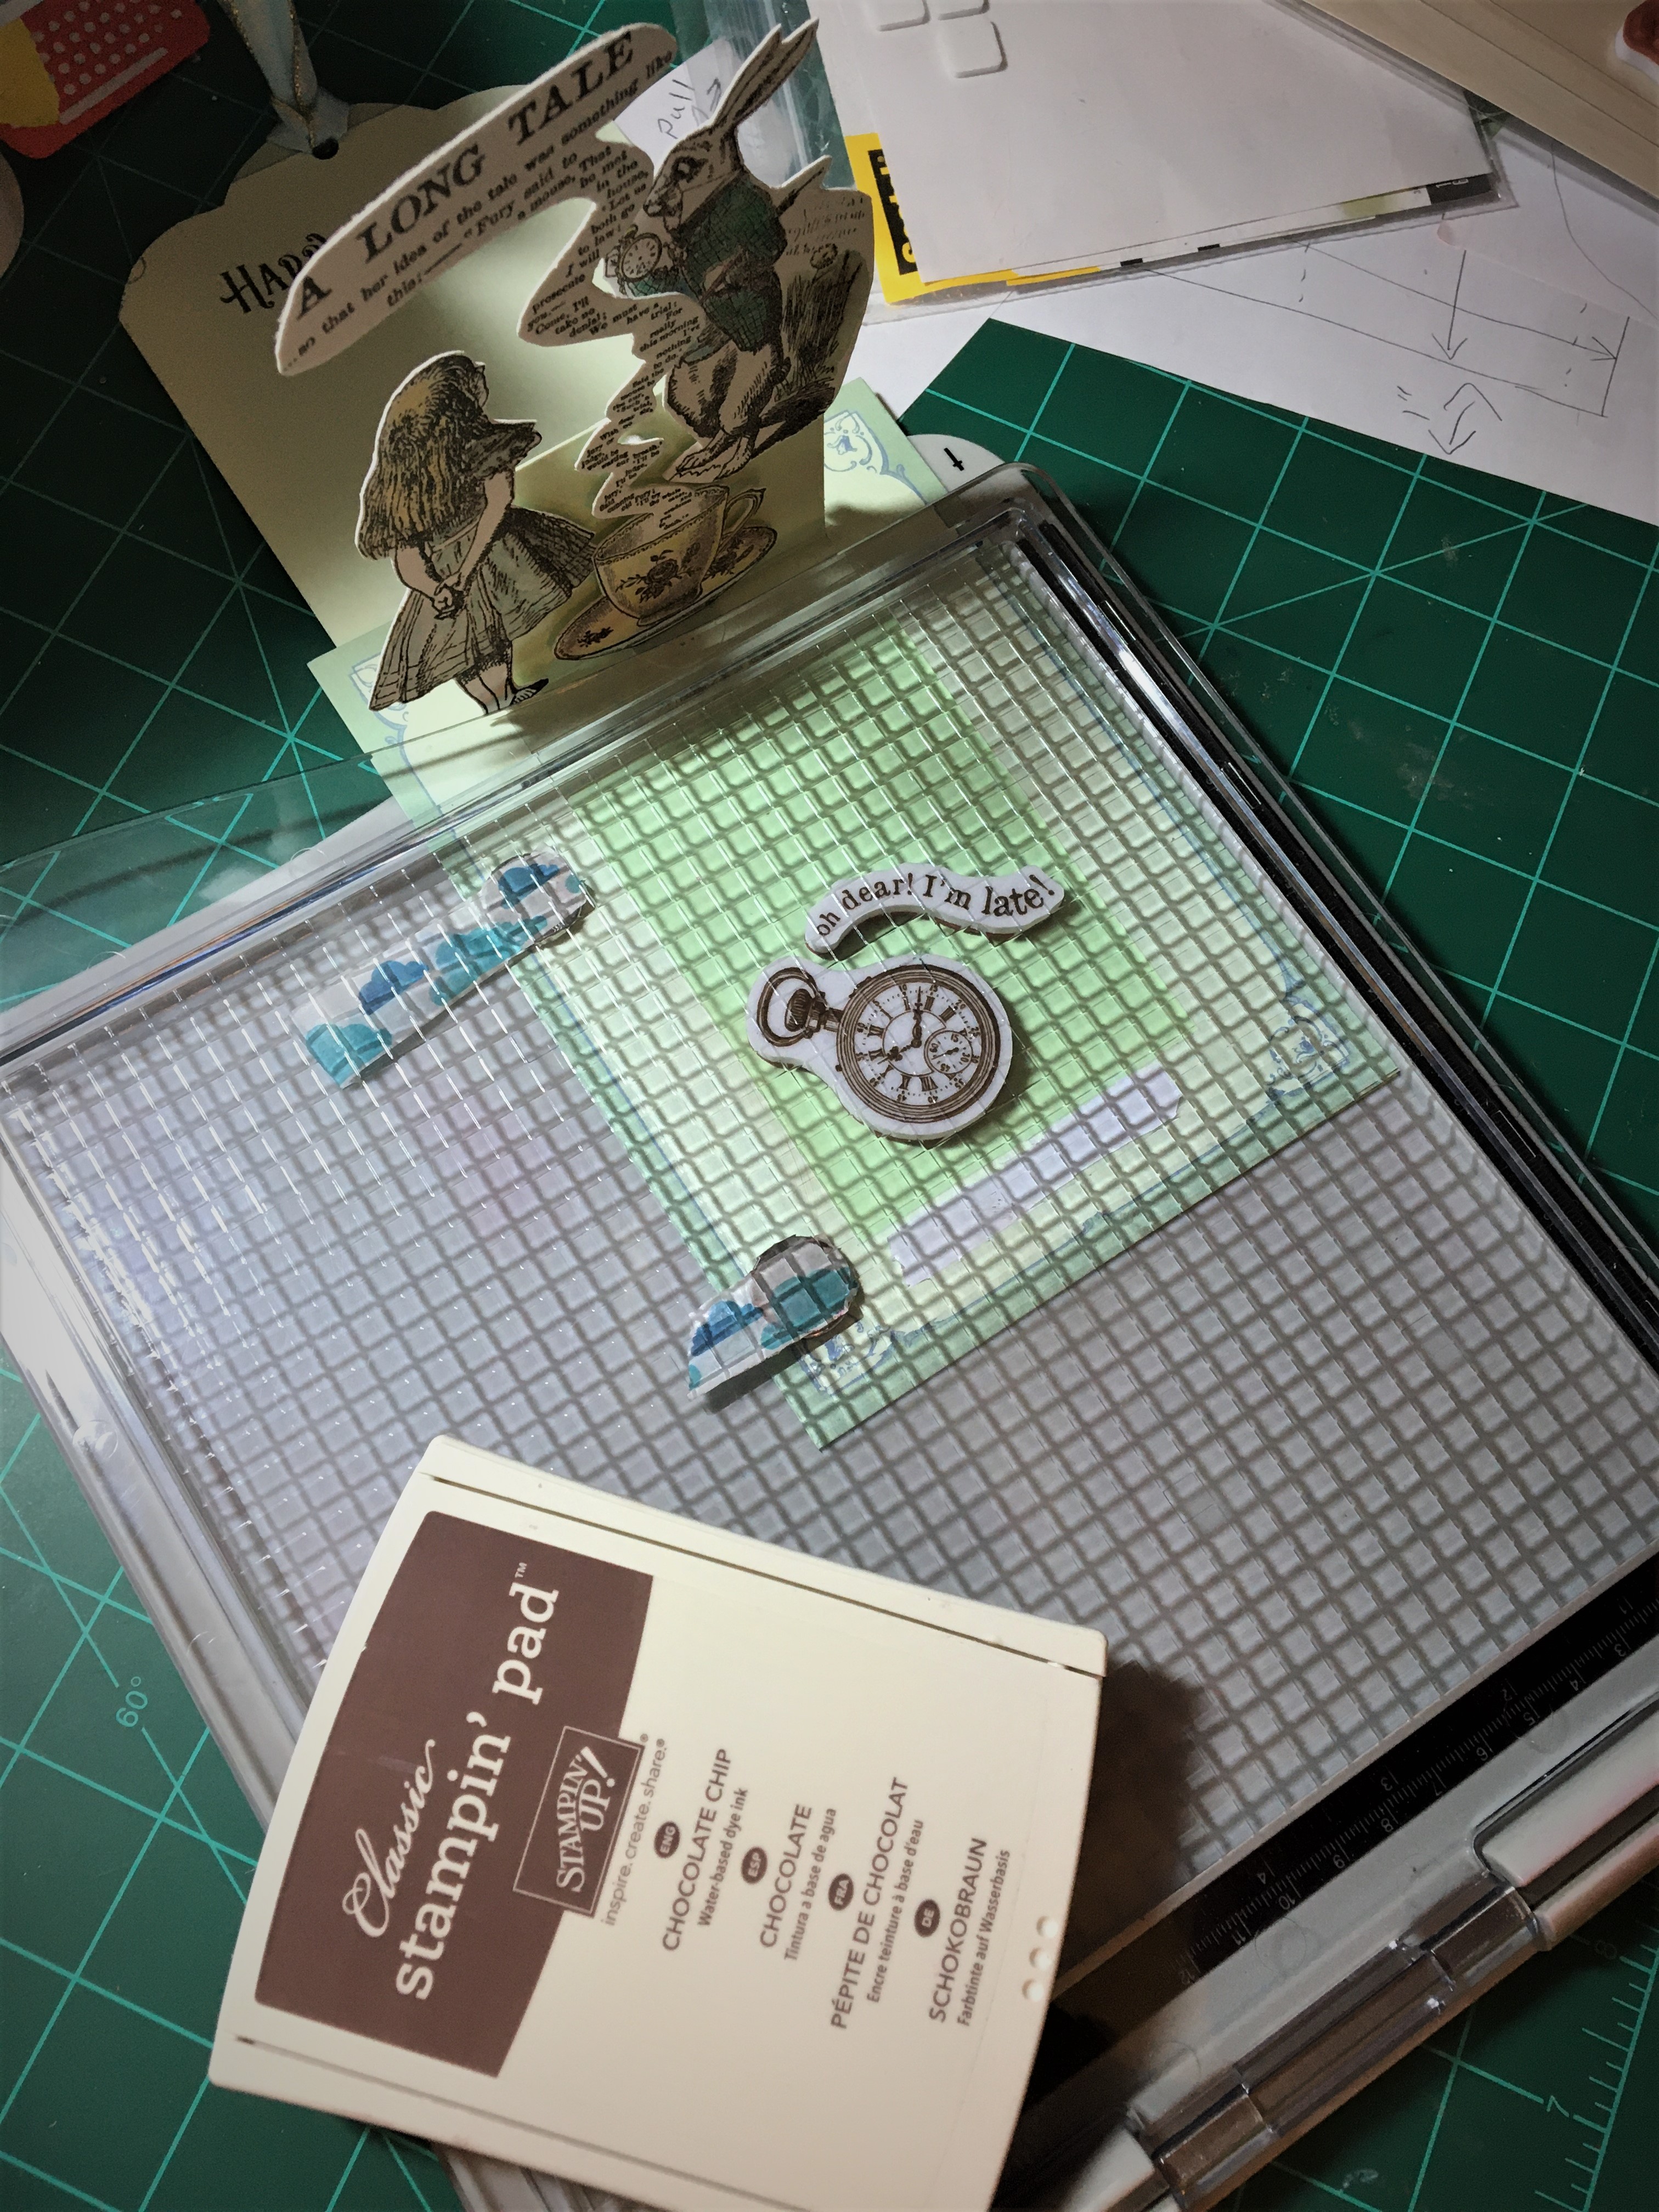
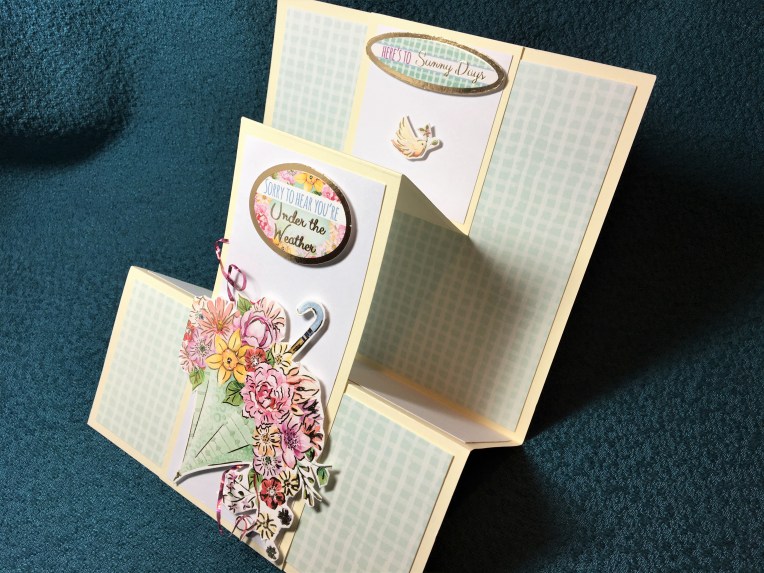 This is a double Z-fold card turned sideways using Hunkydory’s Happy Days – Adorable Scorables set and an 8.5 inches x 11 inches (21 cm x 28 cm) piece of cream card stock.
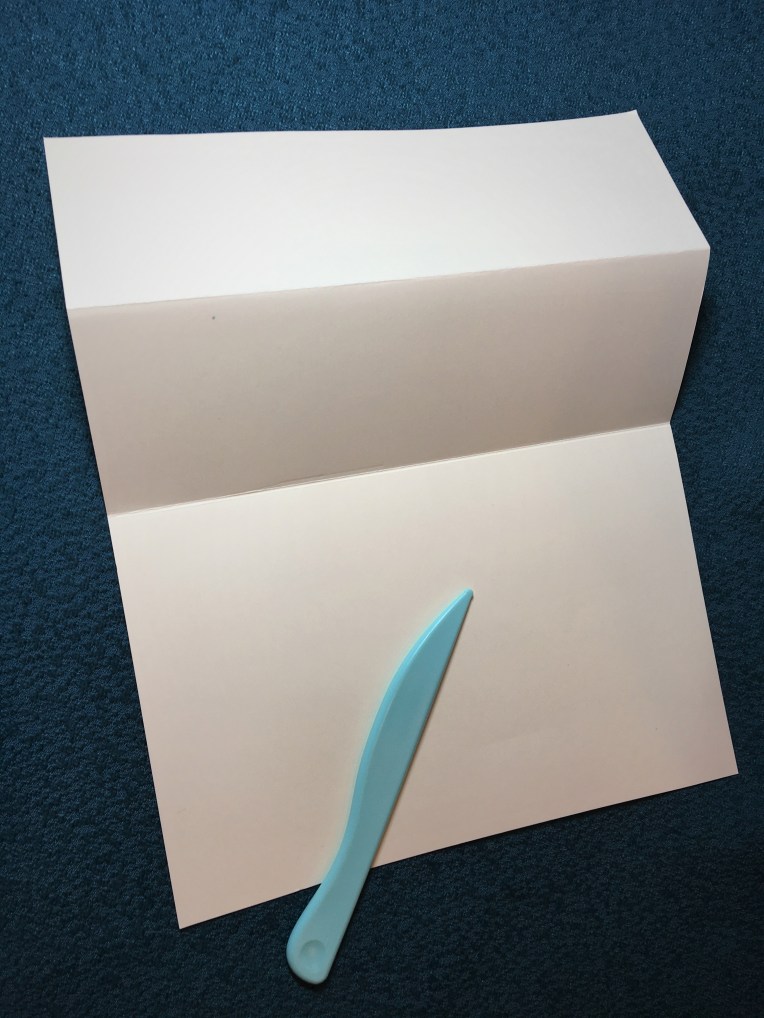 1 Fold in half to make 5.5 x 4.25 inches (140 x 107 mm) card. Burnish fold. Fold front in half to make 2.75 x 5.5 inches (70 x 140 mm) panel. Burnish fold.
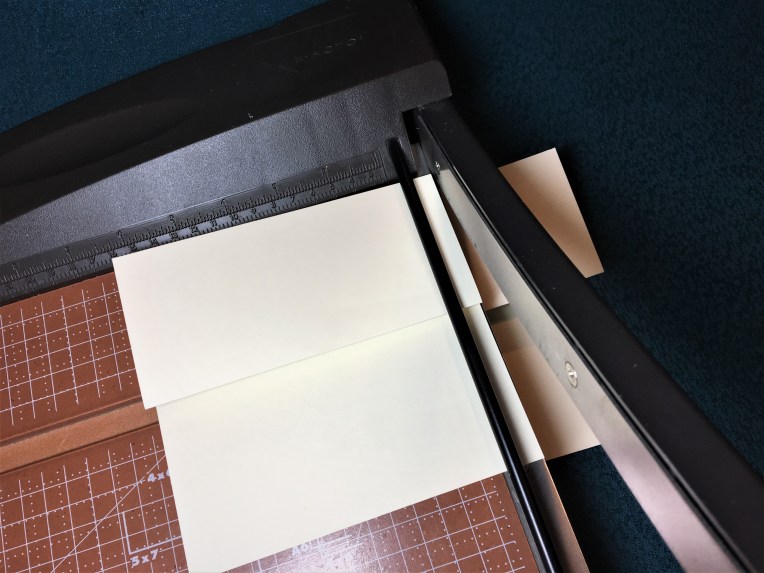 2 Cut folded card at 2.5 inches (63 mm) from the side.
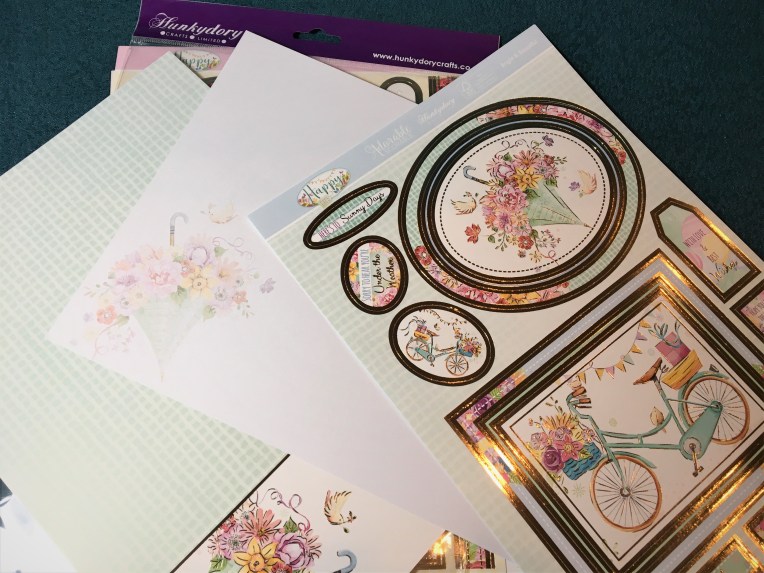 3 Pick your papers.
 4 Cut from pattern paper two pieces – 5.75 x 5.25 inches (146 x 133 mm) and 2.5 x 5.25 inches (63 x 133 mm). Cut four pieces of white – 2.5 x 5.25 inches (63 x 133 mm), 2.25 x 5.25 inches (58 x 133 mm) and two at 2.25 x 2.5 inches (58 x 63 mm)
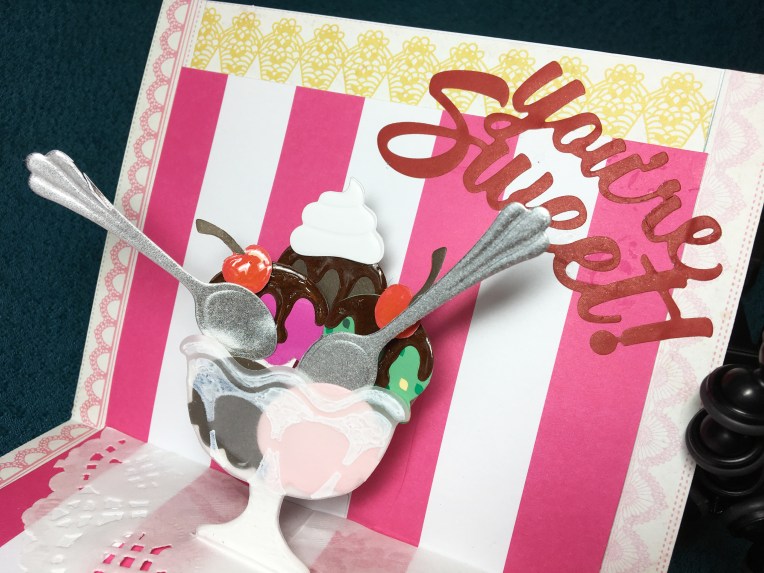
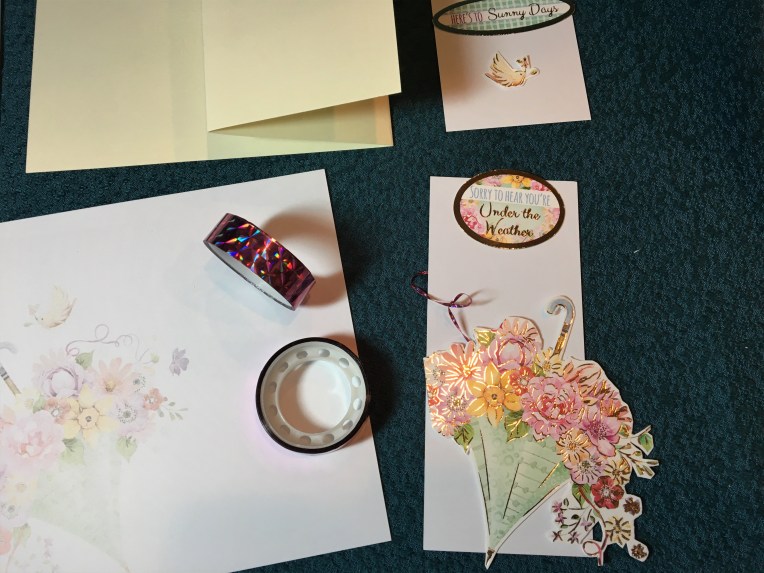 5 Fussy cut out front umbrella. Create thin ribbon by sticking back-to-back holographic tape and cutting into thin strips.
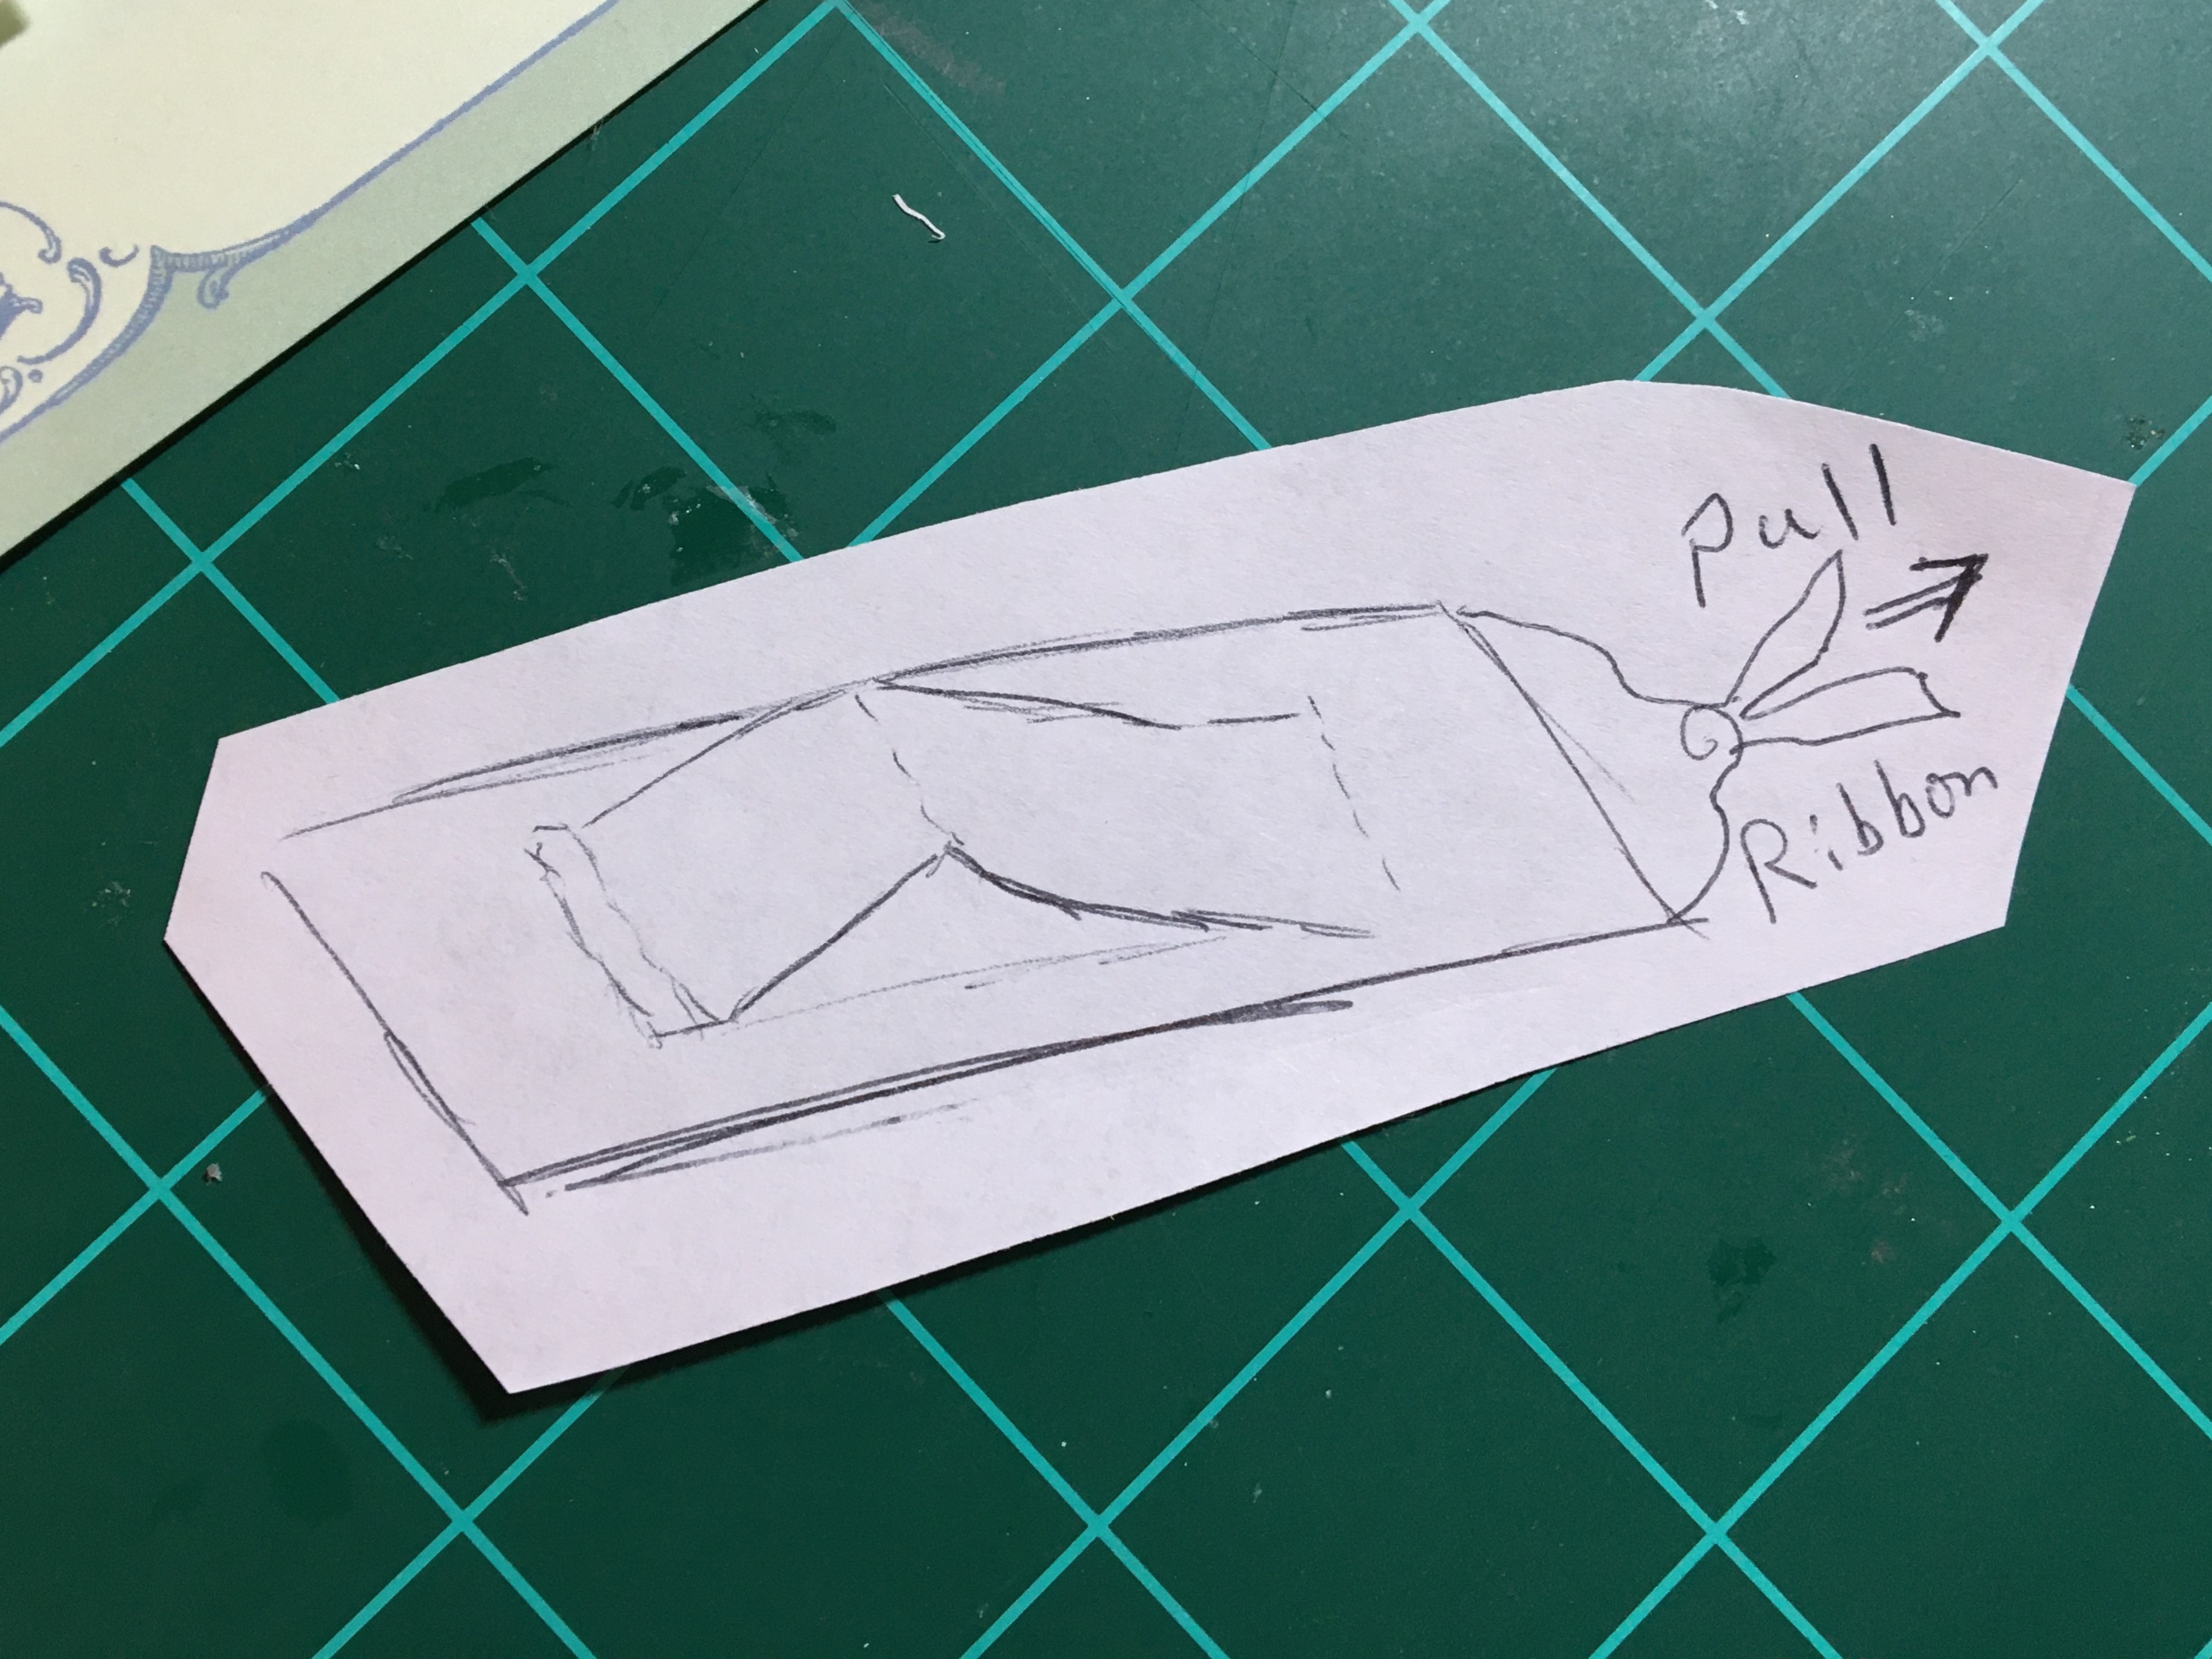
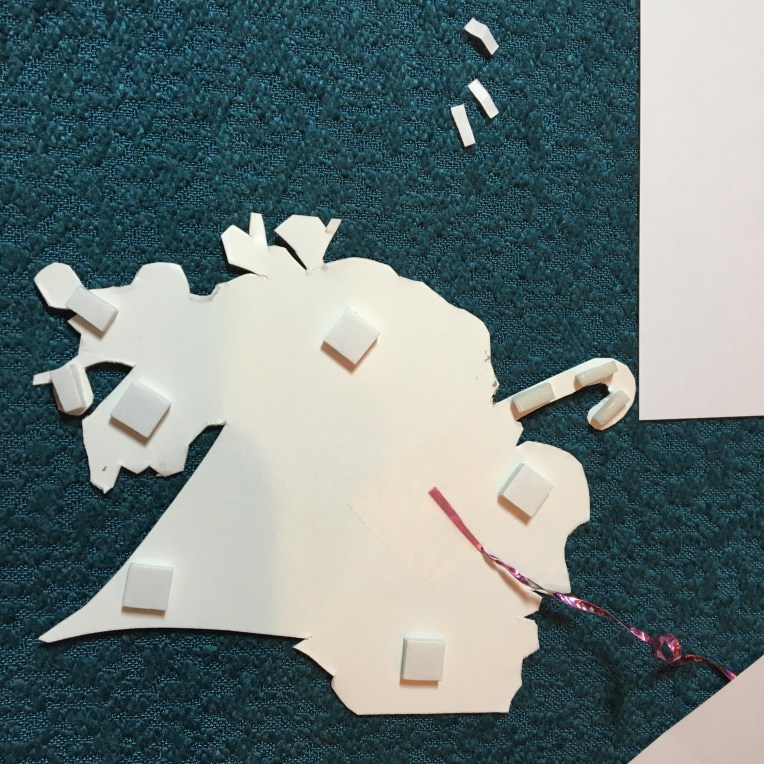 6 Figure-out placement of ribbon and tape on backside. Place foam squares on back.
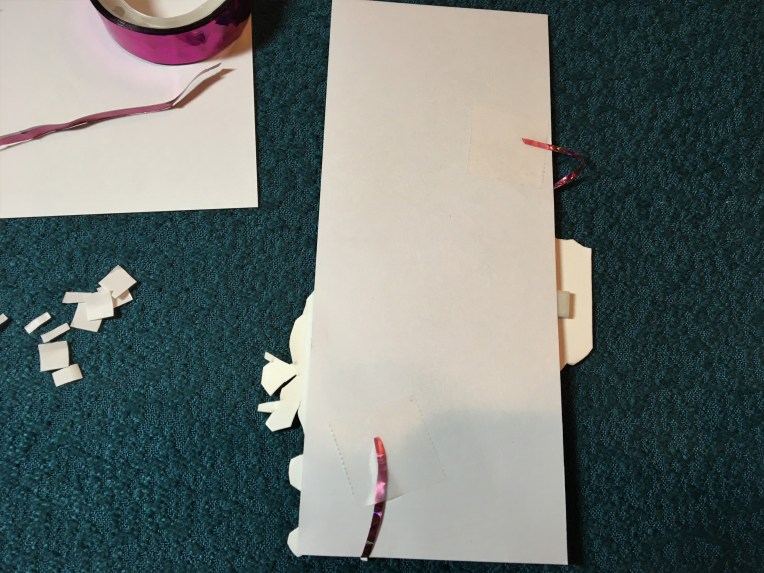 7 Adhere umbrella to white card (2.25 x 5.25 inches). Tape ends of ribbon to back of white card.
 8 Adhere patterned and white papers to appropriate spaces. There should be an 1/8 inch (3 mm) bit of cream card showing all around each of the top layered pieces. Adhere sentiment with foam squares above umbrella.
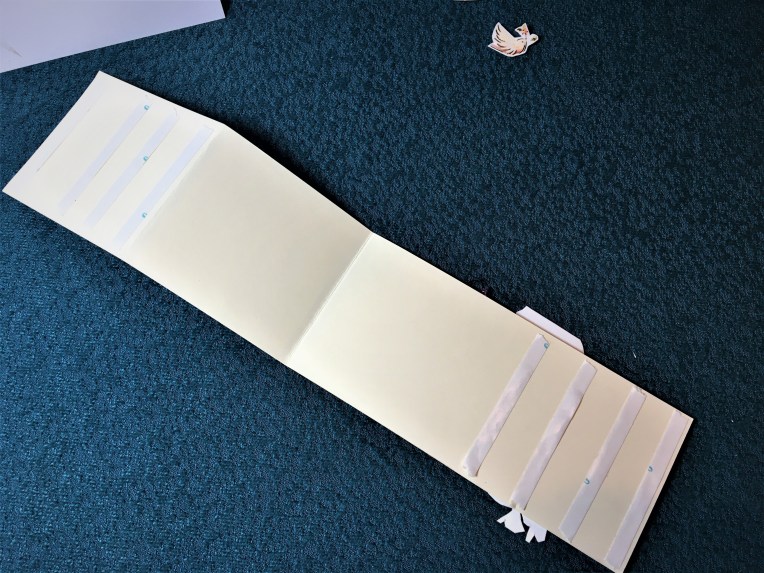 9 Add several rows of double-sided tape to the back edge section making sure the tape does not extend above fold marks.
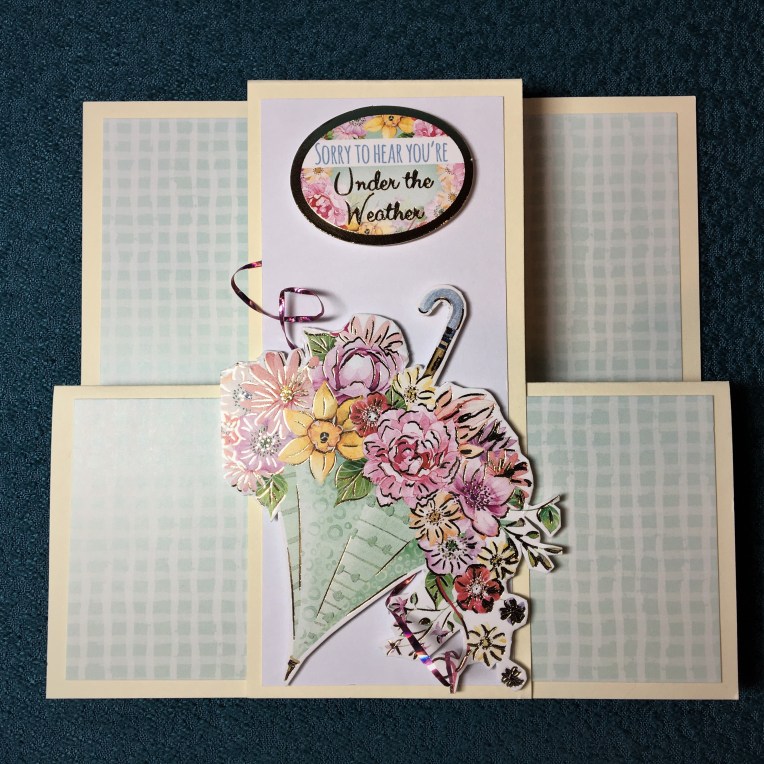 10 Peal off tape from behind umbrella section and adhere to front of car. Next pull off backing tape from back section and press card folded shut to adhere back of center layer to back layer of card.
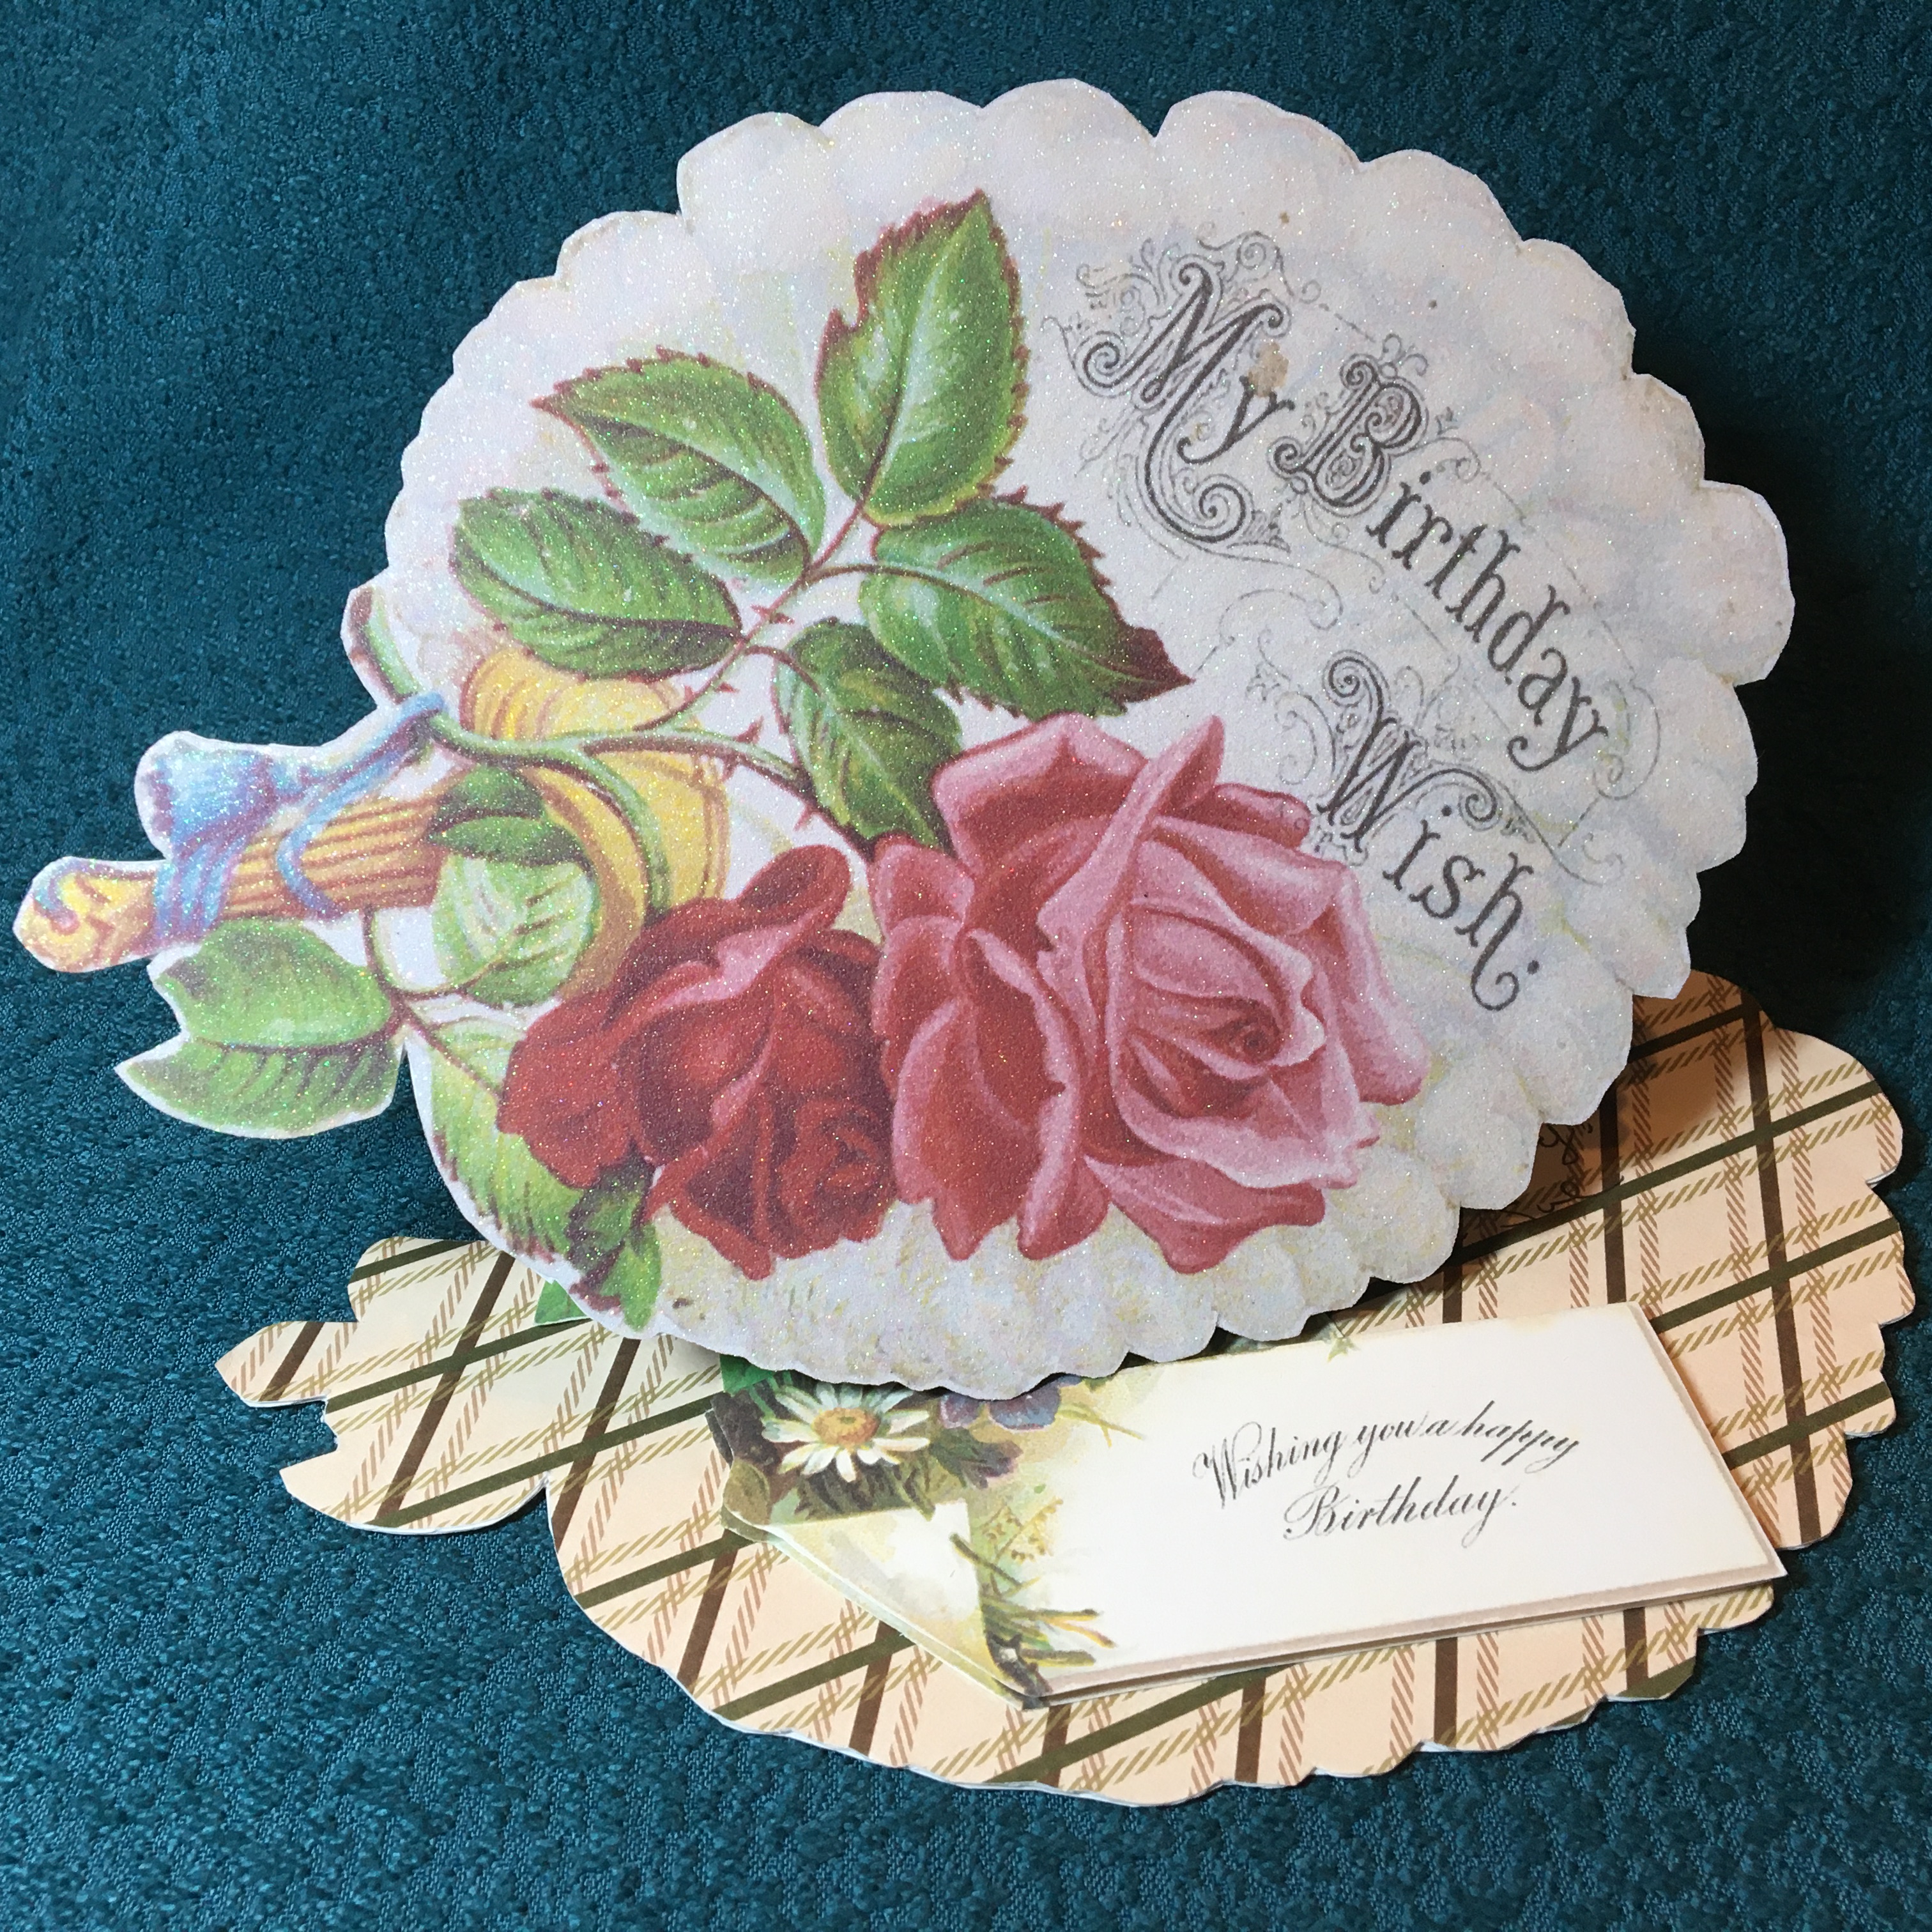
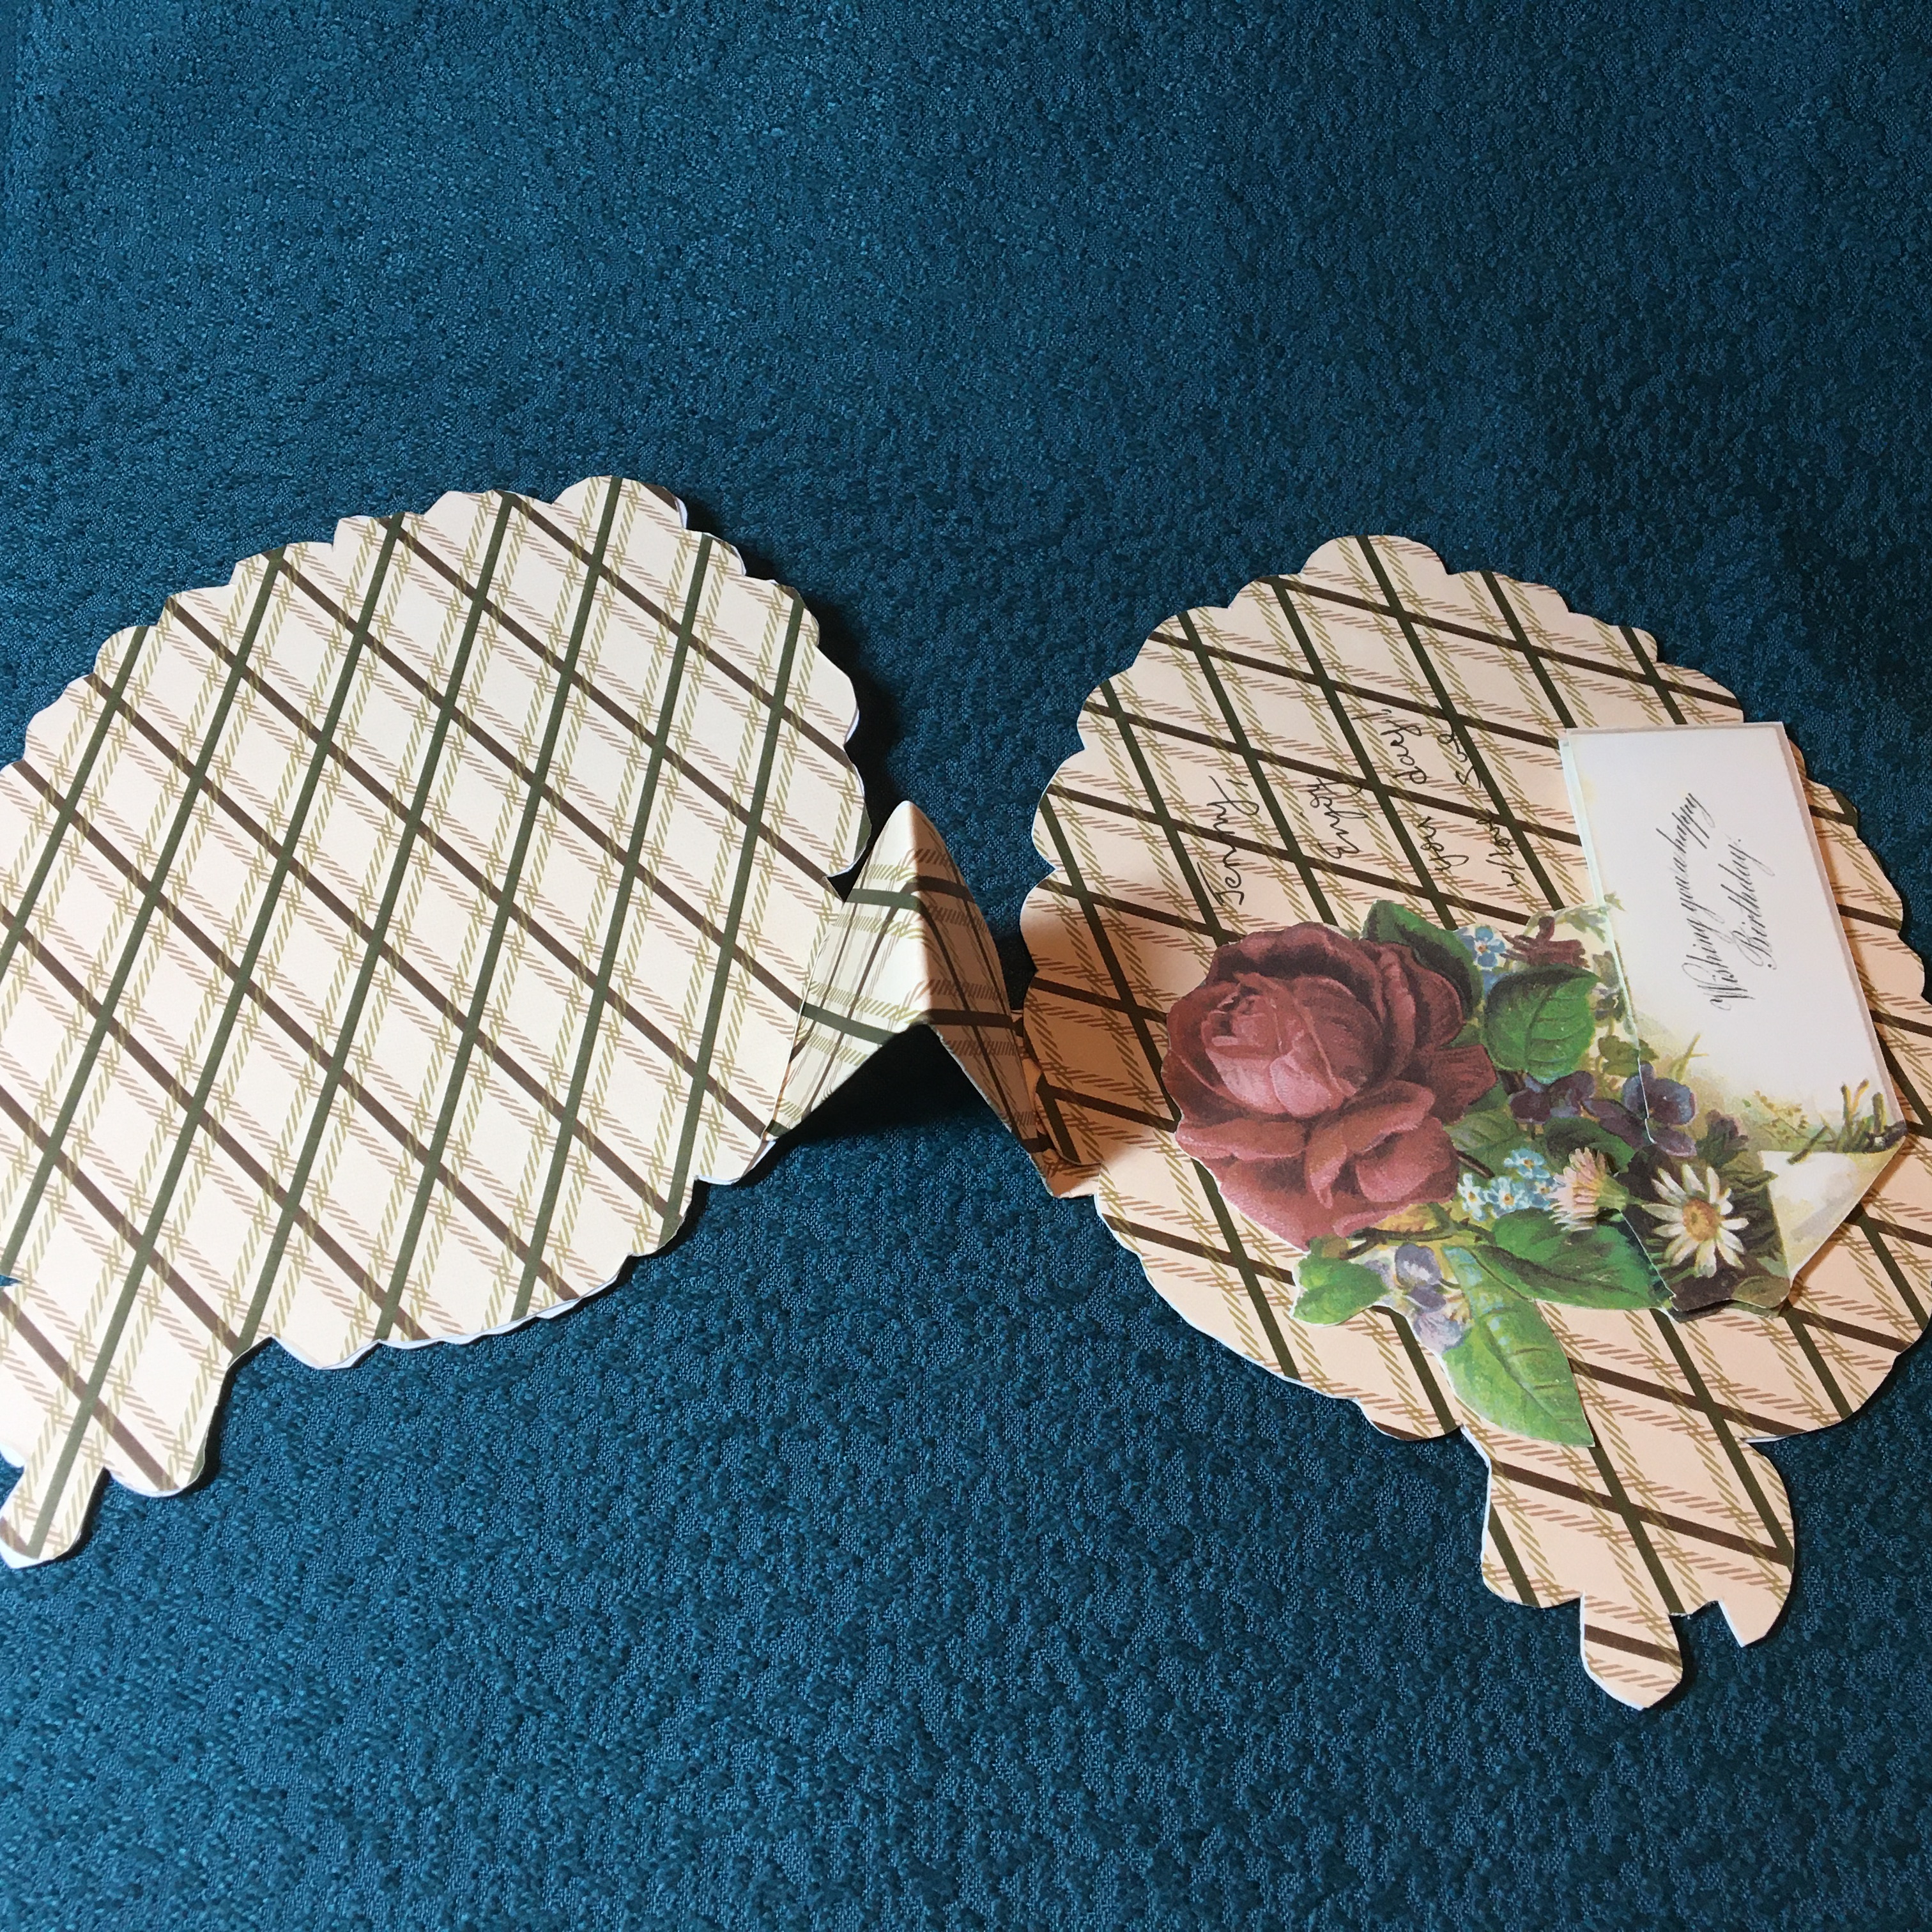
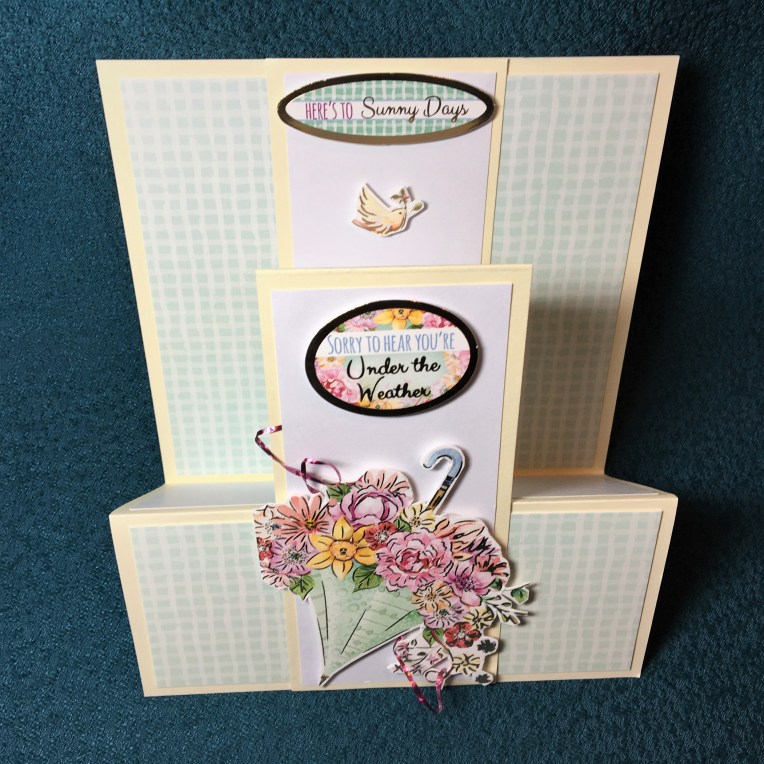 11 Add back sentiment and bird decoration.
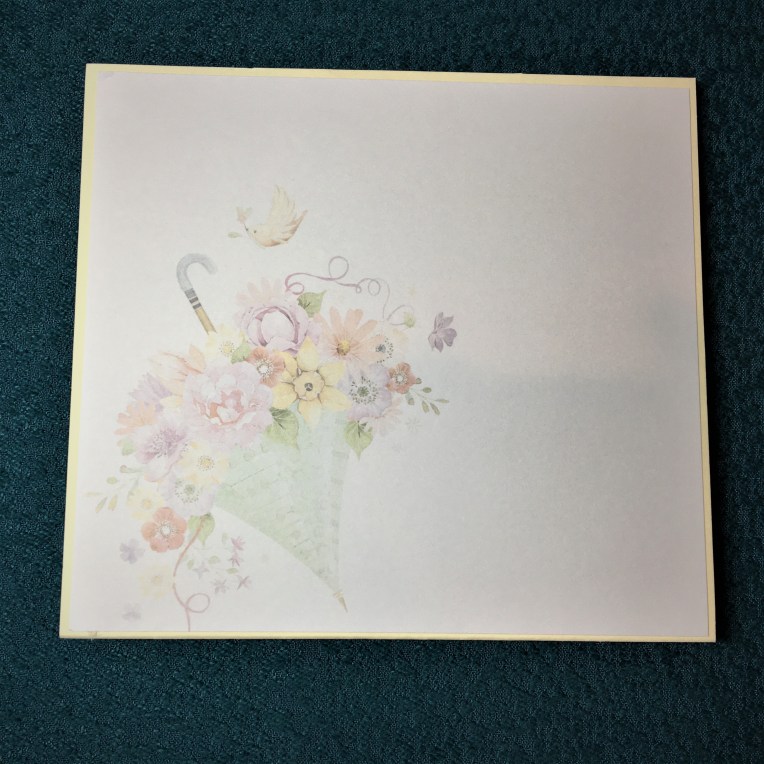 12 Adhere back paper to back of card as a place for a personal message.


")