This card was made for Craft Roulette #234 whose parameters included a 6×6-inch card, rainbow colors, single flower, and cloth.
Watch the process video to see how I made this card.
Cardbase: Β A 6 x 6 1/4-inch rectangle was scored to form a 1/4-inch tab on a 6×6-inch square. The tab was glued onto a 6×6-inch square of white glitter cardstock. Stamped/written on the card back is the “Inspired by Craft Roulette #234, made by SSK 2024” using the stamp from Craft Roulette’s The Basics stamp set. I drew three balloons above th
Sentiments: Β I used the new stamp and dies from Craft Roulette – Funn Sentiments #001 for the outside die-cut “HBD” and inside stamped sentiments.
Envelope: Β The card fits into a catalog (6×9-inch) size envelope that I drew balloons on to the back.
___________________________________
Thank you for experiencing this blog post.
I hope this inspires you and makes you smile.
Please like and leave comments π
___________________________________
Disclaimer: Karen Burniston products are provided free of charge by the manufacturer for review and use. All other items were personally purchased. Compensated affiliate links used where or when possible, meaning I will receive a small percentage commission from these manufacturers at no cost to you. This will allow me to add more content to my YouTube channel and help out a lot. Thank you.
This card was made for Craft Roulette #233 whose parameters included a congratulatory card, hummingbird colors, best friend(s), and add leaves.
Watch the process video to see how I made this card.
Sentiments: The βHappy Birthdayβ die cut comes from a papercrafting advent calendar purchased from Craftstash. I created a digital version of βCongrats on turning 29β¦Again!β and sized it to fit inside the Katherine Label die by Karen Burniston.
Envelope: The card fits into an A2 (4.25x 5.5-inches) size envelope.
___________________________________
Thank you for experiencing this blog post.
I hope this inspires you and makes you smile.
Please like and leave comments π
___________________________________
Disclaimer: Karen Burniston products are provided free of charge by the manufacturer for review and use. All other items were personally purchased. Compensated affiliate links used where or when possible, meaning I will receive a small percentage commission from these manufacturers at no cost to you. This will allow me to add more content to my YouTube channel and help out a lot. Thank you.
Materials Used:
Dies
PoppyStamps β Floral Cake Pop Up Easel Set – 2469
This card was made for Craft Roulette #224 whose parameters included mini cards, βa pretty dayβ colors, scent(s)/nose(s) and packaging.
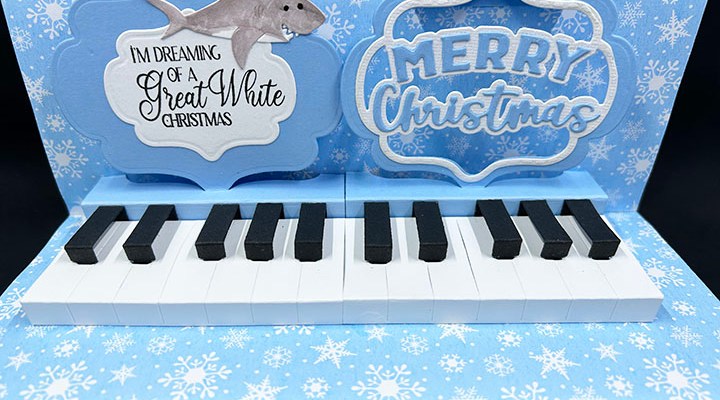
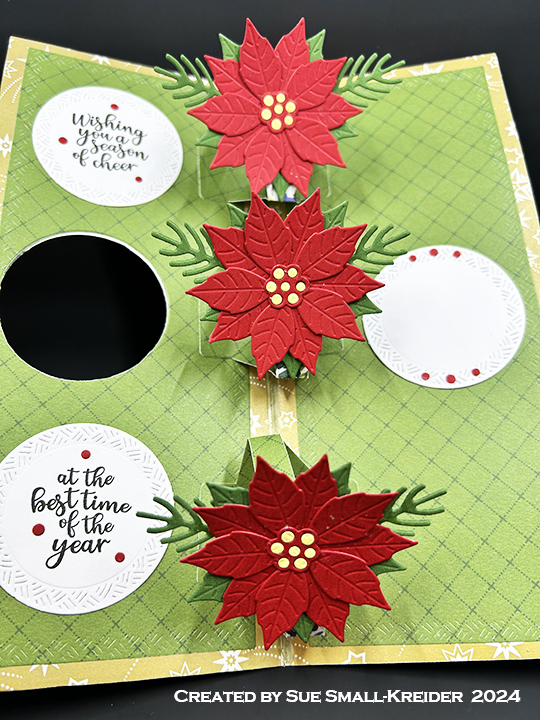
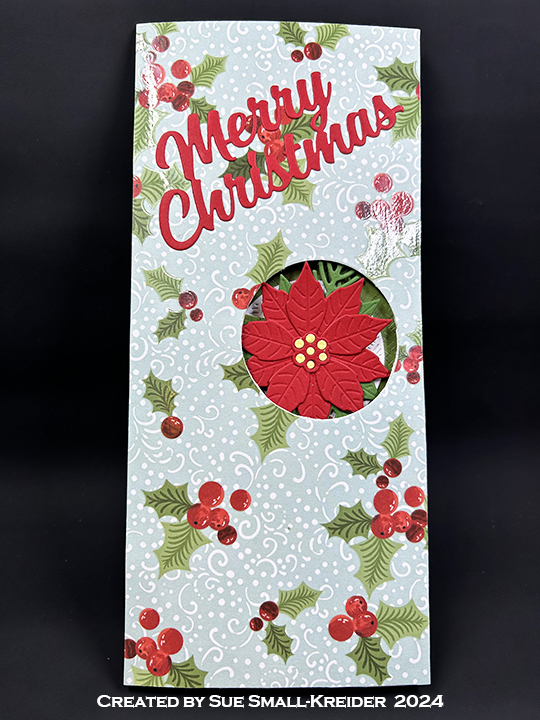
I chose to make a gift card box with three mini pop-up cards to celebrate Christmas. Karen Burniston Dies were used to create the box and pop-up mechanisms.
Cardbases: Mini cards are 2 x 7-inch rectangles of double-sided papers folded in half and trimmed to fit inside the box.
Box: Β Using Karen Burnistonβs Candy Hearts Box die set, cut one of the box die. Assemble as shown in the video at the bottom of the linked page. Glue journaling cards to decorate the box.
This card was made for Craft Roulette #223 (craftroulette.live) whose parameters included a smaller/larger project, planet colors, house(s) element and white border.
Watch the process video above for how the card was made.
Cardbase: Fold an 8.5×11-inch sheet of white cardstock in half to form a side fold 5.5×8.5-inch A9 cardbase. Cover with decorative papers leaving a white border around each card panel.
Sentiments: The sentiments are stamped in black ink except for the βHome is wherever I am with youβ which was stamped in blue ink before the clouds were inked blended on using a Distress oxide blue ink onto plain copier paper. All sentiments are from the two Kindred Stamps sets listed below.
Envelope: The card fits into a catalog size 6×9-inch envelope.
Today’s card is a simple one using Spellbinder’s BetterPress to create letterpress stamping elements.
I used press plates from two companies. The intricate zig-zag frames are from PinkFresh Studio and come with coordinating dies. I used the largest two printed frames in the set using Spellbinders BetterPress Ink in French Blue. (I ended up having to use bubble wrap packaging to get a good die-cut through the thick white watercolor paper that I printed them on.)
For the cardbase I used a purchased one with envelope from American Crafts. Stamped on the back flap of the envelope is a pincushion image from Fun Stampers Journey using Stampin’ Up Crumb Cake ink.
Itβs time for the Karen Burniston June 2024 Design Team Challenge with the theme of using border dies.
I wanted to get a jump on my end-of-the-year holiday cards by making a baking themed card with pies and gingerbread men from the Baking Borders and Christmas Borders 1 set. The rolling pin and chefβs hat are also in the Baking Borders set. Additional die sets used were: Oven Pop-Up, Tiny Gnomes, and the Fancy Label Accordion. (A 1 3/4-inch square die was used from the Frame Pull Pop-Up set, but any 1 3/4-inch square die could be used. This was the one I had handy.)
Watch my tutorial YouTube video to see how the card was made.
(TIP:Access the assembly videos for any of the dies used by clicking on the die link and scrolling towards the bottom of the linked pagefor the video.)
Cardbase: Cut three of the largest die in the Fancy Label Accordion set from a butterscotch-colored heavy cardstock. Work the scored fold-lines. Wait to until after making and attaching the oven shaker to glue the frames together.
Shaker Oven: Cut ten ovens from red cardstock and two additional ovens from coated red cardstock using the oven die from the Oven Pop-Up set. Trim off stove top section on all 12 pieces. From the two coated cardstock stove top pieces, trim off the back where knobs go and save. Layout oven with stove back on one panel of the cardbase. Mark the outside edges of oven lightly with pencil. Center 1 3/4-inch square die within the oven square and die cut. (You may want to use a ruler to find the center of the fancy label and center the die left to right with the center line. The die will be below the true center up and down because of the stove back piece.)
Glue five of the plain cardstock oven pieces to either side of the cardbase over the square opening. This will form the shaker base. Cut two 2-inch square pieces of clear acetate/plastic. Attach one piece of acetate/plastic with double-sided tape to the top of stacked oven pieces. Turn over and fill shaker with confetti and tiny cookie shapes from the Oven Pop-Up set. Attach the second piece of acetate/plastic with double-sided tape to seal up the oven shaker.
Cut two 1 1/2-inch square pieces of clear acetate/plastic. Adhere to the back of oven doors on the remaining two coated oven pieces using double-sided tape. With more double-sided tape added to the outer edges of the oven pieces, attach them over the shaker acetate/plastic. Glue the stove back with knobs attached to the cardbase above the ovens on both sides.
Pies, Gingerbread Men and Rolling Pins: Cut two strips of pie bases from the Baking Borders set. Color one strip all red .(I used a red glitter brush.) Color four orange and four baked apple yellow on the other strip. Cut out four of each of the pie tops. Ink the pie top to look like browned crusts with maybe some burnt tips of the crusts. Glue lattice pie crust to apple yellow pies, the open ring crust onto the pumpkin orange pies and the flower shaped crusts onto the red pies. Cut all the pies into separate circular pieces. Glue pies to the top and bottom of the front and back panel frames of the card base.
Cut two strips of gingerbread men using the die in the Christmas Borders 1 set. Using a white gel pen with a fine tip, trace the icing onto the men using the stencil feature of the die. Cut men apart and glue to sides of the front and back panel frames of the card base.
Cut two strips of the rolling pins from a kraft colored cardstock using the die from the Baking Borders set. With a red fine-tipped marker stencil on the hearts and color all the handles. Trim the strips to fit the top and bottom of the middle panel frame. Save one of the leftover rolling pins for the chef to hold.
Chef: From the Tiny Gnomes set, cut two of the body piece and one mustache from white cardstock. From flesh colored cardstock cut the head, nose and hands. From black cardstock cut the shoes. With a fine tipped pen, trace the eyes using the stencil feature of the head die. Color the mustache brown or gray. Cut one chefβs hat from white using the die in the Baking Borders set. Using the rolling pin die to stencil a red heart onto the chefβs hat.
To assemble, cut one body piece to have an apron in the center and an arm on either side. (See video for visuals of this.) Glue apron onto other body piece and then head. Added mustache then nose to head. Glue arms onto back of body wide enough to hold a rolling pin. Glue rolling pin to end of arms and then add hands on top of rolling pin handles. Attach shoes and hat.
Sentiments: βHappy Holidaysβ comes from Word Set 3-Holidays. The labels behind it and the chef are from the decorator dies in the Fancy Label Accordion set. Personal messages can be written on the back of the panels.
Envelope: The card fits into an A7 size envelope decorated with leftover pies and rolling pins on the back flap.
This card was made for Craft Roulette #201 whose parameters included an easel card, quiet colors, sweets element and bokeh.
Cardbase: Cut one rectangle 3 3/4x 8 1/2-inches from heavy white cardstock. Cut a second white rectangle 3 3/4x 8 3/4-inches. On the largest rectangle score at 1/4 inch at one end and 3-inches at the opposite end. (The 1/4-inch is the tab folded under as the card hinge to card back. The 3-inch tab is the ease for the paper doll.)
Thank you for reading this blog post and watching the video. I hope this inspires you and makes you smile. Please like and leave comments π
Materials Used:
Dies
Karen Burniston in cahoots with Riley and Company β Hello – 1166
Karen Burniston in cahoots with Riley and Company β Youβre Sweet – 1087
Karen Burniston in cahoots with Riley and Company β Ice Cream Sundae Pop-Up β 1082
Studio Light β Misses Dies & Stamps by Karin Joan β Betty
Studio Light β Misses Dies & Stamps by Karin Joan – Tasha
Stamps
Studio Light β Misses Dies & Stamps by Karin Joan β Betty
Studio Light β Misses Dies & Stamps by Karin Joan – Tasha
Papers
PhotoPlay β 12×12 Double-Sided Cardstock Collection Pack by Becky Moore β Snail Mail