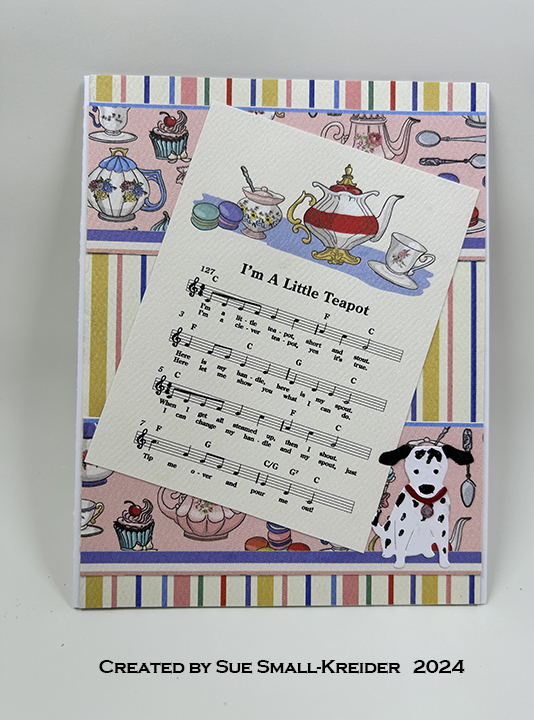
This card was made for Craft Roulette #225 whose parameters included an A2 project, tea party colors, a house pet(s) element and stripes.
Watch the video to see how I made the card.
___________________________________
Thank you for reading this blog post.
I hope this inspires you and makes you smile.
Please like and leave comments 😊
___________________________________
Disclaimer: Karen Burniston products are provided free of charge by the manufacturer for review and use. All other items were personally purchased. Compensated affiliate links used where or when possible, meaning I will receive a small percentage commission from these manufacturers at no cost to you. This will allow me to add more content to my YouTube channel and help out a lot. Thank you.
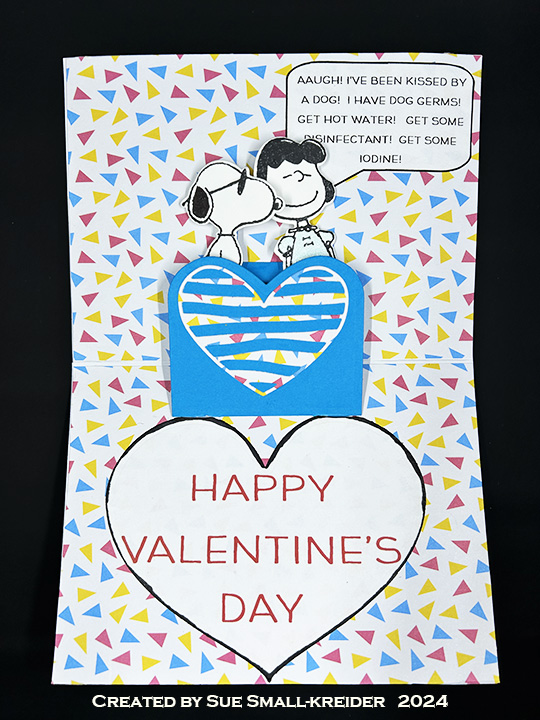
This Valentine was made for Craft Roulette #200 whose parameters included kid’s card, brrrr colors, comic or cartoon element and button(s).
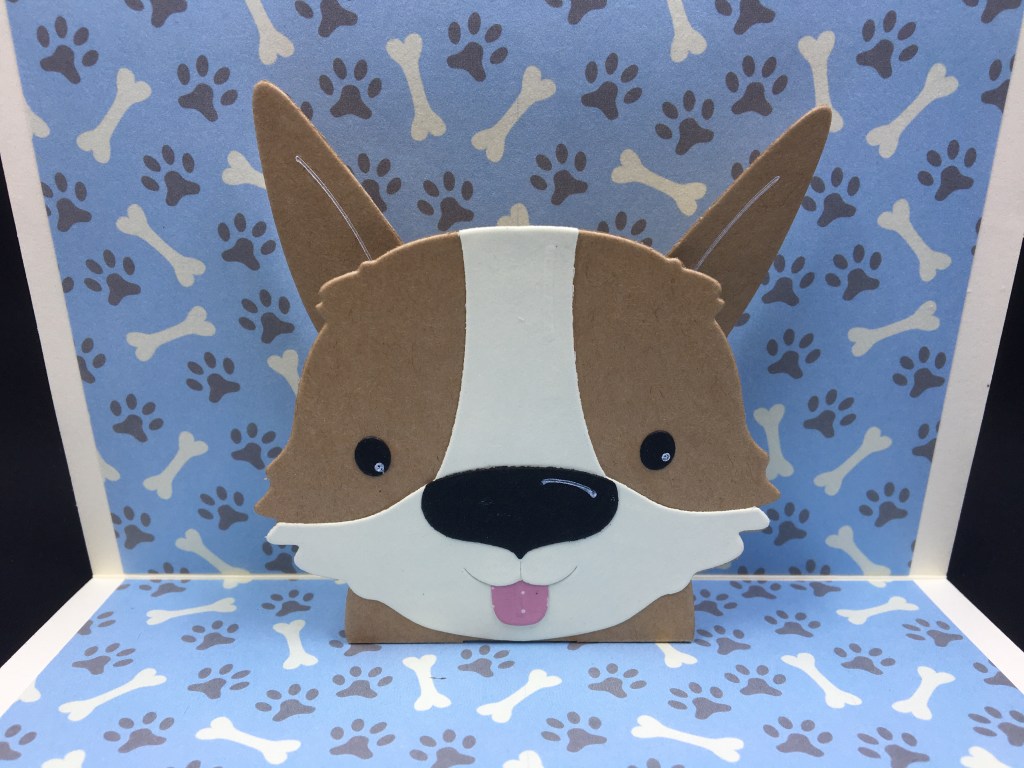
I have had a Peanuts collection of stamps, coordinating dies along with papers and washi tape sheets from Craftstash for a few months and thought the comic parameter was a perfect use of them.
Snoopy has such a cute button nose and the papers have some icy blues. Because a kid’s card needs some interactivity, I used a wiper mechanism by i-crafter to make Snoopy smooch Lucy. The sentiments are all computer generated.
Thank you for reading this blog post. I hope this inspires you and makes you smile. Please like and leave comments 😊
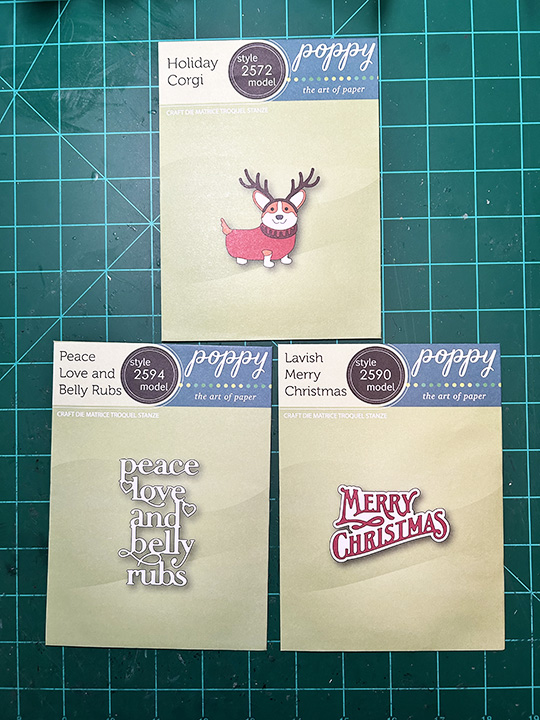
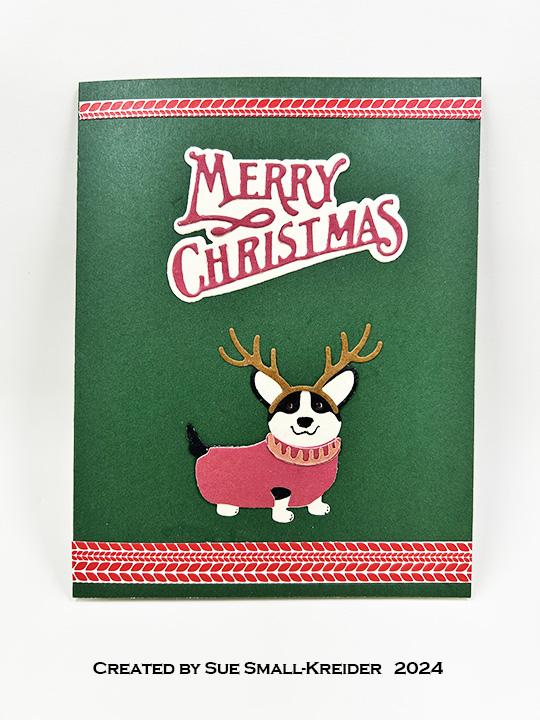
I have a neighbor who has the happiest small dog that when I saw this PoppyStamps die set, I thought of this dog in his winter vest.
I cut all the pieces from cardstock in my scrap bin. I think the patterned papers are from Photoplay while the other solids are a mixture of weights and textures.
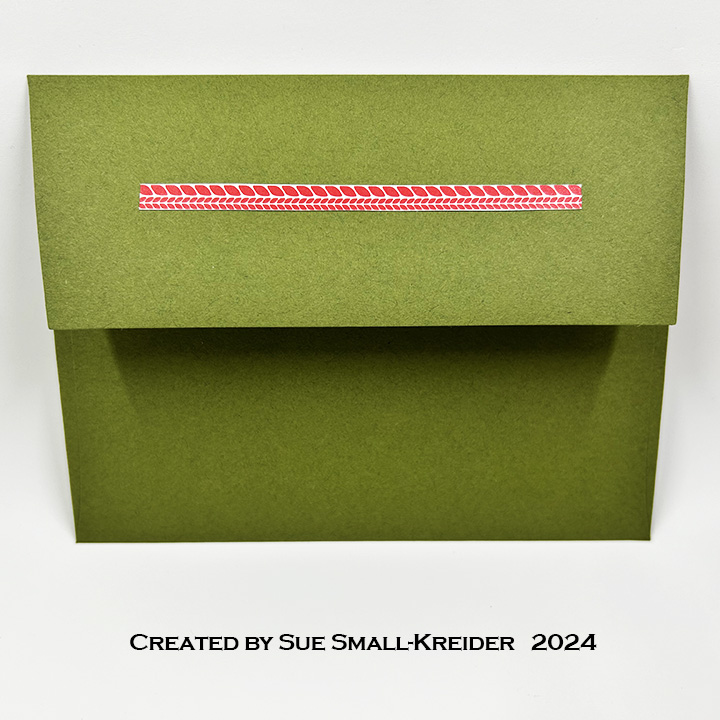
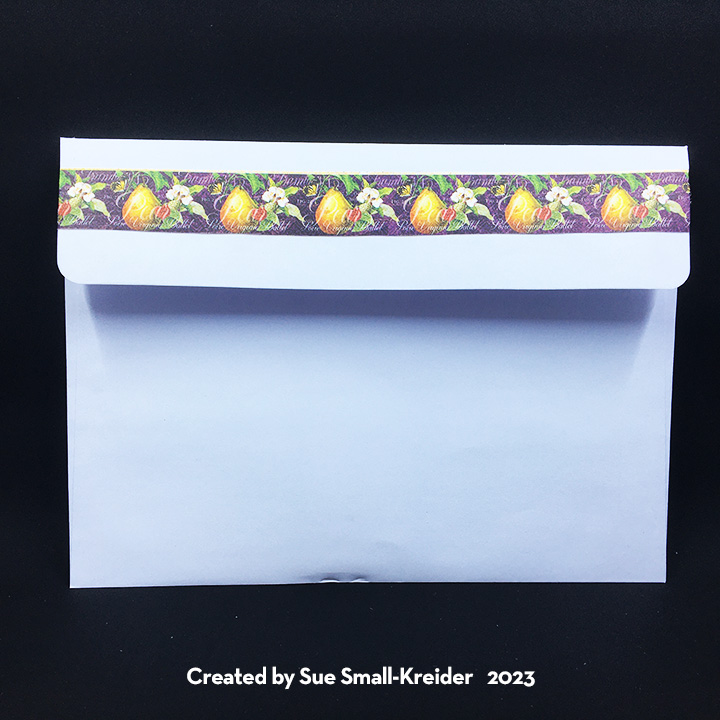
Using a prescored A2 card base in my stash that is green outside and white inside, the die cuts were glued in place including all the sentiments. Strips were added to the front and back of the card and envelope flap for decoration.
Thank you for reading this blog post. I hope this inspires you and makes you smile. Please like and leave comments 😊
Materials Used:
Dies
PoppyStamps – Craft Die – Peace Love and Belly Rubs -2594
PoppyStamps – Craft Die – Lavish Merry Christmas -2590
PoppyStamps – Craft Die – Holiday Corgi -2572
Paper
Photoplay – Tulla & Norbert’s Christmas Party 6×6 paper Pad
Craft Consortium – A4 Solids Double-Sided Paper Pad – Candy Christmas – Reds
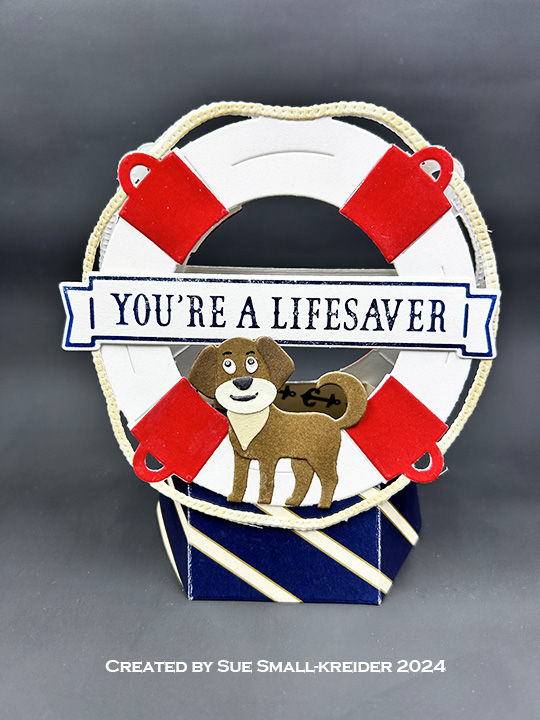
This pop-up display card sail-ebrating life was made for Craft Roulette #196 whose parameters were a celebration project with apple farm colors, preserve(s) element and a dog.
This card was made for Craft Roulette #159 whose parameters included a card type of my choice (5×7 pop-up), strawberry fields colors, plaid or gingham and a chair. It has a conservatory or fancy potting shed feel to it.
Karen Burniston’s Adirondack Chair die set is the basis for this pop-up card that uses a slipcover to convert it into an overstuffed chair. (See this video for technique.) I made a template that I can used to quickly create the slipcover.
First I glue strips of paper to the from of the legs and then glue the arms on pushing down the over hang tips to form the rounded arm fronts. Glue the slip cover to the chair base.
The plants are die cut from the Garden Charms set while the dog is from the Doghouse die set. All are popped-up using cubes made from strips of matching cardstock. The tiny bright strawberries are clay shaker elements adhered with dots of glue.
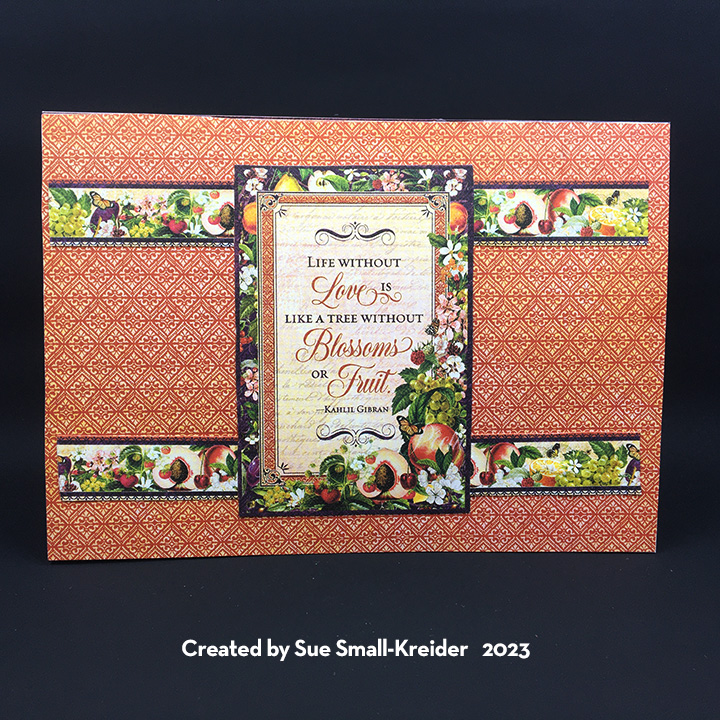
I like being able to use one paper collection for an entire card for coordinating colors and designs. The Graphic 45 Fruits & Flora set was perfect for this in the 8×8-inch size. It had journaling tags and border that were just the right scale for this card and envelope flap.
Watch the assembly video before putting together. The video recommends decorating the front and back of the card before adding items to the inside.
I masked off a banner on the front of the card using low tack paper tape. Next, I did a light spritz of a brown sparkle spray to create a sand like texture. Remove the tape and glue die-cut sentiment strip in place.
I used a left-over strip of decorative paper and two 1/8-inch tall strips of cream cardstock to finish the front of the card.
The card back uses another decorative paper scrap and a die-cut paw print that has its paw pads inked. I found that by attaching the tiny paws pads to a piece of low tack tape, I could easily ink the pieces with a sponge dauber.
I found that the puppy face dies have stencils within them that I used to ink with a white gel pen make highlights.
As with all my cards that are sent in an envelope, I have decorated the back flap with an embossing folder and a paw die-cut. Both the embossing and die-cut were inked with a dark brown ink. The card fits into an A6 envelope.
Thank you for reading this blog post. I the card made you smile and gave you inspiration. Please like and leave comments 😊
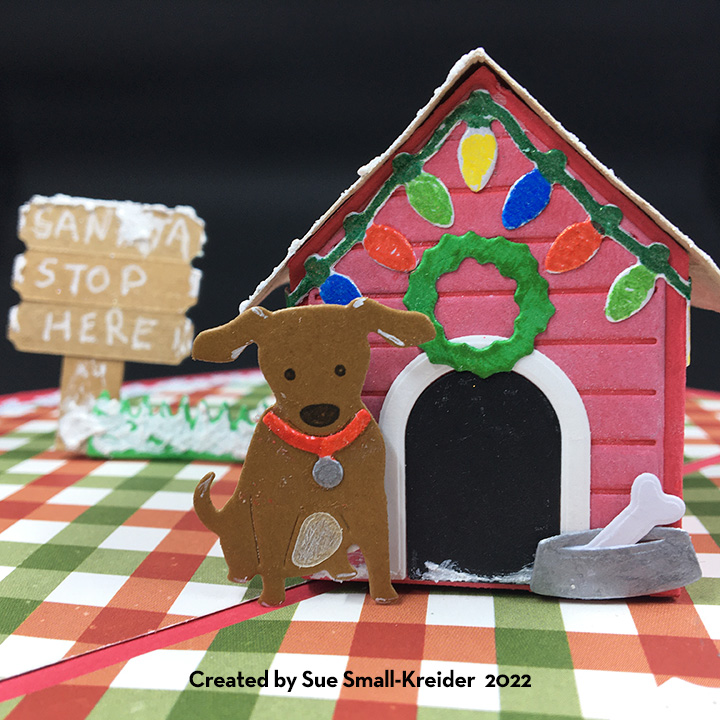
Fur babies can enjoy the winter holidays as much as their human parents. This little pup doesn’t want Santa to forget her. She’s got her Santa hat and lights on her house as well as a sign asking Santa to stop.
The card front uses the dog from the Dog House Tiny House Add-Ons cut three times to make her stand out from the busy background paper. Dog bones from this set were also added to hint at what is to come on the inside.
To create the dog house, cut out and assemble a red Tiny House. (See assembly video.) I used the same red lightweight cardstock for the side panels from the add-ons. I choose not to ink the dies to print the siding lines, but rather to emboss them and then, using a white ink cube, to add a powdery dusting of snow.
For the colorful lights, use the lights from the Holiday House die set. (I used shimmer paper and colored them with fine-tipped markers.) The wreath is also from the Holiday House. Pup is added to the front of the dog house with a thick foam dot.
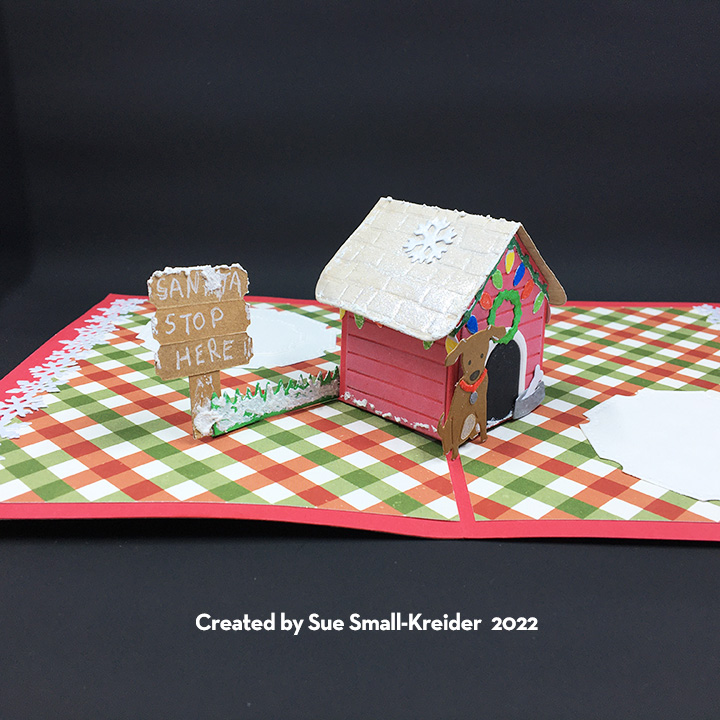
The snowy look on the roof was created by painting a thick coating of glitter gloss and using Effect Snow around the edges. To hold up the “Santa Stop Here” sign, a grassy strip from the Mushroom Tiny House Add-Ons set was cut, Effect Snowed, and glued to the card base and dog house. The sign is made from three of the school signs from the Church and School Tiny House Add-Ons set.
White octagons from the Bam Box Pop-Up die set are placed in opposing corners like snowballs for personal messages. Snowflake borders cut from shimmer paper using the Long Nature Edges 2 set.
Card backs are just as important as fronts. This one is decorated with left over strips.
The back flap of the envelope hints at what’s to come with the Santa capped pup.
Thank you for reading this blog post. Please like and leave comments 😊
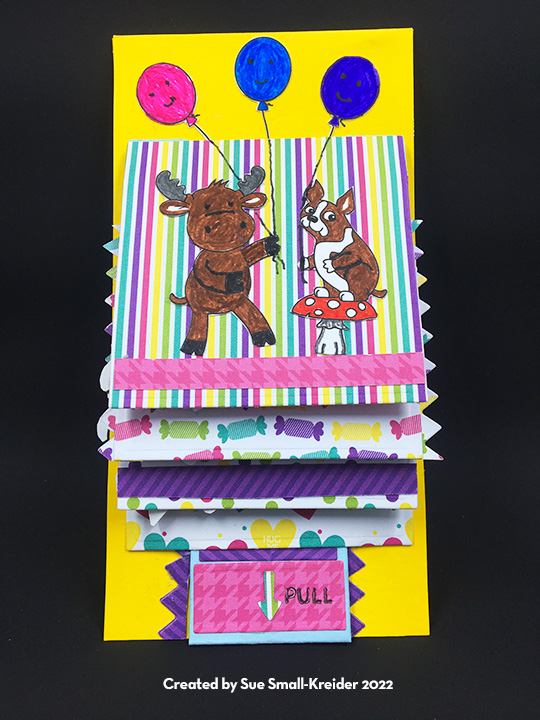
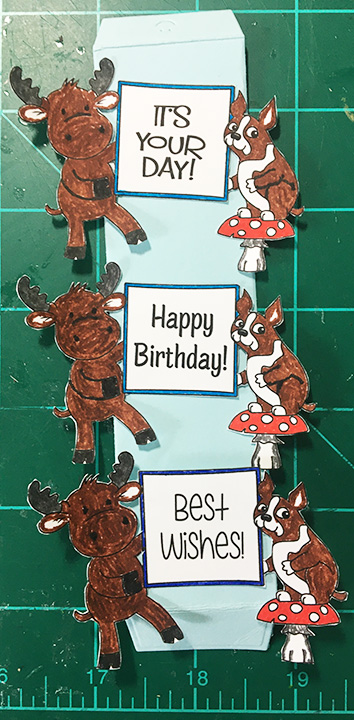
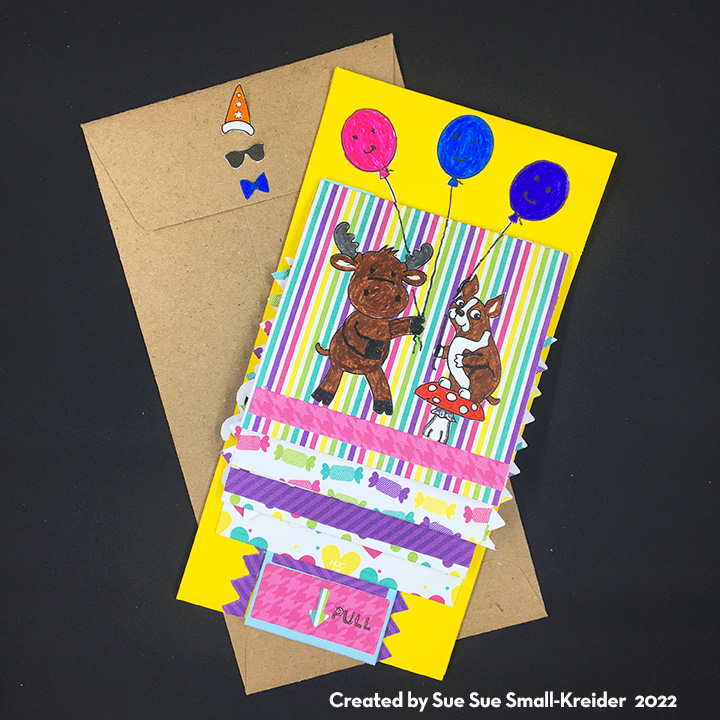
Moose Riley and pup Simon have decided to do an old-style, silent video using signs to give some birthday greetings which pop-up when you pull the tab. They wanted to show off all their dress-up accessories in the stamp set, so each image has different accessories – from balloons to glasses, ties and hats.
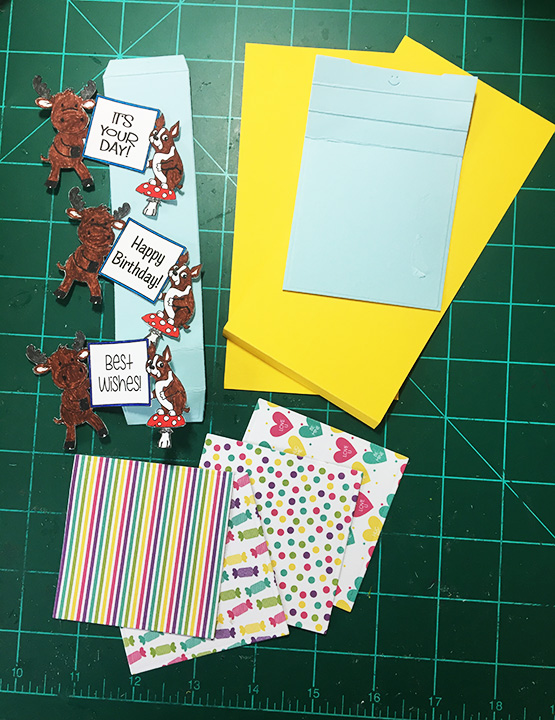
My card base is a top fold mini slimline card, I cut in two pieces (3×6 inches and 3×6 ¼ inches) scored and folded the longer piece into a tab to be glued over the other piece.
To make the scenes change, I’ve use Karen Burniston’s Waterfall Card die set which makes it very easy to create a flip-book style card without having to do a lot of math. (Watch the assembly video before assembling.)
I’ve added two small mini-pop-up cubes behind each image. You can use any of the small pop-up tabs from other sets such as the Frame Pull-Pop-up. (I cut mine from a thin strip of matching paper about ¼ x 1 ¼ inches, folded into five sections of ¼ inch long. Glue fifth section as a tab to make cube.)
I’ve added a zig-zag border to one of the pages to help hid the small bit of moose antler that sticks out on the left side.
Leftover dress-up accessories were used to decorate the envelope flap hinting at what’s inside.
Thank you for reading this blog post. Please like and leave comments 😊
Pets are great companions and always eager to greet us when we come home. This card is for a pet to their owner who is recuperating from an illness.
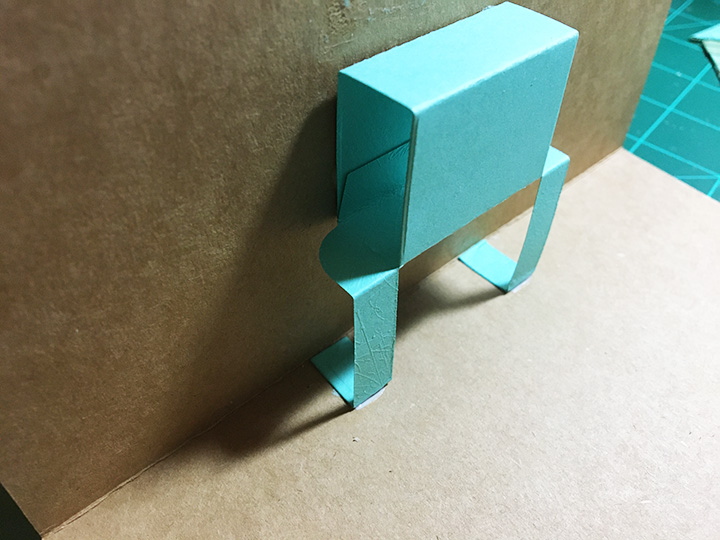
For this card, I’ve used two die sets from the August 2022 release by Karen Burniston – Fireplace Pop-Up and Word Set 15 – Just Because. The fireplace is the lower half of the doghouse with half a crosshatch square for the roof. (I highly recommend watching the assembly video for the fireplace before starting the card.)
The fireplace mechanism is also used to make the doghouse pop-up. You need to adhere it first before assembling the doghouse. You will need a 5×7 inch card base.
To make the doghouse, I cut the medium crosshatched square diagonally to have a triangle. You should glue the triangle onto the fireplace base so that the height of the house is 4.5 inches high. (I had to trim off the tip of the house to fit into the card when assembled onto the mechanism.)
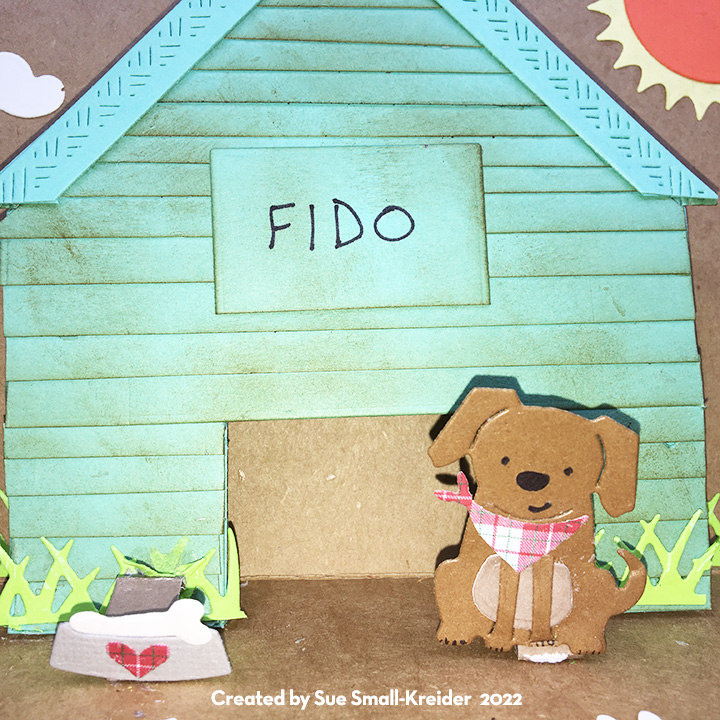
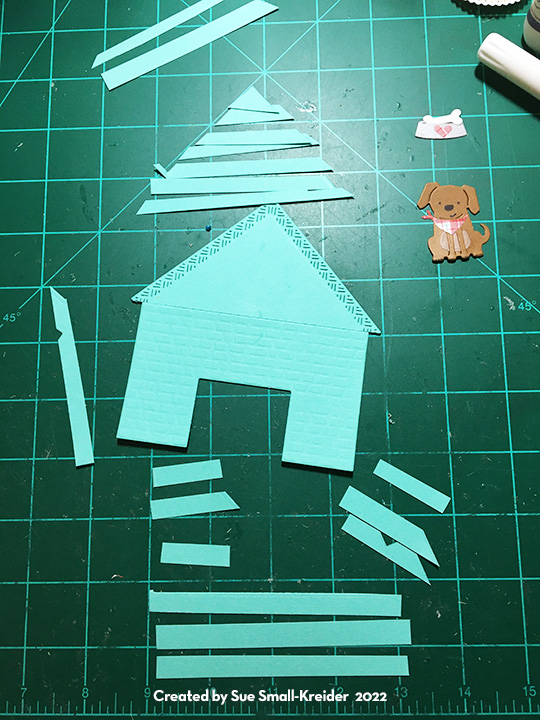
I cut strips of the blue cardstock to become siding on the house. Start gluing strips on at the bottom and overlap them to cover the house, trimming the siding on the triangle to fit the slatted roof eaves.
Use the cut out from the fireplace to make a sign for the doghouse. Using a brown ink, rubbing ink on a sponge from the bottom to top to weather the house.
To create the eaves, use the medium crosshatch square with the next size down square to cut a square frame. Then snip at opposite corners to from two crosshatch eves that cane be glued together and then glued over the eaves and siding on the house.
Glue the house to the mechanism matching up the opening. Decorate with grass, clouds, sun from various nature decorative die sets by Karen Burniston. The puppy and dog dish with bone are from her Cat and Dog set. (See assembly video for the dog.) They are made to pop-up away from the house using the small pop-up mechanism from the fireplace set. (You could also angle them using KB’s Mini Pops Pop-Up die set.)
The sentiments are from two die sets – Word Set 15 – Just Because and Word Set 10 – Thinking of You.
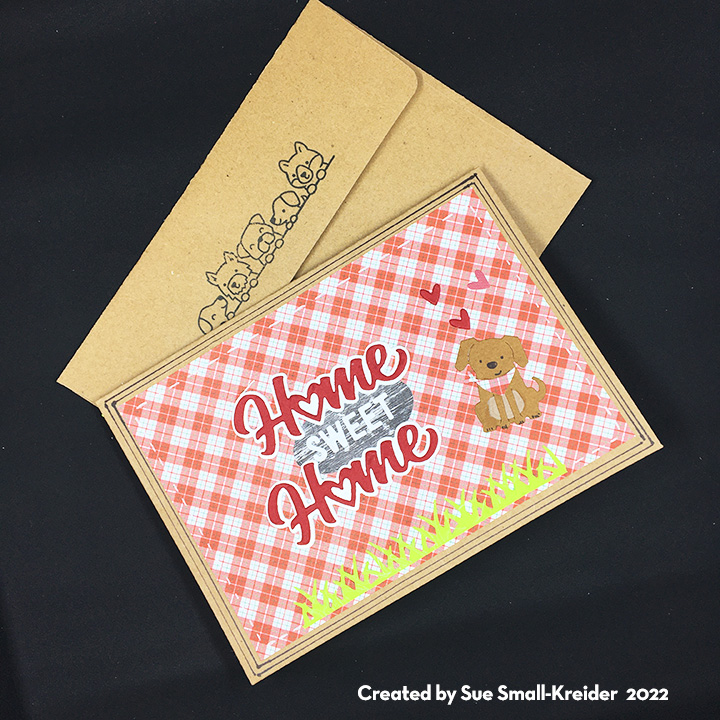
For the front of the card, I used a rectangle of plaid paper cut a half-inch smaller than the card dimension and used a fine tipped black marker and metal ruler to draw two lines around the paper to frame it. White stich marks were added to the plaid paper with a white gel pen.
The sentiment is another of Karen Burniston’s die sets called Home Sweet Home. The grass and dog were left over from the inside of the card and the hearts are from the “Os” in the front sentiment.
The envelope flap is stamped with a Lawn Fawn stamp with dogs and other critters to hint at what’s to come inside.
Thank you for reading this blog post. Please like and leave comments 😊