Aquarium Holidays Card

This card was made for Craft Roulette #190 whose parameters included a fancy fold card, aquarium colors, November element and 3-item cluster.

My first thought with these parameters was to a card I had made may years ago featuring a cat looking through a goldfish bowl using Karen Burniston dies. My next thought was how to incorporate a November element. Turkey instead of cat was my answer. While the accordion/pivot card is a fiddly sort of card to assemble, I wanted a quicker version, hence the Z-fold cardbase with squares cut into them and fish with sequin shells and stars sandwiched in between sheets of acetate.

Cardbase: cut one 5 1/2-inch by 8 1/2-inch rectangle of blue cardstock and another rectangle from the same cardstock that is 5 1/2-inch by 4 3/4-inch. Score and fold the large rectangle in half to a 5 1/2-inch by 4 1/4-inch side fold card. Score and fold a 1/2-inch tab along the long edge of the smaller rectangle. Adhere the tab to one of the long edges of the other piece to form a z-fold three panel card.

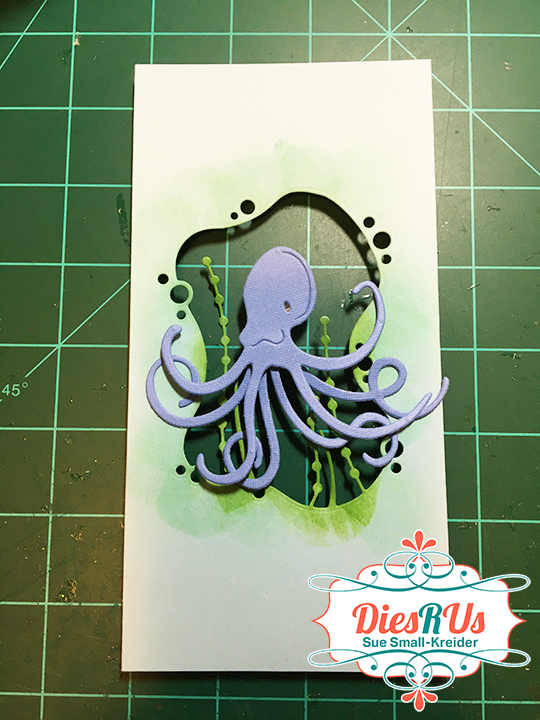
Windows: Keeping the large rectangle piece of the card base fold in half, I used a 2.4-inch square die to cut through the first panel and mark where I needed to place the die to cut the second panel. I unfolded the cardbase and folded the tabbed panel back against the middle panel that had the markings of where the square die should go. Using the markings to place the die I cut the second panel’s window and made markings for where the die should be placed for the third panel’s window. After cutting the third panel, I took the square die and the next largest die with crosshatching and taped them together to form a die that would cut a frame to go around the windows. Cut six of these frames from darker blue cardstock.

Cut six squares of clear acetate or plastic film and adhere them with thin double-sided tape to the backsides of the frames. Attach frames to one side of the card base. Flip cardbase and adhere fish and decorations with glue dots to acetate making sure the placement works when the card is folded closed. When happy with the placement of aquarium items, attach the remaining three frames to sandwich the items inside the aquarium windows.

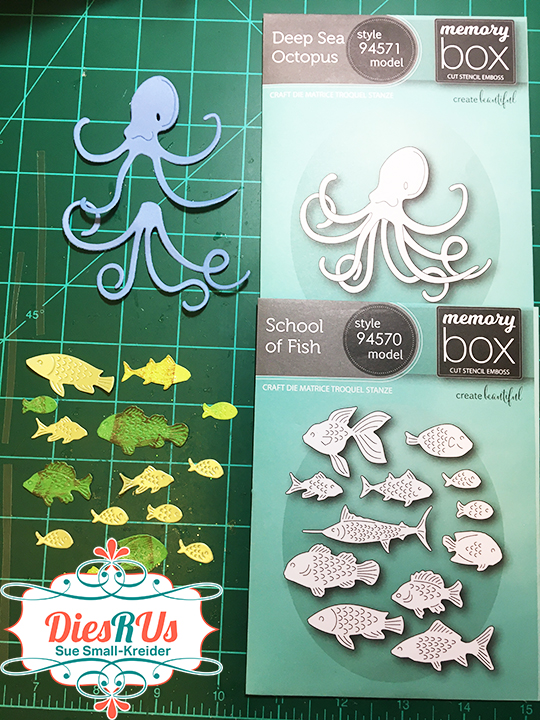
Fish: I used the fish from the Camping Charms to cut two fish from green cardstock. Then I traced their fins and scales with a green marker on both sides and then finished each side with a coat of glitter gloss. For the headwear I free-hand cut the yamaka from black and die cut the Santa hat from the Christmas Animals set.

Turkey: Because the turkey is seen from both the front and the back, I made sure to use colored cardstock that was the same on both the front and back. I only had to cut two of the decorative feather arch pieces. The beak and wattle are all cut with the same die, so I cut from orange and colored the wattle red with a marker. Textured metallic cardstock was used for the body, head and beak and wattle.

Lights: Since my family starts putting up Christmas light on Thanksgiving weekend, the light strands above the turkey and the fish with a Santa hat have multicolored lights while the lights above the fish with a black yamaka on his head has blue and white lights commonly used for Hanukkah in America. I used the light strand die from the Christmas Borders 1 set cutting the die in a variety of colors and using the black and green ones as my base strands and then snipping off other colors light blub part and gluing to the base strand. Finally, I covered the bulbs with Glossy Accents to make them look light glass blubs.

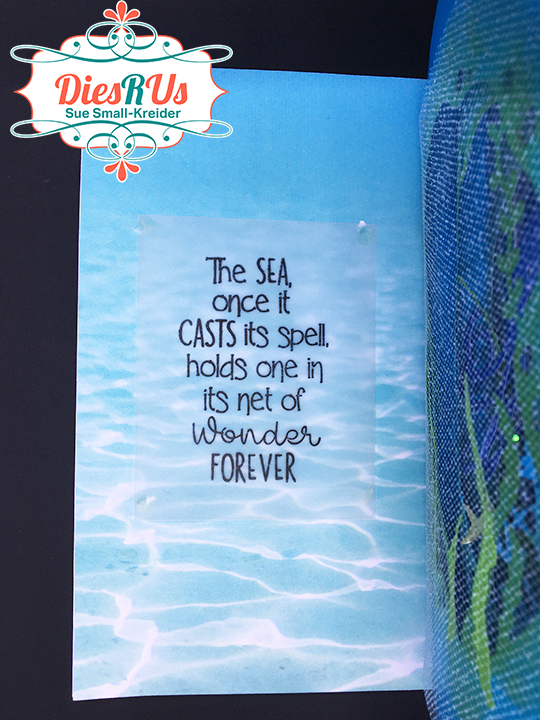
Sentiment: The sentiment is from Spellbinders and cuts in five separate pieces -H ol idays and H appy. The two words are on the front and back of each panel so that the is a continuous “Happy Holidays” being read. Thanksgiving panel in brown, Hanukkah in blue and Christmas in red.

Thank you for reading this blog post. I hope this inspires you and makes you smile. Please like and leave comments 😊

Materials Used:

Dies

Papers

  • My Colors – 12×12 Textured Metallic Cardstock – Black Bear
  • My Colors – 12×12 Textured Metallic Cardstock – Carrot Stick
  • Bazzill – 8.5×11 Textured Metallic Cardstock – Tiara
  • Blues, Green, Red, Black, Brown, Orange, Yellow and Cardstock
  • Grafix – 8.5×11 Acetate .0075 – Clear

Ink

  • Sharpie – Permanent Marker – Ultra Fine Tip – Red and Green
  • Pigma – Mircon 01 Fine Tip Pen – Black
  • Nuvo – Aqua Shimmer – Glitter Gloss

Adhesives

Tools

Miscellaneous

  • Buttons Galore & More – Shimmerz Embellishments – Splash -RZ109
  • Ranger – Glossy Accents

Under The Sea

Hi it’s Sue of Dies R Us design team with an underwater tunnel card.

The card uses three of the Memory Box Collage dies to create the gradually smaller frames that make up the tunnel of an underwater world of bubbles, seaweed and coral.  (You could use just one of the dies to cut the three frames and decorate each layer differently.)

I started with two different shades of cut 7 x 5 1/2 inches and scored at 1 inch, 2/3 inch and 1/3 inch from each edge. I cut a third shade of blue 7 x 4 1/2 inches and scored at 1/3 inch form both edges. Folded darkest at 1 inch scoring on both side. Folded the next two pieces at all of the scored lines.

Next I inked up the seaweed and tinted around the edges of the openings with two shades of green Distress inks.

While I cut and inked a number of decorative pieces from the Collage and School of Fish dies, I ended up only using a few them in this card. (I often cut and prepare extra decorative pieces in a batch fashion and keep with the dies to save time later.)

The octopus is a two piece die that lends itself to being on an Action Wobble Spring. By adhering the two parts together with a foam dot, the eight tentacles are at different levels. The spring comes with self-adhesive and is stuck to the back of the octopus’ head. A black pen colors his eye. (I found that adding an extra foam dot to the back of the spring made it so the octopus could be in front of the last frame of seaweed.)

To assemble the tunnel box, I took the card base with the shell front shown in a previous blog and adhered a printed paper to left inside of card base. Then with the sticky red double-sided tape to the left flap of the outside die-cut panel with the largest opening, I adhered it to the inside of the card. (I glued in placed a glitter net over the front of this panel before I adhered it inside the card.) Place red tape on both side flaps between the 1 inch and 2/3 inch score lines on both flaps. Attach the left flap to inside of first panel’s left flap lining up with 2/3 inch score line on first panel. Attach third panel to inside of second panel’s left flap lining up with 2/3 inch score line on second panel.

Adhere a background to the card base back inside before attaching the octopus. Peel tape on right flap of middle panel and adhere to inside of first panel at 2/3 inch score line. With octopus over the last panel, peel and adhere the right flap to inside of middle panel flap at 2/3 inch score line.

The inside sentiment was stamped on vellum and attached to the inside of the card with glue dots.

See the front of this card by going to One Shell of A Party

Hope this fun card has provided some inspiration for your crafting. 😊

SUPPLIES Used from Dies R Us:

Other Supplies:

  • Colored cardstock and clear vellum scraps
  • Three shades of blue sheets of card stock
  • Underwater patterned paper
  • 5 x 7 inches white card base
  • Foam squares
  • Red-backed, super sticky double-sided tape
  • Glue dots
  • Green and brown ink cubes
  • Tuxedo Black Memento dye ink
  • White glitter netting
  • 9 x6 inch catalog envelope
  • Sara Davies Nautical Collection stamp set from Simply Cards & Papercraft, issue 207
  • Stampin’ Up Dapper Denim ink pad

Don’t forget to come join in the fun at the Dies R Us Challenge Blog. There’s a new challenge theme offered on the 1st and 15th of each month and one lucky randomly drawn winner will receive a gift voucher prize to the Dies R Us Store.  

 For your convenience, all the important Dies R Us links are provided below.

click below for:

STORE

CHALLENGE BLOG

FACEBOOK

INSPIRATION BLOG

FRIENDS OF DIES R US PINTEREST PAGE

Fishing Birthday Card – Teepee Style

This card was created to compliment an autumn birthday teepee card I had made earlier which was done in oranges and browns.  This one plays off the orange by using the contrasting color of blue with accents of browns and green. The recipient likes to fish so I used a fishing stamp set by Stampin’ Up and papers from my storage box of “masculine papers” (brands listed under supplies.)

Teepee cards-so named because of the shape, are easy cards to construct from three squares of cardstock that are all the same. You score each diagonally from one point to the opposite point and fold in half to form a triangle. Then you glue one of the squares to the left side triangle and another square to the right side of the triangle/center square. I recommend watch Sam Calcott’s Mixed up Crafts video for a step by step. (My card base is made up of three 5 ¾ inches squares of double-sided paper by Craft Consortium.) I cut three 5 ½ inch squares of green paper by Graphic 45 and then diagonally cut the square to get the 5 triangles I needed for the middle mat layer.

Once again, I want to have peek-a-boo-doors on the teepee card, so I added two flaps using the smallest and the medium circle dies in the Lawn Fawn circle flaps dies set cut into the top layer of triangular cut paper. Because I wanted to use the doors as platforms to set a hook and a large fish on, I used pop-out cubes to make them stand away from the card base.(My card used patterned blue paper by Authentique cut from 5 ¼ inch squares.) I also cut two additional circle flaps from the same blue paper to cover the back sides of the flap doors and squares to inlay behind the flap door matching the pattern. The pop-up cube to support an object is common, but I really learned the power of it from Karen Burniston’s Frame Pull Pop-up.

I fussy cut all of the card’s stamped images and sentiments after I had use watercolor pencils to color them. The happy Birthday rosette is made from a foiled topper from a card kit and ribbon gathered by needle and thread and then glued to the back of the topper.

The back side of the card has a cream-colored triangle for a personal message. The card is secured with a hook and loop square glued to one corner of the back flap and the connecting triangle.

I intended to have this card fold flat to fit inside a catalog envelope (9 inches x 6 inches) but I put the fisherman with his long pole and fishing line on the wrong panel. (Yes, it is real fishing line glued between two layers of the stamped fisherman and pole). The fisherman and the fish should have been where the other is, so that when folded flat the overlap lays on the cream panel so it will fit into a 9 x 6 inch envelope. But this card will be mailed in a larger padded envelope with a small diagram so the recipient will know how to stand it up for display and for good CRX. The back of the envelope is stamped with a fish.

Supplies

Dies

Stamps/Ink

Paper

Miscellaneous

  • PVA Glue – Cosmic Shimmer Acrylic Glue
  • Hook and loop tape
  • Foam squares
  • Metallic organza ribbon from my stash
  • Zebco – OmniFlex – 20 lb. 9.1 kg Line – monofilament fishing line
  • Needle and thread