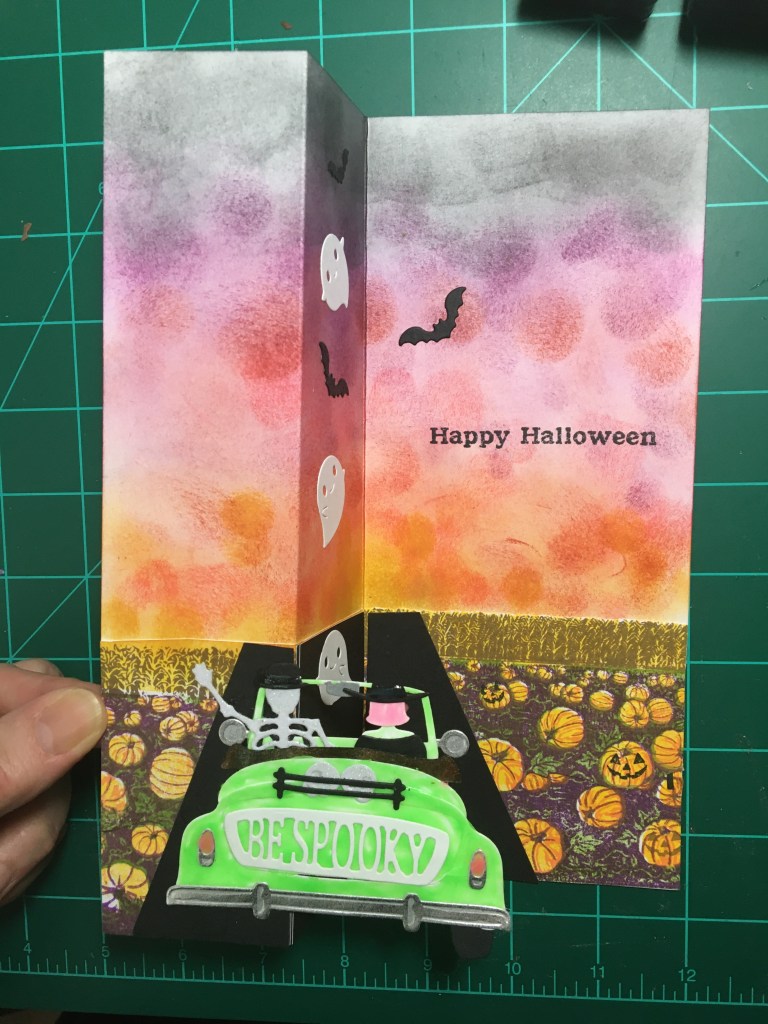
Halloween in the USA often means corn mazes and pumpkin patches as well as dressing up on Halloween evening and going to a party. I have tried to combine these things into a single slimline z-fold card.

This card was my prototype for trying new methods and materials for me. I had never ink blended a setting sun sky using Distress Inks and blending sponges, so my sky is a bit “spotty.” I experimented with using Nuvo drops to cover an entire surface (car, witch’s hair and neck.) I like the effect that Nuvo drop spread thin has on small die cut pieces but getting an even coating on large pieces was difficult. I think using a glow in the dark embossing powder would work better for the car.
I used the Hero Arts September 2020 My Monthly Hero Kit to stamp the layered image of a field of pumpkins with a corn filed in the background. The kit includes five mini cubes of ink needed to stamp each layer as well as the layered stamps and sentiment stamps. Dies to cut out a few of the images and several sheets of glitter paper round out the kits. (You need to order early the monthly kits as they sell out fast. Hero Arts is one of the few companies that lets you order a single kit without taking out a subscription.)
I stamped four of the images and layered the pumpkin field to create a taller background image. I knew I wanted a road going down the middle of the card, but in hindsight, I have the perspective all off for the angle of the road. The road is made of three pieces of black cardstock. The design of the car is for the card to be standing open in a z-fold position, so you can read the “Happy Halloween.”
The base of the card is 8 5/8 inches tall by 7 5/8 inches wide and folded at 1 7/8 inches and 3 ¾ inches.
The car driven by a white glitter paper skeleton with a glow-in-the-dark pink haired witch with glow-the-the-dark green skin, is die cut suing Spellbinder’s Sunday Drive car die set with the Halloween Sunday Drive add-on set. The car body was cut from white cardstock and then covered with the Nuvo Glow Drops Neon – Sour Apple. The taillights are Nuvo Glow Drops Neon – Shocking Pink and silver matt cardstock. Two glitter cardstock die cut skulls are in the car’s luggage rack. The brown folded down roof is colored cardstock heat embossed with clear embossing powder to get a faux leather look. The shiny hat bands on the two hats are made with Nuvo Glow Drops Neon – Blue Crush.
The small ghosts and bats lurking on the inside panel are die-cut pieces – the bats from the Halloween Sunday Drive and the “Squeaker Ghosts” by Poppy Stamps.
The sentiment and stamps used on the envelope flap are all from the Hearo Arts kit stamped in Memento tuxedo Black and the wheel in the Hero Arts brown ink cube.
For another interactive Halloween slimline card using the same supplies see Driving into a Spooky Sunset (Set to be released on September 25).
Other Sunday Drive cards:
A Snowy Sunday Drive with Santa
SUPPLIES
Dies:
- Spellbinders – etched die set –Sunday Drive – S4-1053
- Spellbinders – Halloween Sunday Drive Etched Dies – S3-403
- Poppy Stamps – Squeaker Ghosts – Craft Die – 2264
Stamps:
- Hero Arts September 2020 My Monthly Hero Kit
Inks/Embossing Powder:
- VersaMark – Watermark Stamp Pad
- Recollections Detail Embossing Power- Clear
- Ranger Distress Ink – Fired Brick
- Ranger Distress Ink – Antique Linen
- Ranger Distress Ink – Black Soot
- Ranger Distress Ink – Fossilized Amber
- Ranger Distress Ink – Abandoned Coral
- Ranger Distress Ink – Seedless Preserves
- Hero Arts September 2020 My Monthly Hero Kit – green, brown, yellow, orange, purple ink cubes
Nuvo Drops:
- Nuvo Glow Drops Neon – Sour Apple
- Nuvo Glow Drops Neon – Shocking Pink
- Nuvo Glow Drops Neon – Blue Crush
Miscellaneous:
- Cosmic Shimmer Acrylic Glue
- White computer paper
- White cardstock
- Colored cardstock scraps from stash
- American Crafts – Metallic Marker – M – Silver -62212

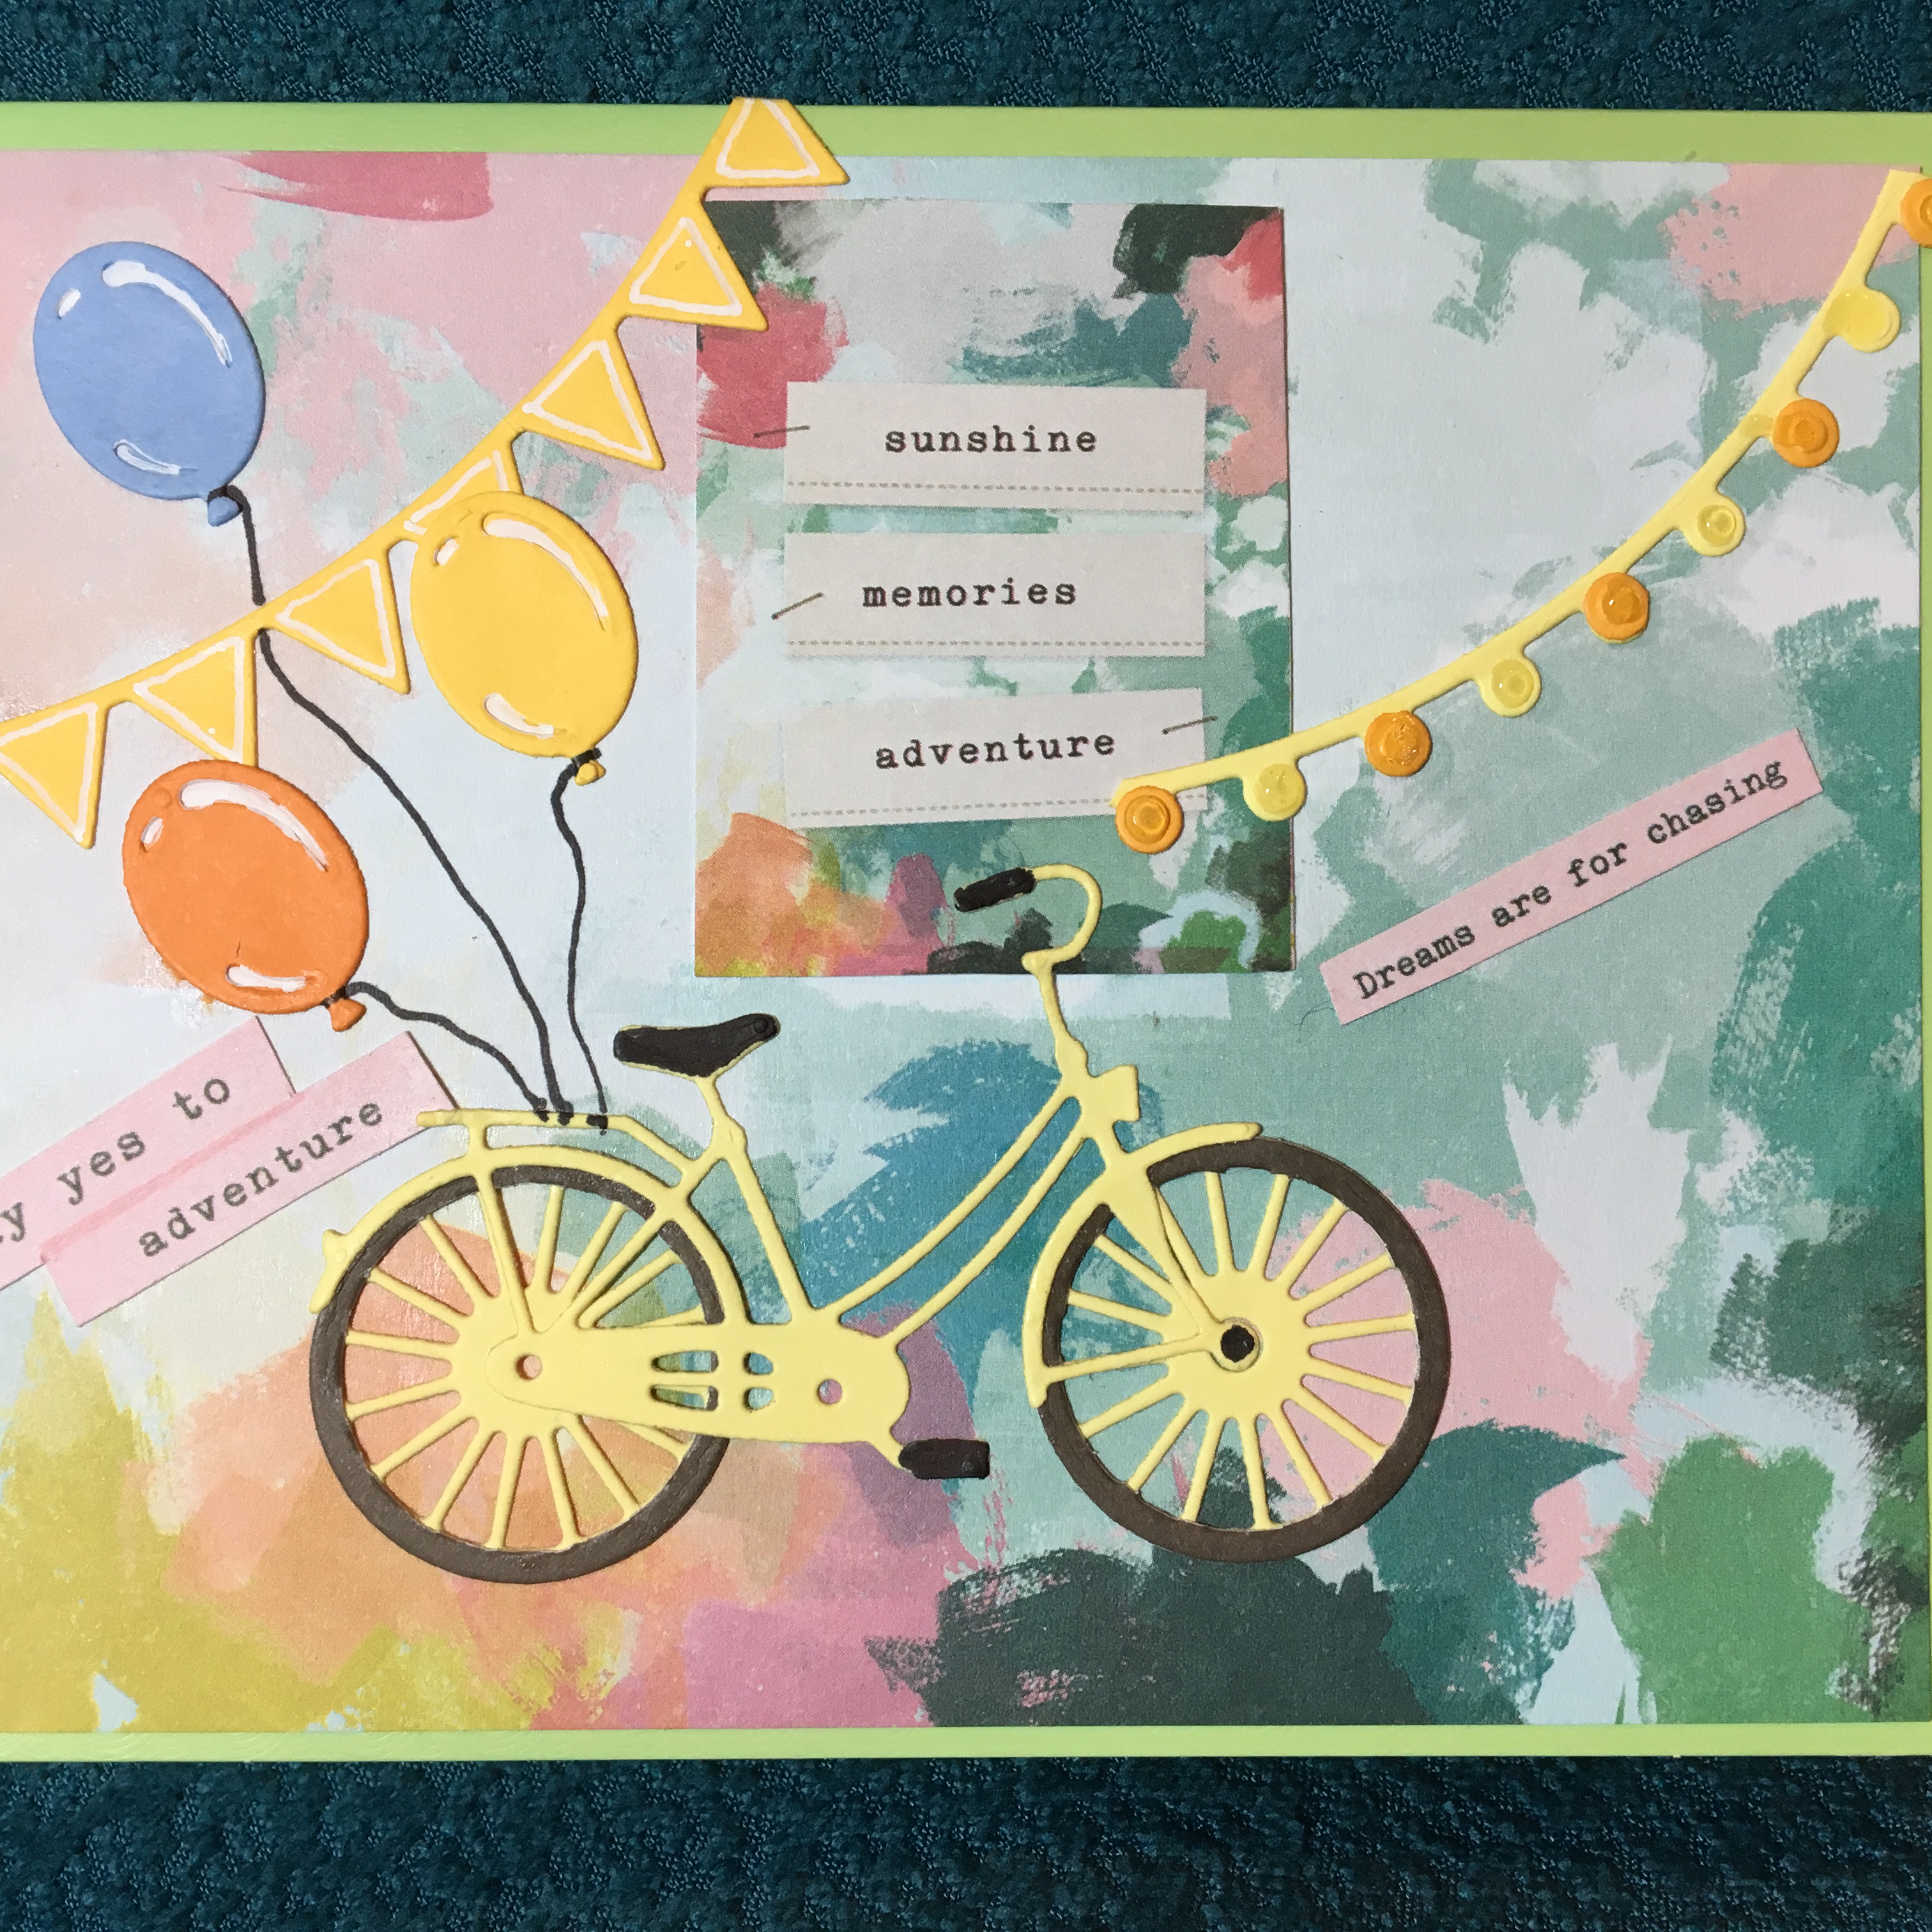 Say yes to adventure. Chase your dreams. Who knows where it will lead you? This is a card that tries to capture all these sentiments and to celebrate achievement.