It’s time for the Karen Burniston Design Team Challenge for September. We were asked to use the Holiday House for a specific holiday. I have chosen Valentine’s Day.
I have been wanting to combine Karen Burniston’s House of Cards Pop-up set with some EZ-Lights for some time now. By using elements of the Holiday House die set – windows, door, gable string of lights – I was able to create a two-story house of cards that lights up. I also experimented with creating some double-sided coated cardstock using clear heat embossing powder.

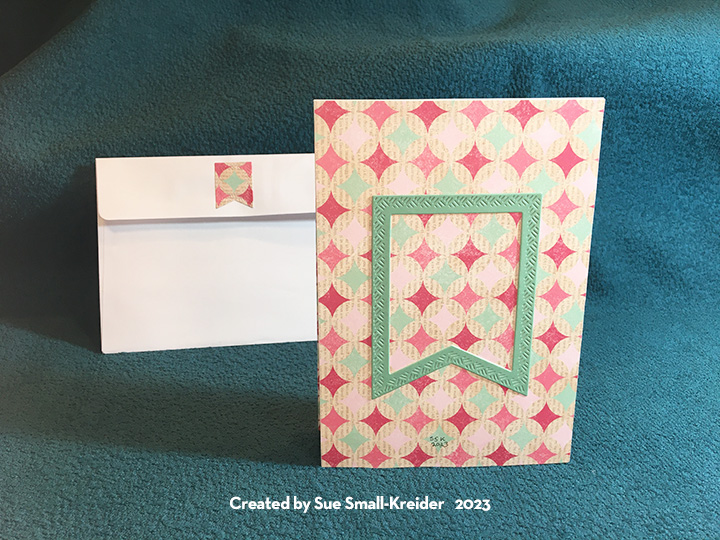
Cardbase: I started with a purchased A6 (4.5 x 6.25 inches) cardbase with matching envelope. Because the cardbase was a wide side fold and I needed a short side fold, I cut the cardbase apart on the fold and used a narrow strip of cardstock to hinge the two pieces together which created a small gusset to accommodate the thickness of the pop-up inside. I cut two 4.5 strips of decorative paper with a patchwork design to cover the cardbase inside and out. Cutting the strips in half at 6-inches, I could adhere the four panels inside and out matching the design at the hinge. I trimmed on a paper cutter the edges to make a 4.5×6 inch card that will easily fit into the envelope with its thickness.

Coated Cardstock: After watching Jennifer McGuire do heat embossing on a full sheet of cardstock, I decided to try coated the thickest red cardstock I had (110 lb.) on both sides. I used a clear ink pad to coat my cardstock on one side and sprinkled clear embossing powder over it and used a heat tool to fix the powder into a coating. I repeated this several times on each side of the cardstock. The color darkened and the cardstock became thicker. The finish is not a smooth one, but rather bumpy like a stucco finish. (I found when I die cut the coated cardstock, the coating along the edges became opaque and, in some cases, chipped off. If I do this technique again, I will try doing only one coat of heat embossing.)

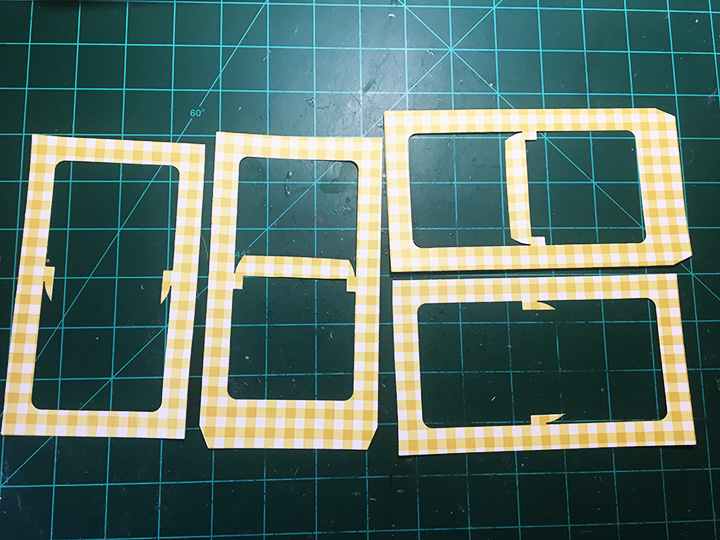
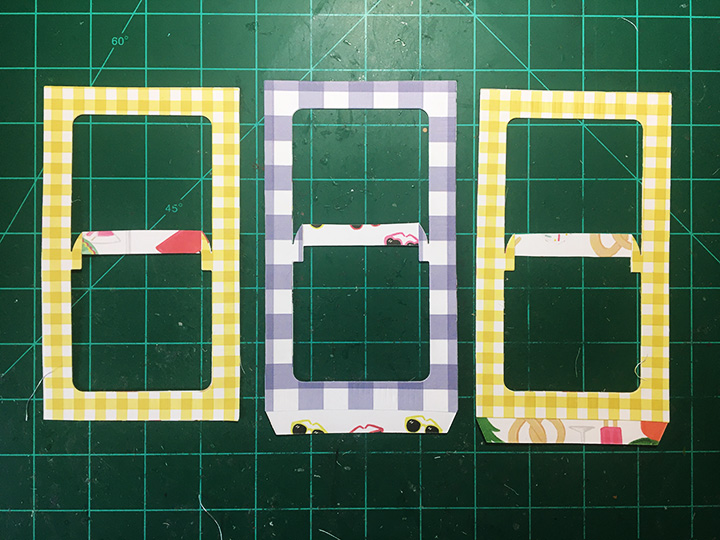
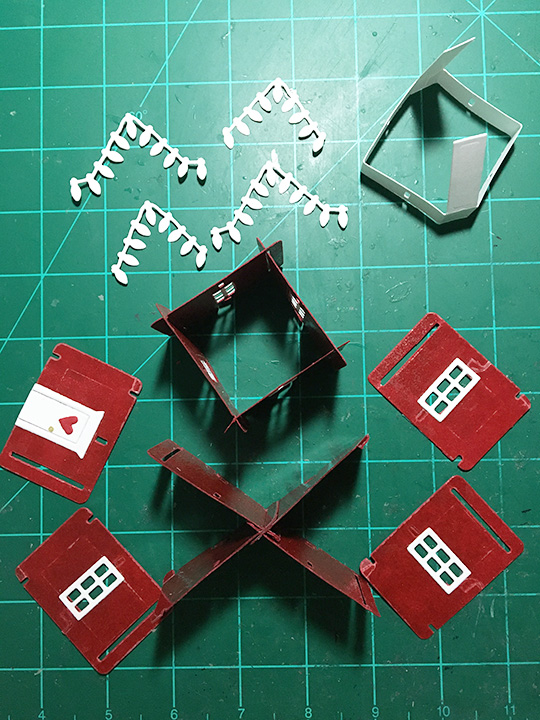
Windows and Door: Because the window dies in the Holiday House set cut two at once, I ended up die-cutting a window frame to act as my pattern to mark around on the back of the red card pieces and then cut out with a craft knife. I built my house of cards first, deciding which panels would need windows cut into them, and then removed them from the house, keeping the second story pieces separate from the end pieces. I cut the seven windows into the individual cards. The doorframe and door were glued on to the last end piece and a tiny, red heart from the holiday house set was glued to the front door.

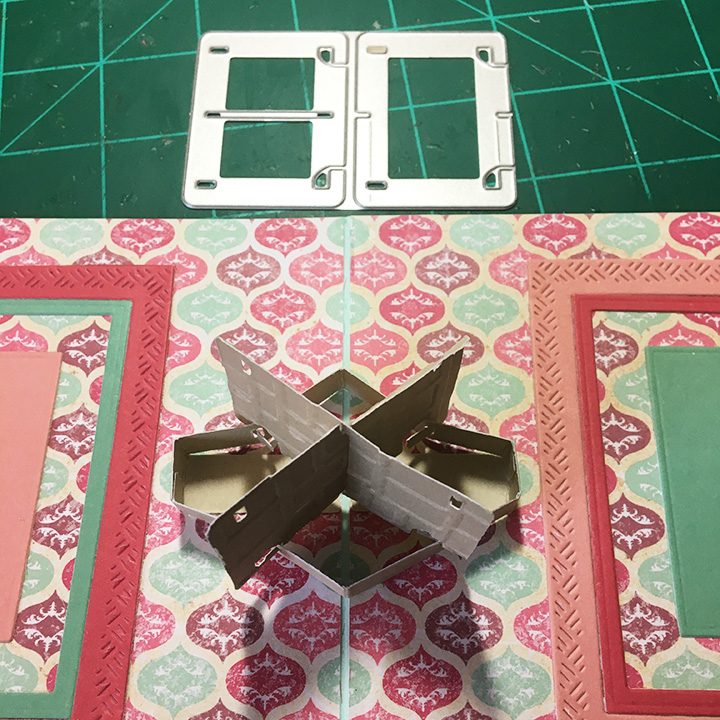
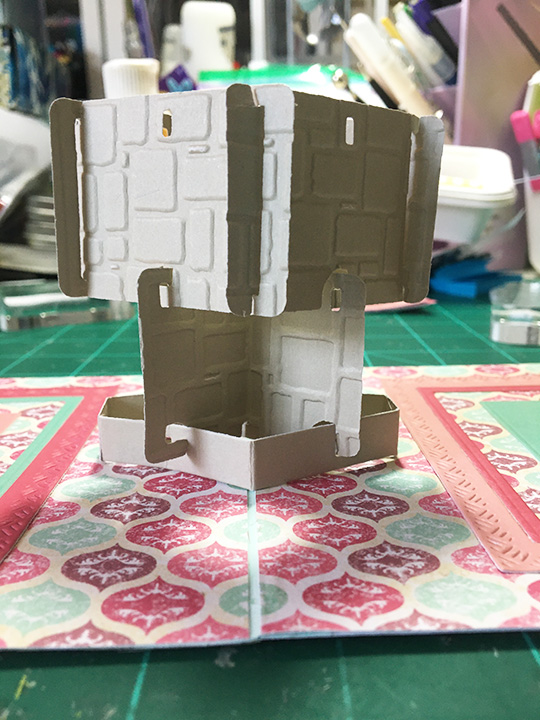
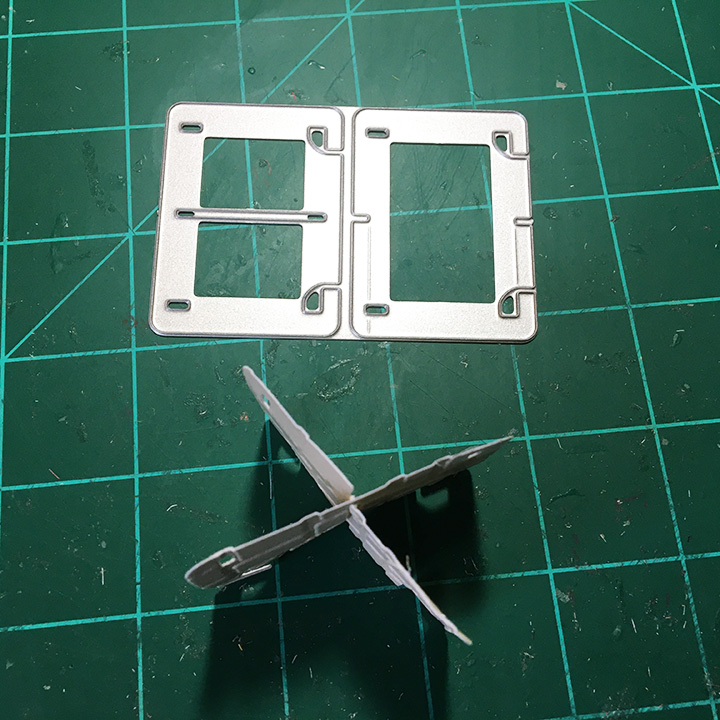
House of Cards: Watch the video at the bottom of the linked page for the House of Cards set before starting. (I played with some practice card pieces I had cut to find the house shape I wanted to use.) Cut three of 4-card die. Cut windows into the seven selected pieces. The house starts with four cards creating an X. (Make sure the golf club cut outs are all facing out on the X. I made them facing in and the house wants to slip loose from the base after opening and closing a few times.) Make a square for the second story from four window pieces. Add the remaining three window panels and door panel to the ends of the X.
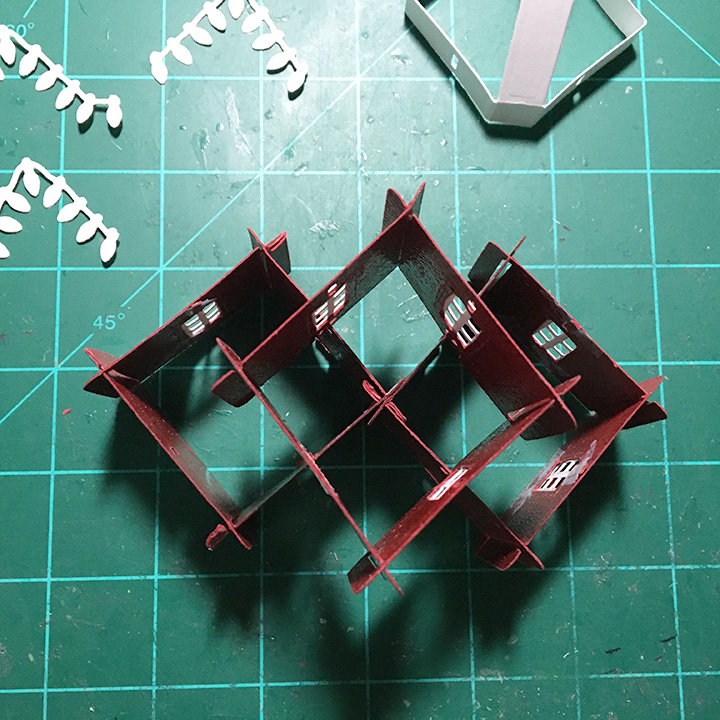
Attach the square over the center of the X. Attach the whole house to the white base. (It is easier to add the lights at this point before the gable pieces are added. See instructions below.) Glue the white base to cardbase.

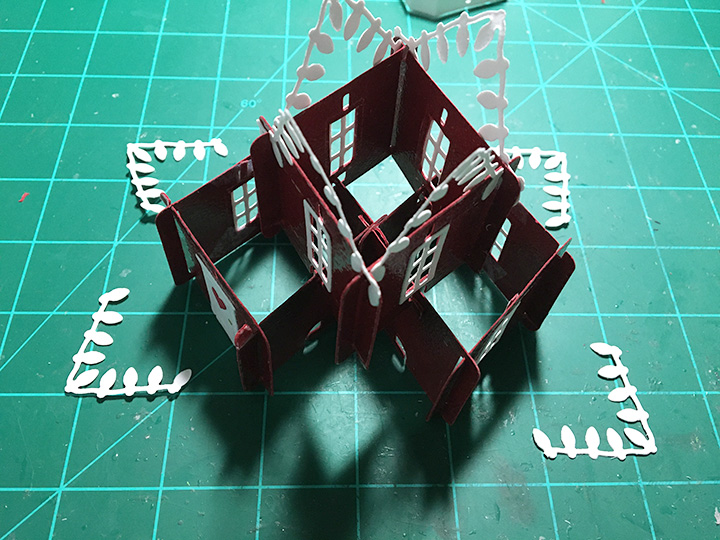
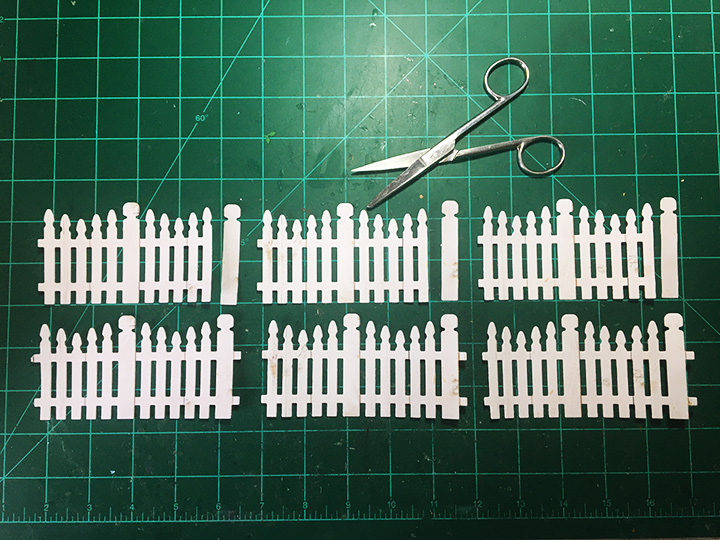
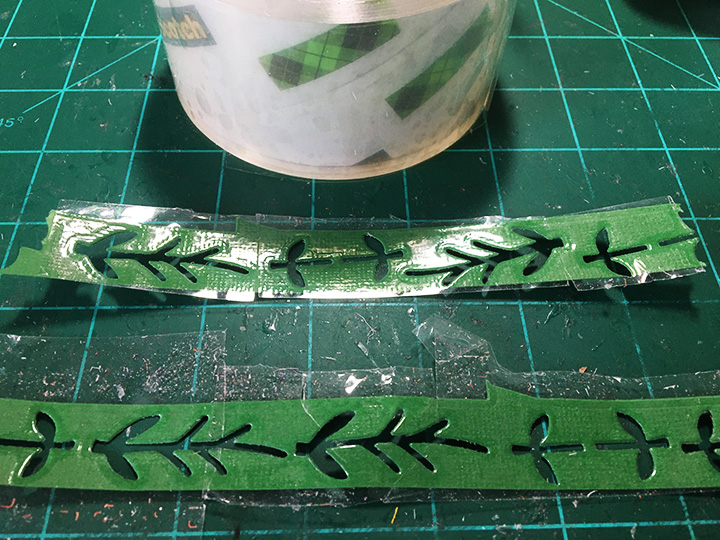
Once the lights are adhere to the inside of the house (I ended up having one wire on the outside of the house by accident) cut eight of the gable lightblubs from the Holiday House set. Trim four of the pieces to have just nine lightblubs in the gable (that two lighblubs off each end before they turn) and four of the pieces to 11 lightblubs (thats trimming just one lightblub off each end.)

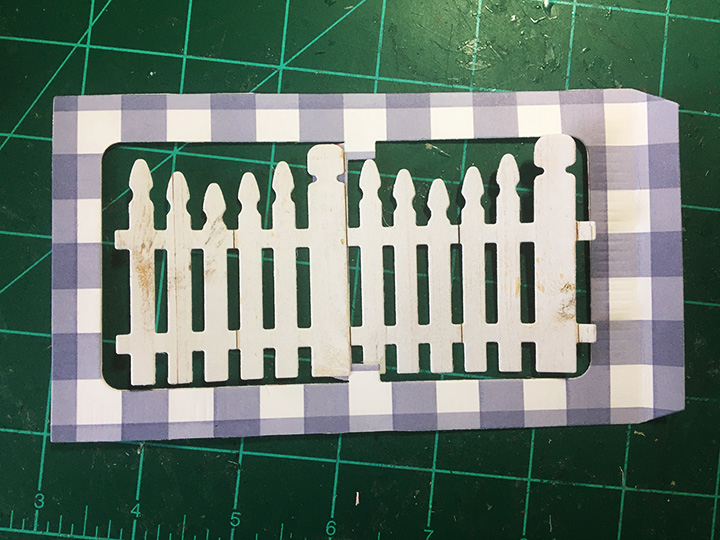
Glue the longer pieces to the opposite sides of the square looping the end lightblubs over the card joints. Add one longer piece to each end of the first story of the house. Use the remaining shorter pieces to fill in the sides still needing gable pieces.
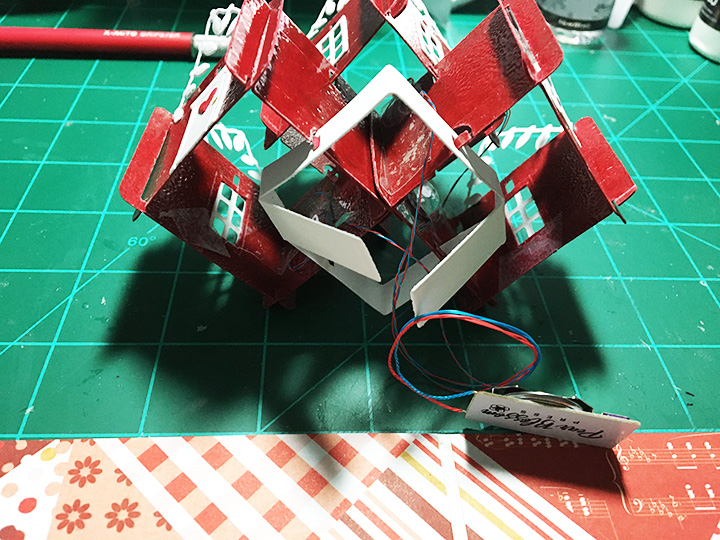
Lights: EZ-Lights are just what they say – easy to install in a card. For the house of cards, I snaked the three wires that end in a light, up through the center x-structure before I glued the white base into the card. Once the white base was attached to the card base, I played with the positioning of the wires and battery/switch plate. I used clear packing tape to secure the light wires onto the walls of the house. (If the coating on the cards had allowed glue, I would have glued a red square of cardstock over the wires.)
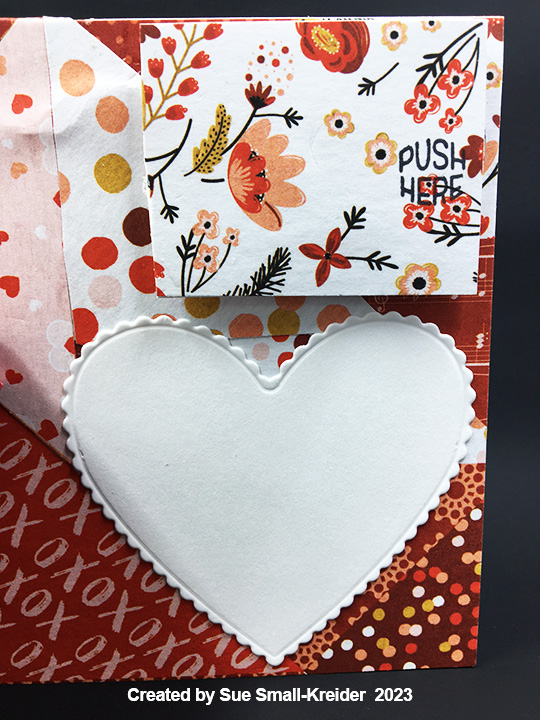
(I found the best position of the plate is almost to the top edge of the card.) To attach the battery/switch plate to the card base, I sandwiched it between double layers of thin foam tape and then took a rectangle of card stock with decorative paper and covered the plate. (Before I attached the rectangle, I stamped a “push here” on the location of where the switch was.) Next, I cut triangles from the decorative paper to glue over the exposed wires on the cardbase.


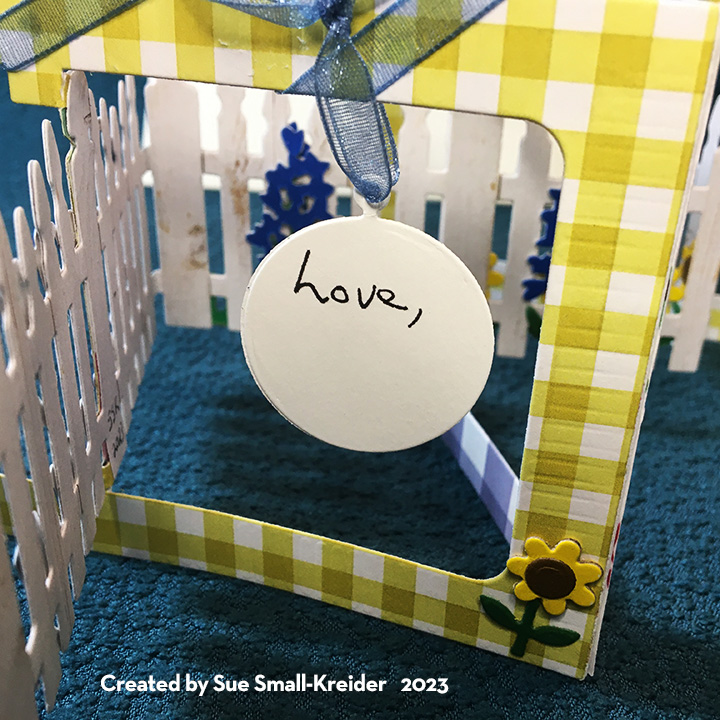
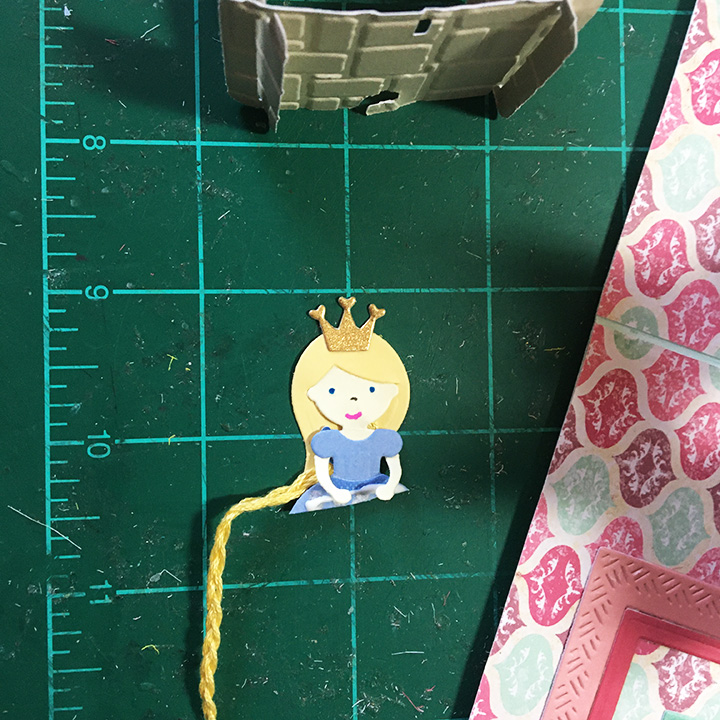
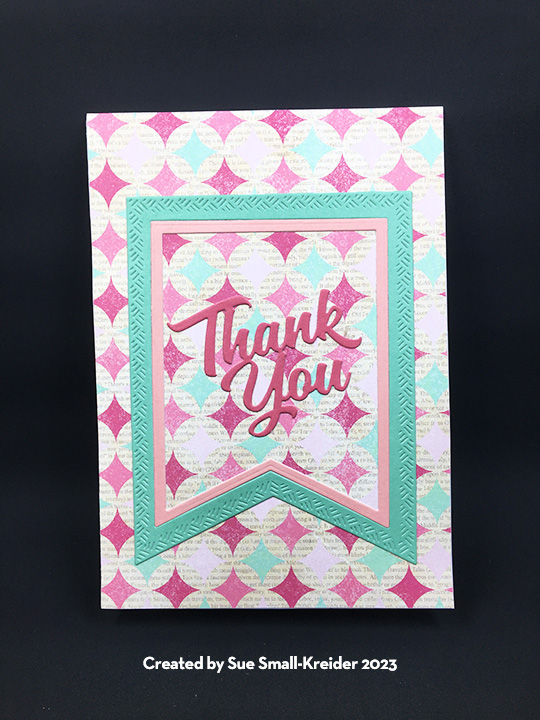
Sentiments: To make the phrase “You make Home Sweet,” I used the “You” from the Thank You set along with the Home Sweet Home set. I spelled out the word “make” from the Mini Alphabet set. The “You are the Light of my Life” was computer generated and cut with the scalloped heart from the Crosshatch Hearts set. A white scalloped heart was also cut using the same die as a place for a personal message.
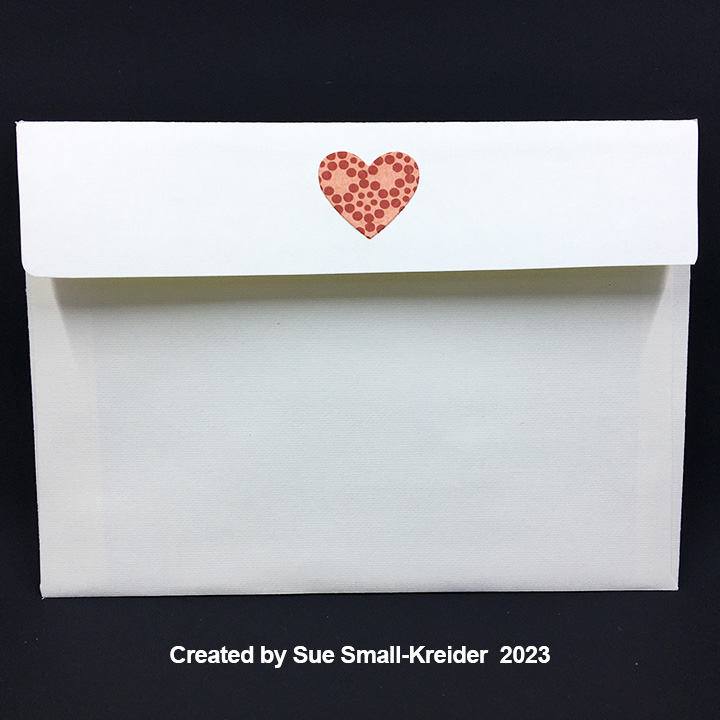
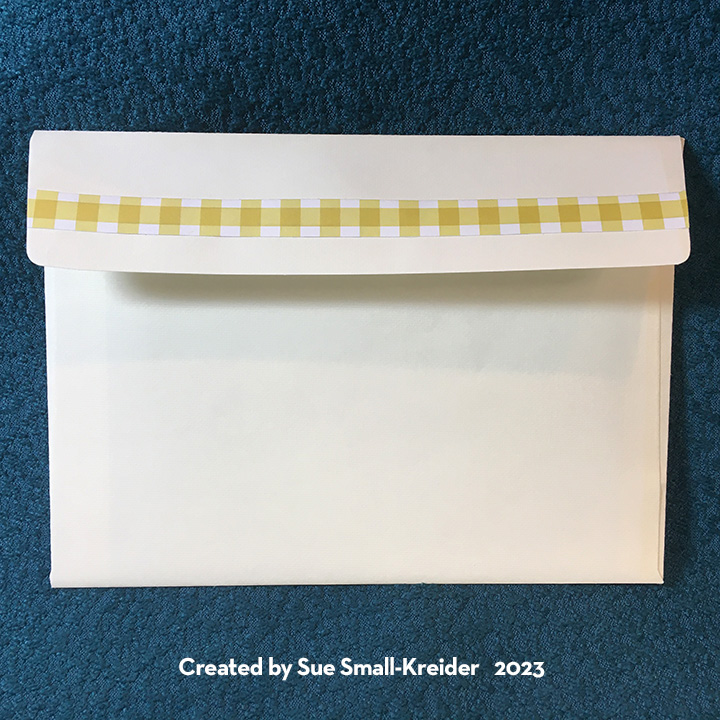
Envelope: A small heart from the Crosshatch Hearts set was cut from decorative paper and glued to the envelope flap to hint at what is inside.
Thank you for reading this blog post. I hope this inspires you and makes you smile. Please like and leave comments 😊
Materials Used:
Dies
- Karen Burniston in cahoots with Riley and Company – House of Cards Pop-Up – 1242
- Karen Burniston in cahoots with Riley and Company – Mini Alphabet and Numbers – 1197
- Karen Burniston in cahoots with Riley and Company – Hearts – Crosshatch – 1191
- Karen Burniston in cahoots with Riley and Company – Holiday House – 1144
- Karen Burniston in cahoots with Riley and Company – Home Sweet Home – 1101
- Karen Burniston in cahoots with Riley and Company – Thank You – 1066
Stamps
- Lawn Fawn – Photopolymer Clear Stamps – Push Here – LF1415
Papers
- Photoplay – 12×12 Double-Sided Paper – Quilt From Cupid – CSC3460
- Recollections – 8.5×11 110 lb Cardstock – Red
- White and Black Cardstock
- Park Lane Paperie – A6 Cardbase and Envelope – Ivory
Ink
- Memento – Fade-Resistant Dye ink – Tuxedo Black
- VersaMark – Watermark Stamp Pad
- Nuvo – Aqua Shimmer – Glitter Gloss
- Gelly Roll – Gel Pen – Gold
Embossing Powder
- Simon Says Stamp – Embossing Powder – Fine Detail – Clear
Adhesives
- Neutral PH Adhesive by LINECO
- Fine-Tip Glue Bottle
- Foam Tape
- Clear Packing Tape
Tools
- Die Cutting Machine
- We R Memories – QuickStick
- We R Memories – Scoring Board and Trimmer
- Stamping Block
- Scissors
- Heat Tool
Miscellaneous