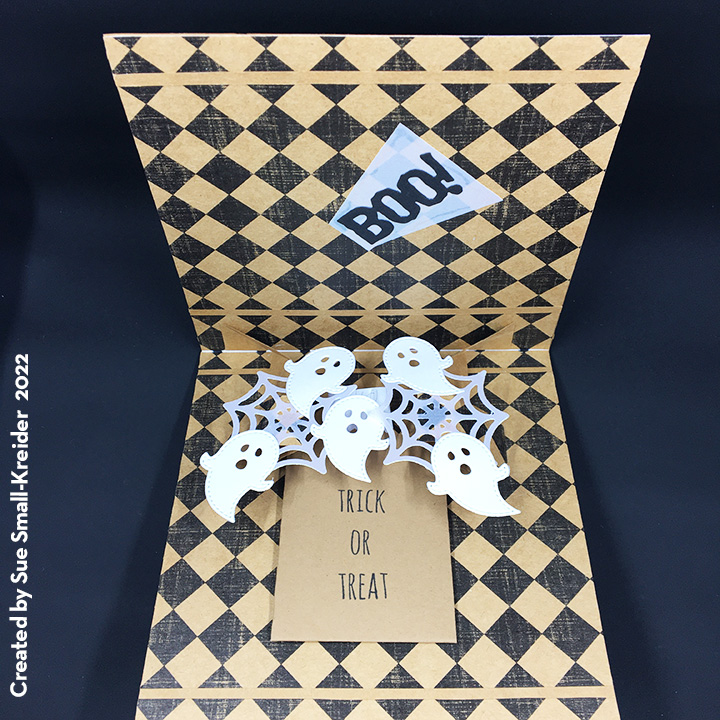
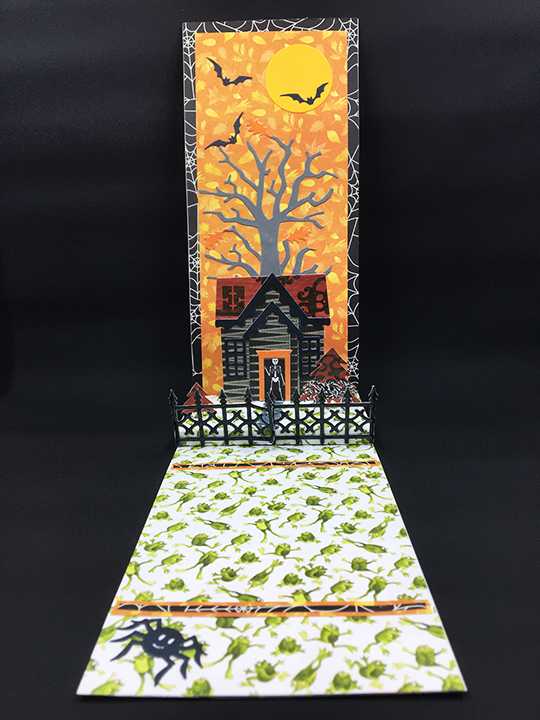
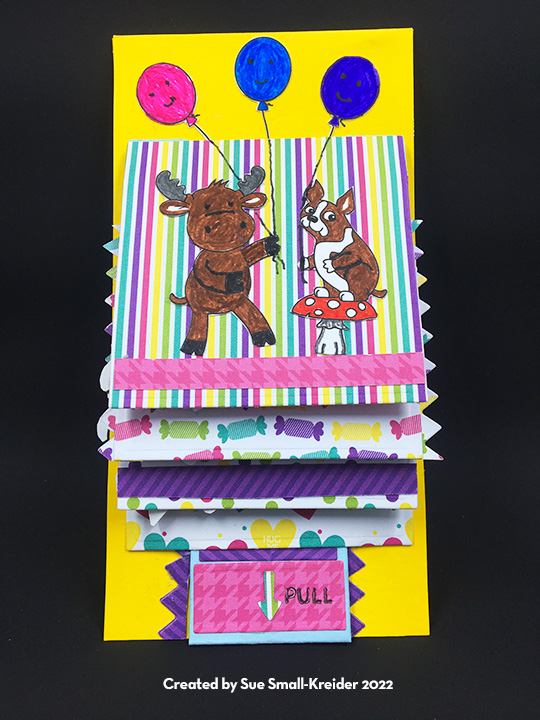
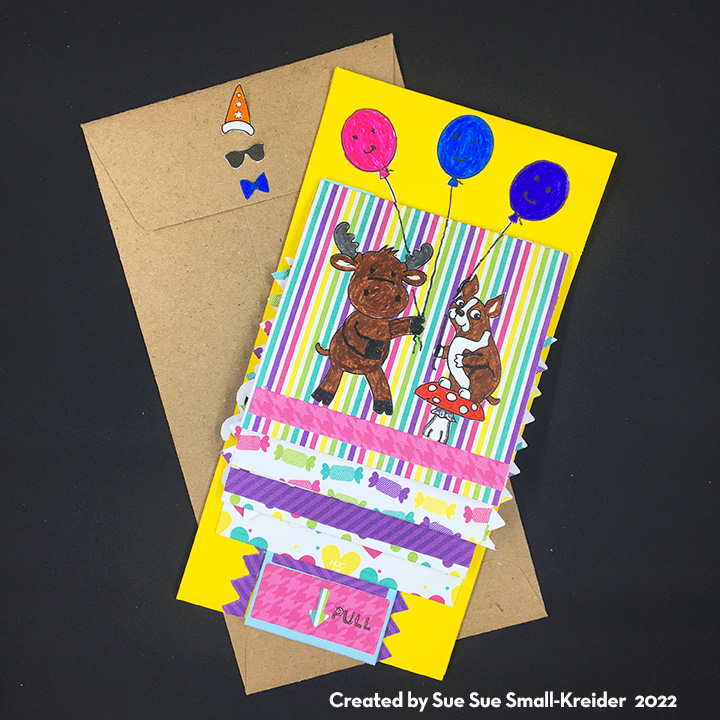
Pop-up ball cards always remind me of the jack-in-the-box toy when you open them and something pops up to make you smile. This pop-up ghost card was designed for a three-year-old boy for Halloween.

The card front and easel base are my design. (You can download the full-size scan I made of the ghost card front for free.)
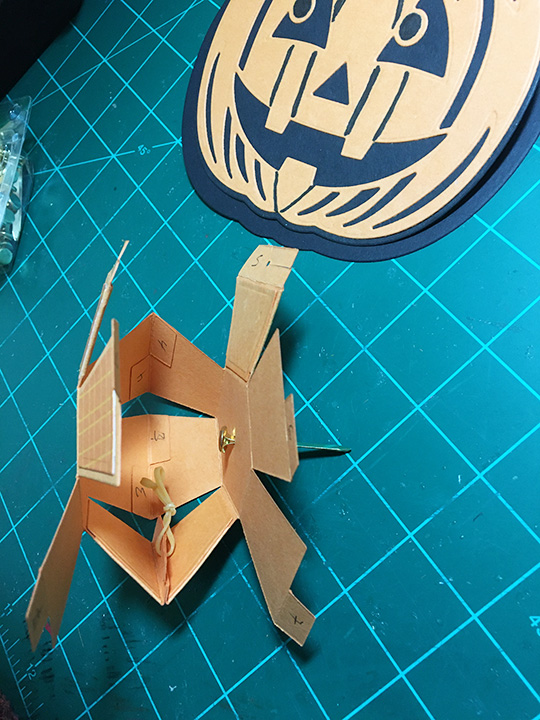
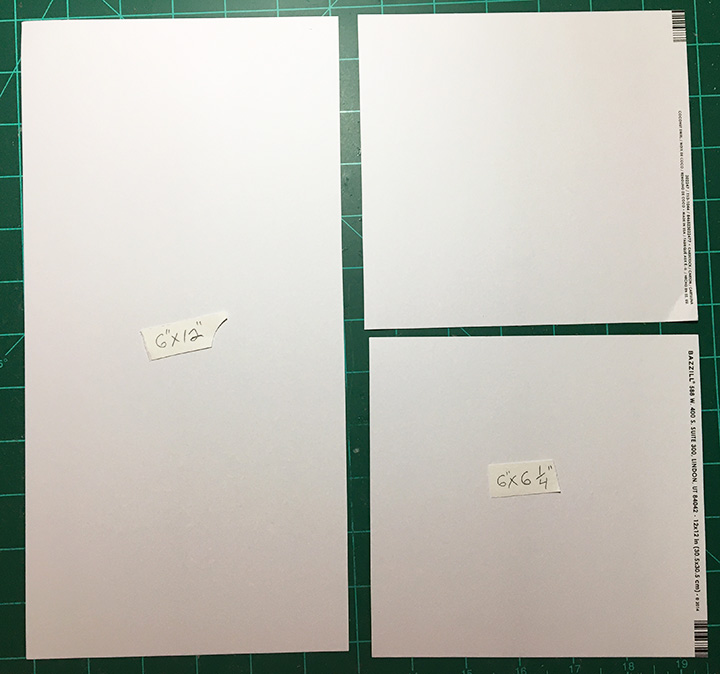
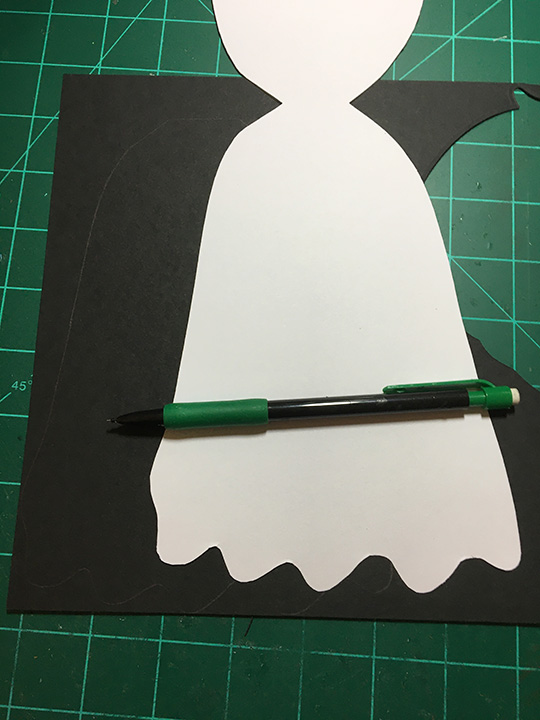
I traced the ghost onto a 12 x 12 inch sheet of cardstock twice. Next, I cut the cardstock between the ghosts and fold the card stock at the top of the ghost’s head and cut out two layers of the ghost leaving the top of the ghost’s head attached as a fold.
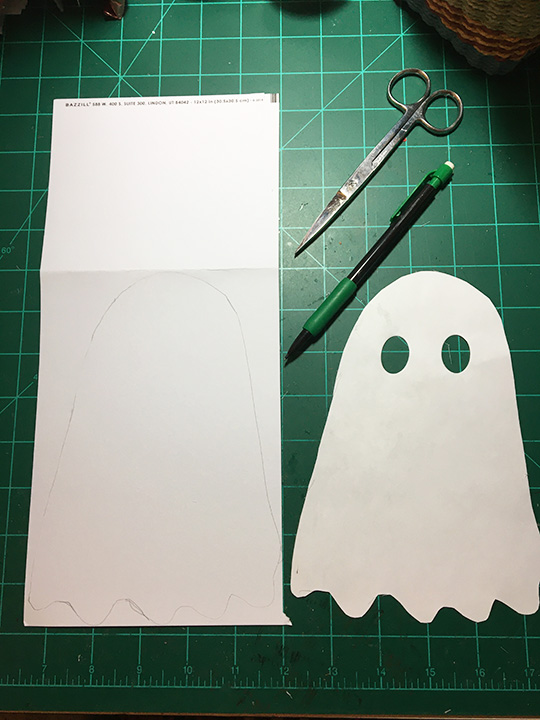

This will be the card base and easel prop. The second ghost I cut all the way around and used the largest oval die from the Karen Burniston Bitty Ball die set to cut out the eyes for the card front ghost.
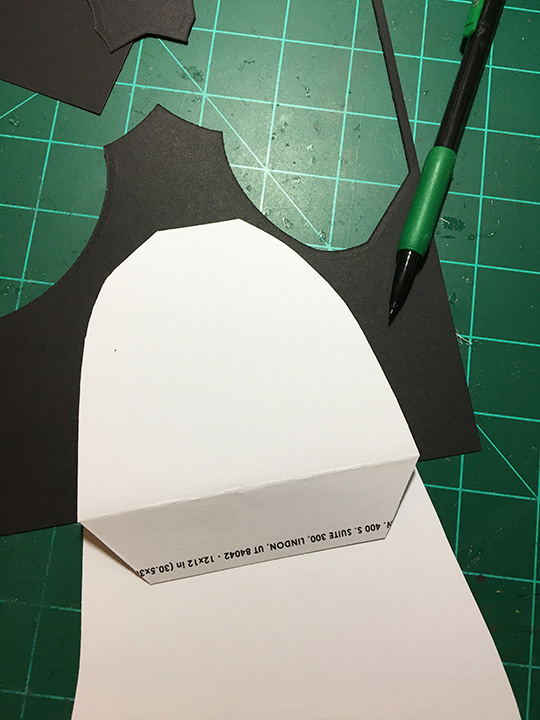
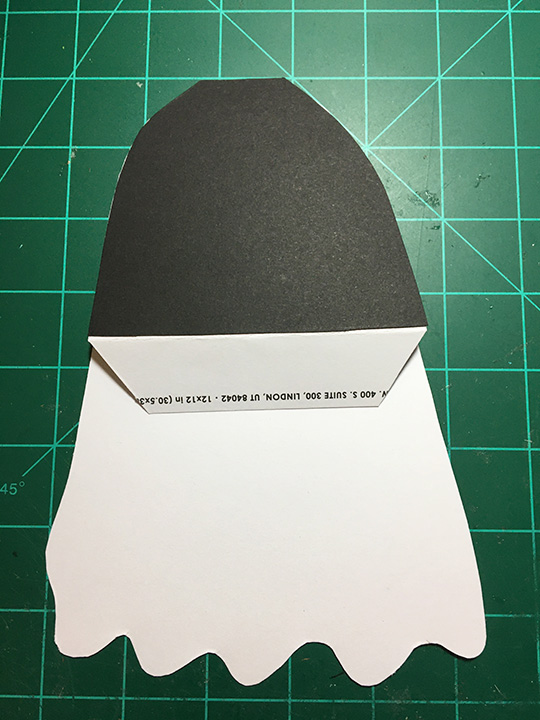
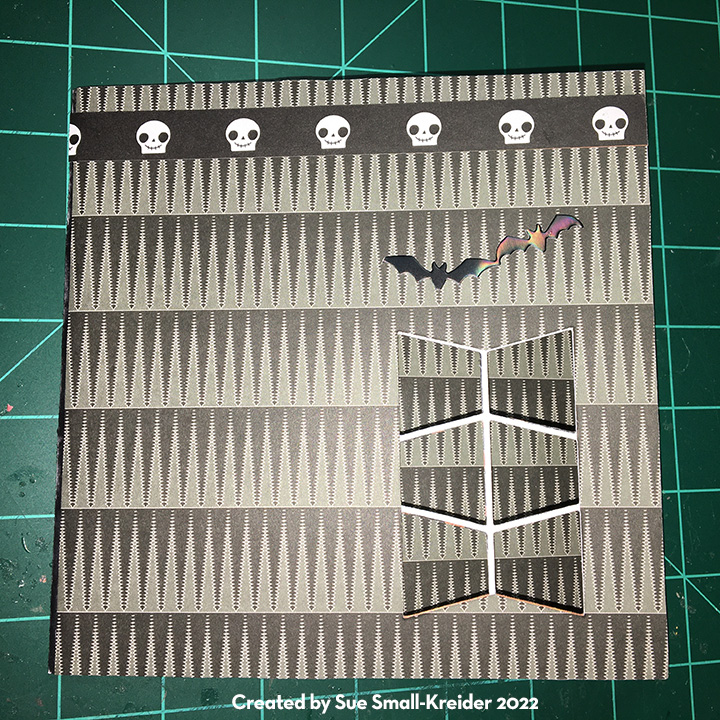
I traced the easel piece as well as the whole ghost back onto black cardstock and cut both pieces out. The easel back piece needs to be glued so that when the white ghost card front is glued onto easel flap the eyes show through as black.


(Don’t glue the whole black ghost shape onto the back of the card until after the pop-up balls have been attached to the card base. This piece hides the brad legs.)
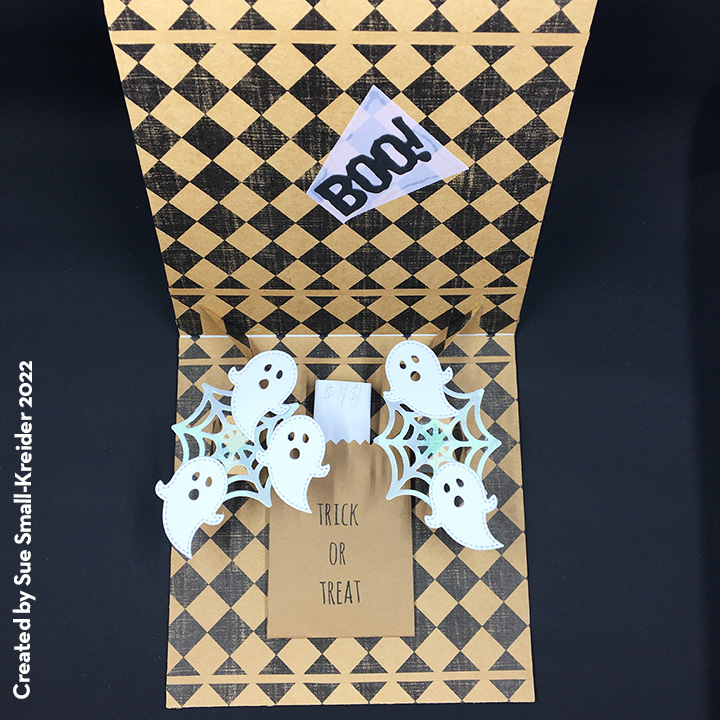
For the pop-up ghost inside I covered two mini pop-up balls (made using dies by Karen Burniston) with four layers of cheesecloth cut into a 6-inch circle and glued to the top pop-up ball. (Follow the assembly video for the pop-up balls.) Cut all pieces from white cardstock. Cut two black eyes using the same oval die used for card front ghost.


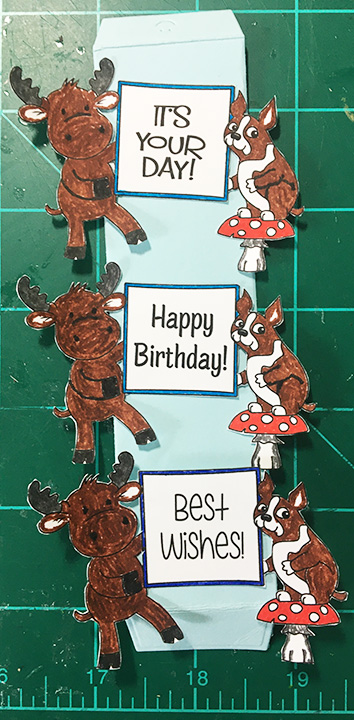
I made a band to hold the card closed from a leftover piece of white cardstock. The “BOO!” on the ghost as well as the band sentiment are by Karen Burniston from the two Halloween die sets listed below.


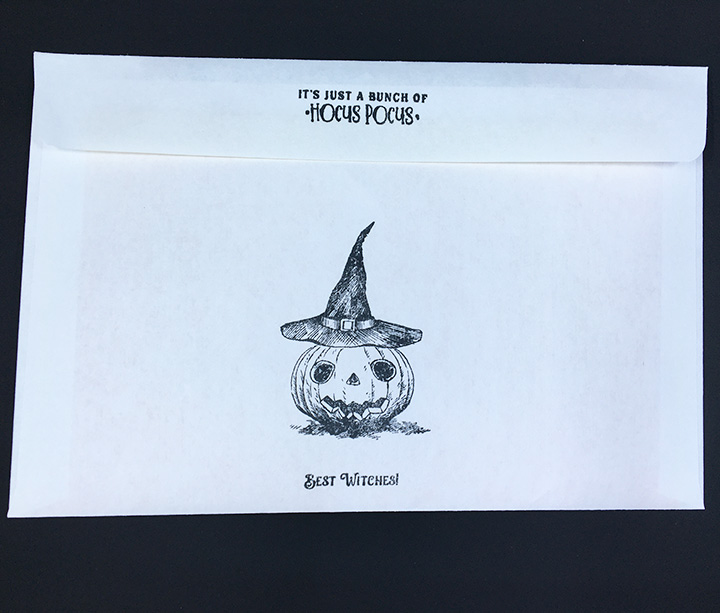
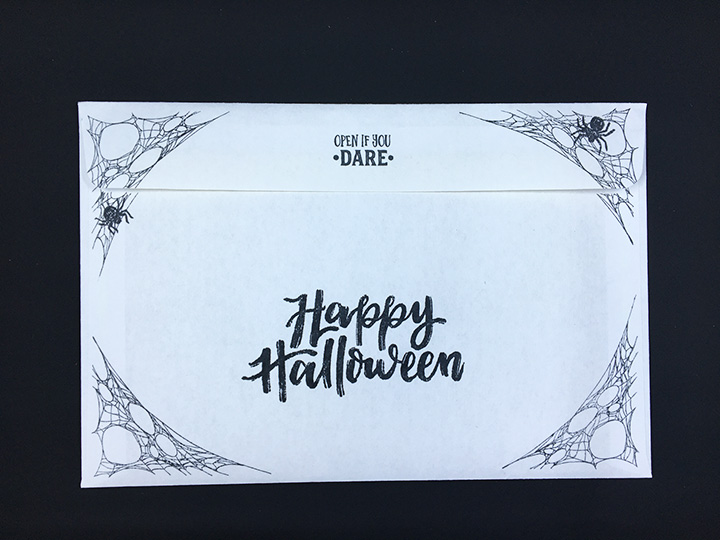
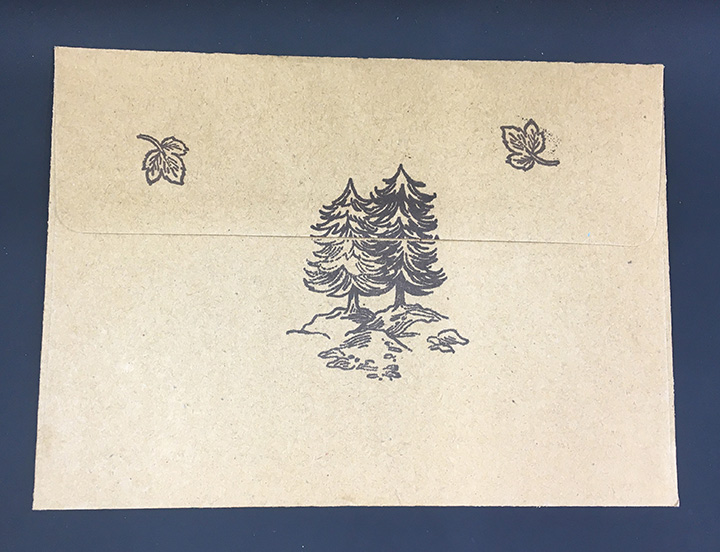
The card fits into a 6 x 9 inch envelope. I stamped the front and back of the envelope with ghost stamps by Julie Ebersole.
I often add a CRX slip that helps the card recipient know how to open the interactive card. (You can download the sheet with four slips on it. for free.)
Thank you for reading this blog post. Please like and leave comments
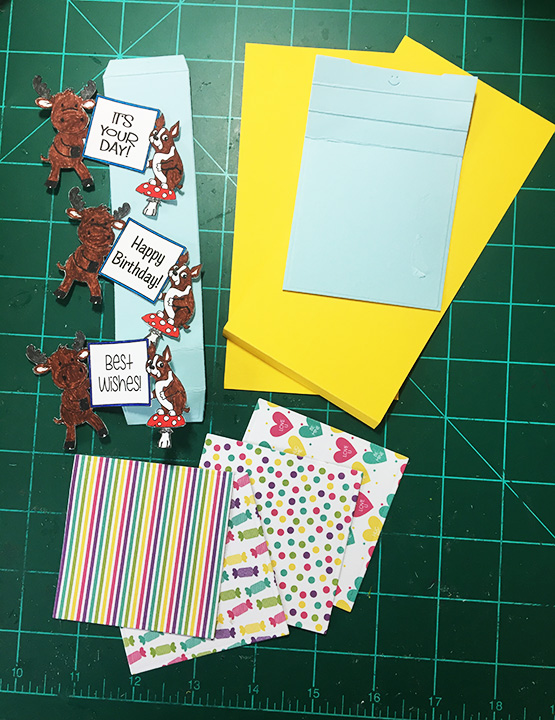
Materials Used:
Dies
- Karen Burniston in cahoots with Riley and Company – Mini Ball Double-Ups – 1214
- Karen Burniston in cahoots with Riley and Company – Mini Ball Pop-Up – 1201
- Karen Burniston in cahoots with Riley and Company – Halloween Charms – 1158
- Karen Burniston in cahoots with Riley and Company – Bitty Ball Pop-Up – 1131
- Karen Burniston in cahoots with Riley and Company – Halloween Elements – 1013
Stamps
Inks
- Memento Fade-resistant Dye Ink – Tuxedo Black
Papers
- Brazzill –12 x12 Inch Cardstock – Coconut Swirl
- Heavy Black Cardstock
- 6” x 9” Envelope – White
Miscellaneous
- Cosmic Shimmer – Specialist Acrylic Glue – 125ml
- Sizzix – Big Shot PLUS die cutting Machine
- Fineline 20 Gauge Applicator & Bottle
- LDRS Creative – Stampendable Stamping Tool
- Stamp Cleaning Cloth
- Poking Tool
- Cheese Cloth – 6 inch Circle
- Brad with Long Legs