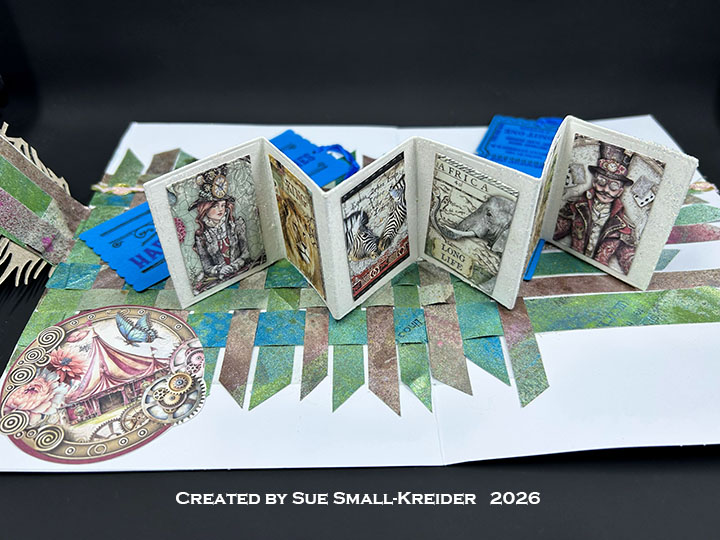
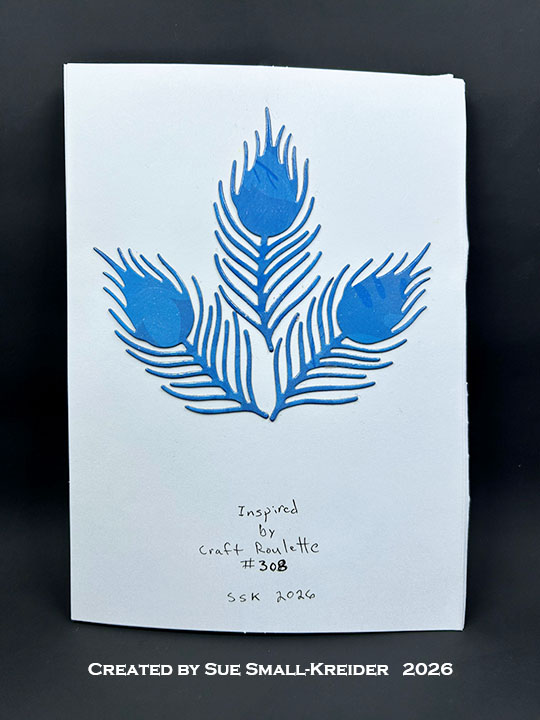
This card was made for Craft Roulette #329 whose parameters were: a book binding card, roadside market colors, plant (s) element and grid as random. I used Spellbinders and My Favorite Things dies to make this 4×4.25-inch card that opens up to 12×12-inches..
Watch the video below to learn how I made this card.
Cardbase: Score at 4-inches and at 4.25-inches an 8.5×4-inch teal rectangle of cardstock into a 4×4.25-inch book binding cardbase with a .25-inch “binding” on the left side of the card. Watch the video above for details.
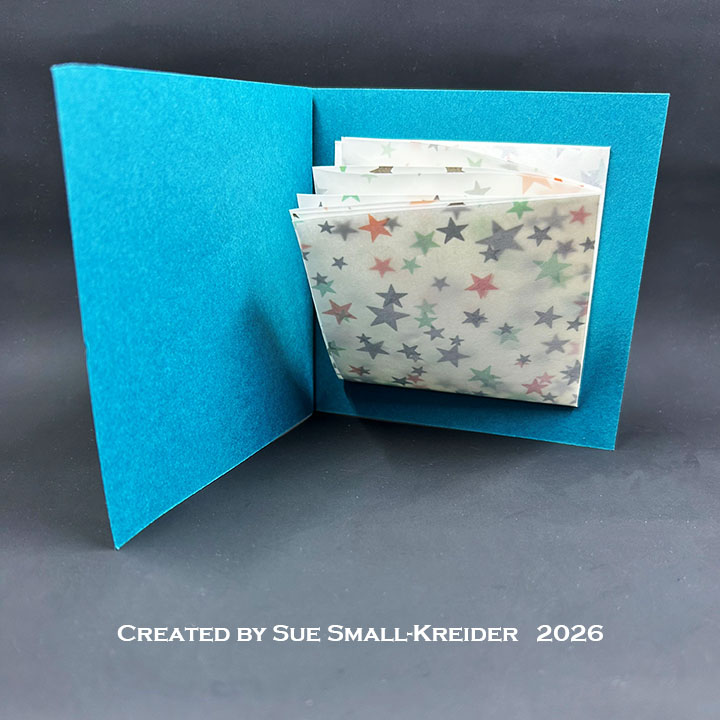
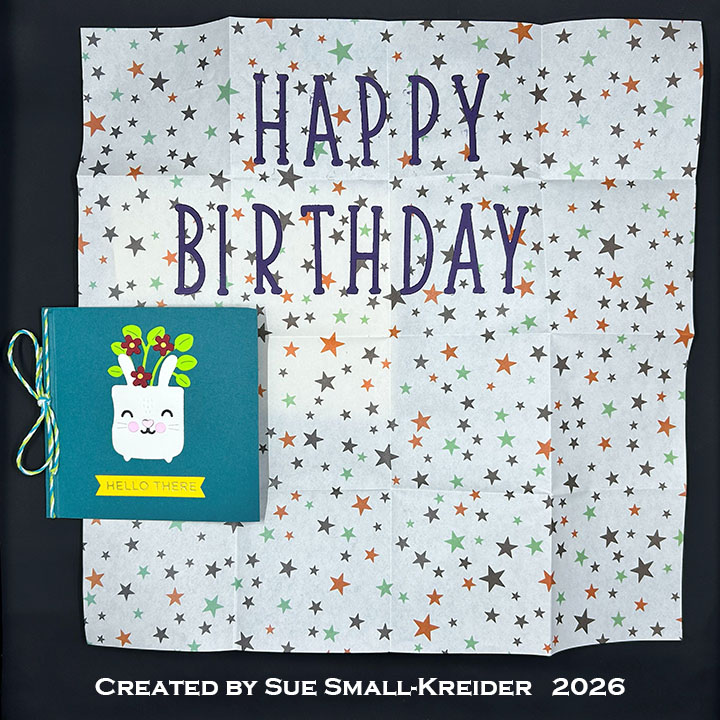
Inside Grid: Using a thin paper that is 12×12-inches, fold in half and burnish fold with a bone folder. Repeat folding in half and burnishing until the paper has been folded down to a 3×3-inch square. Open up the paper and mark an x on the back side of the second square from bottom left corner. This will be the square that will be adhered to the cardbase. Watch the video above for details.

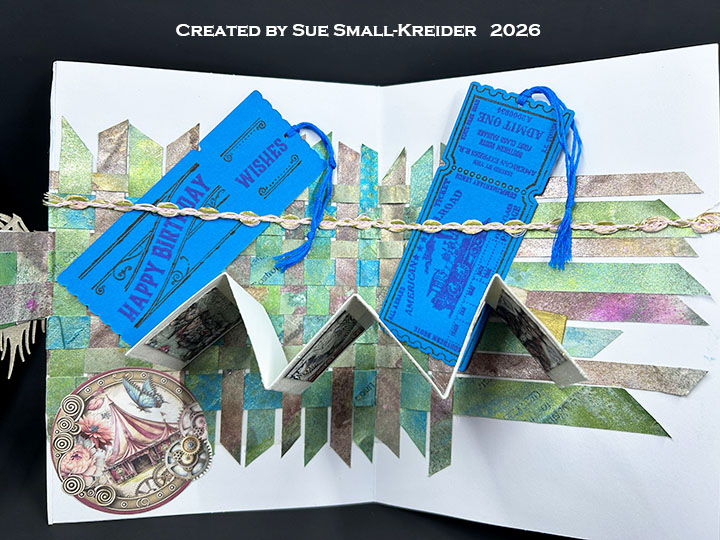
Planters: Using the Potted Pets die set from My Favorite Things, cut and assemble the bunny planter and the cat planter using the foliage and tiny flowers in the set so that the planters will fit onto the 3-inch square grid.
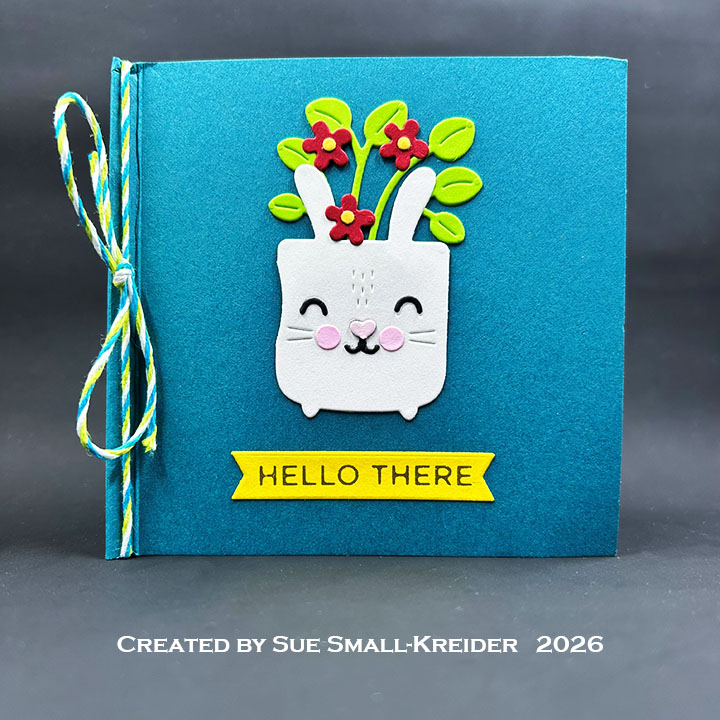
Sentiments: Using the Spellbinders How Does your Garden Grow Alphabet die set, cut “Happy Birthday” from eggplant cardstock and adhere onto the grid as shown in the video above. The from yellow banner foiled sentiment of “Hello There” was one I found in my stash from an early Spellbinders Glimmer Hot Foil Club of the Month set.

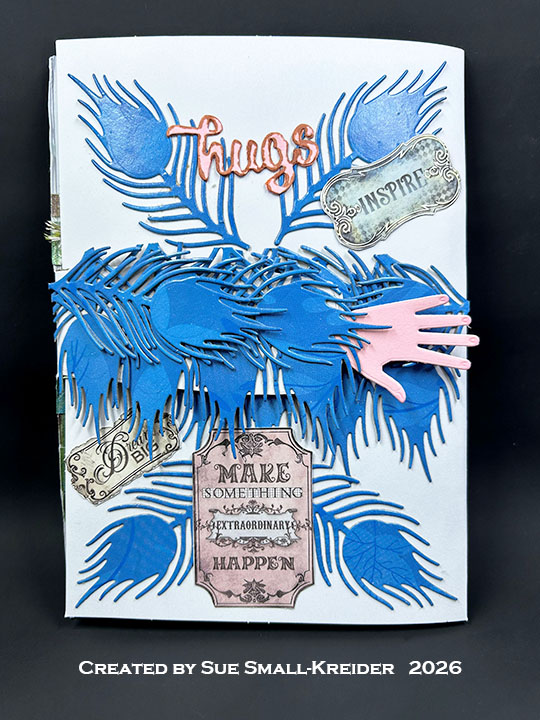
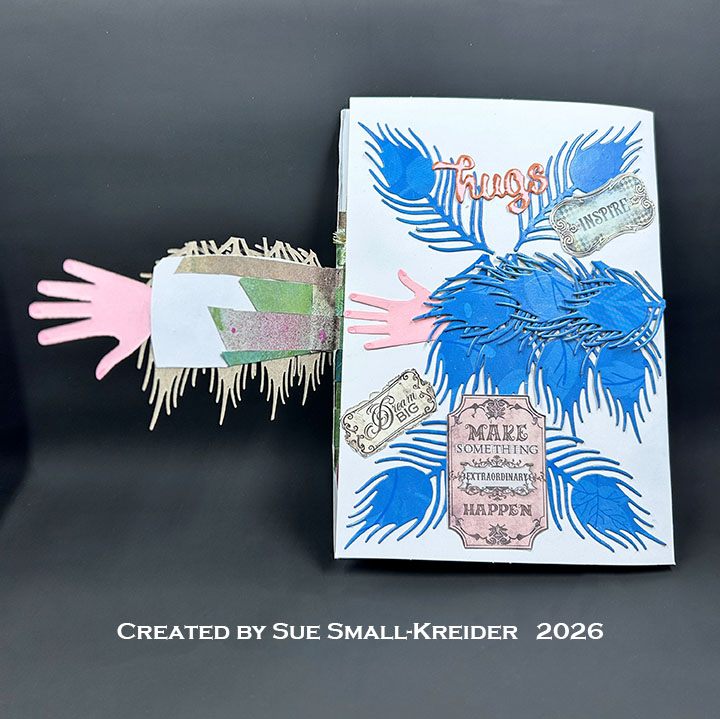
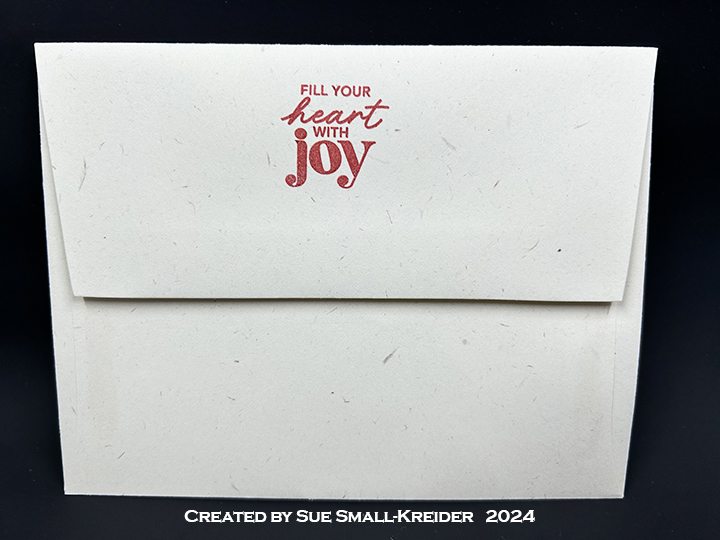
Envelope: The card fits into an A2 (4.25×5.5-inches) envelope with leftover floral decorations on the back flap.
___________________________________
Thank you for experiencing this blog post.
I hope this inspires you and makes you smile.
Please subscribe, like and leave comments 😊
Follow my YouTube channel, Instagram and Pinterest as well.
___________________________________
Materials Used:
Dies
- My Favorite Things – Die-Namics – Potted Pets – MFT-2516
- Spellbinders – Large Die of The Month July 2020 – How Does Your Garden Grow Alphabet – DOML-JUL20
Glimmer Plates
- Spellbinders – Glimmer Hot Foil Plates of the Month – February 2019
Papers
- We R Memory Keepers – 12×12 Single-Sided Glassine Paper – Oh Goodie!
- Black, Green, Orange, Purple, Red, Teal, White and Yellow Cardstock
- Fraser Papers for William House – A2 Envelope – Genesis Text Milkweed Smooth
Ink
- OLO Marker – Cotton Candy
- Pigma – Mircon 05 Fine Tip Pen – Black
Adhesives
Tools
- Bone Folder
- Die Cutting Machine
- Riley and Company – Pick & Poke Tool
- Ruler
- Scoring Board
- Scrapbook.com – Magic Mat
- Scissors
- Scrapbook.com – Mint Tape
- Stamping Blocks as paper weights
- Tweezers
Miscellaneous
- Multi-Colored Bakers Twine