Father’s Day Card for a Navy Man

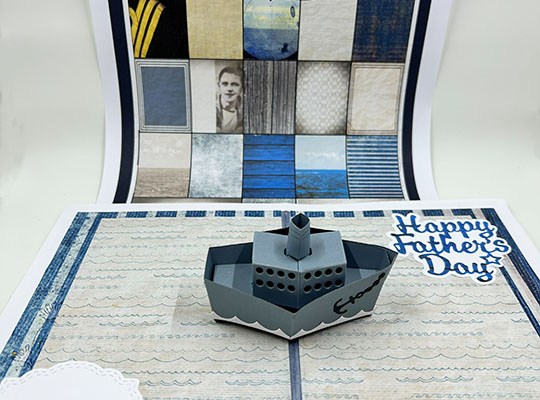
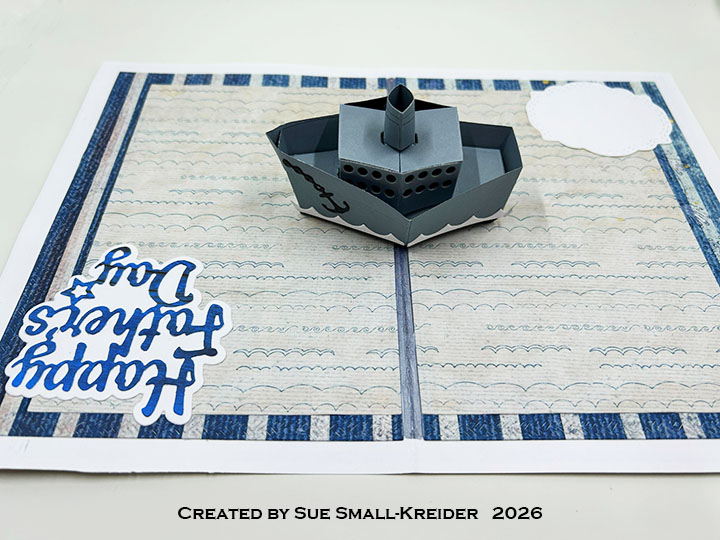
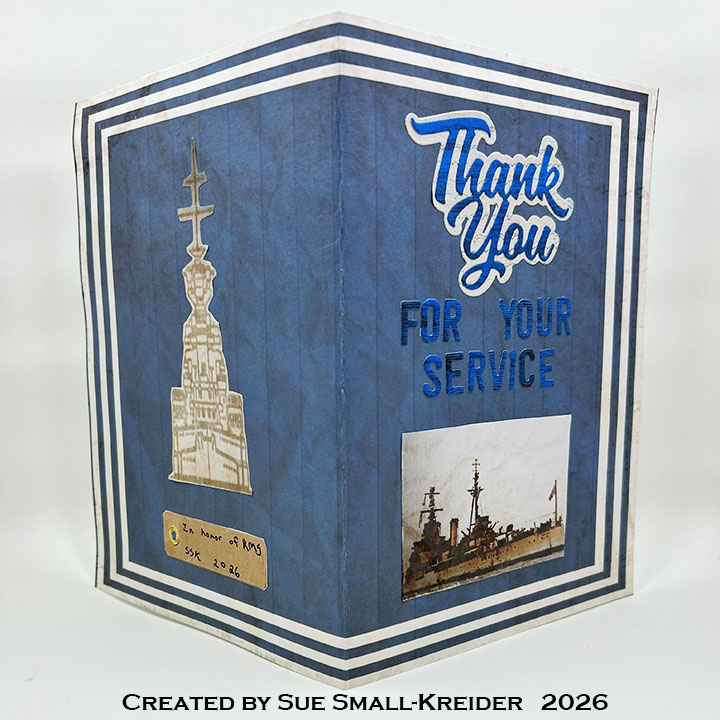
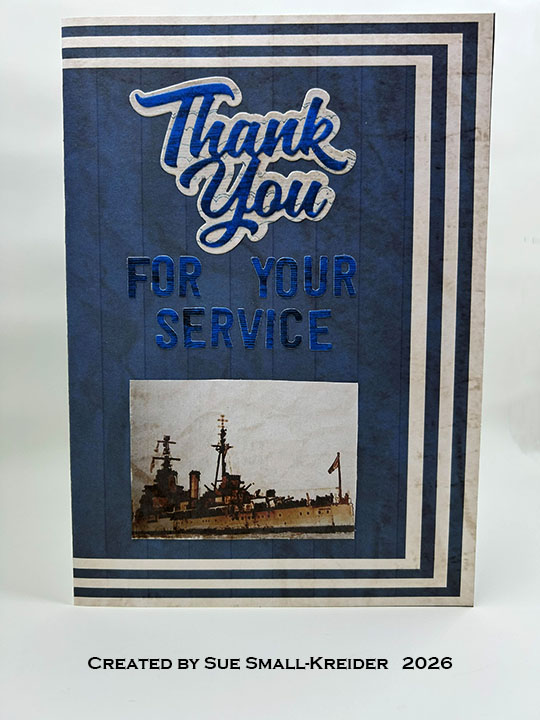
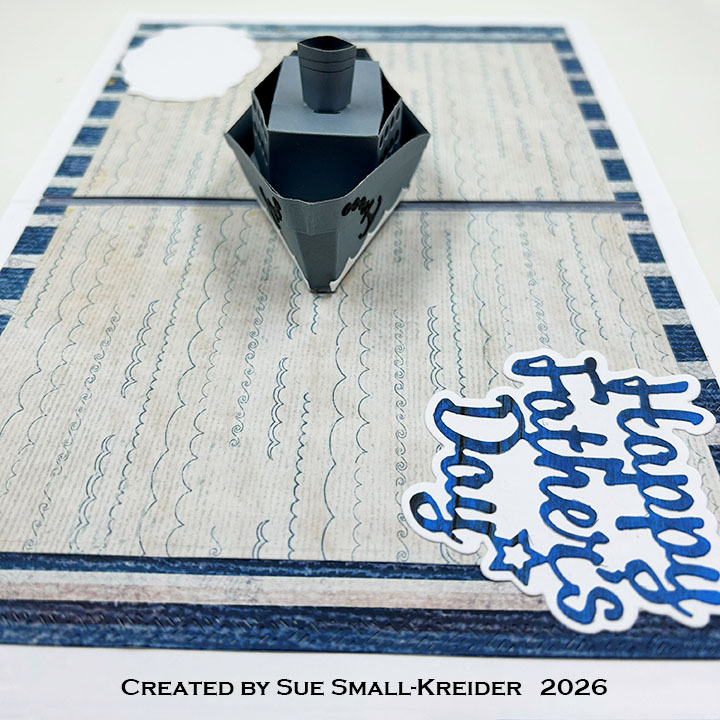
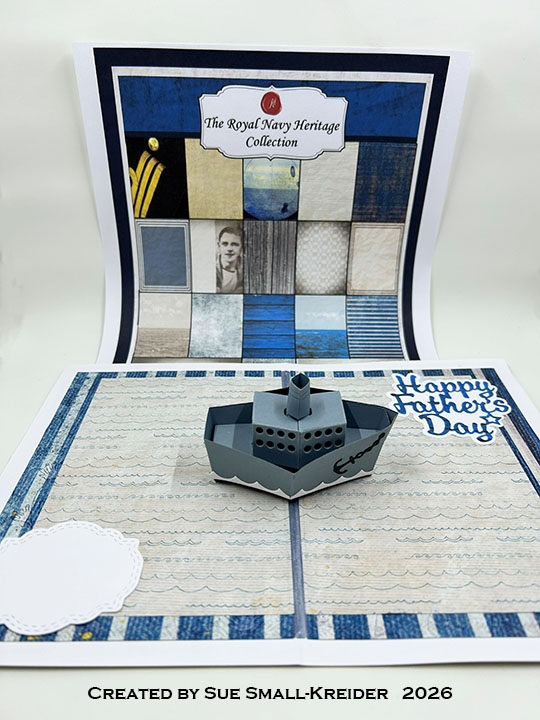
I’m here today with a pop-up ship Father’s Day card full using Relatively Thoughtful digital papers – A collection called The Royal Navy Heritage Collection.

Watch the process video to see how I use the paper collection.

Cardbase: From the The Royal Navy Heritage Collection digital paper collection, I printed single-sided 65lb. lightweight cardstock of the blue neckerchief design. (When the neckerchief is cut out, it makes a 5.25×7.5-inch side-fold card.) Next I printed out on cardstock the blue & white striped page, and the small waves on thin white paper. Using the Karen Burniston Rectangle and Labels – Crosshatch die set, I cut two large crosshatch rectangles from the striped cardstock and two smaller rectangles from the wave paper. The rectangles were glued inside the cardbase as shown in the video above.

Card Decorations: I printed on thin white paper, the images of the ships used on the front and the back of the card from the The Royal Navy Heritage Collection. The small tag on the back is also from the same collection.

Ship Pop-Up: I used the Karen Burniston’s 1277 – Boat Pop-Up and 1296 – Cruise Ship Add-Ons dies to create the gray pop-up naval ship. (Watch the video above for assembly.)

Sentiments: Karen Burniston dies sets of Thank You, Happy Father’s Day, Greeting Labels, Thank You Shadow and Mini Alphabet and Numbers were used for all the card sentiments.

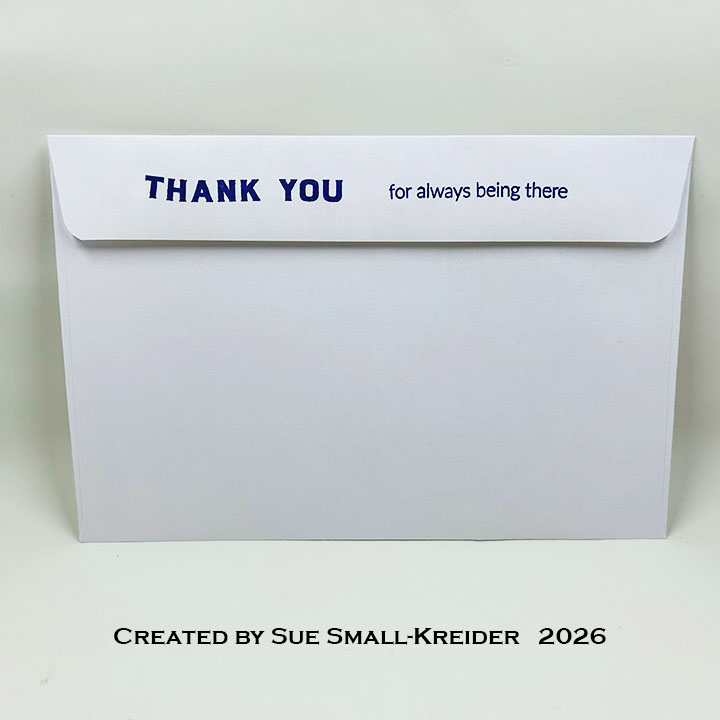
Envelope:  The card fits into a catalog (6×9-inches) envelope with “Thank you for always being there” stamped on the back flap in navy ink using Karen Burniston’s Thank You Phrases stamp set.

___________________________________

Thank you for experiencing this blog post.

I hope this inspires you and makes you smile.

Please subscribe, like and leave comments 😊

Follow my YouTube channel, Instagram and Pinterest as well.

___________________________________

Disclaimer: Relatively Thoughtful and Karen Burniston products were provided for free or at a discount by the manufacturer for review and use. All other items were personally purchased. Compensated affiliate links used where or when possible, meaning I will receive a small percentage commission from these manufacturers at no cost to you. This will allow me to add more content to my YouTube channel and help out a lot. Thank you.

Materials Used:

Dies

  • Karen Burniston in cahoots with Riley and Company – Greeting Labels – 1312
  • Karen Burniston in cahoots with Riley and Company – Cruise Ship Add-Ons – 1296
  • Karen Burniston in cahoots with Riley and Company – Boat Pop-Up – 1277
  • Karen Burniston in cahoots with Riley and Company – Thank You Shadow – 1282
  • Karen Burniston in cahoots with Riley and Company – Rectangle and Labels – Crosshatch – 1233
  • Karen Burniston in cahoots with Riley and Company – Mini Alphabet and Numbers – 1197
  • Karen Burniston in cahoots with Riley and Company – Happy Father’s Day – 1164
  • Karen Burniston in cahoots with Riley and Company – Thank You – 1066

Stamps

  • Karen Burniston in cahoots with Riley and Company – Thank You Phrases

Inks

  • Crafter’s Square – Matallic Marker – Blue Silver
  • Memento – Fade-Resistant Dye Ink – Paris Dusk
  • Pigma – Mircon 01 Fine Tip Pen – Black

Papers

Adhesives

  • Neutral PH Adhesive by LINECO
  • Fine-Tip Glue Bottle
  • Double-Sided Tape – 1/4-inch wide

Tools

  • Computer and Color Printer
  • Die Cutting Machine
  • Ruler
  • Scissors
  • Stamping Platform
  • Tweezers
  • Paper Masking Tape

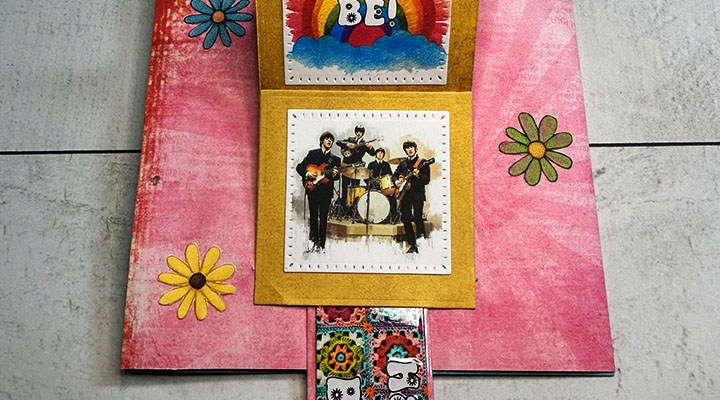
Groovy Vibes Tri-fold Junk Journal Birthday Card

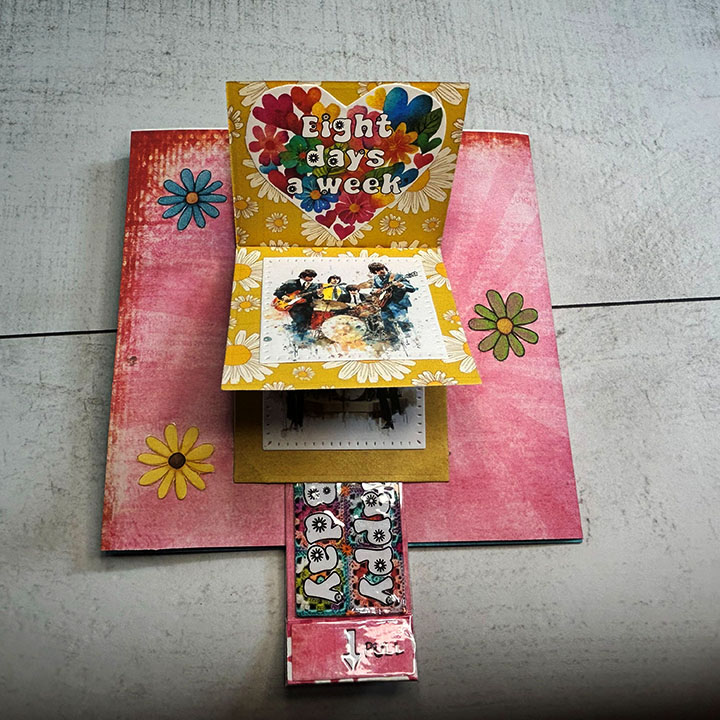
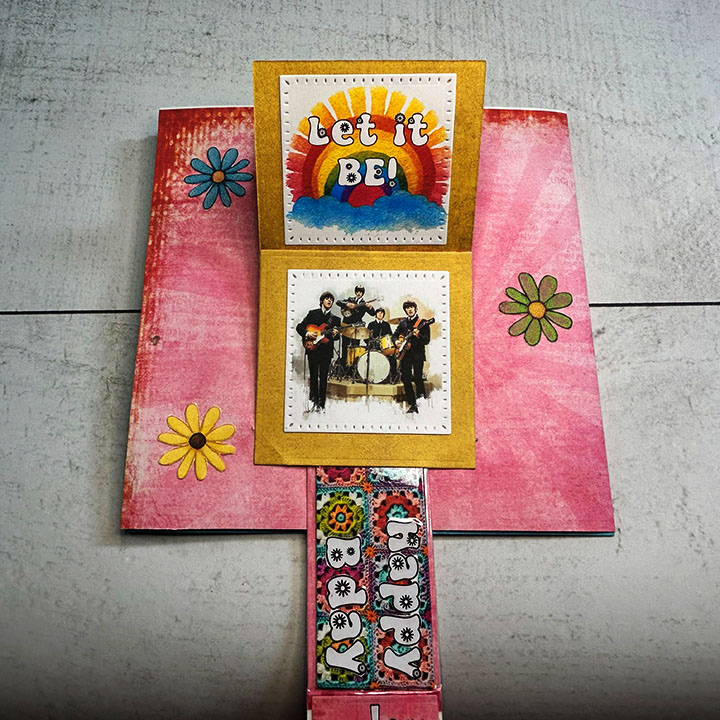
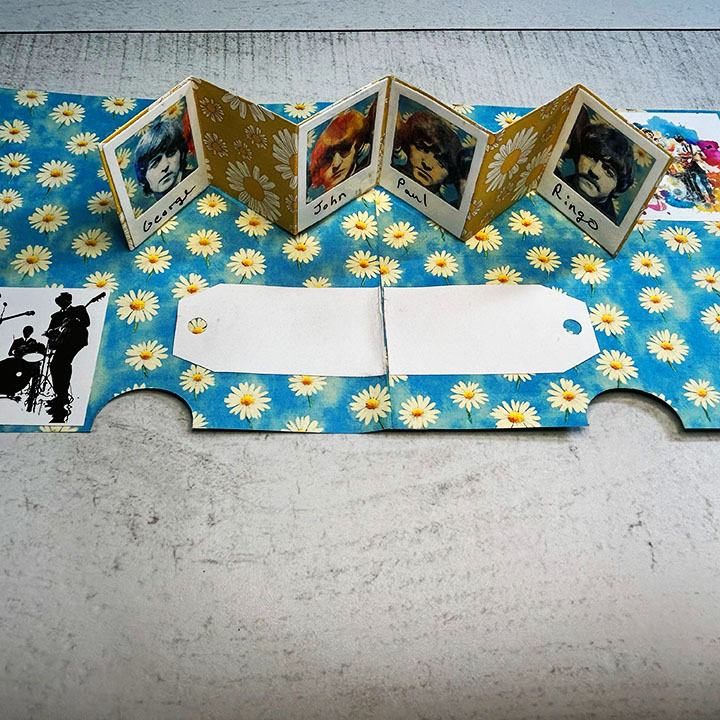
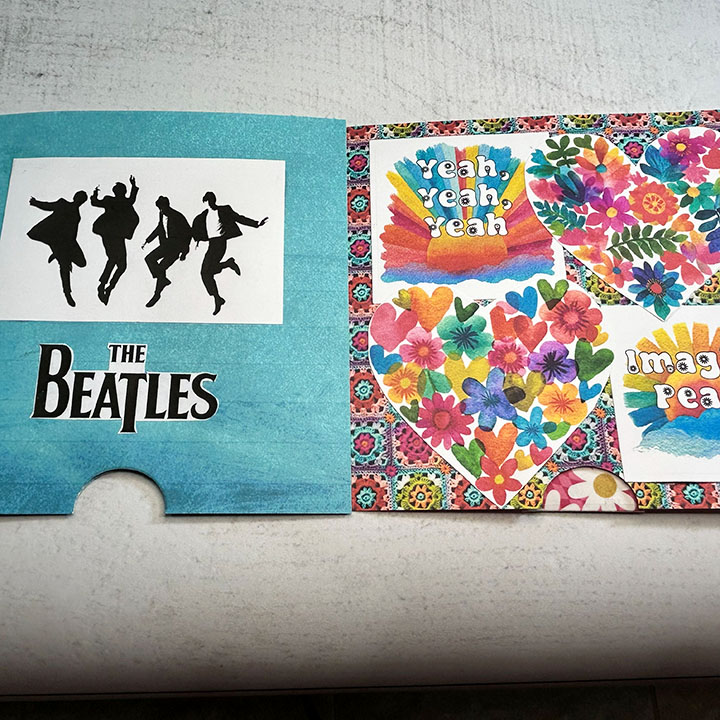
I’m here today with a pop-up junk journal birthday card full of the FAB FOUR using Relatively Thoughtful digital papers – A collection called Groovy Vibes.

Watch the process video to see how I use the paper collection.

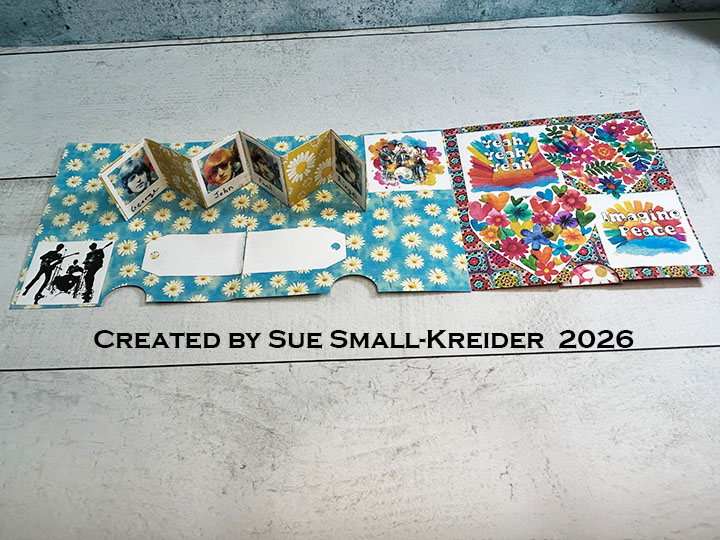
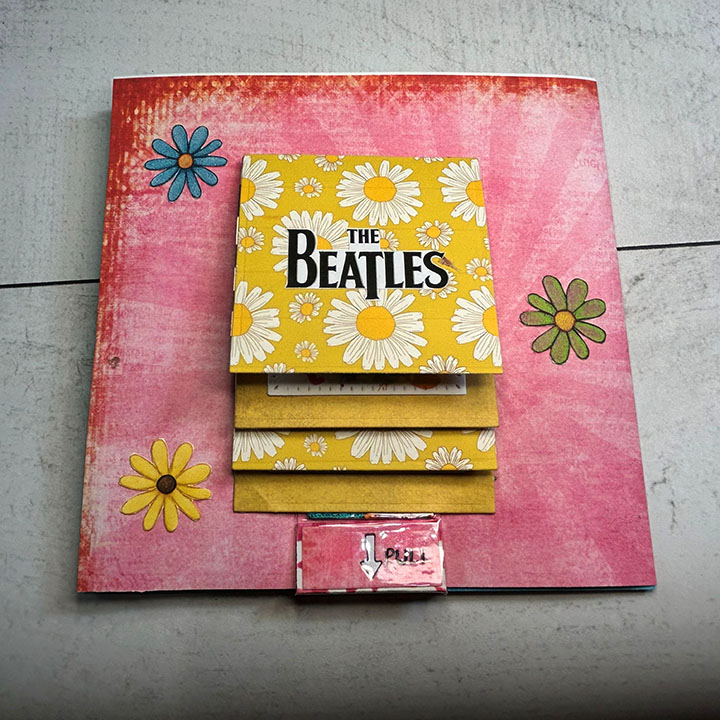
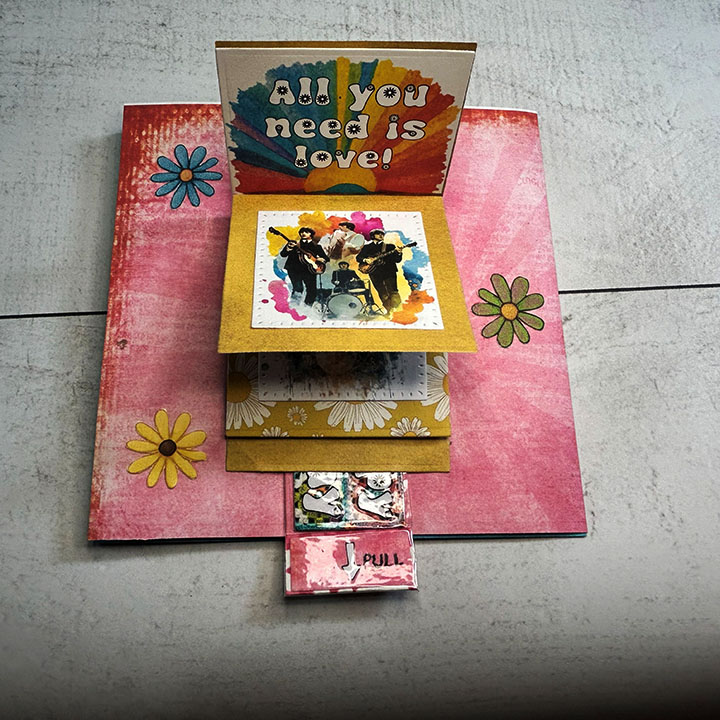
Cardbase: I printed double-sided papers of the blue daisies with solid blue on the back and the crocheted granny squares with the pink sunburst on the back. from the blue daisies I cut a 6-inch square and a 6.5×6-inch rectangle. From the granny squares paper I cut a 6.5×6-inch rectangle. The two rectangles were scored and folded at a half-inch to form 6-inch squares with a tab. Follow the video above on how to glue the two tabbed pieces to the 6-inch square.

Waterfall Card Front: I printed double-sided paper of the pink daisies with the pink sunburst on the back, before cutting out the waterfall pieces using the Karen Burniston’s 1161 – Waterfall Card dies. Follow the directions in the video above to assemble. The Fab Four images were from the smaller images page of musicians while the song lyrics were from the larger rainbow page and the smaller hearts page.The square images were cut out using dies in the set. The title piece and birthday sentiment were fussy cut from the digital paper collection.

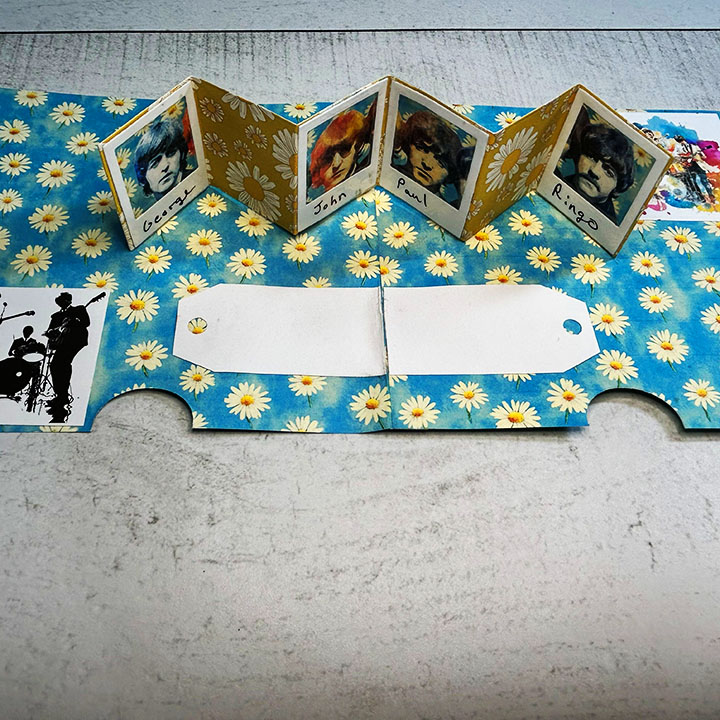
Photo Gallery Pop-Up: I used the Karen Burniston’s 1331 – Photo Gallery Pop-Up dies to create the pop-up gallery of head shots of the FAB Four. Follow the directions in the video above to assemble. The names were written on the white cardstock frames with a black fine-tipped marker before the clear packing tape was applied.

Sentiments: All the inside sentiments and images were hand-cut including the two white tags for a personal message.

Envelope:  The card would need a custom envelope and because of its thickness, it would be best hand-delivered.

___________________________________

Thank you for experiencing this blog post.

I hope this inspires you and makes you smile.

Please subscribe, like and leave comments 😊

Follow my YouTube channel, Instagram and Pinterest as well.

___________________________________

Disclaimer: Relatively Thoughtful and Karen Burniston products were provided for free or at a discount by the manufacturer for review and use. All other items were personally purchased. Compensated affiliate links used where or when possible, meaning I will receive a small percentage commission from these manufacturers at no cost to you. This will allow me to add more content to my YouTube channel and help out a lot. Thank you.

Materials Used:

Dies

  • Karen Burniston in cahoots with Riley and Company – Photo Gallery Pop-Up – 1331
  • Karen Burniston in cahoots with Riley and Company – Waterfall Card – 1161
  • Karen Burniston in cahoots with Riley and Company – Photo Collage Pop-Up – 1098

Papers

Adhesives

  • Neutral PH Adhesive by LINECO
  • Fine-Tip Glue Bottle
  • Double-Sided Tape – 1/4-inch wide
  • Clear Packing Tape

Tools

  • Computer and Color Printer
  • Die Cutting Machine
  • Scissors
  • Circle Hole Punch – 1/4-inch wide
  • Paper Masking Tape

Flower Power Basket Pop-Up Card

I’m here today with a pop-up basket card full of flowers using Relatively Thoughtful digital papers – A collection called Groovy Vibes.

Watch the process video to see how I use the paper collection.

Prepping Basket Cardstock: I printed two copies of the page of colorful hearts without words onto thin white paper. After fussy cutting out the hearts, I laid them out on two sheets of white cardstock, gluing them down after the layout was decided. Next, I covered the colorful hearts with clear packing tape.

Woven Basket: I used the Karen Burniston’s 1080 – Woven Basket Box Card dies to create the basket and grass and stem pieces. (You can find an assembly video for the basket on her website.)

Sentiments: The sentiment tags were printed and cut out with the large tag cut once in blue and once in brown kraft and glued back to back. The “Happy Birthday” was printed on thin white paper and cut out and glued to the large tag.

Envelope:  The card fits into an A2 (4.25x 5.5-inches) size envelope with a pink flower glued to the back flap.

___________________________________

Thank you for experiencing this blog post.

I hope this inspires you and makes you smile.

Please subscribe, like and leave comments 😊

Follow my YouTube channel, Instagram and Pinterest as well.

___________________________________

Disclaimer: Relatively Thoughtful and Karen Burniston products were provided for free or at a discount by the manufacturer for review and use. All other items were personally purchased. Compensated affiliate links used where or when possible, meaning I will receive a small percentage commission from these manufacturers at no cost to you. This will allow me to add more content to my YouTube channel and help out a lot. Thank you.

Materials Used:

Dies

  • Karen Burniston in cahoots with Riley and Company – Woven Basket Box Card – 1080

Papers

Adhesives

  • Neutral PH Adhesive by LINECO
  • Fine-Tip Glue Bottle
  • Double-Sided Tape – 1/4-inch wide
  • Clear Packing Tape

Tools

  • Computer and Color Printer
  • Die Cutting Machine
  • Scissors
  • Craft Knife
  • Craft Mat
  • Circle Hole Punch – 1/8-inch wide
  • Tweezers
  • Paper Masking Tape

Miscellaneous

  • Yellow Satin Ribbon 1/8-inch wide

Quilted Square Interactive Birthday Card

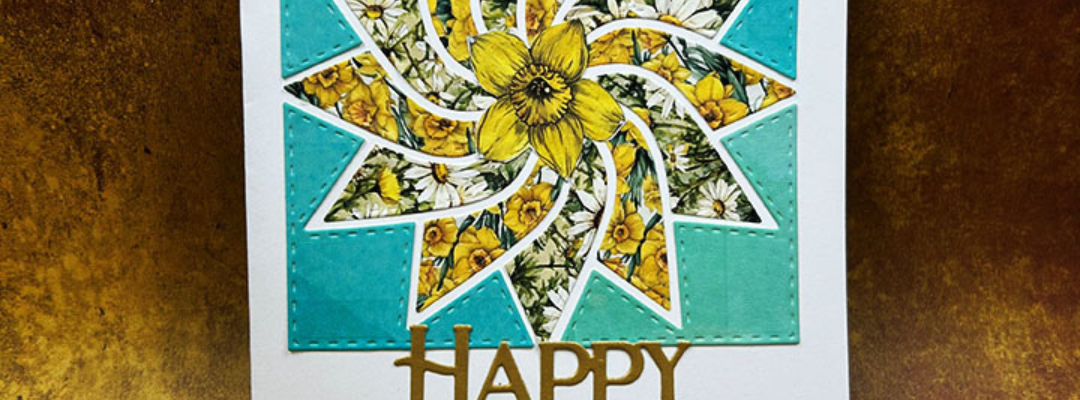
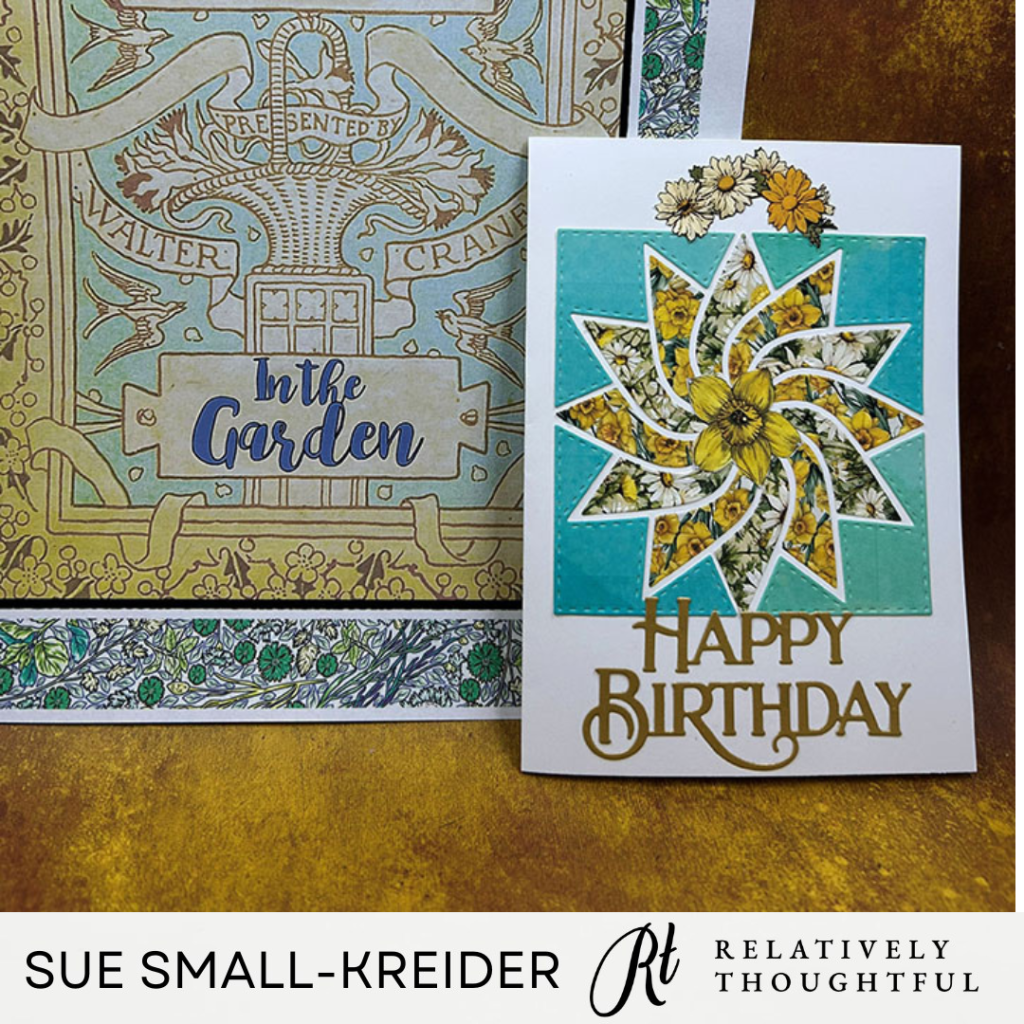
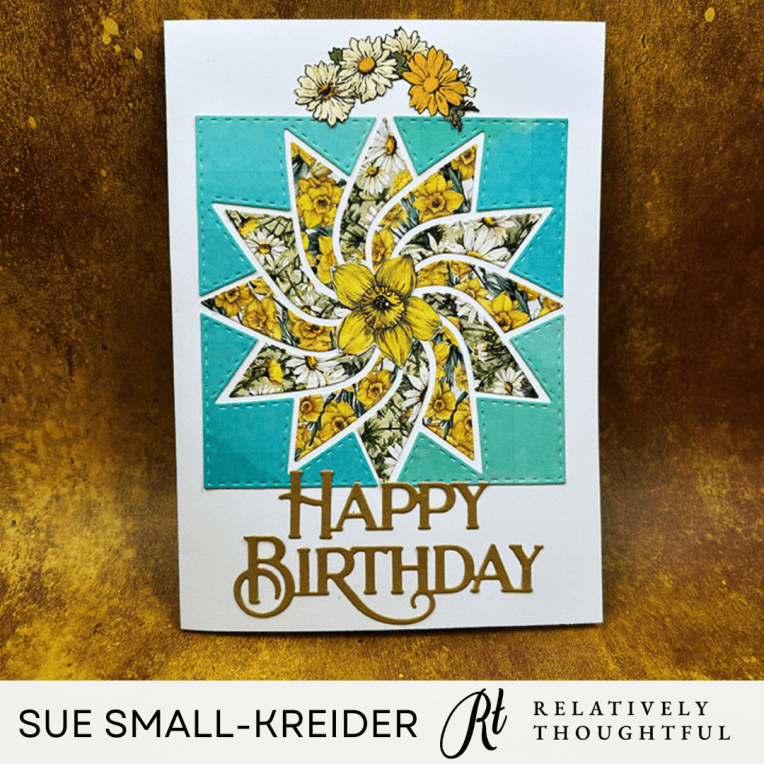
This card was made for Craft Roulette #318 whose parameters were: Ardyth’s Square (4.25-inch square) card, May garden colors, textile element and three layer random. I used Relatively Thoughtful digital papers as well as dies and stamps from Concord & 9th, Essentials by Ellen, Scrapbook.com, The Greetery & Waffle Flower.
Watch the process video to see how I made this card.

Cardbase: I took an 8.5×8.5-inch square of lightweight cardstock and scored and folded at 4.25-inchs on each side and along one of the diagonal corner to corner. (See the video above for directions.) Decorate front and back with quilt blocks and the sides cover with 4.25-inch squares of colored paper cut in half diagonally.

Quilt Blocks: Using the Scrapbook.com Mini Quilt Block die set, cut six of all the die pieces from solid color decorative paper and another six sets from patterned paper. (I printed all my digital papers on thin computer paper.) Use a fine-tipped black marker to add stitching lines.

Sewing Notions: Using The Greetery’s Notionable die set, cut one pair scissors from silver foil cardstock. (I cut a second set from white as my silver cardstock was thin and tended to curl.) Cut the thimble, needle and seven pins also from silver cardstock. From white cut the three pieces for the spool of thread and color using a light brown for the spool and light gray for the thread. Leave the thread label white, but highlight the writing with a fine-tipped black marker. Cut the curling piece of thread from white and color light gray. (I used scraps of solid colored cardstock for the pincushion and pin heads.) The card of pins uses an image printed on cardstock from the Relatively Thoughtful Walter Crane In The Garden A4 digital paper collection.

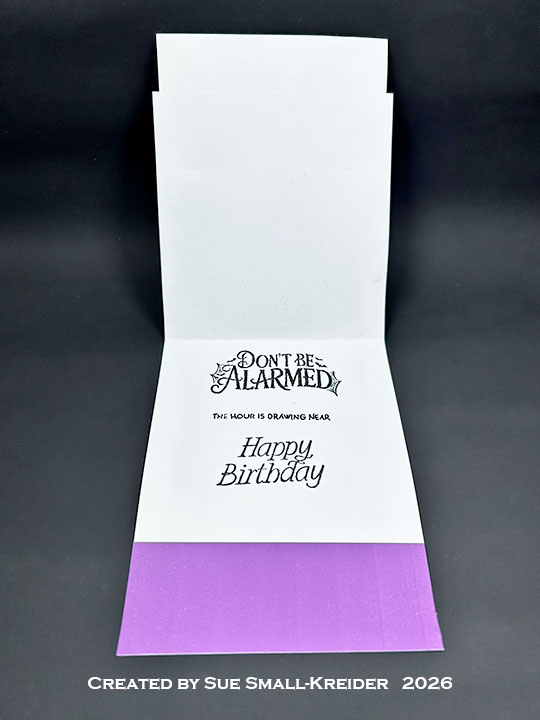
Sentiments: The outside stamped sentiments of “You’re sew sweet” and “Made with love” are from Essentials by Ellen – Old Spool. The inside sentiments come from Concord & 9th’s Sew Lovely stamp and die sets as well as Waffle Flower’s Quilted Hug stamp set.

Envelope: The card fits into an A2 (4.25×5.5-inches) envelope with “What’s sewing on?” stamped on the back flap. Stamp is from Essentials by Ellen – Old Spool.

___________________________________

Thank you for experiencing this blog post.

I hope this inspires you and makes you smile.

Please subscribe, like and leave comments 😊

Follow my YouTube channel, Instagram and Pinterest as well.

___________________________________

Materials Used:

Dies

Stamps

Papers

Ink

  • Memento – Fade-Resistant Dye Ink – Tuxedo Black
  • OLO MarkerNatural Gray 3
  • Pigma – Mircon 005 Fine Tip Pen – Black
  • Stampin’ Up – Stampin’ Blends Marker – Dark Wild Honey

Adhesives

Tools

Zoyfold Paperganza Card

I made this card for Craft Roulette episode #277 while I was at Paperganza, the first in-person version of Craft Roulette. The parameters were a zoyfold card, local sports colors, Craft Roulette as an element, and up-to-date as the random.

What the video below to learn how and why I created the card using all but two items from the Paperganza swag bag/classes. (The two items were the cardbase cardstock and the pop-up mechanism that I had die-cut at home before going to the event.)

Materials Used:

Dies:

Stamps:

  • Craft Roulette – Clear Stamps – The Basics

Papers:

  • Max Macias – Handmade/Heartmade – Gel Prints (yellow)
  • Relatively Thoughtful – The Practically Perfect Nanny – Digital Papers (blues)
  • Your Paper Insider – Silver Cardstock
  • Spellbinders – Red Cardstock
  • White Cardstock

Inks:

  • Catherine Pooler – Premium Dye Ink – Juniper Mist

Adhesives:

Tools:

  • Stamping Block
  • Scissors
  • Pokey Tool
  • Paper Trimmer
  • Score Board
  • Bone Folder

It’s A Mystery – A Birthday Card for an Avid Mystery Reader

This is a card for the Relatively Thoughtful March 2025 Challenge using the two page free digital download from the Independent Women “AUTHORS” paper set.

Cardbase: Start with a purchased side-fold A7 (7×5-inch) card. Cover the front with two strips of the narrow decorative papers and one 3.5×7-inches of the wallpaper print. Use scrapes to created the tab strips at right top and bottom. (I printed one set out and realized my yellow ink cartridge was empty, so the card back uses that paper. The front of card uses the set printed with all the full color cartridges.)

Oval Opening: I centered my 3.125-inch oval die over the cut out rectangle of Agatha Christie positioned them where I wanted them to go on the card front and carefully taped the die down while removing the picture. With the card open, I cut the oval through just the card front.  Glue the picture to the inside of the card centering it through the oval window.

Decorations: Add floral images fussy cut from the digital papers. Cut out three tags for the back of the card. Use a fine black pen to draw strings on the tags.

Sentiments: Here are the sentiments I used for the card. Free download.

Envelope:  The card fits into an A7 (7×5-inch) size envelope with a fussy cut tag from the papers glued to the back flap.

___________________________________

Thank you for experiencing this blog post.

I hope this inspires you and makes you smile.

Please like and leave comments 😊

___________________________________

Disclaimer: Karen Burniston products are provided free of charge by the manufacturer for review and use. All other items were personally purchased. Compensated affiliate links used where or when possible, meaning I will receive a small percentage commission from these manufacturers at no cost to you. This will allow me to add more content to my YouTube channel and help out a lot. Thank you.

Materials Used:

Dies

  •  Tutti Designs – Stitched Nesting Ovals

Papers

  • 65lb. Smooth White 8.5×11-inch Cardstock
  • White 8.5×11-inch Computer Paper
  • Purchased A7 Cardbase and Cream Envelope

Ink

  • Pigma – Mircon 01 Fine Tip Pen – Black
  • Ink Jet Computer Printer

Adhesives

Tools

A Treemendous Christmas Challenge

This card was made for Relatively Thoughtful’s A Treemendous Christmas Challenge which uses the free download Treemendous Christmas images.

Watch the process video to see how I made this card.

Cardbase: Using my computer I enlarged one tree image to cover a 9.5×4.25-inch rectangle and then copied the image a second time to print the outside cardbase which I cut down to a 8.75×7.50-inch rectangle. I folded that rectangle in half for a side-fold 3.75×8.75-inch cardbase. I printed a second sheet to cover one panel of the card inside.

Sentiments: I used some Spellbinder’s BetterPress banner sentiments that I had printed and die cut previously. “Christmas Greetings” and “Happy New Year”.

Envelope: The card fits into a #10 business size envelope.

___________________________________

Thank you for experiencing this blog post.

I hope this inspires you and makes you smile.

Please like and leave comments 😊

___________________________________

Disclaimer: Karen Burniston products are provided free of charge by the manufacturer for review and use. All other items were personally purchased. Compensated affiliate links used where or when possible, meaning I will receive a small percentage commission from these manufacturers at no cost to you. This will allow me to add more content to my YouTube channel and help out a lot. Thank you.

Materials Used:

Dies

  • Karen Burniston in cahoots with Riley and Company – Circles – Crosshatch – 1057

Press Plates

  • Spellbinders – BetterPress Plate & Die Set – Mistletoe Greetings Press

Papers

  • Recollections – 8.5×11 65 lb. Cardstock – White
  • Relatively Thoughtful Digital Images – A Treemendous Christmas Challenge

Ink

  • Pigma – Mircon 01 Fine Tip Pen – Black
  • Computer Printer

Adhesives

  • Neutral PH Adhesive by LINECO
  • Fine-Tip Glue Bottle
  • Double-Sided Tape – 1/4-inch wide

Tools

  • Die Cutting Machine
  • Paper Trimmer
  • Bone Folder
  • Score Board
  • Spellbinders – BetterPress System
  • Scissors
  • Paper Masking Tape
  • We R Memories – QuickStick

Miscellaneous

  • Thin Cotton String