

Watch the process video to see how I made this card.
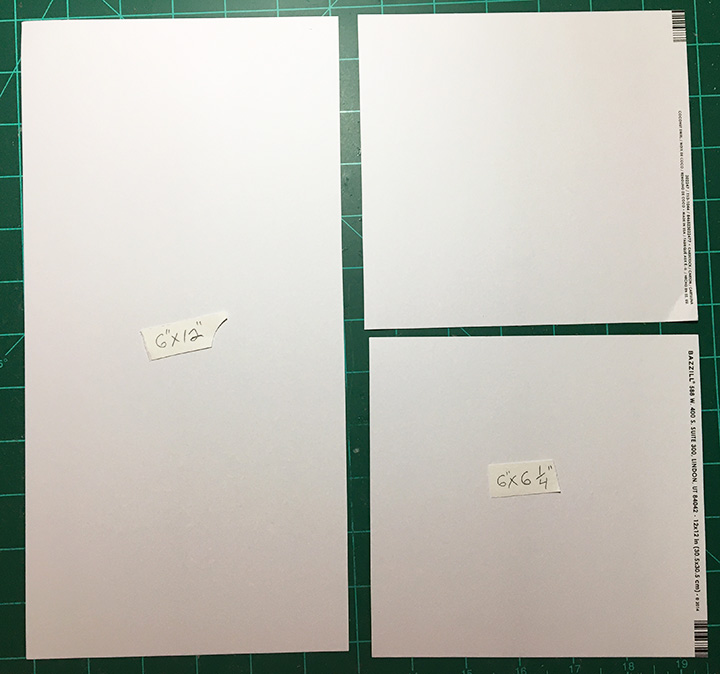
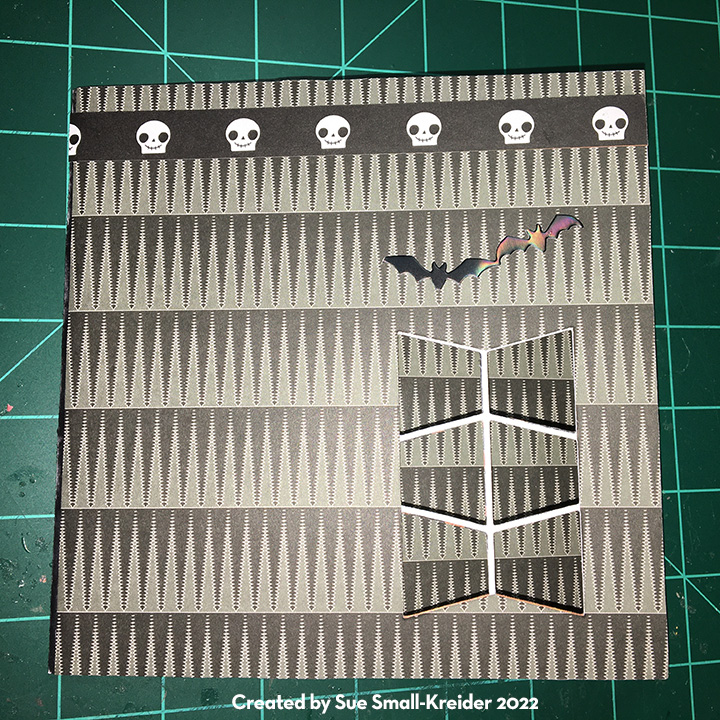
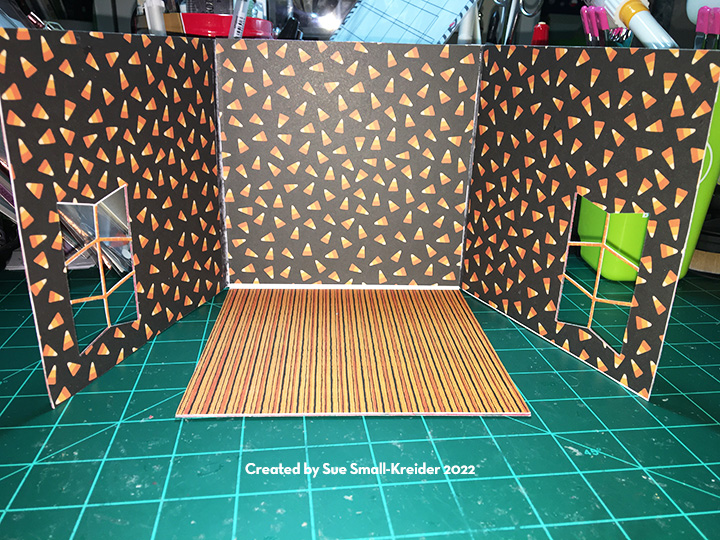
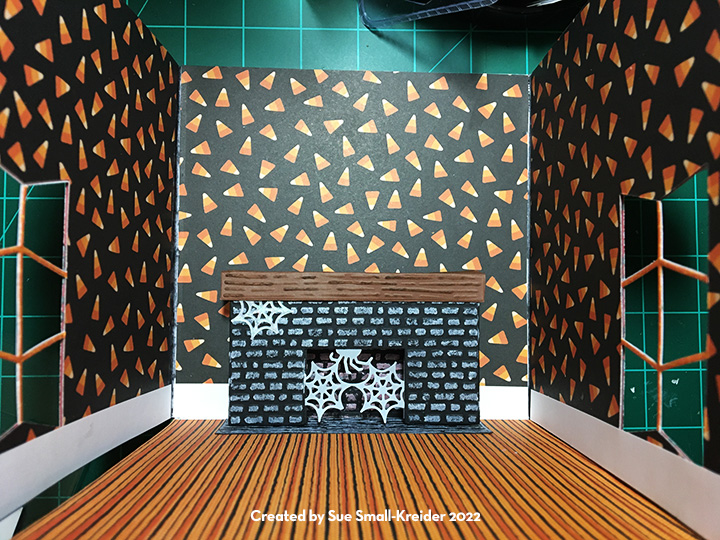
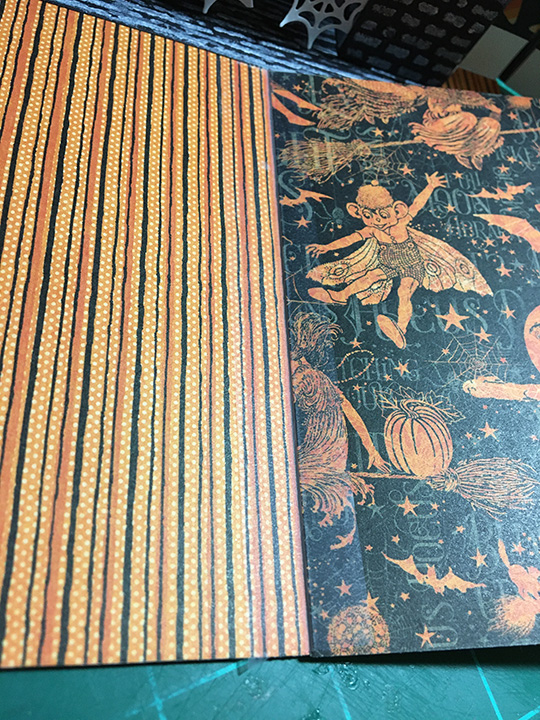
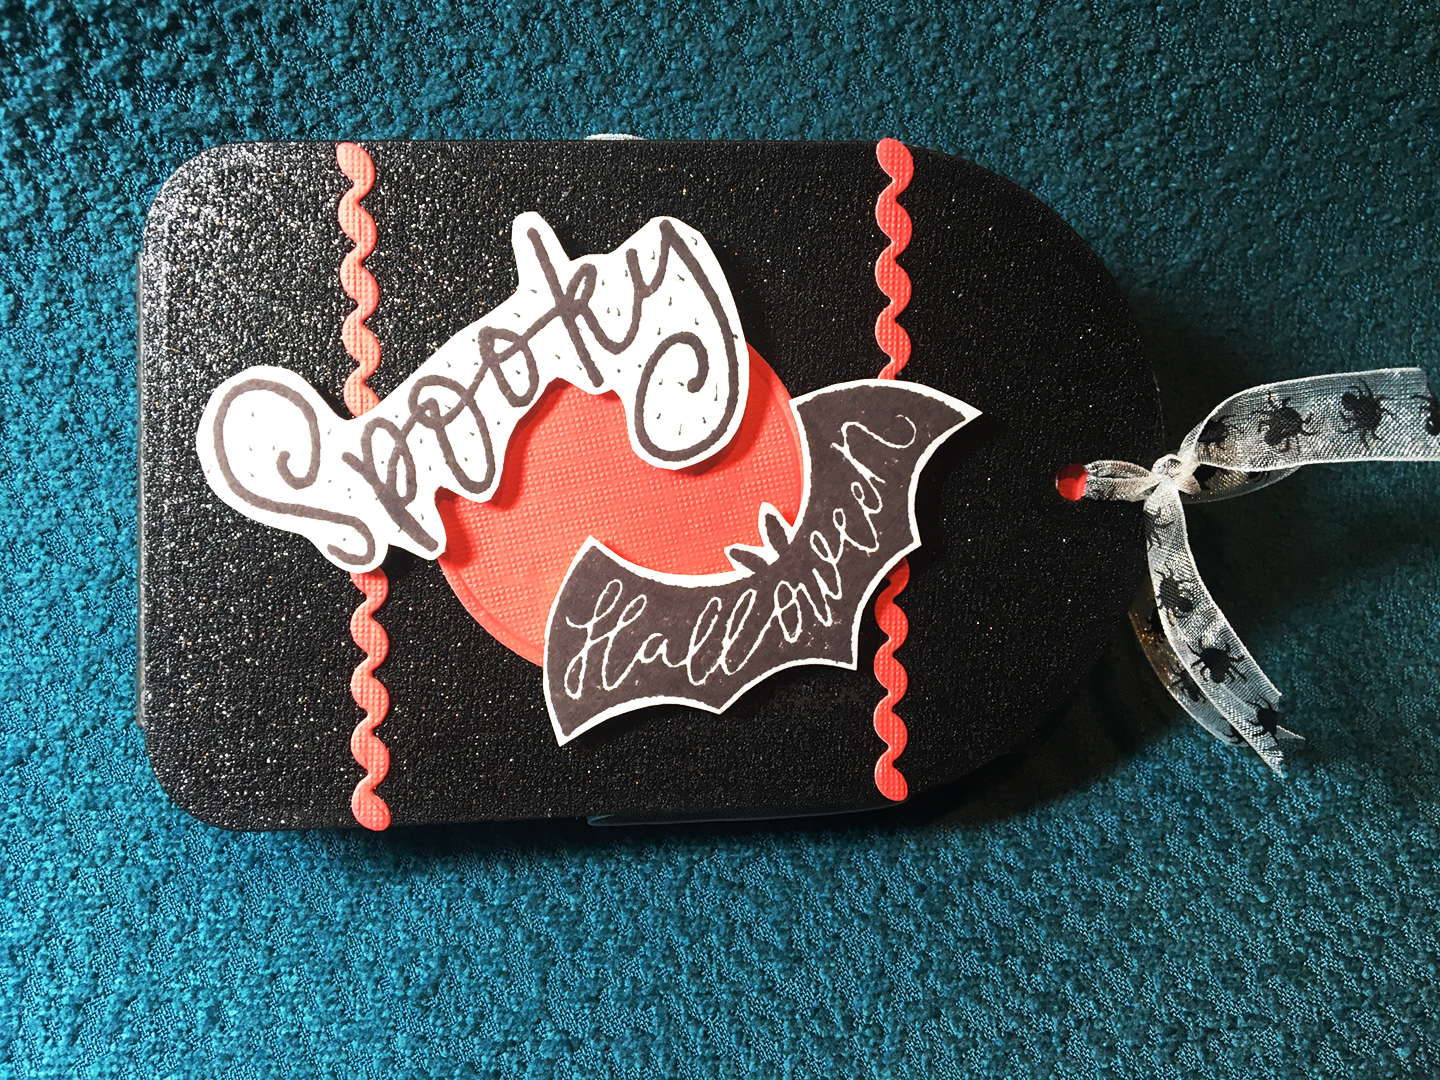
Cardbase: Start with a white, purchased A2 (4.25×5.5-inch) cardbase. Covered the four panels with decorative papers.

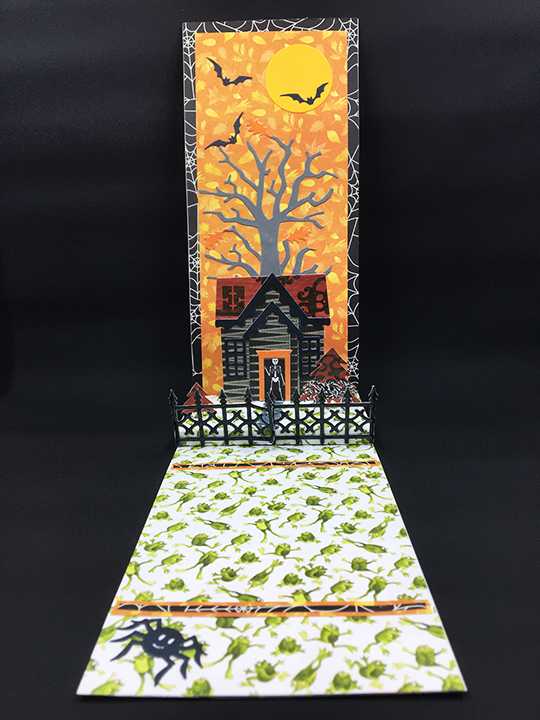
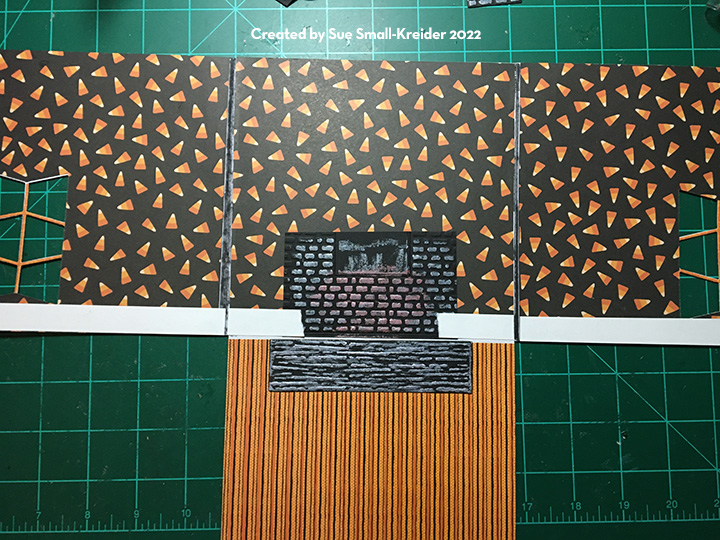
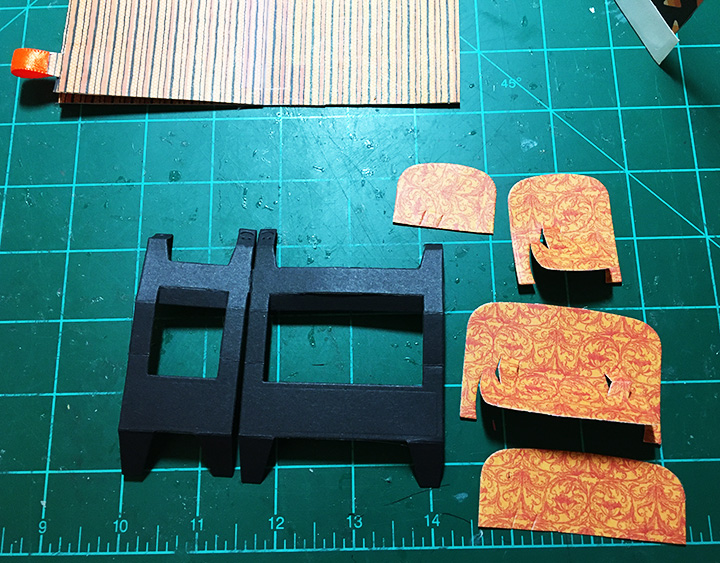
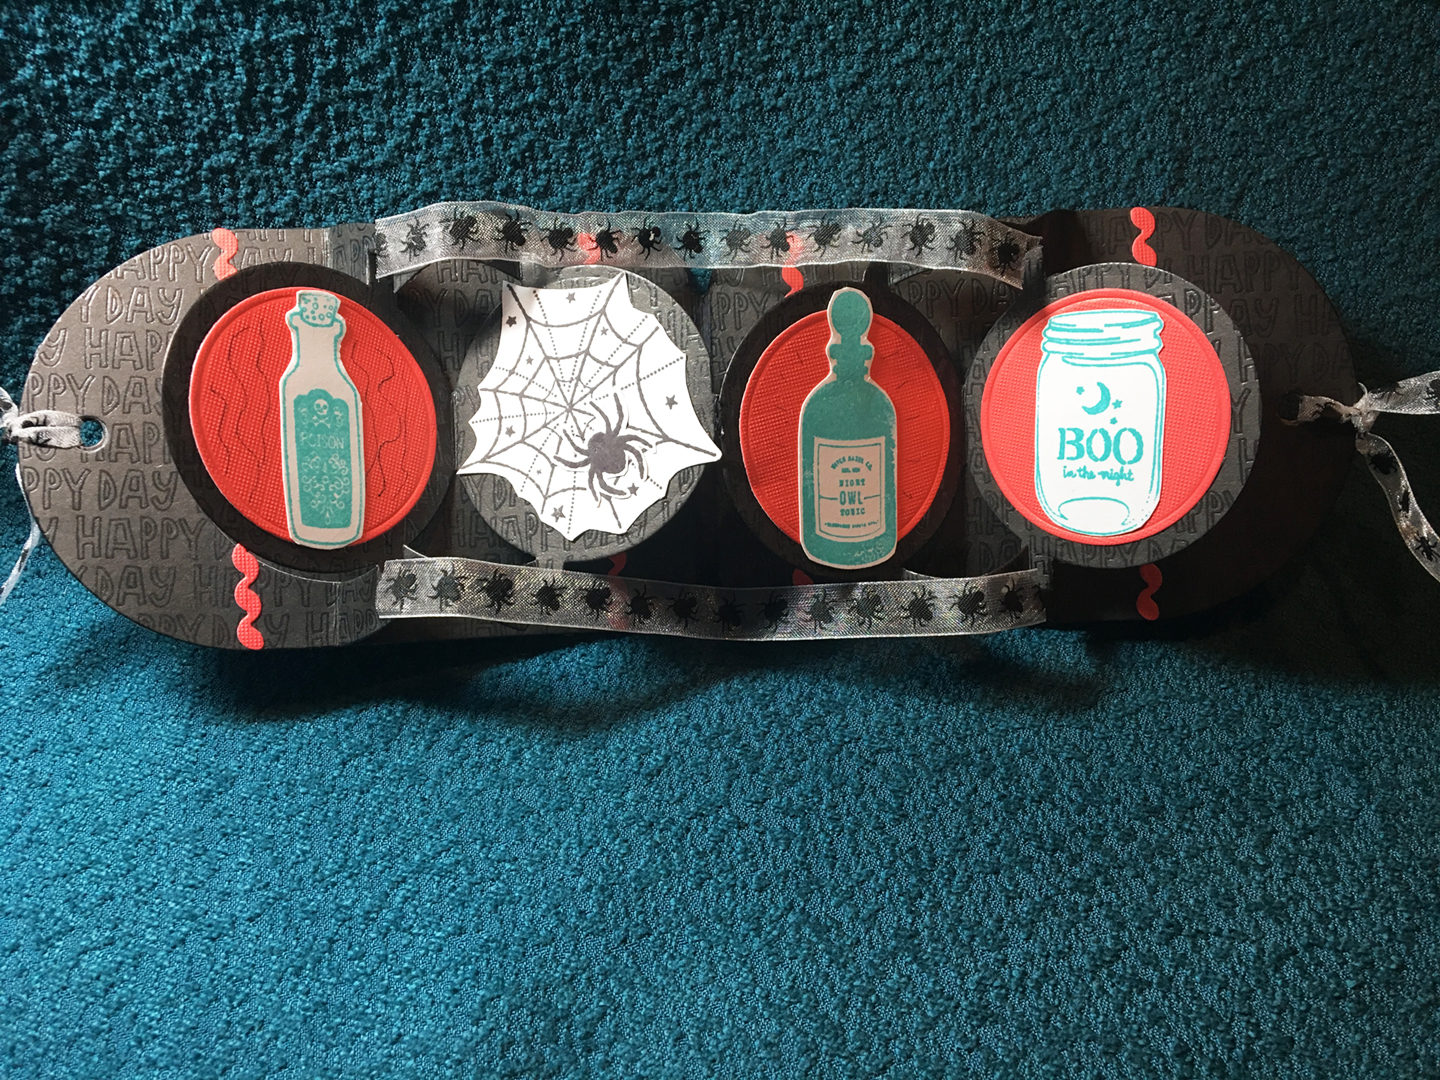
Arch Pop-Up: Watch the assembly video (located at the bottom of the linked die set page) for the Arch Pop-Up. For details on how I decorated the arch with nine trees cut from the Tree Pop-Up die set, watch the video above. (Four of the trees are glued onto the arch side pop-ups and the remaining five are cut up for their branches which are glued onto the arch and the back pop-out strip. Orange leaves were cut also from the Tree Pop-Up set.)

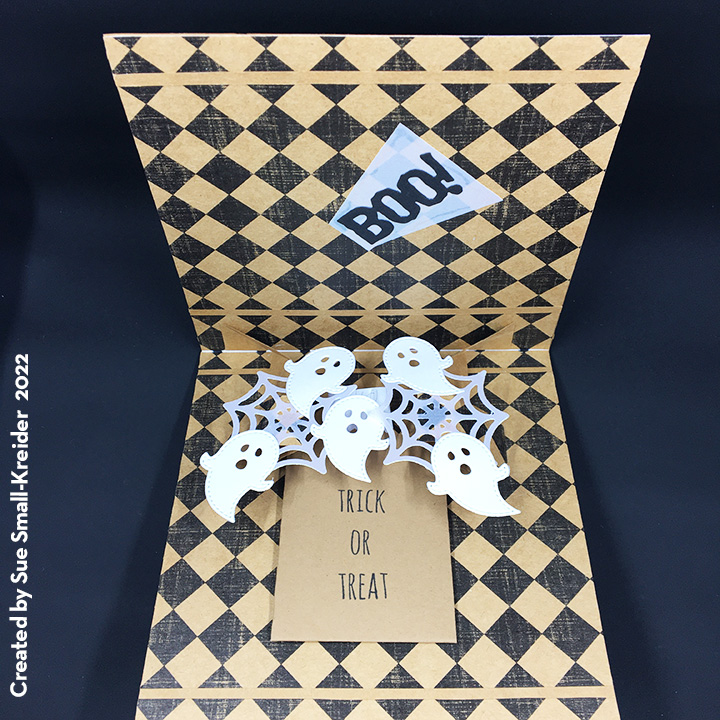
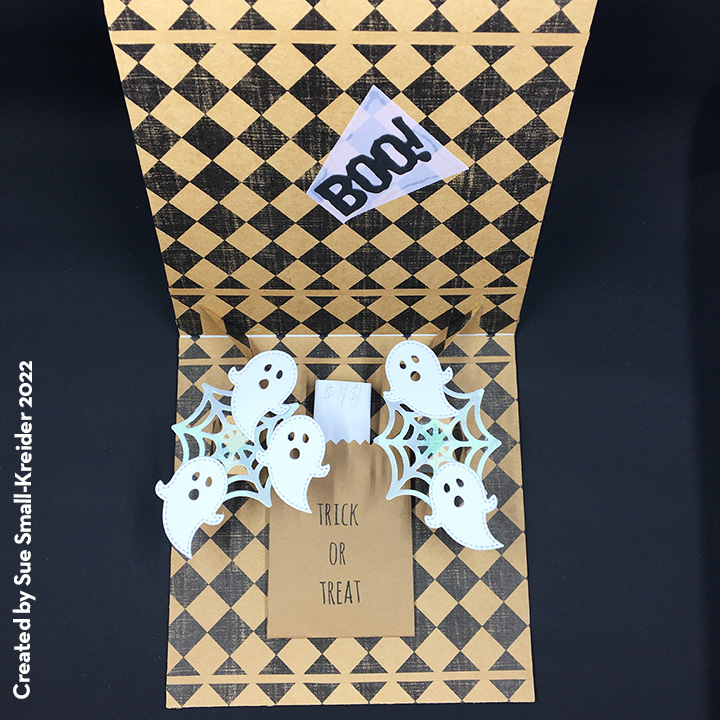
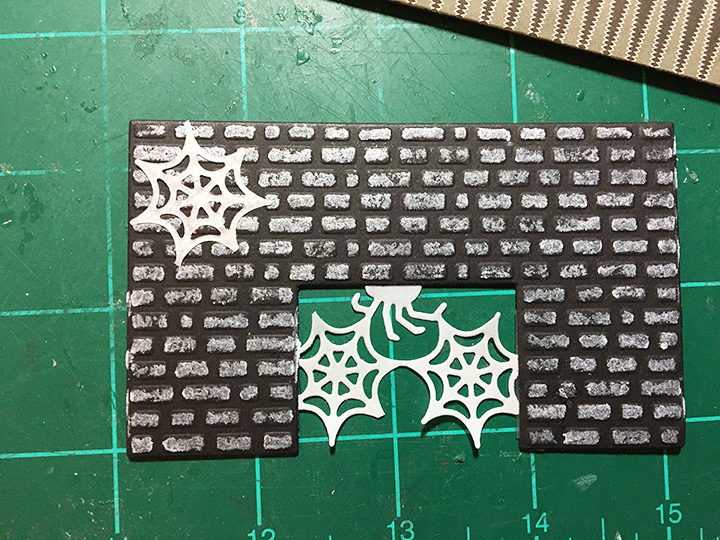
Decorations: Three ghosts were cut from pearlescent vellum using the Halloween Elements dies. The dangling spider is made up of two spiders cut using the Slim Pattern Plate – Spiders. (You can use the spider from the Halloween Scene set as well.) Sandwich a piece of white thread between the two spider die cuts and tie onto back pop-out strip behind the arch.

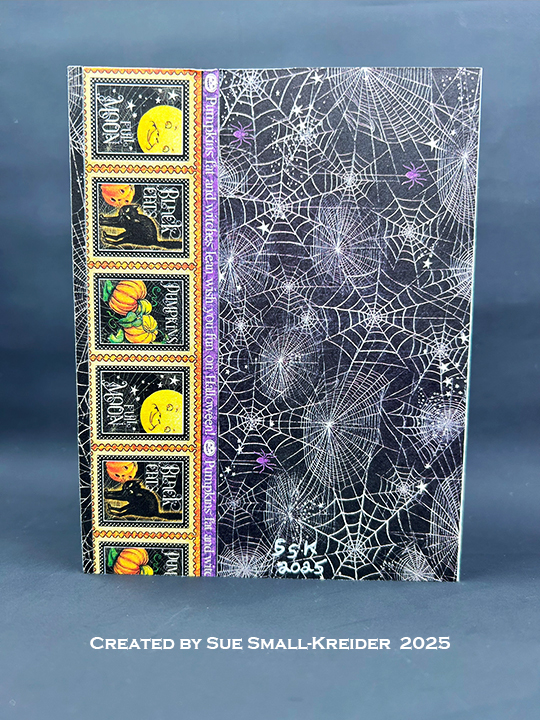
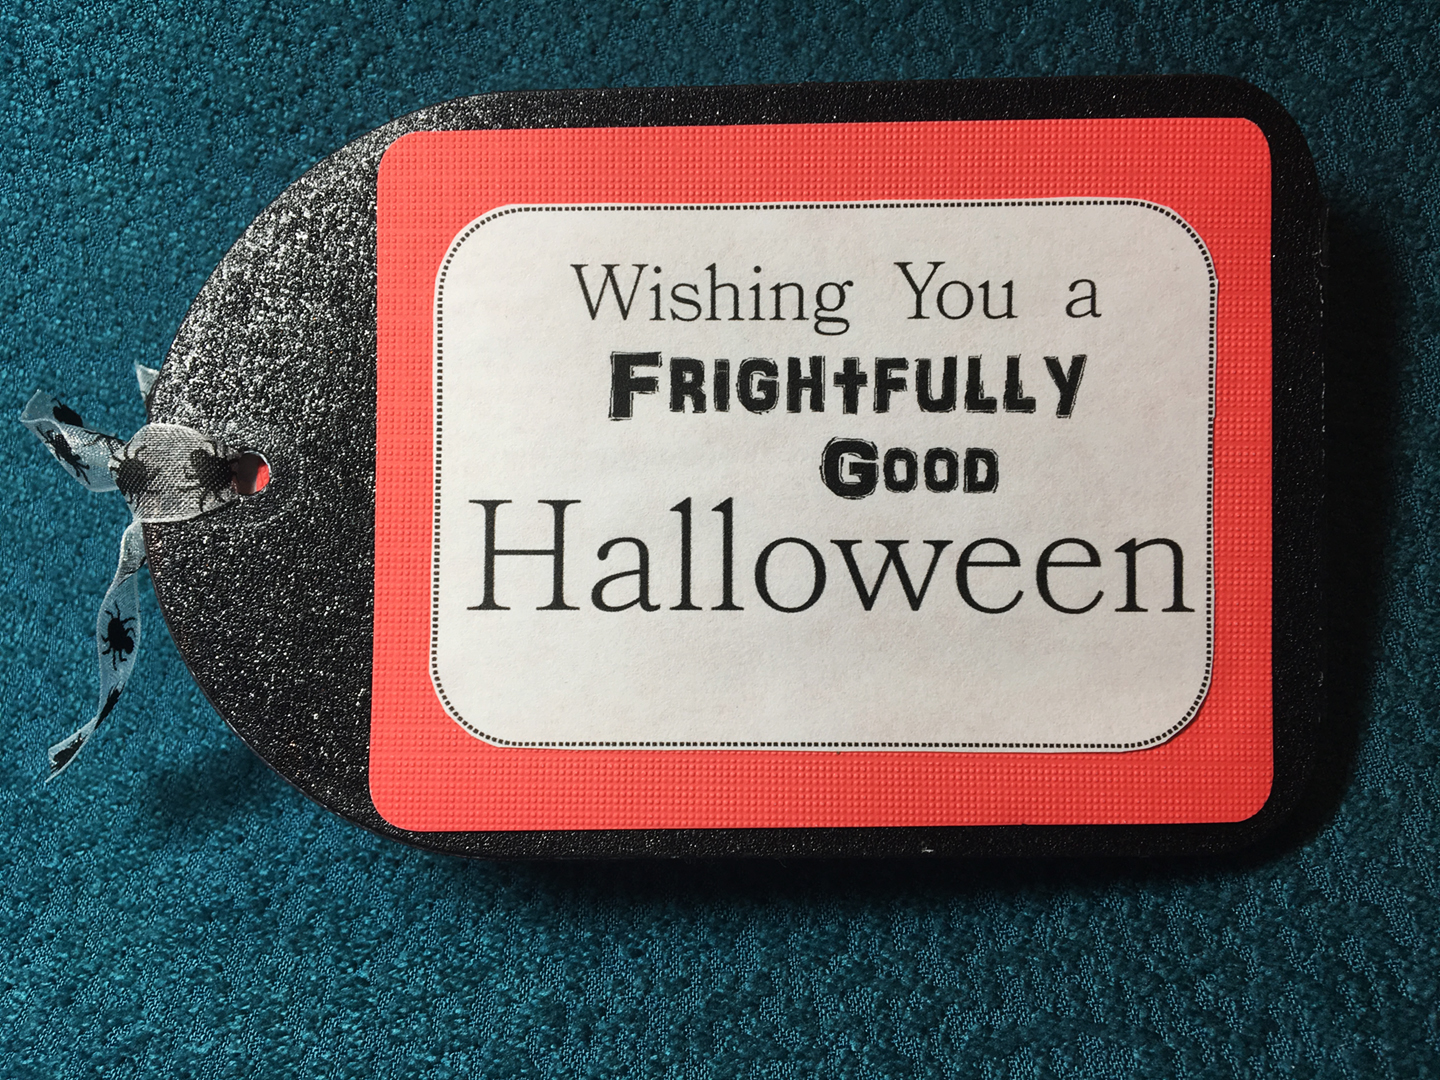
Sentiments: Pearlescent vellum was using again to cut the “Boo!” (Halloween Elements) and the larger oval for a personal message (Ovals-Crosshatch). Graphic 45 Midnight Tales papers and ephemera are used for their sentiments on the card front and back. The “Happy Haunting” sentiment is from the newly released Halloween Phrases stamp set.

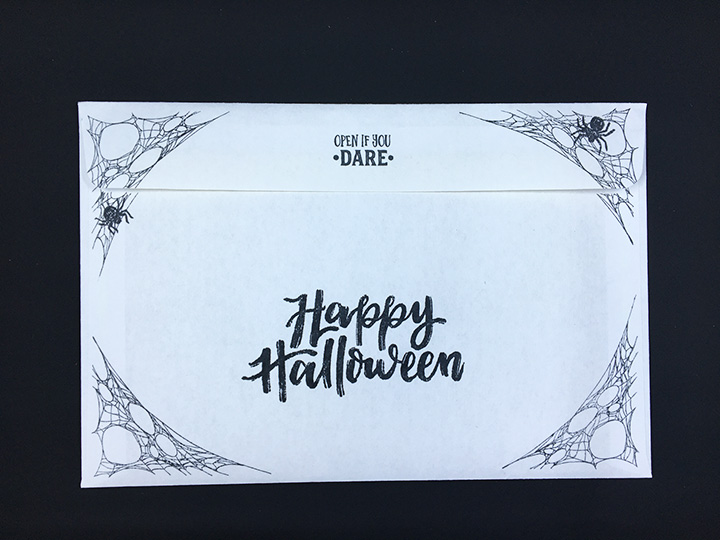
Envelope: The card fits into an A2 (4.25x 5.5-inches) size envelope with its back flap decorated with more of the Graphic 45 papers.
___________________________________
Thank you for experiencing this blog post.
I hope this inspires you and makes you smile.
Please subscribe to the email notices, like and leave comments 😊
Follow my YouTube channel, Instagram and Pinterest as well.
___________________________________
Disclaimer: Karen Burniston products are provided free of charge by the manufacturer for review and use. All other items were personally purchased. Compensated affiliate links used where or when possible, meaning I will receive a small percentage commission from these manufacturers at no cost to you. This will allow me to add more content to my YouTube channel and help out a lot. Thank you.
Materials Used:
• Karen Burniston in cahoots with Riley and Company – Ovals – Crosshatch – 1055
• Karen Burniston in cahoots with Riley and Company – Halloween Scene – 1014
• Karen Burniston in cahoots with Riley and Company – Halloween Elements – 1013
• Karen Burniston in cahoots with Riley and Company – Tree Pop-Up – 1005
Stamps
• Karen Burniston in cahoots with Riley and Company – Clear Stamps – Halloween Phrases
Papers
• Graphic 45 – 8×8-inch Double-Sided Paper – Midnight Tales
• Lawn Fawn – 8.5×11 Vellum – Pearlescent
• Black Cardstock
• A2 Cardbase – White
• Fraser Papers for William House – A2 Envelope – Genesis Text Husk Smooth
Ink
• Sakura – Gelly Roll Pen – Medium – White
Adhesives
• Neutral PH Adhesive by LINECO
• Fine-Tip Glue Bottle
Tools
• Die Cutting Machine
• Paper Trimmer
• Stamping Blocks
• Scissors
• Paper Masking Tape
• Tweezers
Miscellaneous
• White Thread


