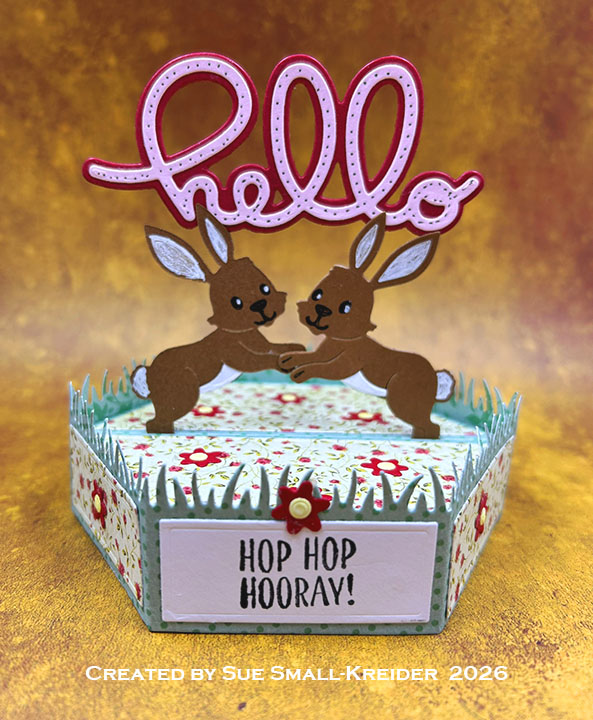
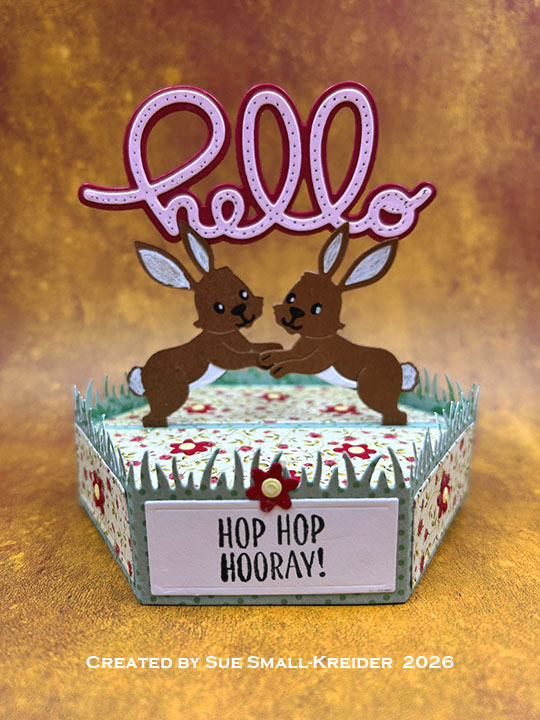
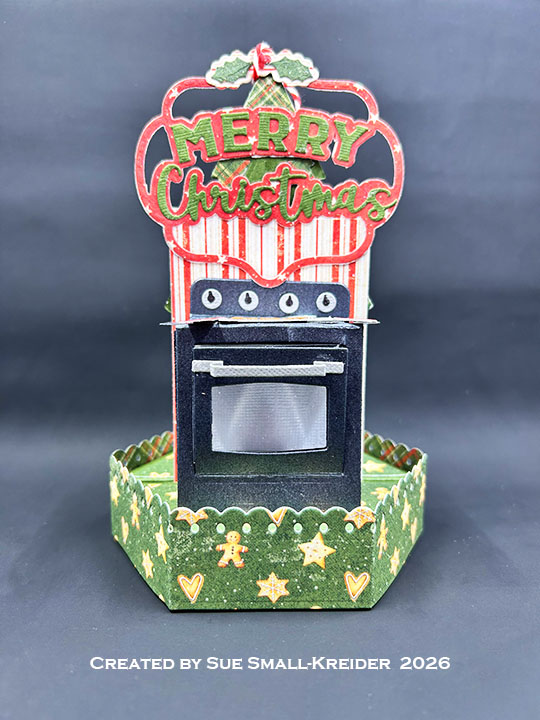
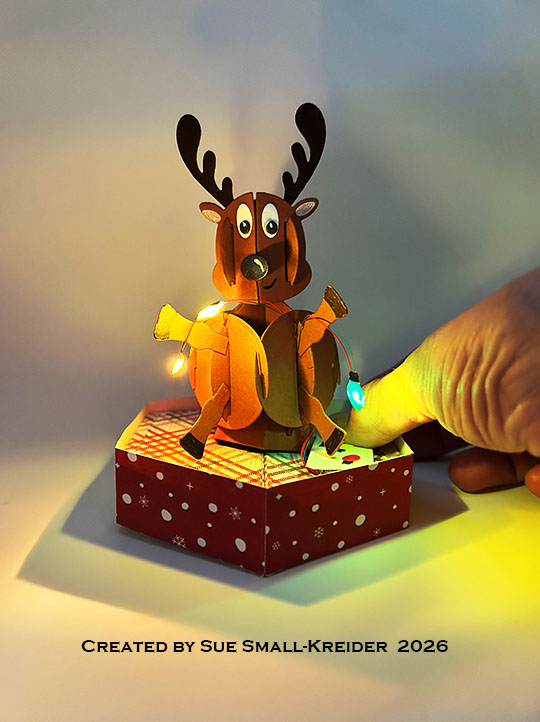
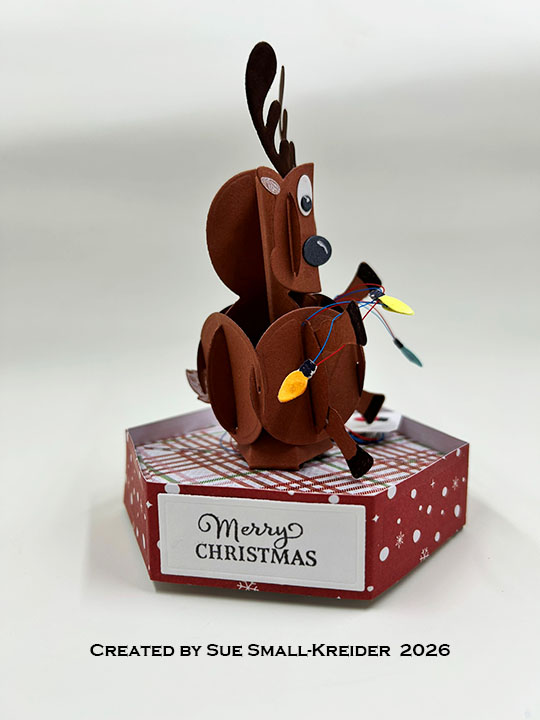
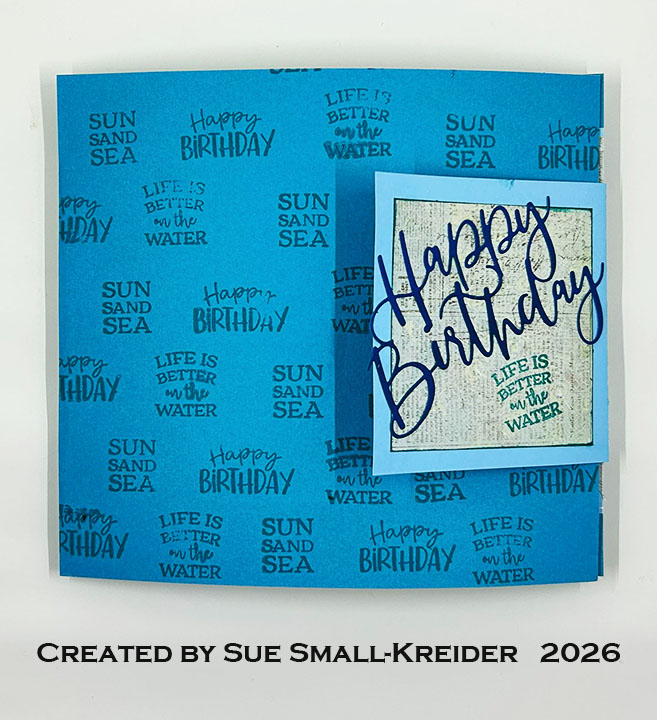
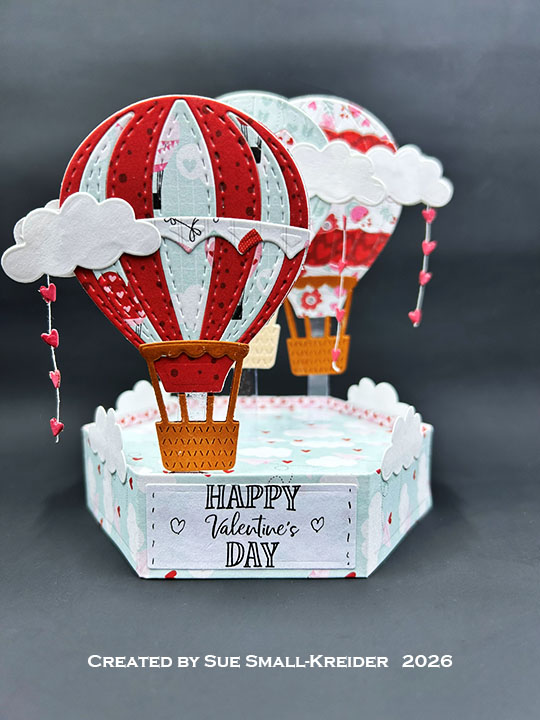
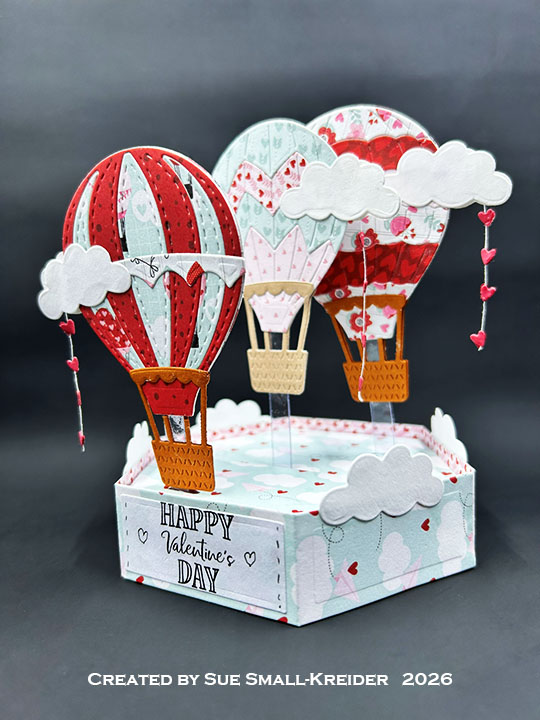
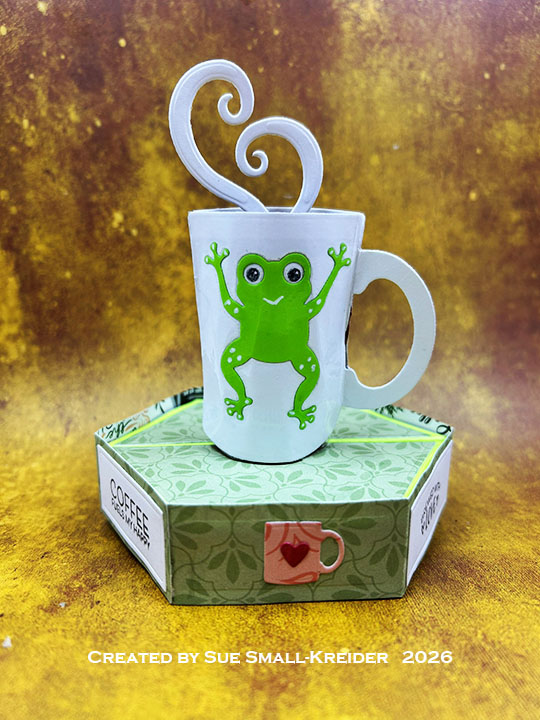
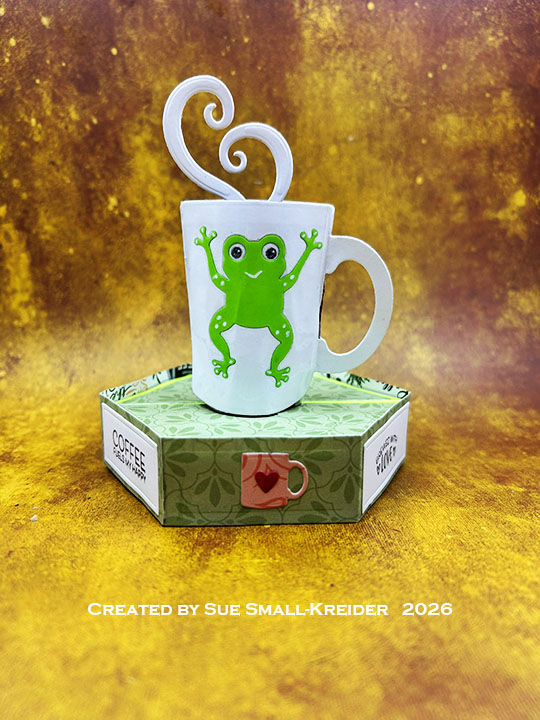
It’s time for the Karen Burniston Design Team May 2026 Challenge whose theme is CAFFEINATE! – using a coffee, tea, soda or chocolate theme. I used the Stage Pop-Up, Tea and Coffee Pop-Up, Cake Pop-Up, Leaping Animals and Tea and Coffee Borders die sets and Fun Faces 1 , Stage Scenes and Coffee Chat stamp sets to make this energized morning mug of coffee – a perfect gift for a co-worker.
Watch the process video to see how I made this card.
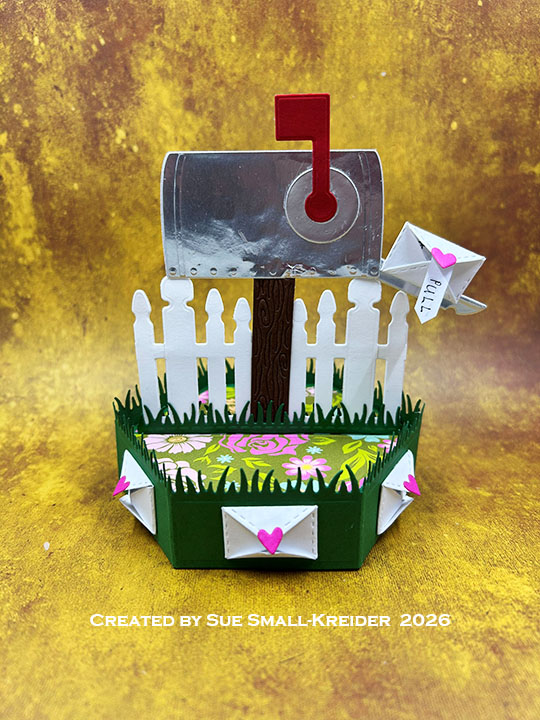
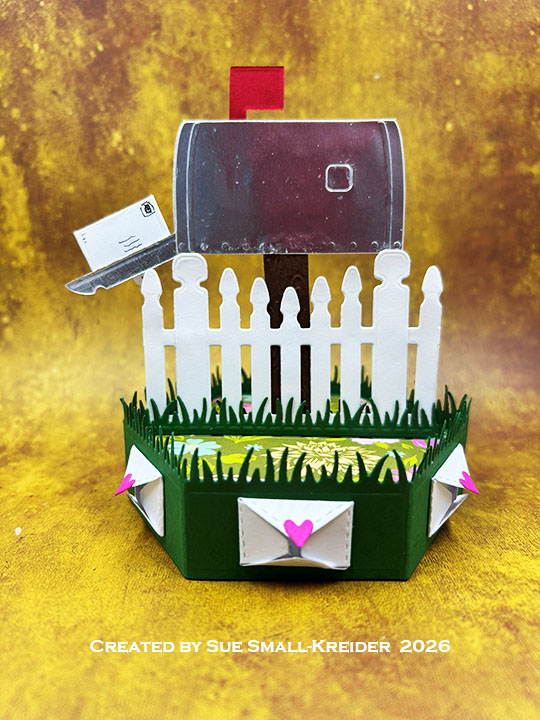
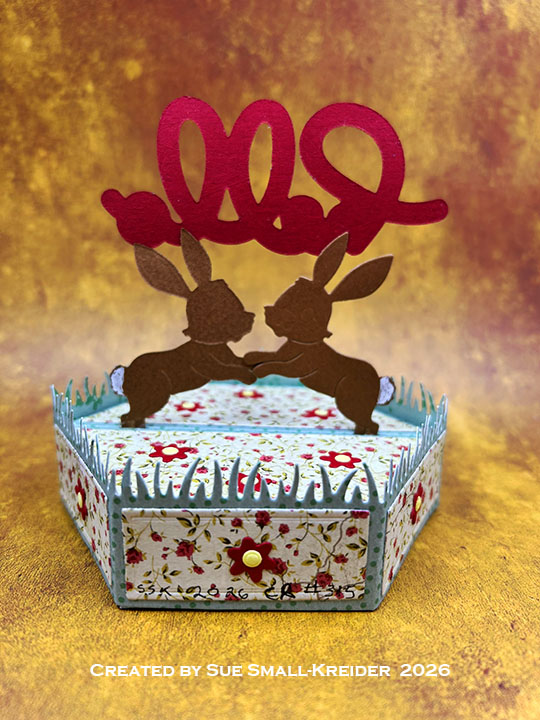
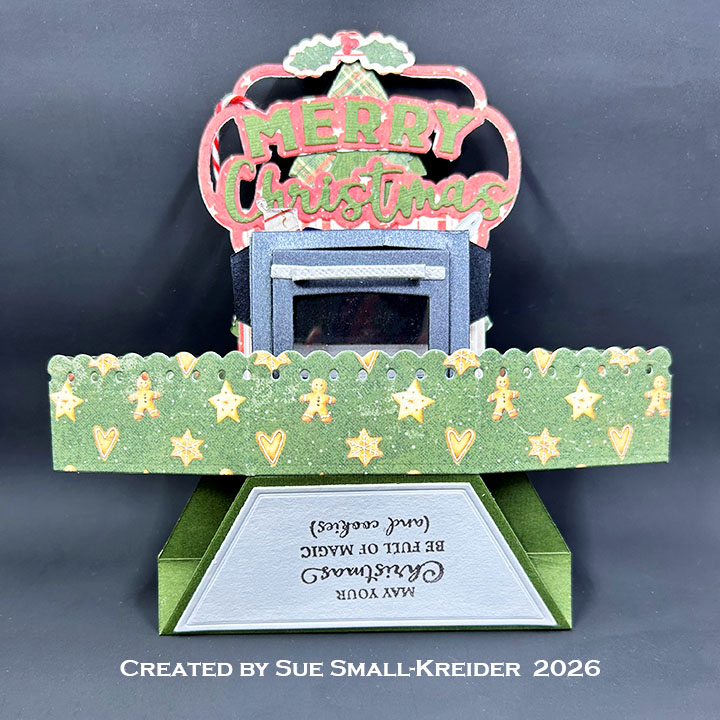
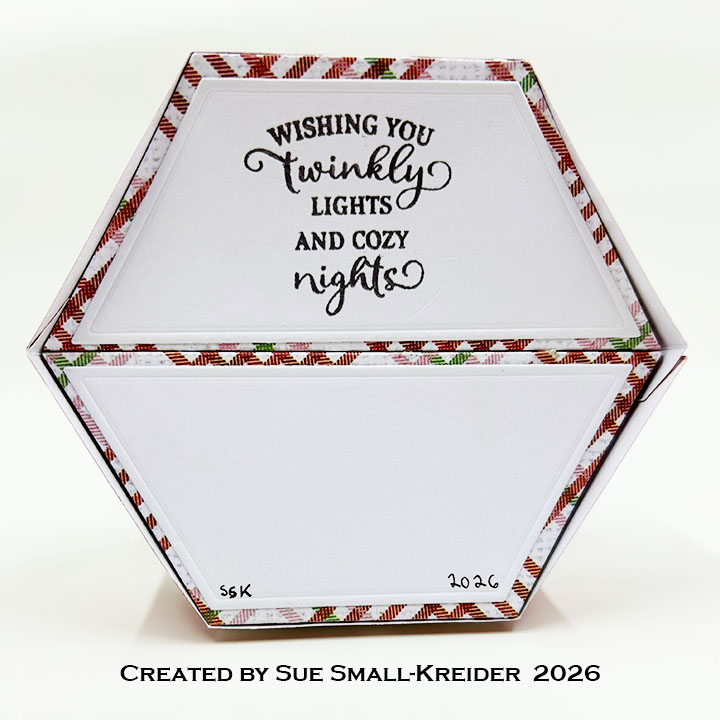
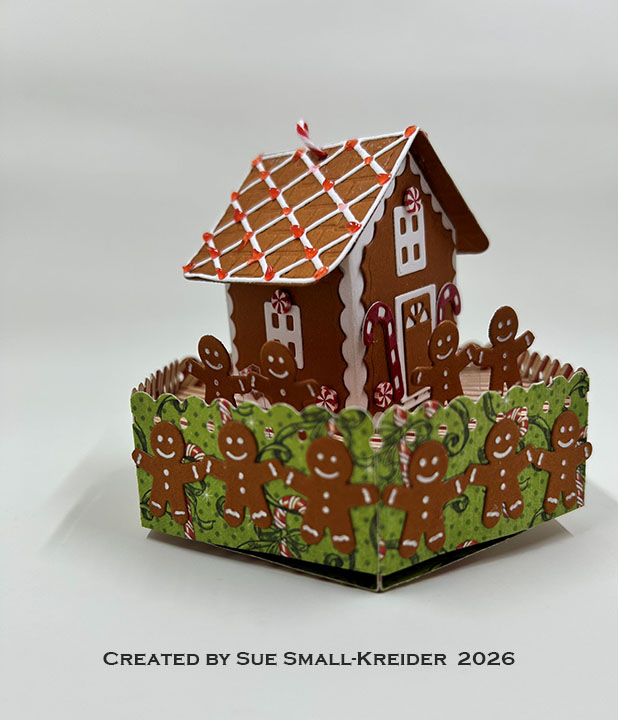
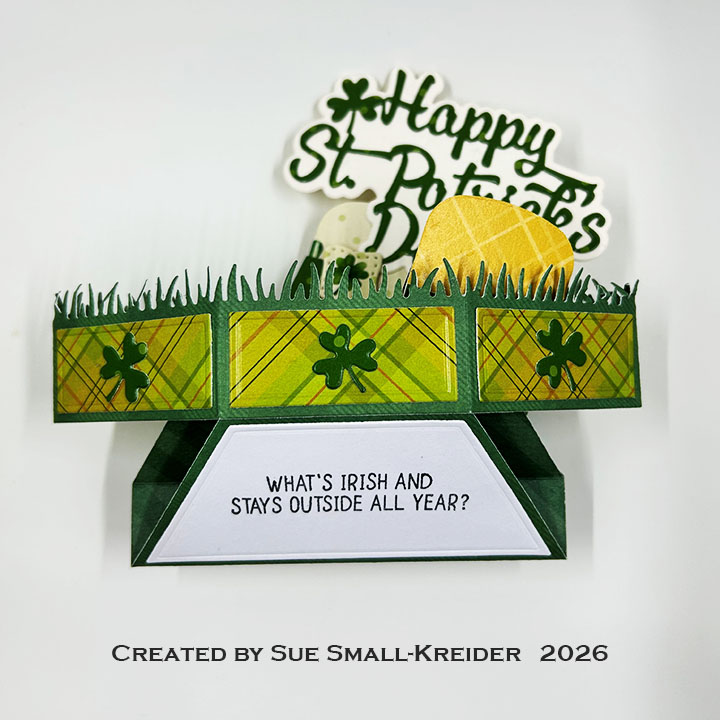
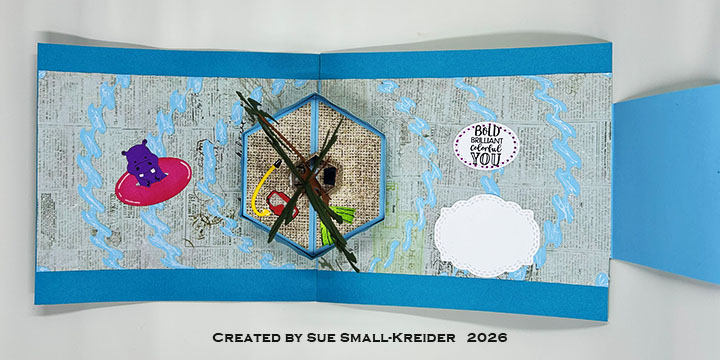
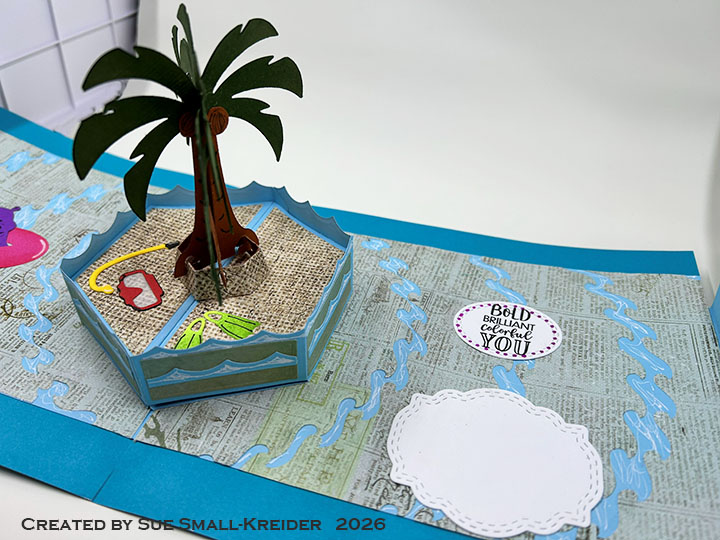
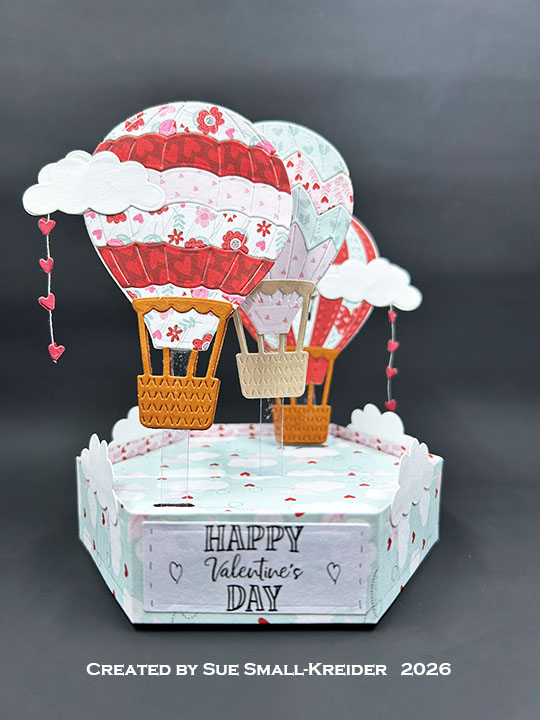
Pop-Up Stage Base: (Watch the assembly video at the bottom of the linked page for Stage Pop-Up.) Cut two base pieces and two side pieces from the Stage Pop-Up die set. (I cut my stage base pieces from heavy green cardstock and the sides from thin decorative cardstock. I found that the heavier cardstock works best for this card and its pop-up mechanism.) Cut three decorative rectangles from the Stage Pop-Up set. (It may be easier to stamp these small rectangles and then die-cut them.) Cut two of the base polygon decorative pieces from white cardstock and another two from decorative paper. Save the white pieces to be stamped with a sentiments before gluing to the bottom and side of the stage base. Cut three border mugs and hearts from the Tea and Coffee Borders die set. Glue one side piece tab to the straight edge side of the other side piece and then decorate with the sentiment rectangles and heart mugs.

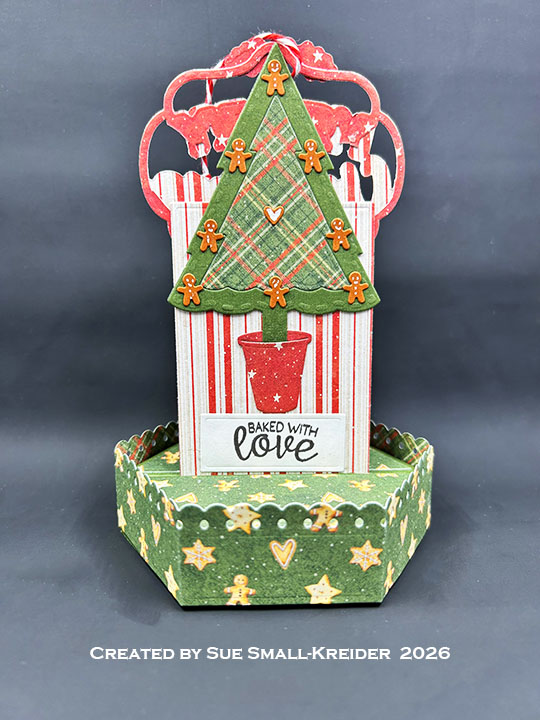
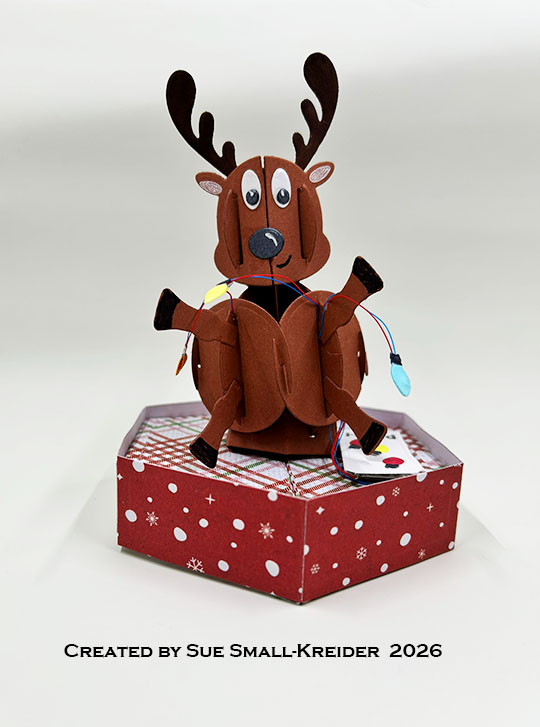
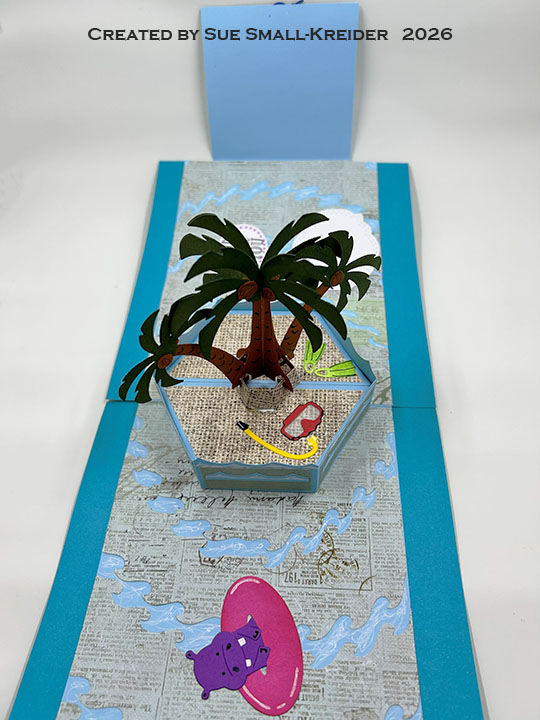
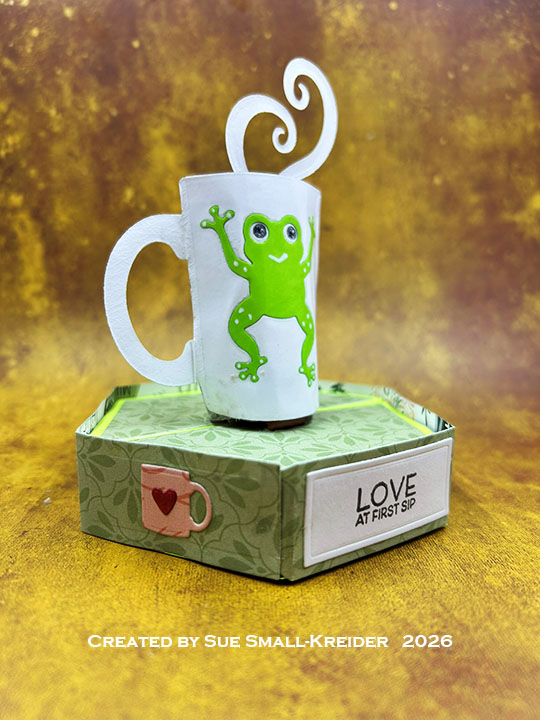
Frog Mug Pop-Up: Using the Tea and Coffee Pop-Up die set, cut two mugs from mid to light-weight white cardstock. Cut a 2×6-inch piece of copier paper and color coffee brown with a marker. Cut two frogs from green using the Leaping Animals die set. Add white gel pen dots to all the tips of the frogs’ hands and feet as well as the raised dots and mouths. Decide which piece will be decorated on its back side. Following the instructions in the video above on how to stamp the eyes onto mug using the Fun Faces 1 stamps before gluing the frogs onto the mugs. Add clear packing tape over the mug fronts as shown in the video. Connect the two mug shapes together using the brown copier paper as shown above in the video.
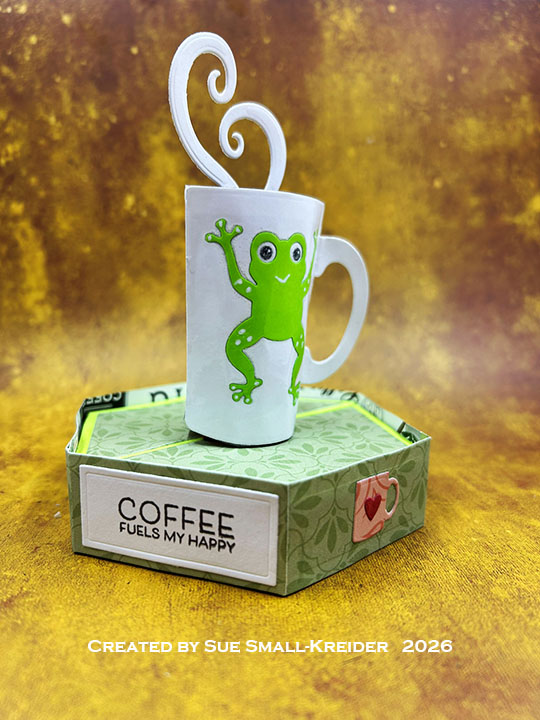
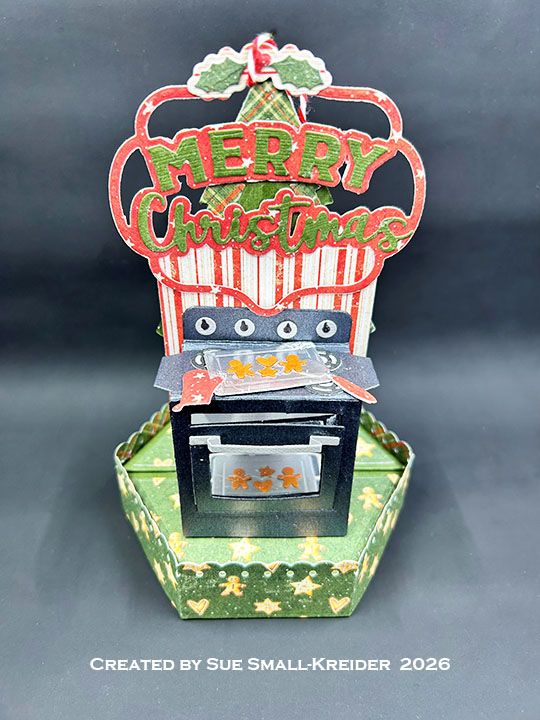
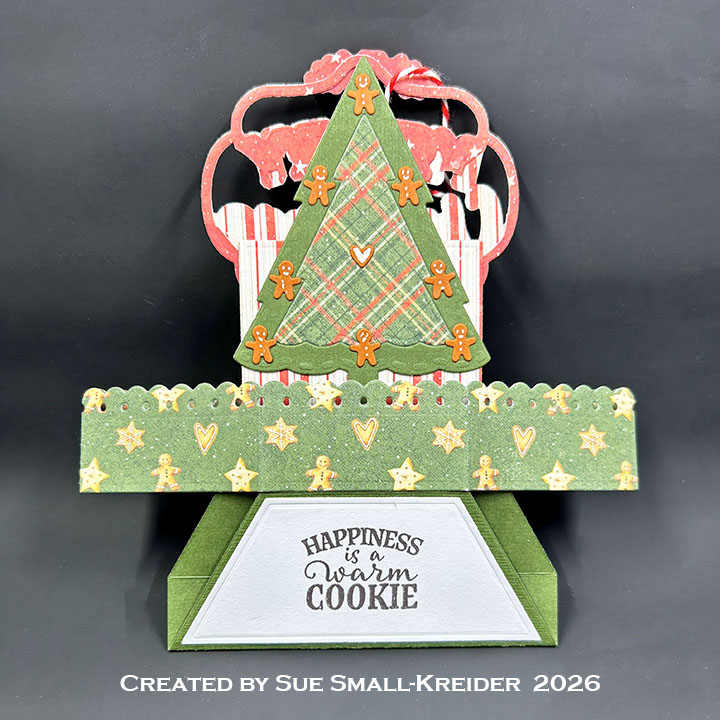
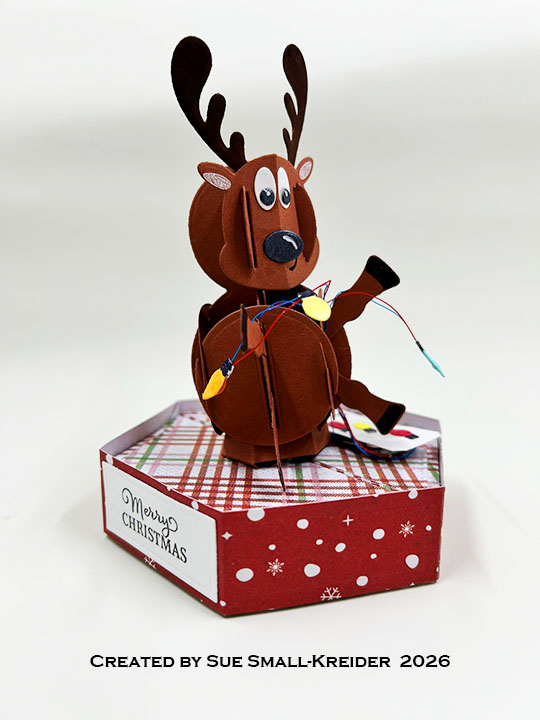
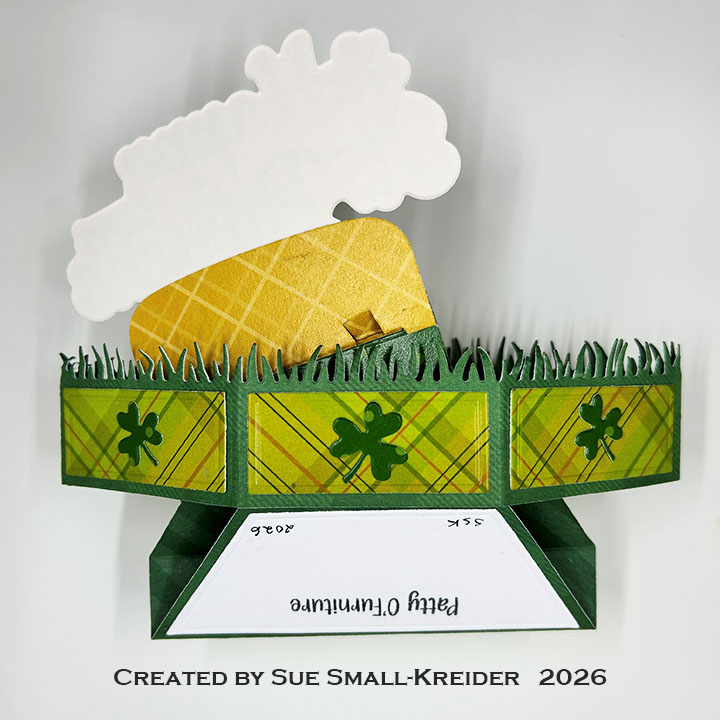
Steam Pop-Up: (Watch the assembly videos at the bottom of the linked pages for Tea and Coffee Pop-Up and Cake Pop-Up.) From heavy weight white cardstock cut one curling steam and 2-inch support strip from the Tea and Coffee Pop-Up set and two of the top tiny cake tier pieces from the Cake Pop-Up set. Color the cake top and support strip pieces on both sides, coffee brown. Trim the base of the steam into a point as shown in the video above. Assemble into the mug and onto the stage pop-up as shown in the video above.
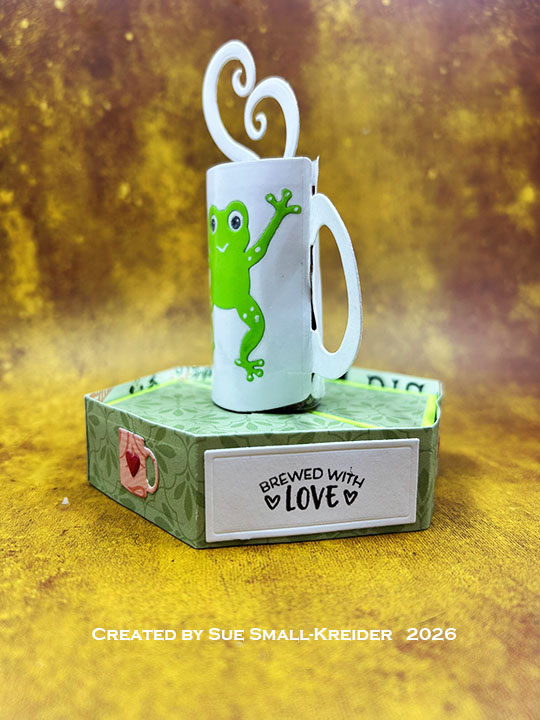
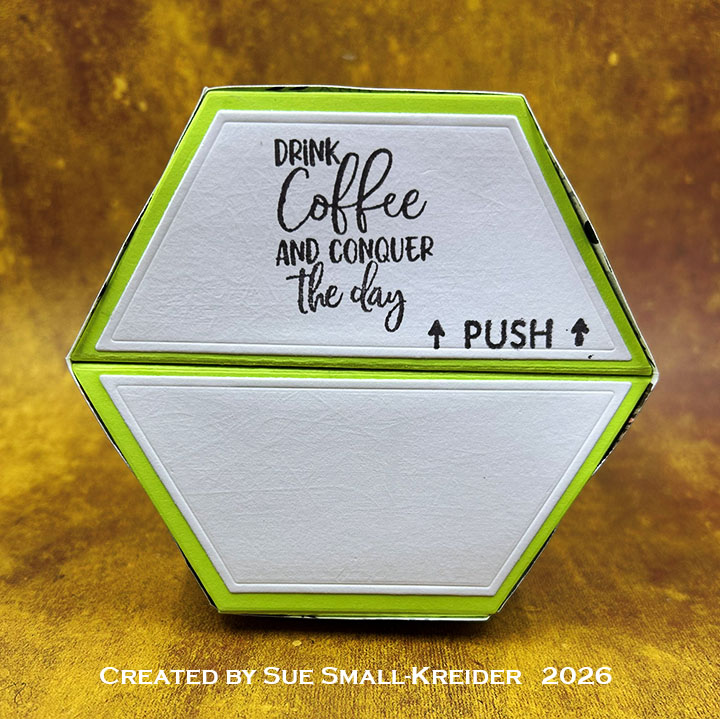
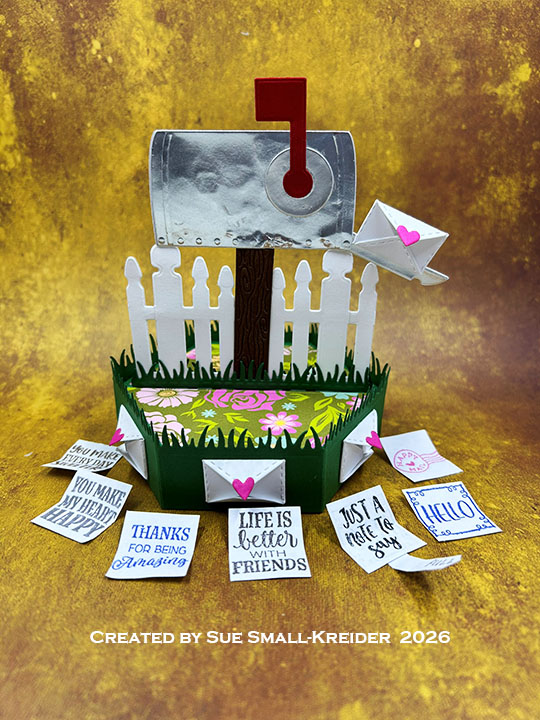
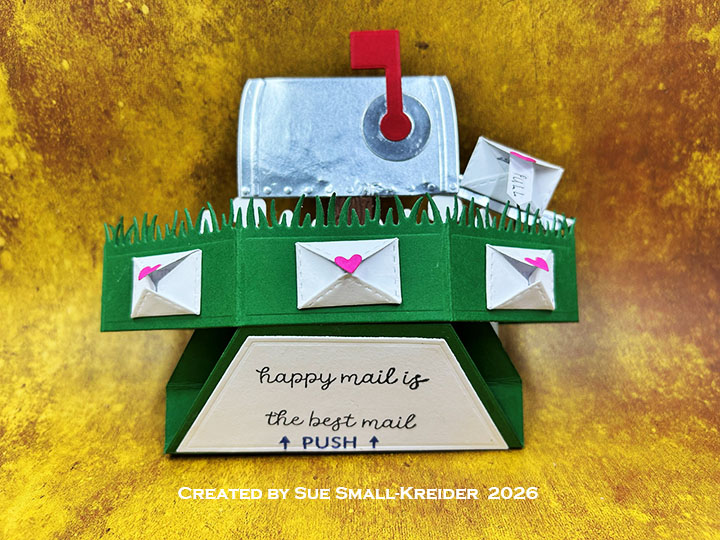
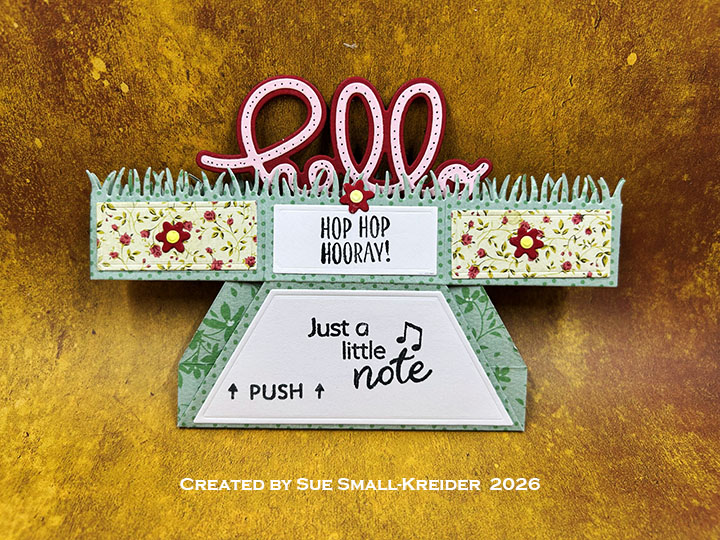
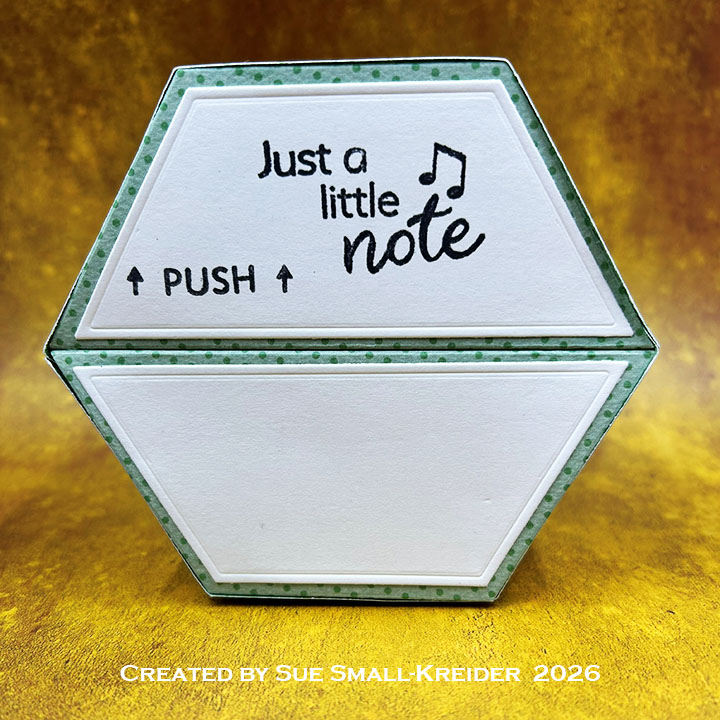
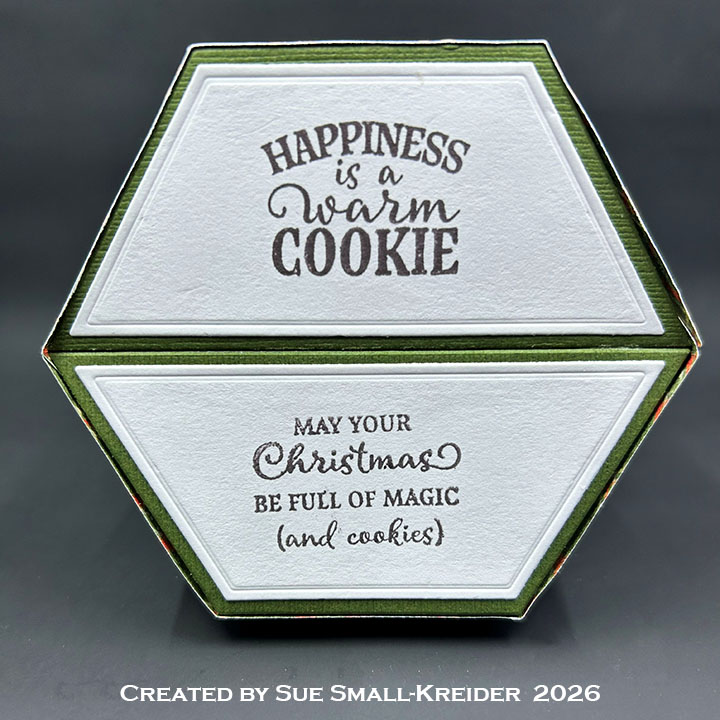
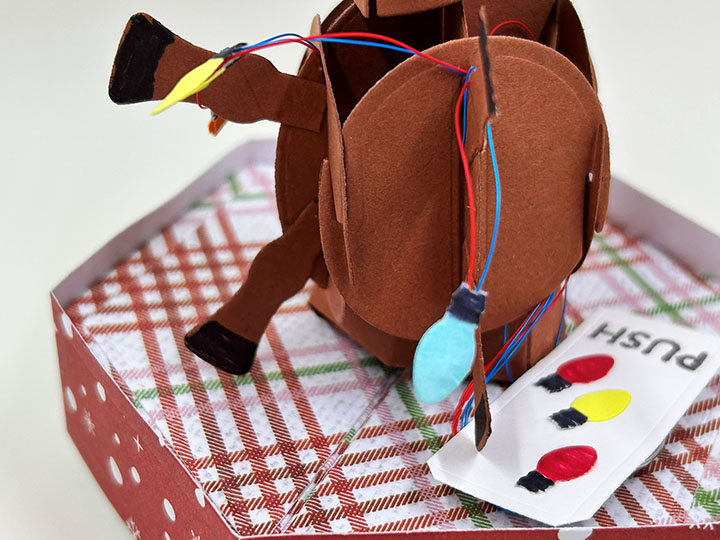
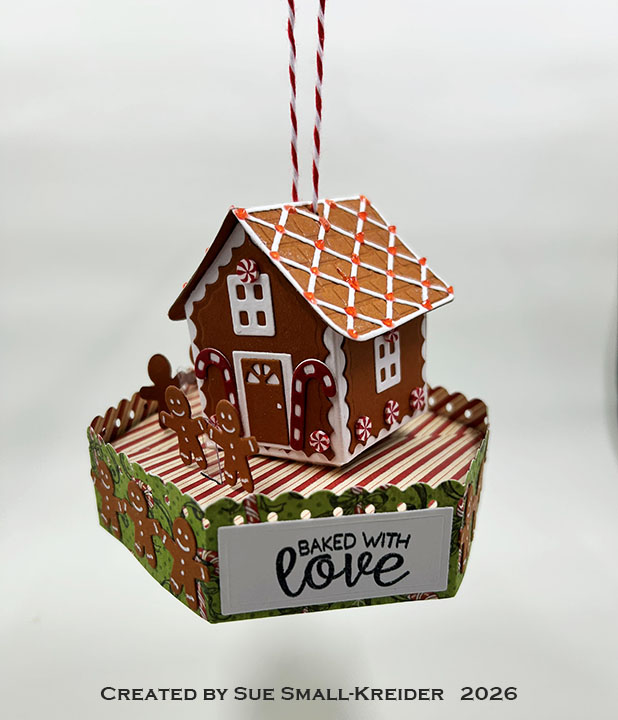
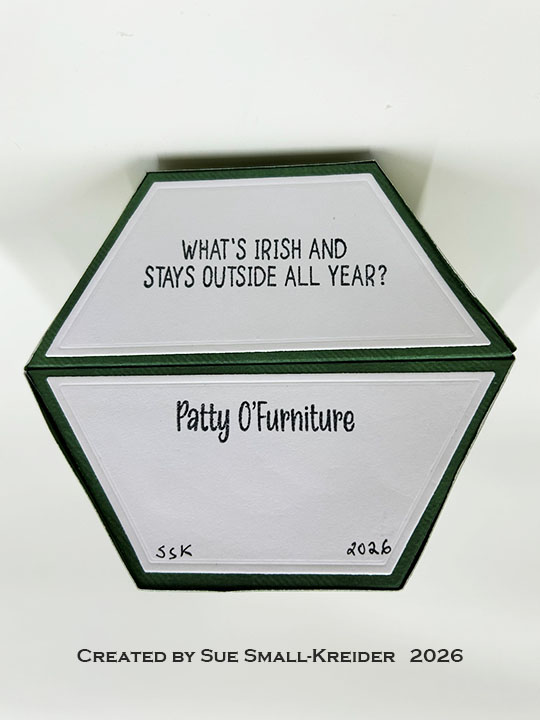
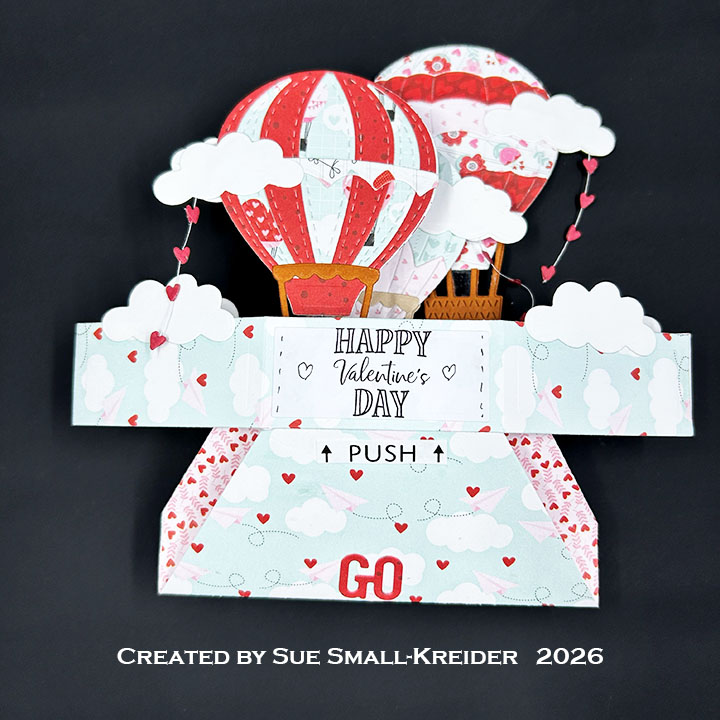
Sentiments: On the bottom side of the Stage Pop-Up, I stamped on the top white decorator panel with “Drink coffee and conquer the day” from the the Coffee Chat stamp set. The “Push” with arrows comes from the Stage Scenes set. Three small stamps from Coffee Chat were used on the side decorator panels – “Brewed with love,” “Love at first sip” and “Coffee fuels my happy.”
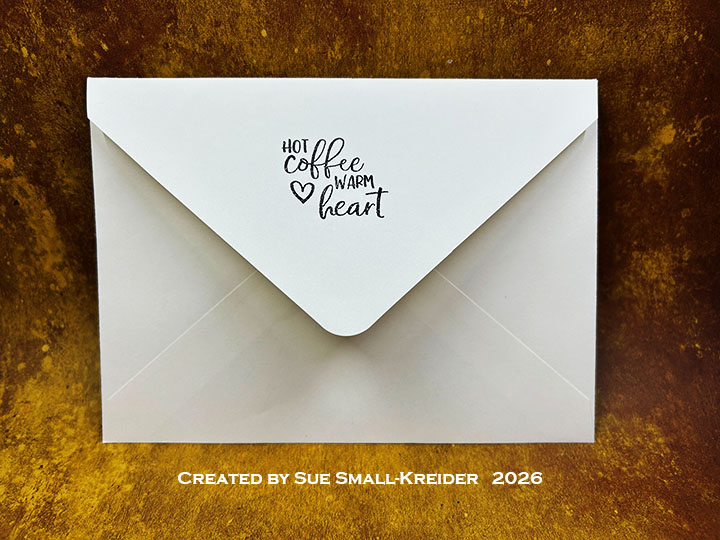
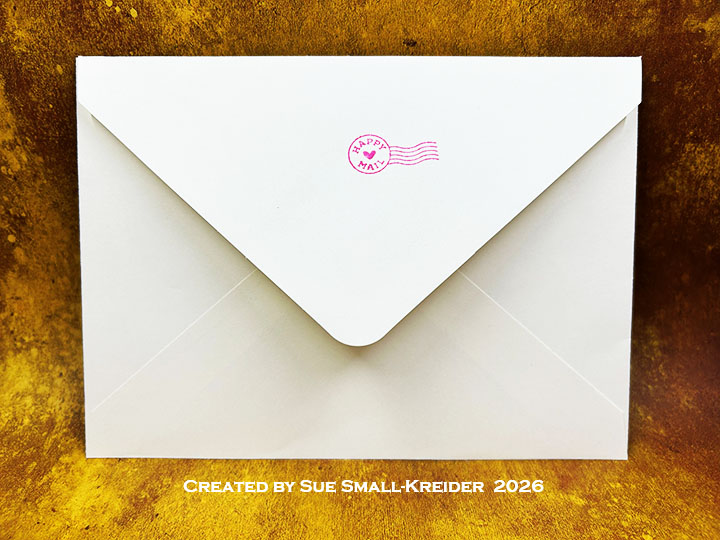
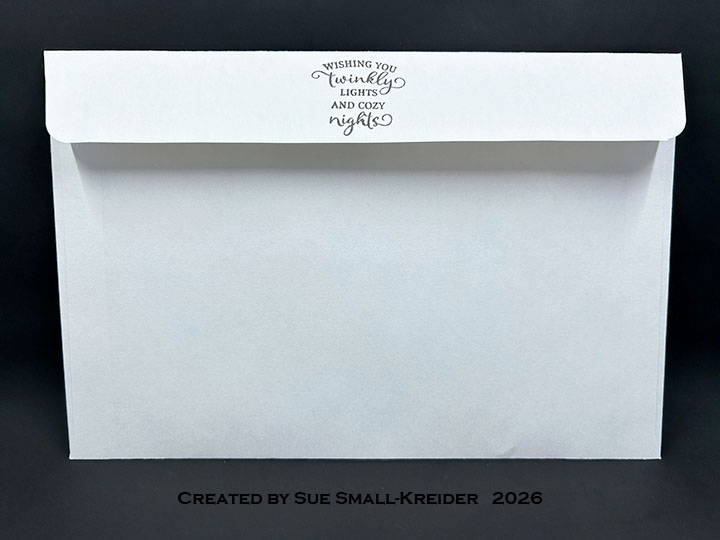
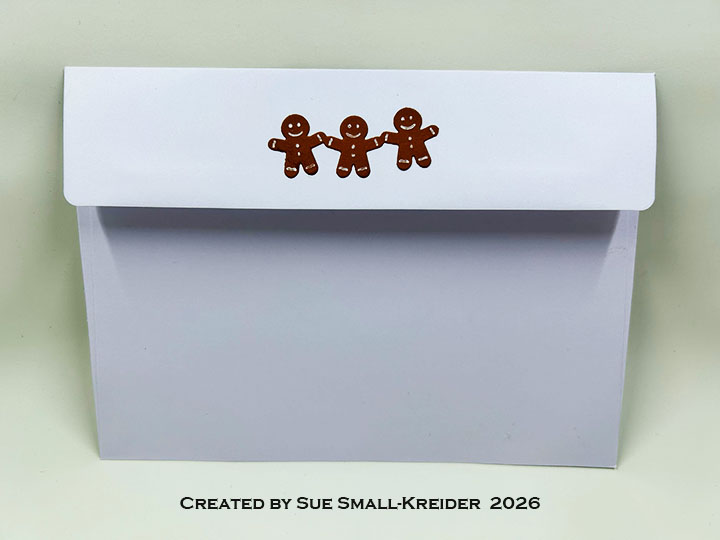
Envelope: The card fits into 5×7-inches A7 size envelope decorated with “Hot coffee, warm heart” stamped in dark brown from the Coffee Chat stamp set.
___________________________________
I hope this inspires you and makes you smile.
Please subscribe, like and leave comments 😊
Follow my YouTube channel, Instagram and Pinterest as well.
___________________________________
Disclaimer: Karen Burniston products are provided free of charge by the manufacturer for review and use. All other items were personally purchased. Compensated affiliate links used where or when possible, meaning I will receive a small percentage commission from these manufacturers at no cost to you. This will allow me to add more content to my YouTube channel and help out a lot. Thank you.
Materials Used:
- Karen Burniston in cahoots with Riley and Company – Stage Pop-Up – 1332
- Karen Burniston in cahoots with Riley and Company – Leaping Animals – 1301
- Karen Burniston in cahoots with Riley and Company – Tea and Coffee Borders – 1270
- Karen Burniston in cahoots with Riley and Company – Tea and Coffee Pop-Up – 1269
- Karen Burniston in cahoots with Riley and Company – Cake Pop-Up – 1028
Stamps
- Karen Burniston in cahoots with Riley and Company – Clear Stamps – Coffee Chat
- Karen Burniston in cahoots with Riley and Company – Clear Stamps – Fun Faces 1
- Karen Burniston in cahoots with Riley and Company – Clear Stamps – Stage Scenes
Papers
- Echo Park – 12×12-inch Cardstock – Coffee and Friends – Coffee & Sunshine, Morning Latte
- Heavy 100lb Pale Green Cardstock
- Heavy 100lb White Cardstock
- Mid-weight 65-80lb White Cardstock
- A7 (5×7-inch) Envelope – Ivory
Ink
- Memento – Fade Resistant Dye Ink – Espresso Truffle & Tuxedo Black
- Sakura – Gelly Roll Pen – Medium – White
- OLO Marker – Dragon Fruit
- Stampin’Up – Stampin’ Blends Marker – Dark Copper Clay
Adhesives
- Neutral PH Adhesive by LINECO
- Fine-Tip Glue Bottle
- Clear Packing Tape
- The Paperie Shoppe -Foam Adhesive Dots – 11 mm
Tools
- Die Cutting Machine
- Paper Masking Tape
- Pencil
- Stamping Platform
- Stamping Block
- Scissors
- Tweezers
- We R – Precision Press Mini – Stamping Platform