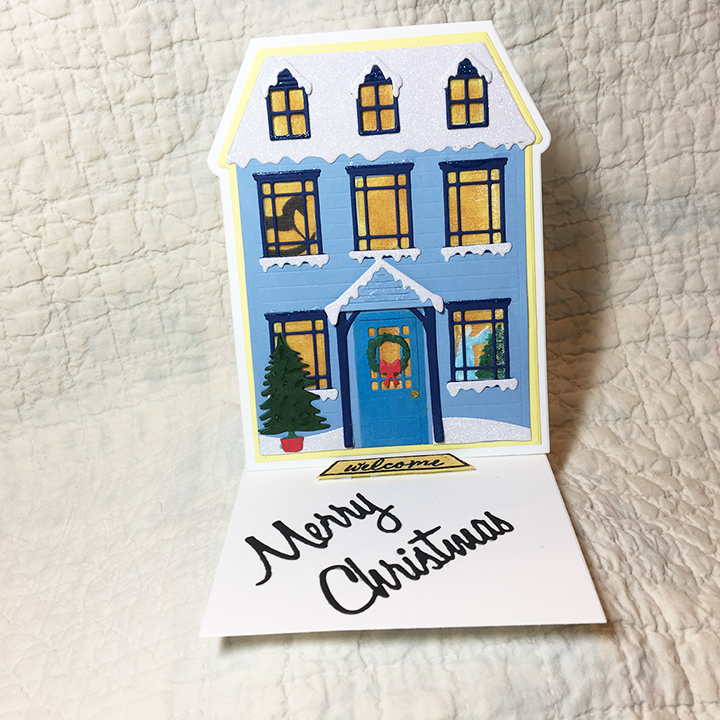
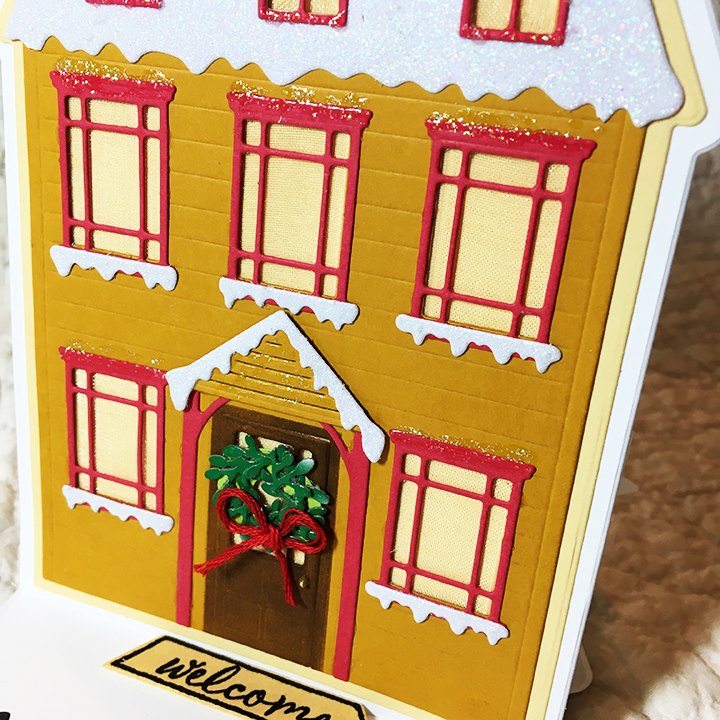
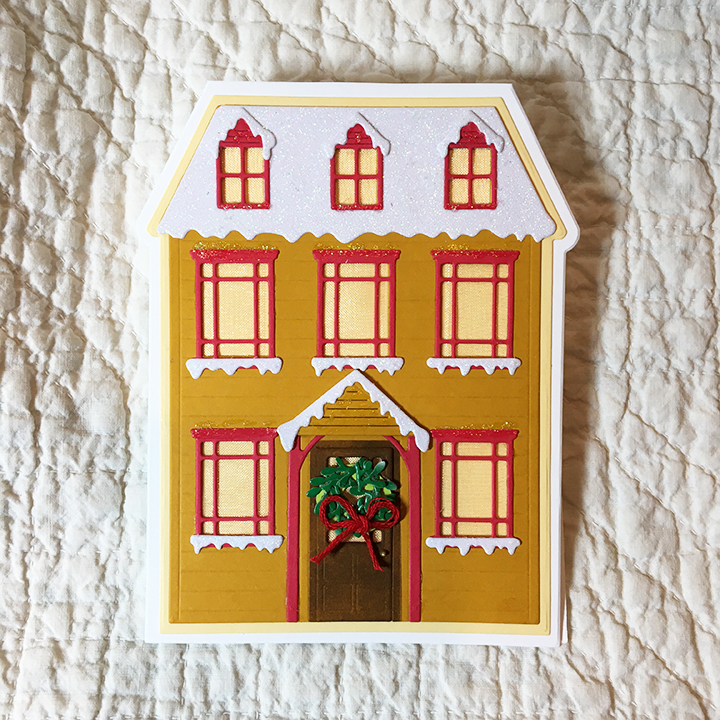
The candles are lit in the windows to welcome you home to a house reminiscent of a red-brick four-square house popular in the early 20th century America. This is the fifth house card in my series of “A Week of Christmas Houses” using Poppy Stamps 2020 Winter House Pop-Up Easel die set.
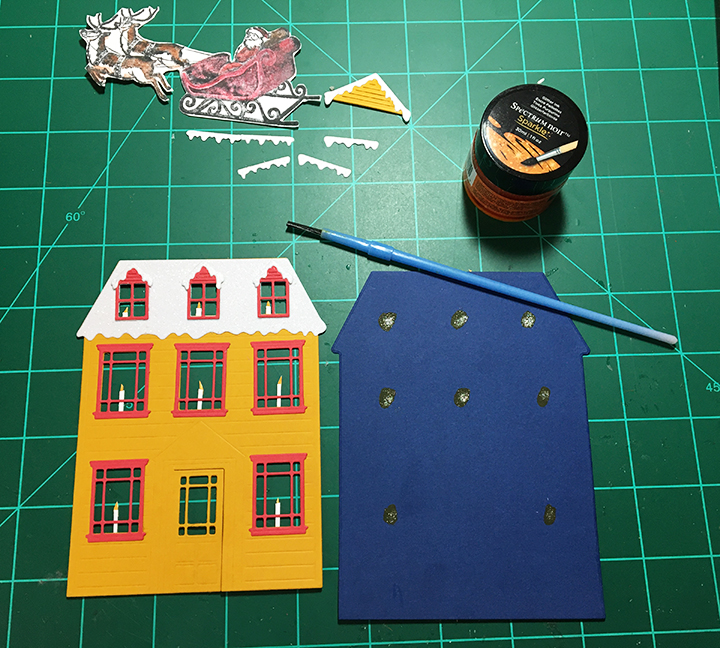
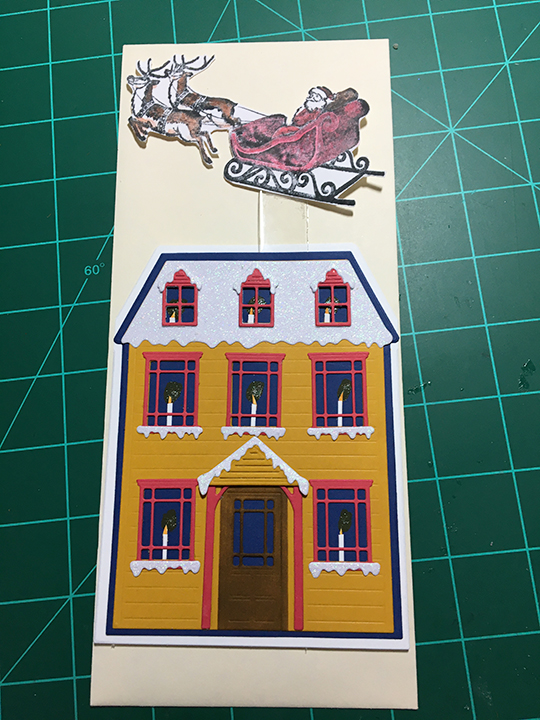
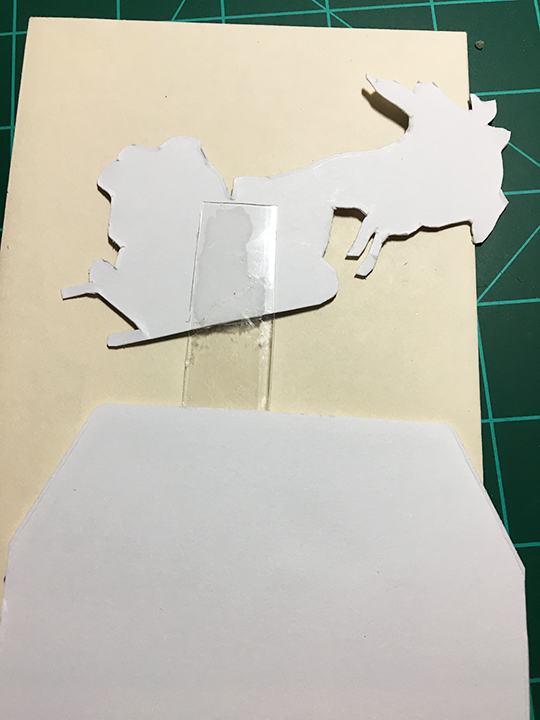
The house goes together easily by looking at the photos on the Poppy Stamps packaging. It does involve a lot of die cutting as there is only one die of each window type. (I cut lots of the small pieces and store the extras in a tiny plastic bags that I keep with the die set.) To add depth to the porch and dormer windows I cut those pieces twice and glued together. The snowy pieces are cut from glitter paper and some of the window frames and siding have Nuvo Glitter Drops used thinly to give the illusion of melted snow.

Papers Used: The house is cut from a dark red cardstock with the windows and porch posts cut from shiny cream which is recycled from an old store-bought card. The red, dark blue and pale yellow come from monotone color packs of cardstock by Recollections. Note that there is a dark blue outline layer of the house that provides the window inside color as well as framing the outside edge of the house.
I masked off the front door with sticky notes and used Vintage Photo Distress ink to darken the door and frame. A tiny drop of gold Nuvo Crystal Drops for the doorknob and a wreath cut with a Tonic Studios die set, complete the door. A fir tree is also cut from the Tonic set.

The windows all have tiny white candles cut from a thin white scrap and flames are cut from an orange envelope in my stash. I used the appropriately named Candlelight – Spectrum Noir Sparkle Glitter Ink to put a dot of glow behind each candle on the dark blue layer. (The second floor center window seems to have a draft.) Click here to see more photos of how the candles were made.
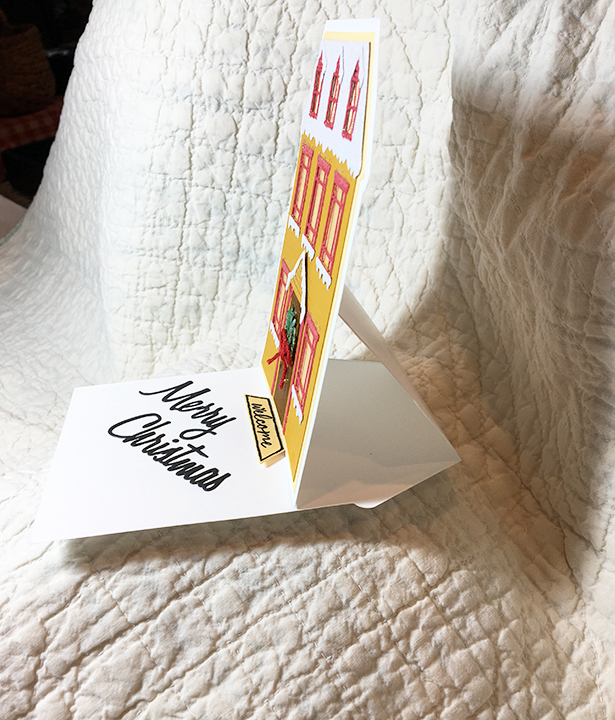
The welcome mat, which acts as the easel stop, was stamped and heat embossed using a stamp from a retired Stampin’ Up set. I used a blend of Ranger Black Sparkle and Recollections Ebony Detail Embossing powders that give the welcome mat a snowy sparkle. Once heat embossed, the mat was weathered using Antique Linen Distress Ink on a sponge dauber and cut out with the coordinating die. Foam squares where used to adhere the mat to card and make it tall enough to act as an easel stop.
The ”Merry Christmas” is cut from heavy black cardstock glued down. A personal message can be written behind the house

I used two stamps on the envelope flap. I stamped Season’s in red and then masked it with a sticky note and stamped the greetings circle (which has a different sentiment in its center) in dark green.
See the more the series of “A Week of Christmas Houses”
Day 1 – From Our House to Your House
Day 4 –Keeping the Home Fires Burning
Day 5 – Red Four-Square
Day 6 – Santa Delivers to the Tropics
2019 – 12 Days of Christmas Trees
Supplies
Dies
- Poppy Stamps -Winter House Pop-Up Easel Set – 2394
- Tonic Studios – Dimensions – The Toy Emporium Die Set -1855e
- Card Deco Essentials – Merry Christmas – CDECD0003
Stamps
- Stampin’ Up – At Home with You – stamps & die set 143681 (Retired)
- Sweet Sentiments Set from Love Cardmaking magazine, issue 9 November 2018
Paper
- Heavy White Cardstock 110# weight 8 ½ x 11 inches
- Recollections – 8.5x 11 inch cardstock – Shades of Red
- Recollections – 8.5×11 inch cardstock – Citrus
- Reflections – 8.5×11 inch cardstock – Cape Cod
- Heavy Black Cardstock 80# weight 8 ½ x 11 inches
- Staples Printable Glitter Paper
- Colored cardstock scraps
Ink/Embossing Powder
- VersaMark – Watermark Stamp Pad
- Ranger – Embossing Powder – Black Sparkle
- Recollections Detail Embossing Power- Ebony
- Ranger – Distress Ink – Vintage Photo
- Ranger – Distress Ink – Antique Linen
- Spectrum Noir Sparkle Glitter Ink – Candlelight
- Stampin’ Up Classic Stamin’ Pad – Real Red
- Stampin’ Up Classic Stamin’ Pad – Tranquil Tide
Miscellaneous