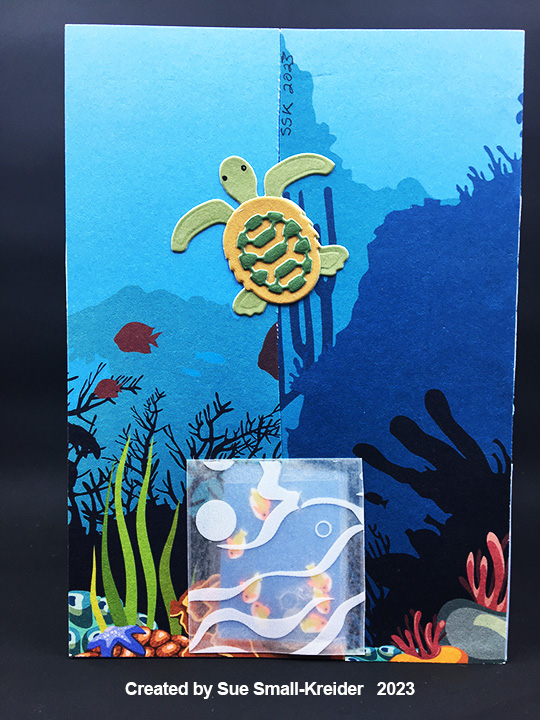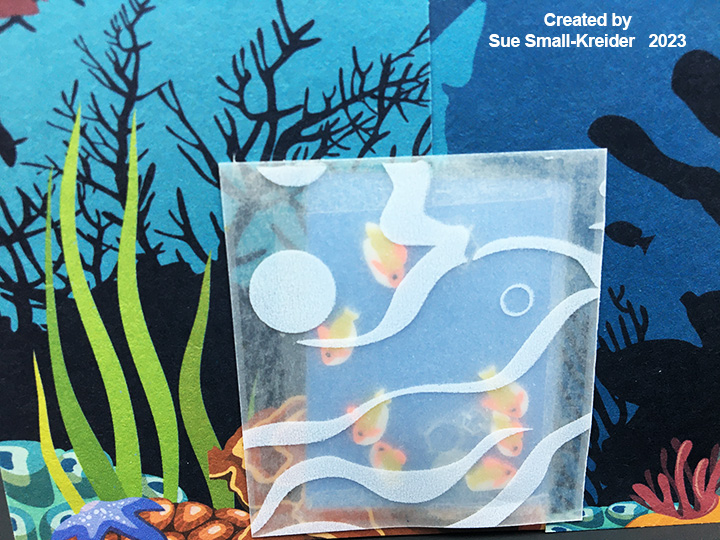
It’s time for Sneak Peek Week for Karen Burniston‘s July 2026 release of ten new die sets and five new stamp sets. This card features the new Cascade Pop-Up die set and Garden Greetings stamp set along with the previously released Sea Animals, Rectangle Crosshatch,and Sea Stage Add-Ons dies and the Cruise Greetings stamps. New dies will be available on July 23, 2026 on Karen Burniston’s website.

Cardbase: Use a purchased A2 (4.25×5.5-inch) cream cardbase and cover the four panels, inside and out, with rectangles of patterned paper cut using the largest die in the Rectangles – Crosshatch die set. Ink the edges of the card and decorative paper by rubbing a small brown ink cube along the edges. Splatter inside and out with brown and silver shimmer inks to create a sandy, foamy water texture on the cardbase.
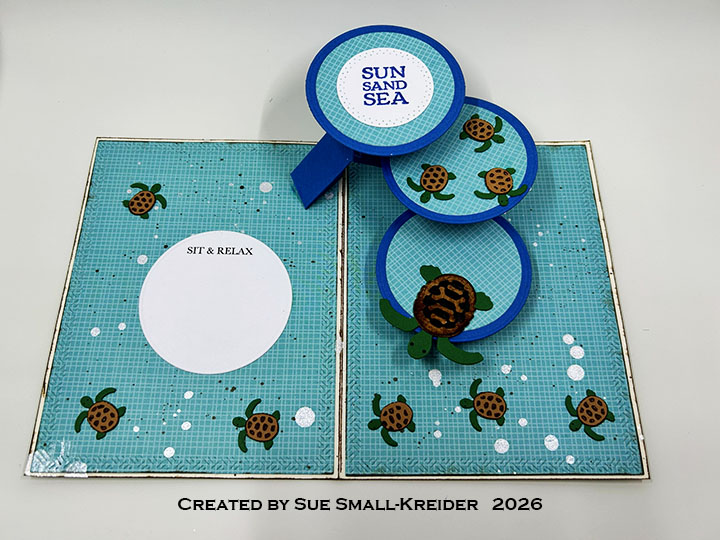
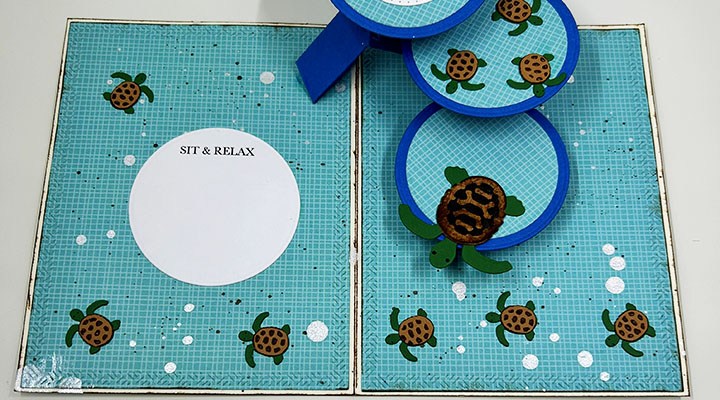
Cascading Circles Pop-Up: From heavy, dark blue cardstock, cut one of the large mechanism piece, one of the small strip, and two of the largest circle using the Cascade Pop-Up die set. Cut three of the second largest circle from patterned paper and glue two on the large dark blue circles and the third onto dark blue cardstock before placing the large circle with a slot die, centering the patterned paper with in the circle. Cut the slotted circle out of the two layers of paper. Following the directions on the packaging, install the mechanism and the three circles with the slotted circle on the middle platform with the strip going through the slot.
Turtles: Nine tiny sea turtles were cut using the Sea Stage Add-Ons die set and two large turtles were cut using the Sea Animals die set. (I used tan and dark green cardstock along with markers and an ink cube to color the shells.)
Sentiments: The “Life is better on the water”and “Sun, Sand, Sea” are from the Cruise Greetings while the “Sit & Relax” is from the Garden Greetings stamp set. All the circles were cut using the dies in the Cascade Pop-Up die set.
Envelope: This card would fit into an A2 size envelope.
___________________________________
Thank you for experiencing this blog post.
I hope this inspires you and makes you smile.
Please subscribe, like and leave comments 😊
Follow my YouTube channel, Instagram and Pinterest as well.
___________________________________
Disclaimer: Karen Burniston products are provided free of charge by the manufacturer for review and use. All other items were personally purchased. Compensated affiliate links used where or when possible, meaning I will receive a small percentage commission from these manufacturers at no cost to you. This will allow me to add more content to my YouTube channel and help out a lot. Thank you.
Materials Used:
- Karen Burniston in cahoots with Riley and Company – Cascade Pop-Up – 1336
- Karen Burniston in cahoots with Riley and Company – Sea Stage Add-Ons – 1334
- Karen Burniston in cahoots with Riley and Company – Rectangles – Crosshatch – 1054
- Karen Burniston in cahoots with Riley and Company – Sea Animals – 1037
Stamps
- Karen Burniston in cahoots with Riley and Company – Clear Stamps – Cruise Greetings
- Karen Burniston in cahoots with Riley and Company – Clear Stamps – Garden Greetings
Papers
- Doodlebug Design Inc. – 12×12 inch Double-Sided Cardstock – Swimming Pool Gingham-Linen
- White, Tan, Dark Blue and Dark Green Cardstock
- Park Lane Paperie – A2 Cardbase – Cream
Ink
- Catherine Pooler – Bottled Ink – Pearl Shimmer
- Hero Arts – Silk Ink – Bronze
- Memento – Fade Resistant Dye ink – Paris Dusk
- Ranger – Tim Holtz – Distress Ink- Gathered Twigs
- OLO Marker -B2.2 Sky
- Pigma – Mircon 01 Fine Tip Pen – Black
- Sharpie – Permanent Marker – Chisel Tip – Black
- Sharpie – Permanent Marker – Ultra Fine Tip – Brown
Adhesives
Tools
- Die Cutting Machine
- Paper Trimmer
- Bone Folder
- Stamping Platform
- Stamping Blocks used as paperweights
- Scissors
- Tweezers
- Paper Masking Tape
- We R Memories – QuickStick