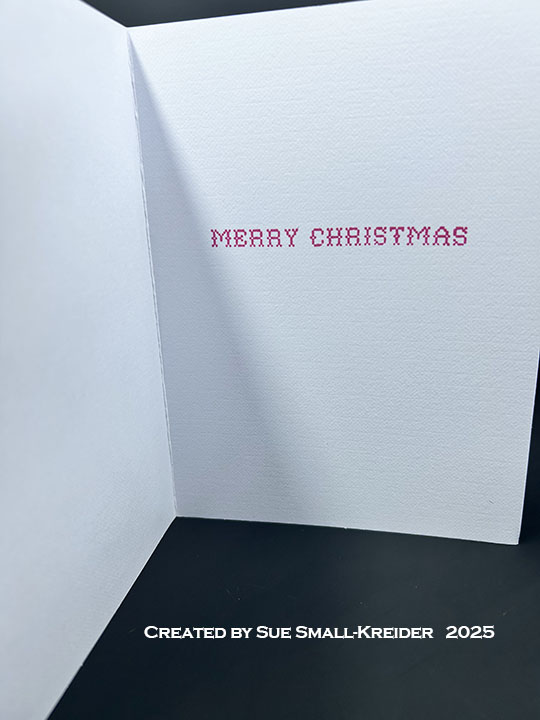
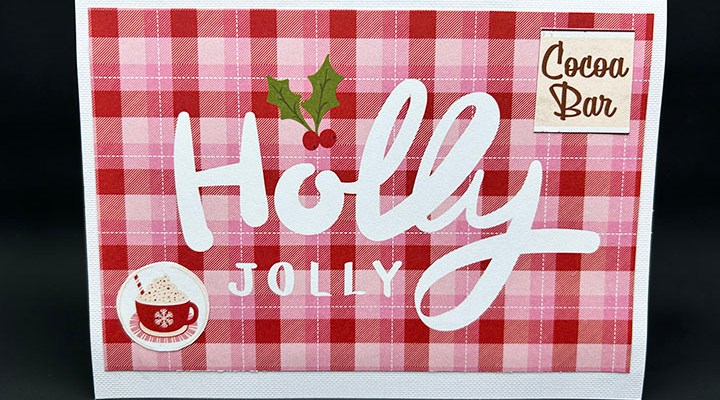
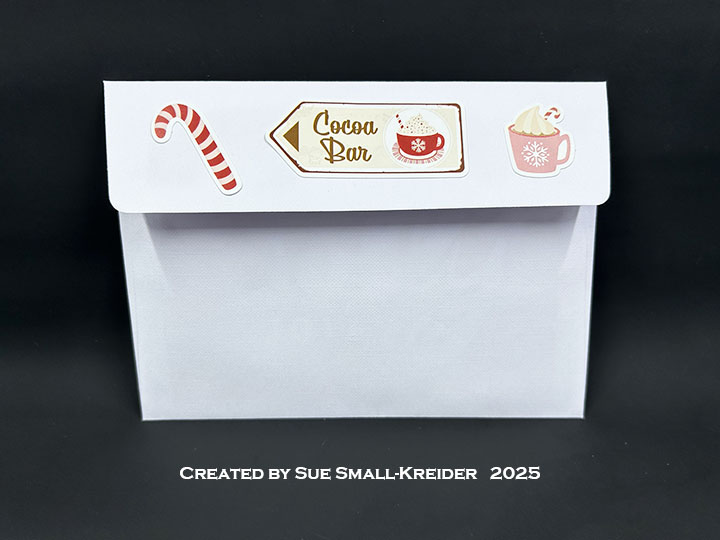
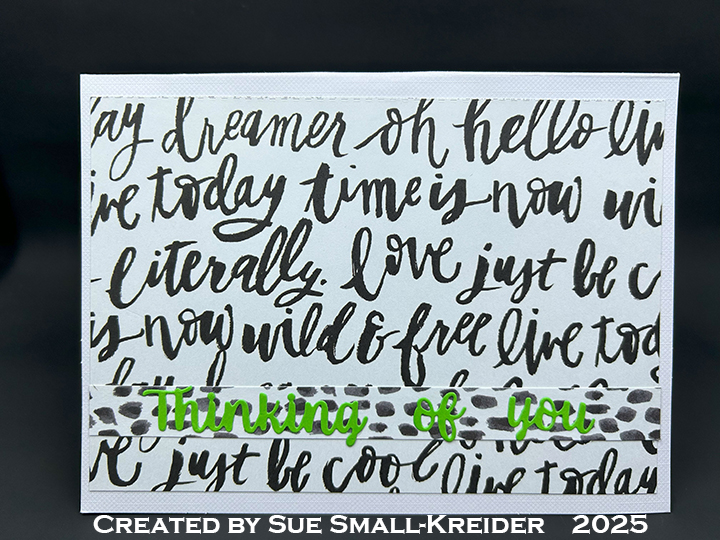
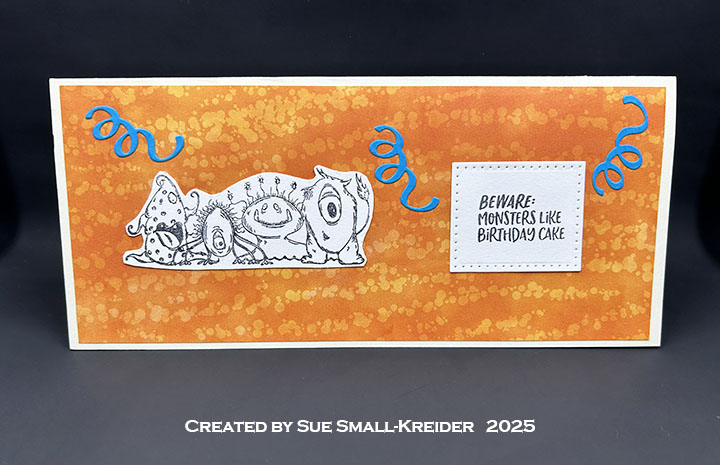
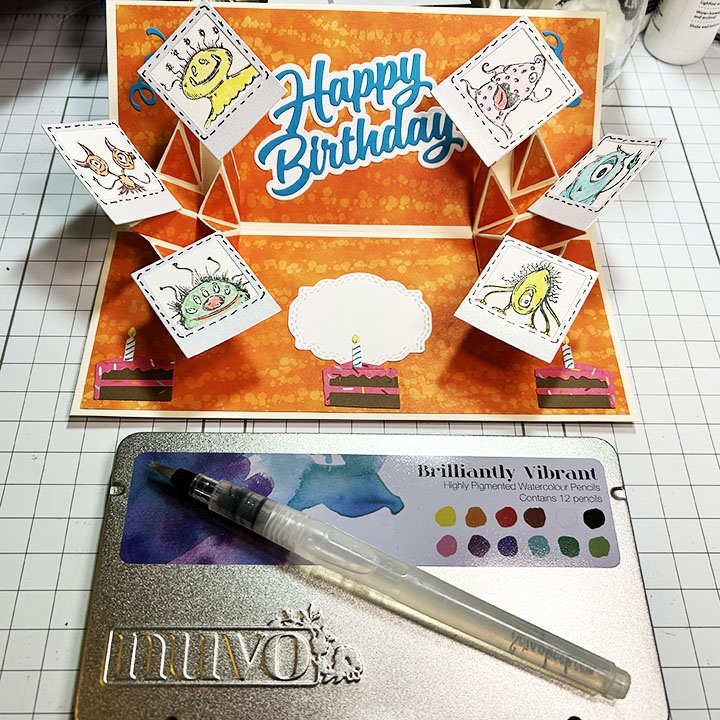
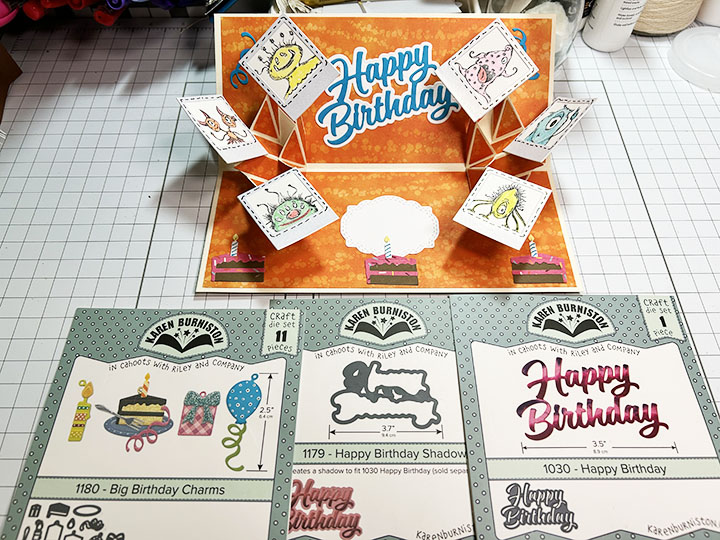
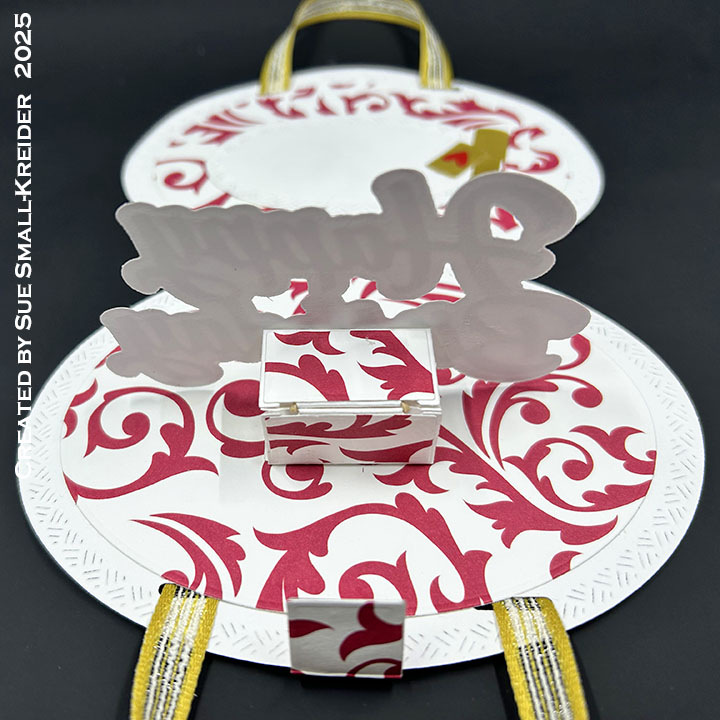
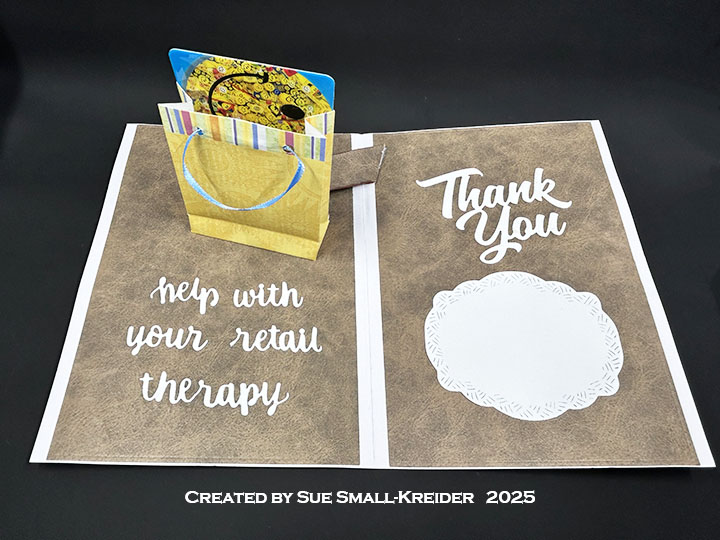
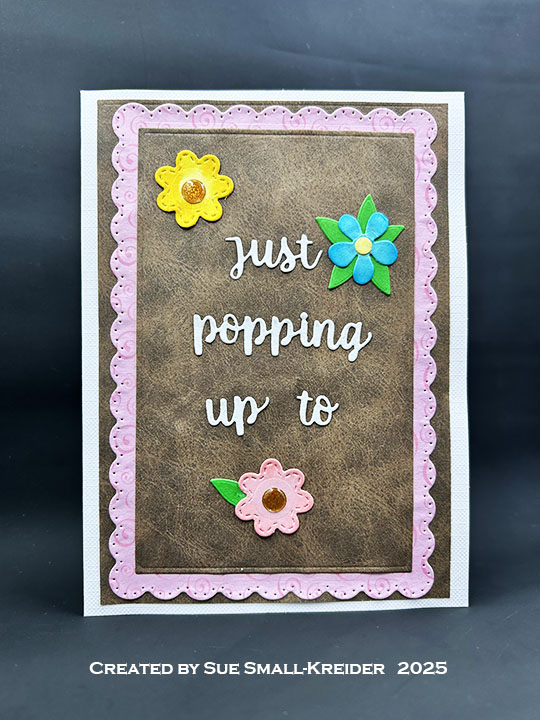
I made this card for Craft Roulette episode #277 while I was at Paperganza, the first in-person version of Craft Roulette. The parameters were a zoyfold card, local sports colors, Craft Roulette as an element, and up-to-date as the random.
What the video below to learn how and why I created the card using all but two items from the Paperganza swag bag/classes. (The two items were the cardbase cardstock and the pop-up mechanism that I had die-cut at home before going to the event.)
Watch the video for instructions on the construction of the card.
Read more below on specifics of this card.
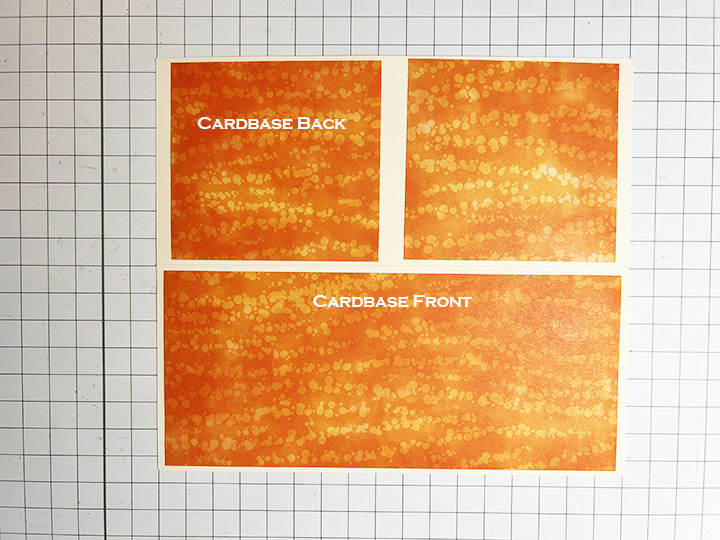
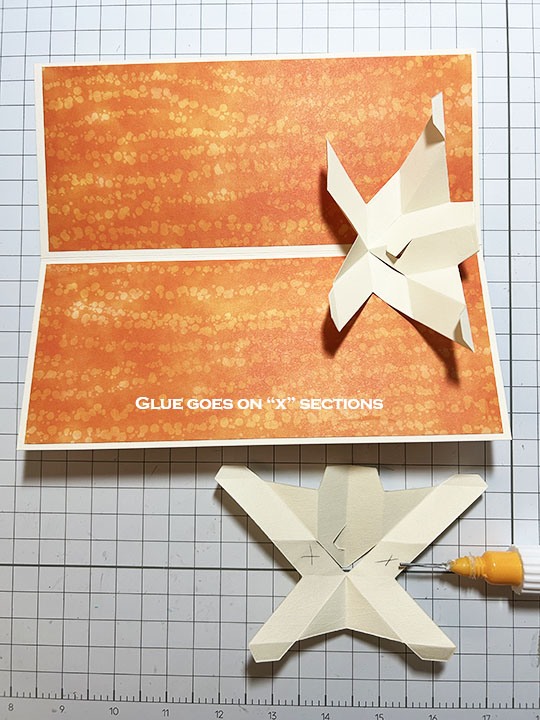
Cardbase: Cut three of the Landscape Rectangle Accordion base frames. Cut from decorative paper, three to six frames. (Cut the frame base and cut out the inside panel and side tab.)
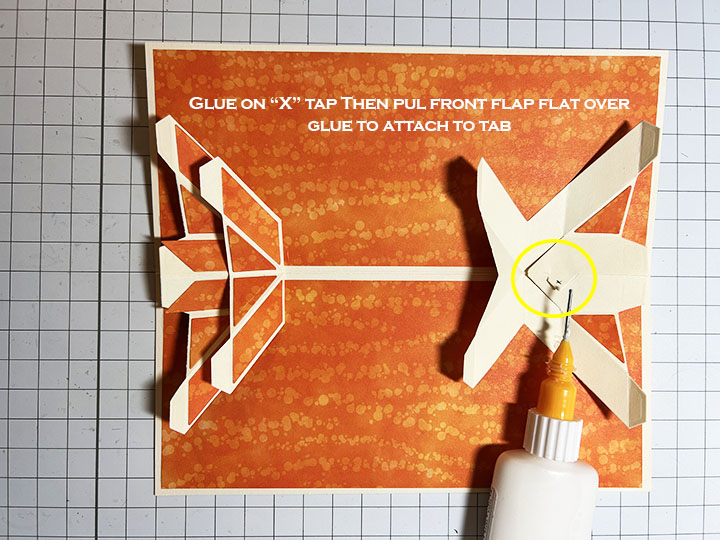
Cupcakes: Watch the assembly video for the Cupcake Add-Ons located at the bottom of the linked page.
Sentiments: The printed paper provides much of the sentiments, while the Mini Alphabet and Numbers were used to cut from pink glitter paper “HBD2U” (Happy Birthday to You.) The Streamer ribbons come from the Big Birthday Charms and Cupcake Add-Ons die sets.
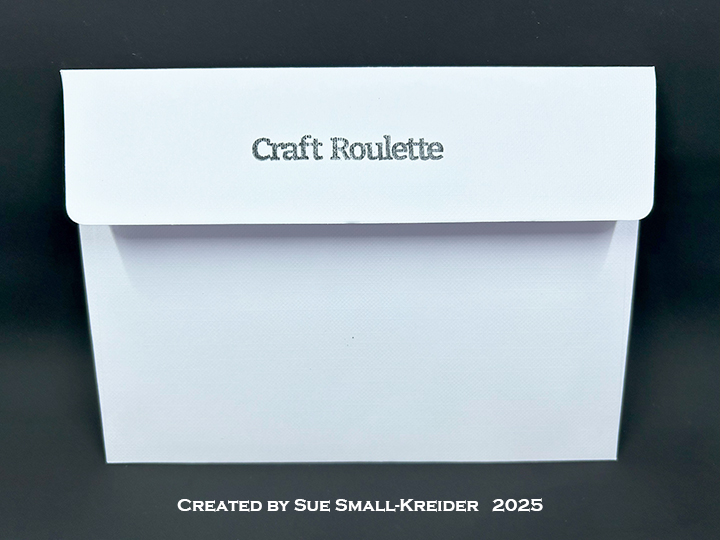
Envelope: This card fits into an A7 (5×7-inch) envelope.
___________________________________
Thank you for experiencing this blog post.
I hope this inspires you and makes you smile.
Please like and leave comments 😊
___________________________________
Disclaimer: Karen Burniston products are provided free of charge by the manufacturer for review and use. All other items were personally purchased. Compensated affiliate links used where or when possible, meaning I will receive a small percentage commission from these manufacturers at no cost to you. This will allow me to add more content to my YouTube channel and help out a lot. Thank you.
This card was made for CRAFT ROULETTE #276 whose parameters included an easel card, rainbow colors, western element, and black and white image. I chose to make a shaped, slimline easel card using dies by Anna Griffin and Sue Wilson.
Watch the process video to see how I made this card.
Cardbase: The cardbase is cut from 110 lb. white cardstock using Anna Griffin’s Antique Train Slimline Easel dies to cut out the two cardbase pieces. Rainbow striped paper was added to the card base and the excess was fussy cut off. (You could die cut the piece again if you don’t like to fussy cut.)
Train: The detailed train image is cut in black and glued to the shaped outline of the train before it is attached to the card base.
Sentiment: Cut three sets of Sue Wilson’s “Happy Birthday” from the scraps of white cardstock used for the cardbase. Glue the layers together. Let dry under a paperweight to have the dry flat. Adhere to cardbase to be used as the easel stop.
Envelope: The card fits into #10 business envelope (4.125x 9.5-inches) which was stamped with “HBD” on its back in red ink using the Craft Roulette Funn Sentiments #01 stamp set.
___________________________________
Thank you for experiencing this blog post.
I hope this inspires you and makes you smile.
Please like and leave comments 😊
___________________________________
Disclaimer: Karen Burniston products are provided free of charge by the manufacturer for review and use. All other items were personally purchased. Compensated affiliate links used where or when possible, meaning I will receive a small percentage commission from these manufacturers at no cost to you. This will allow me to add more content to my YouTube channel and help out a lot. Thank you.
Materials Used:
Dies
Anna Griffin – Metal Dies – Antique Train Slimline Easel
Creative Expressions – Craft Dies by Sue Wilson – Noble Expressions – Happy Birthday
Needing some birthday cards and wanting to try out some brass colored Shimmer Relief Paste from Altenew, I made these stenciled-with-paste, card fronts and embellished them with ribbon and a Karen Burniston“hello” two-piece die cut. Inside is a Karen Burniston pop-up greeting and a Craft Roulette inspired verse.
Cardbase: I used purchased A7 (5×7-inch) cardbases that I stenciled the fronts with Shimmer Relief Paste and stencils by Honey Bee Stamps (Scattered Seeds) and Scrapbook.com (Hearts). The card backs feature a single balloon from the Big Birthday Charms die set.
Pop-Up: Watch the assembly video for theKatherine Label. Stamp the verse inside the card before adding the mechanism. (I found that gluing the bottom word onto the mechanism worked best to avoid catchpoints, including the two added balloons.)
Sentiments: All the inside die cut sentiments used on the card come Karen Burniston designs including the Katherine Label mechanism that pops the “Happy Birthday” up with its Big Birthday Charms balloons. The stamped verse is from Craft Roulette’s Funn Sentiments #01.
Envelope: The card fits into an A7 (5x 7-inches) size envelope stamped with “HBD” on the back flap from Craft Roulette’s Funn Sentiments #01.
___________________________________
Thank you for experiencing this blog post.
I hope this inspires you and makes you smile.
Please like and leave comments 😊
___________________________________
Disclaimer: Karen Burniston products are provided free of charge by the manufacturer for review and use. All other items were personally purchased. Compensated affiliate links used where or when possible, meaning I will receive a small percentage commission from these manufacturers at no cost to you. This will allow me to add more content to my YouTube channel and help out a lot. Thank you.
This card was made for CRAFT ROULETTE #275 whose parameters were include an ATC, starry night colors, down element, and white dots. I chose to make a shaped card that includes an ATC (Artist Trading Card.)
Watch the process video to see how I made this card.
Cardbase: I started with two pieces of 4.125×11-inch white cardstock. Traced around the arrow pattern I made from scrap paper and cut both of the arrows at the same time. I trimmed one arrow, at the wide end, off by .5-inch to let the other arrow have a tab to connect the the two pieces together. (After I completed the card, I found it was a little too long to fit in an 6×9-inch catalog size envelope, so I trimmed the arrow tip a little to made it fit.)
Sentiments: I used Karen Burniston’s Mini Alphabet to make the “When you’re down, Look up to the stars” sentiment. (I lined the letters up on my grid mat and used low tack tape the pick them up in line and then added glue, pressed in place on the card and finally lifted the tape off, pressing letters onto card.)
Envelope: The card fits into an catalog size envelope (6x 9-inches).
___________________________________
Thank you for experiencing this blog post.
I hope this inspires you and makes you smile.
Please like and leave comments 😊
___________________________________
Disclaimer: Karen Burniston products are provided free of charge by the manufacturer for review and use. All other items were personally purchased. Compensated affiliate links used where or when possible, meaning I will receive a small percentage commission from these manufacturers at no cost to you. This will allow me to add more content to my YouTube channel and help out a lot. Thank you.
Here are two birthday cards I made using a stamp and coordinating die and stencils set from This Calls For Confetti and Karen Burniston’sKatherine Label Pop-Upand Happy Birthdayword die sets.
Watch the process video to see how I made this card.
I made two versions of the card – one using patterned paper as a background and the other with a stenciled card front. Both started with a purchased A6 (4.5×6.25-inch) cardbase with matching envelope. Both have the pop-up sentiment inside with the words, shadow and mechanism being cut from an additional cardbase and colored with the same Distress Ink colors used to stencil the cake.
Envelope: The card fits into an A6 (4.5x 6.25-inches) size envelope stamped with a sentiment from Craft Roulette.
___________________________________
Thank you for experiencing this blog post.
I hope this inspires you and makes you smile.
Please like and leave comments 😊
___________________________________
Disclaimer: Karen Burniston products are provided free of charge by the manufacturer for review and use. All other items were personally purchased. Compensated affiliate links used where or when possible, meaning I will receive a small percentage commission from these manufacturers at no cost to you. This will allow me to add more content to my YouTube channel and help out a lot. Thank you.
This card was made for CRAFT ROULETTE #274 whose parameters included a thank you card, decoration colors, hands element, and tone on tone. I chose to make a shaped interactive card that features cartoon hands that clap.
Watch the process video to see how I made this card.
Cardbase: I started with an 4.125×11-inch piece of white cardstock folded in half to form a top-fold cardbase. Trace around cartoon hand pattern, cut and use a black marker to outline the hand’s features as shown in the video above.
Clapping Hands Pop-Up: Die cut main twist pop-up mechanism, the panel strip and two flag arms from Karen Burniston’s Little Twist Pop-Up die set. (Watch the assembly video located at the bottom of the linked die set.) Install twist panel pop-up as shown in the video above. Cut two sets of arms from the Spellbinder’s Classic Mousedies and add to the flag arms as shown in the video above.
Sentiments: Die cut “thank you” and glue inside card. Sketch in pencil and then cover with a fine tipped black marker the sentiments on the thumbs.
Envelope: The card fits into an A2 size envelope (4.125x 5.5-inches).
___________________________________
Thank you for experiencing this blog post.
I hope this inspires you and makes you smile.
Please like and leave comments 😊
___________________________________
Disclaimer: Karen Burniston products are provided free of charge by the manufacturer for review and use. All other items were personally purchased. Compensated affiliate links used where or when possible, meaning I will receive a small percentage commission from these manufacturers at no cost to you. This will allow me to add more content to my YouTube channel and help out a lot. Thank you.
I started a new challenge for 2025 – the ATC calendar challenge. With a group of crafty friends, we are making a new image on a 4.25×5.5-inch calendar card for each month.
July’s card is made with Stampin’ Up’s Notes & Totes dies and stamps.
Learn how I made this calendar by watching the video below.
Disclaimer: Karen Burniston products are provided free of charge by the manufacturer for review and use. All other items were personally purchased. Compensated affiliate links used where or when possible, meaning I will receive a small percentage commission from these manufacturers at no cost to you. This will allow me to add more content to my YouTube channel and help out a lot. Thank you.
___________________________________
Materials Used:
Dies • Stampin’ Up – Stampin’ Cut & Emboss Dies – Notes & Totes
Stamps • Stampin’ Up – Clear Stamps – Notes & Totes
This card was made for CRAFT ROULETTE #273 whose parameters included a lady’s card, candy wrapper colors, camp(s)/(ing) element, and belt. I chose to make a trifold, slimline card that is interactive using Karen Burniston dies and some custom cut pieces of my own design.
Watch the process video to see how I made this card.
Cardbase: The cardbase is a trifold, so there are three panels (I made mine out of 80lb black and 110lb white cardstock, but you could make it all out of 100 lb black.) I cut two black panels at 3.75×8.5-inches for the card back. One white 4.125 x6-inches (Score at 3.75-inches and at 3.875-inches.) Cut another white panel at 4.125×7-inches (Score at 3.75-inches.) Cut two thumb holes in each panel as shown in video using die from Whirly Wheel die set. Follow video above for assembly order of panels. (You can follow the video with cutting the waves into the white cardbase panels or you and just round the tops of the panels as I eventually did.)
Flame Panels: Cut one 3.75×6-inch panel and one 3.75×7-inch panel. Using the waves die in the Curved Edges die set, cut the two panels with waves at the top. Cut two sets of five different fire colors using the waves die from 4×3-inch pieces of paper. Adhere the fire color pieces to the panels going from darkest to lightest colors. (I ended with a dark color next to custom cut and colored logs.)
Whirly Wheel Flames: (Watch the assembly video located at the bottom of the linked Whirly Wheeldie set.) Cut two sets of wheels, thermometer arms, and washers from heavy white cardstock. (I recommend adding the arrows before adding the clear packing tape by either using a marker and the die as a stencil or stamping using the Whirly Wheel Words stamp set.) Cover all die-cut pieces with clear packing tape. Assemble as shown in the video. Test flame shapes to add to Whirly Wheel arm making sure they stay within the card base when closed. Attach to arm as shown in video.
Marshmallow Sticks: I drew my marshmallows on sticks on a piece of 8.5x 3.5-inch white cardstock. They were fussy cut and then the sticks were colored dark brown. The marshmallows were covered with Nellie’s Choice Snow Effects, allowed to dry and then colored with light brown and hints of black to make the bubbling, toasted look of the marshmallows. The sticks were fitted and folded to the card before gluing on to the card back.
Sentiment Pop-Up: Die cut a white l-shaped mechanism from the Katherine Label Pop-Updie set. (Watch the assembly video located at the bottom of the linked die set.) Die cut in orange and red, the Happy Birthday and its shadow piece. Install the mechanism into card making sure it is high enough in the card not to interfere with the thumbholes. Color the top sides of the mechanism black to blend into the background. (I cut a 1.5×1.75-inch piece of black and colored afterwards. You could just color the three sides of the box part of the mechanism at this point.) Glue Happy Birthday onto its shadow and adhere to mechanism.
Sentiment Belt: Cut an 11×2.5-inch strip of dark brown textured cardstock. Fold it around the card loosely so it can slide off. Glue together back edges. On a computer design a 2×2.75-inch brown panel that says “Dear Sweet Lady, Wishing you S’more Funn!” followed by instructions on how to operate the card. An additional instruction panel is added to the back of the belt.
Envelope: The card fits into #10 business envelope (4.125x 9.5-inches).
___________________________________
Thank you for experiencing this blog post.
I hope this inspires you and makes you smile.
Please like and leave comments 😊
___________________________________
Disclaimer: Karen Burniston products are provided free of charge by the manufacturer for review and use. All other items were personally purchased. Compensated affiliate links used where or when possible, meaning I will receive a small percentage commission from these manufacturers at no cost to you. This will allow me to add more content to my YouTube channel and help out a lot. Thank you.