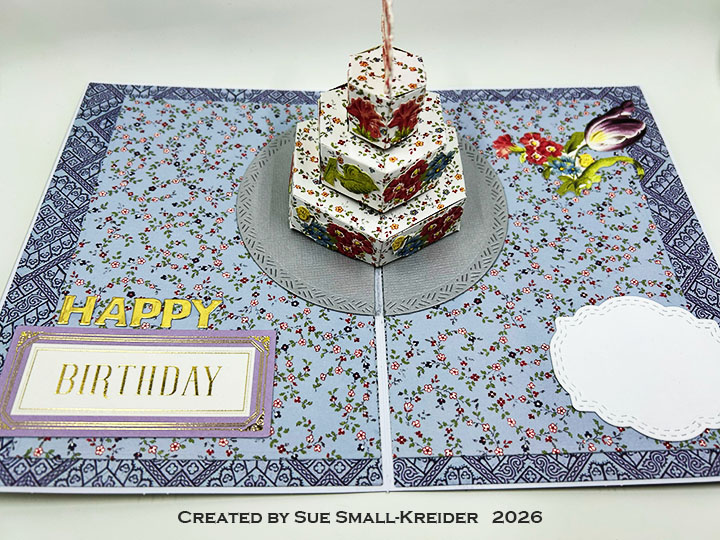
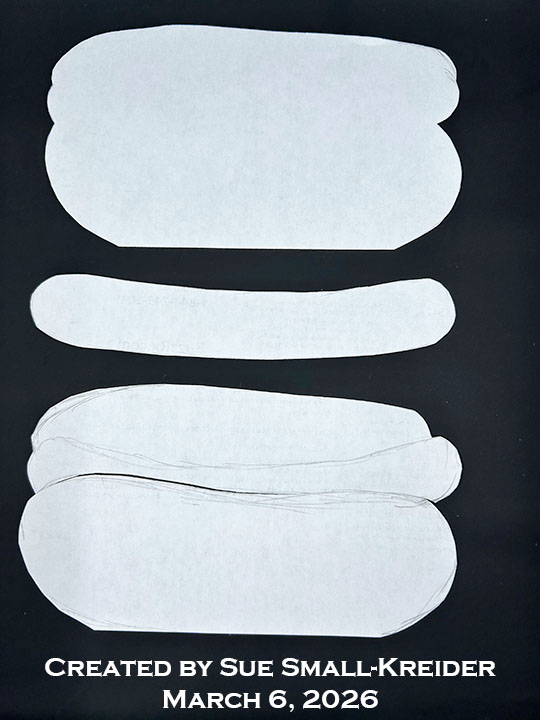
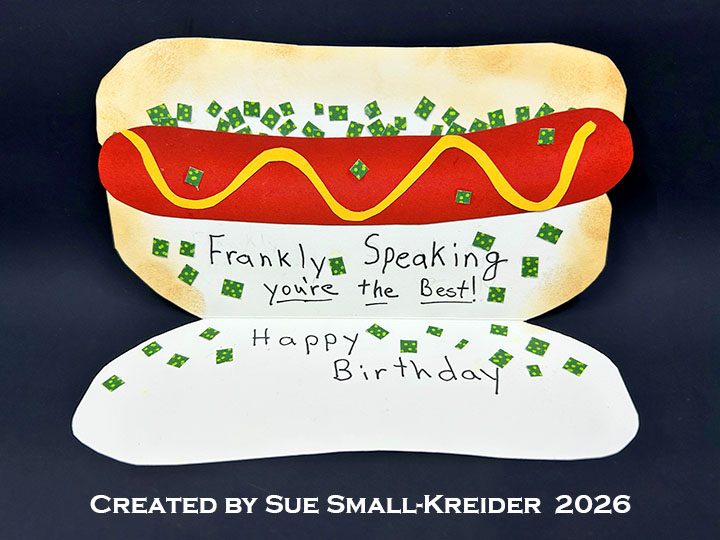
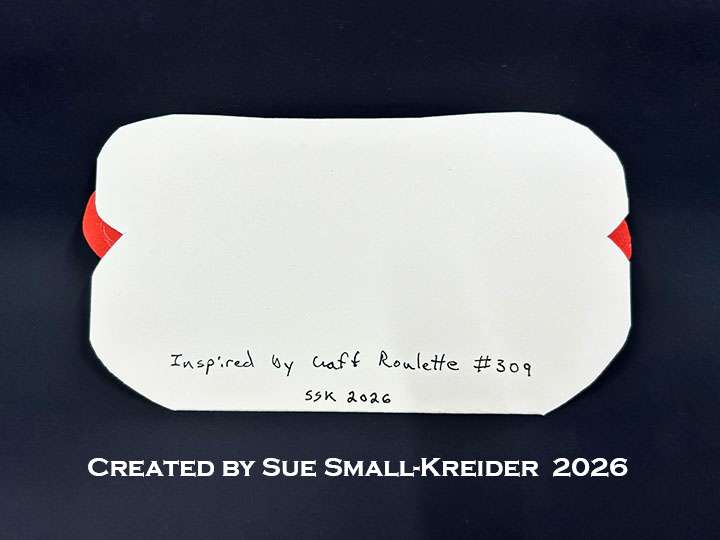
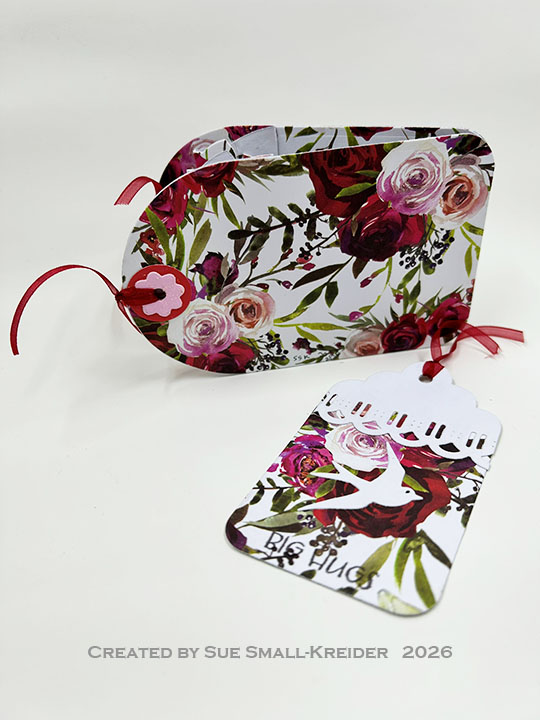
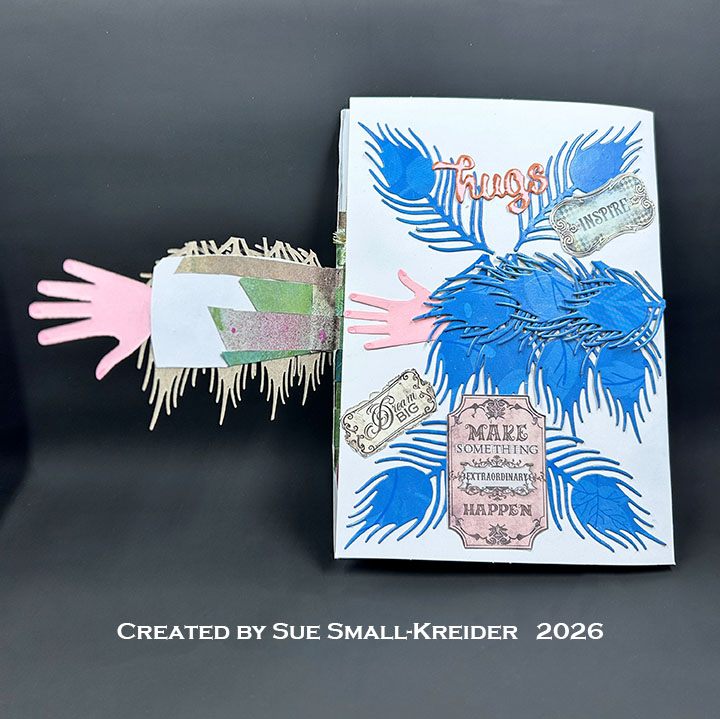
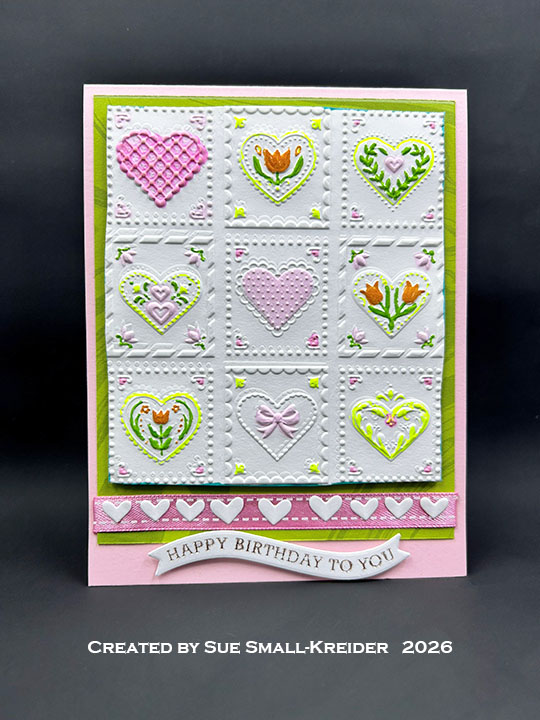
This card was made for Craft Roulette #317 whose parameters were: A9 project, florist shop colors, birthday(s) element and something from your MESK (messy desk). I used This Calls for Confetti stencils, dies and stamps for this 5.5×8.5-inch card.

Watch the process video to see how I made this card.
Cardbase: I took an 8.5×11-inch sheet of single-sided floral cardstock (110lb) and scored and fold it in half to form a side-fold 5.5×8.5-inch A9 card. Next, I glued two solid pink 4.5×7.5-inch mats to the center of the front and back panels. On top of these two panels I glued pink floral 4×7 rectangles.
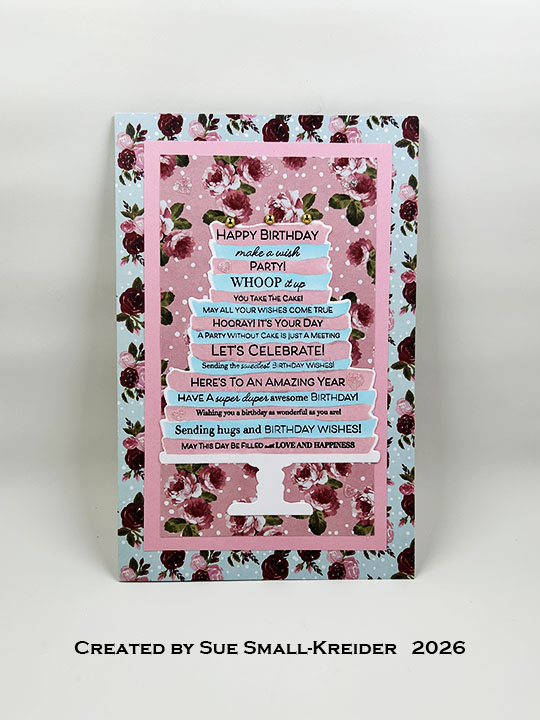

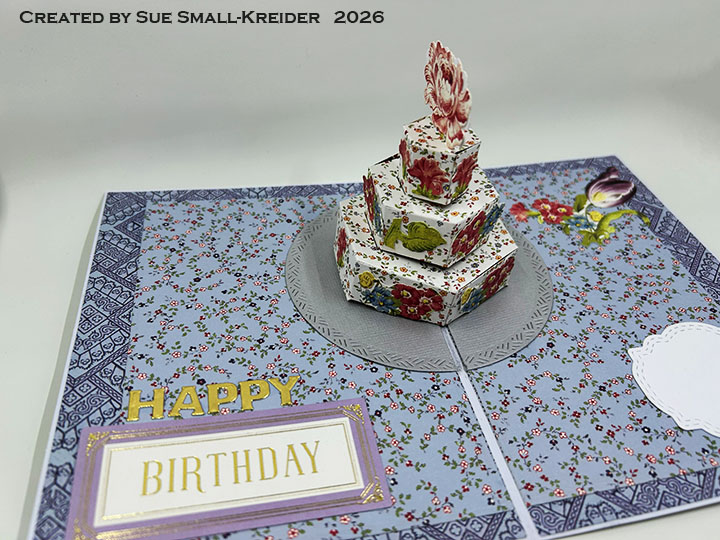
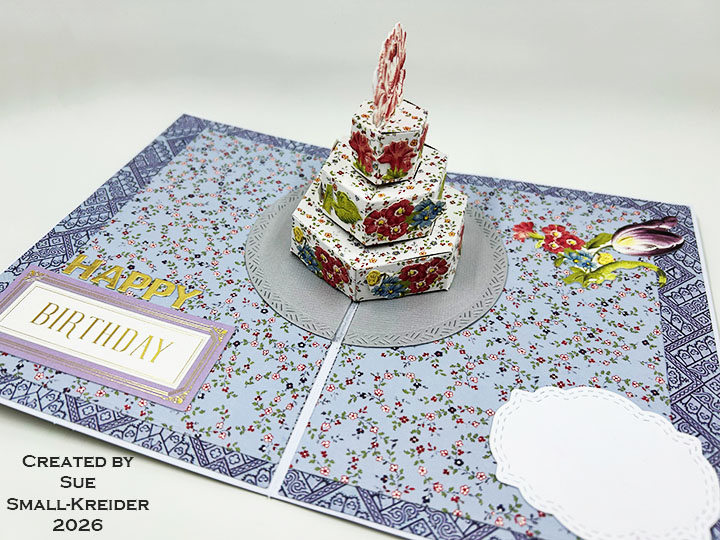
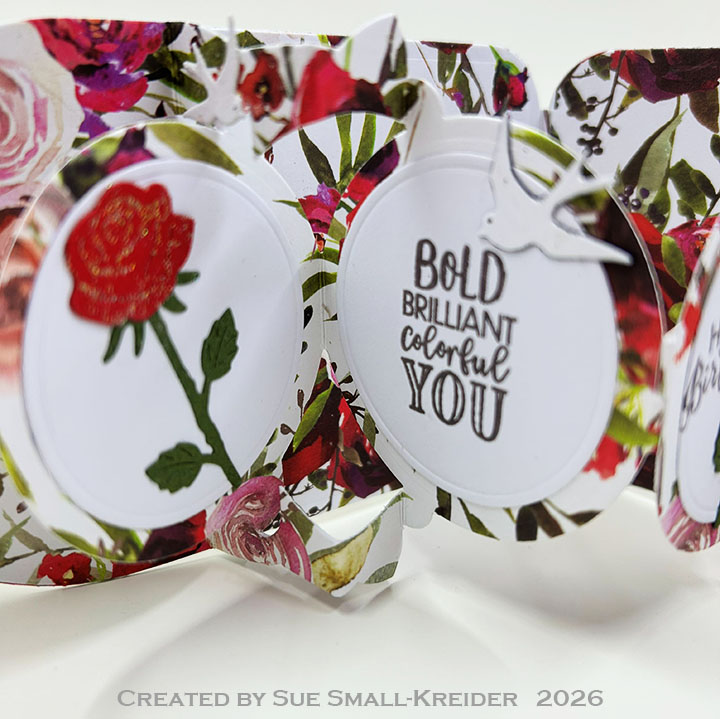
Sentiments: The sentiments are all on a single stamp (Alice’s Story Birthday Sentiments) that goes on over the stenciled cake layers. Then the cake is die-cut using the Three Tier Cake Layering Stencils & Die.
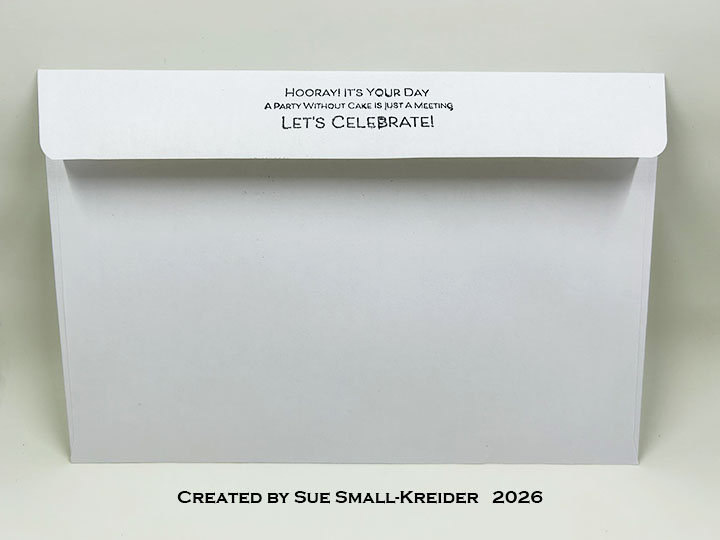
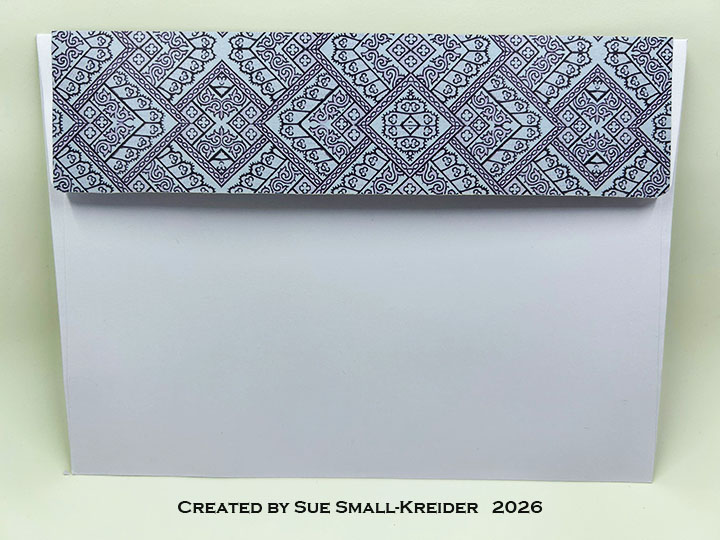
Envelope: The card fits into a catalog (6×9-inches) envelope with some of the cake sentiments stamped on the back flap using Alice’s Story Birthday Sentiments.
___________________________________
Thank you for experiencing this blog post.
I hope this inspires you and makes you smile.
Please subscribe, like and leave comments 😊
Follow my YouTube channel, Instagram and Pinterest as well.
___________________________________
Materials Used:
Die & Stencils
Stamps
Papers
- Park Lane Paperie – 8.5×11-inch Single-Sided 110lb Cardstock – Roses
- Pink and White Cardstock
- Catalog (6×9-inches) envelope – White
Ink
- Catherine Pooler Premium Dye Ink – Blue Raspberry, Quartz
- Memento – Fade-Resistant Dye Ink – Tuxedo Black
- Pigma – Mircon 08 Fine Tip Pen – Black
Adhesives
- Neutral PH Adhesive by LINECO
- Fine-Tip Glue Bottle
- Double-Sided Tape – 1/4-inch wide
Tools
- Blending Brushes
- Die Cutting Machine
- Pajama Crafters Pet Pig Press
- Pencil
- Riley and Company – Pick & Poke Tool
- Scrapbook.com – Magic Mat
- Stamping Platform
- Scissors
- Scrapbook.com – Mint Tape
Miscellaneous
- Pinkfresh – Metallic Pearls – Gold
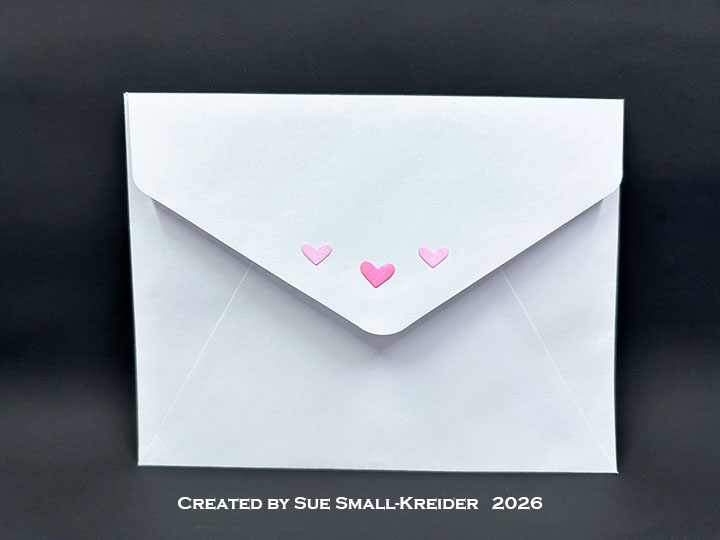
- Trinity Stamps – Sparkle Hearts – White