Watching Fireworks Pop-Up Card

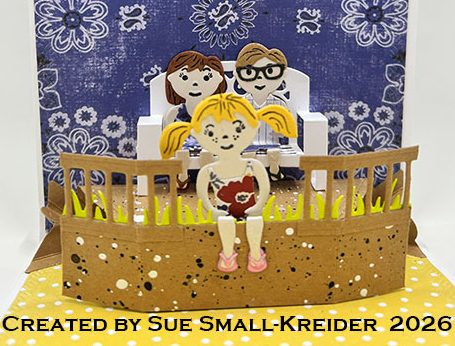
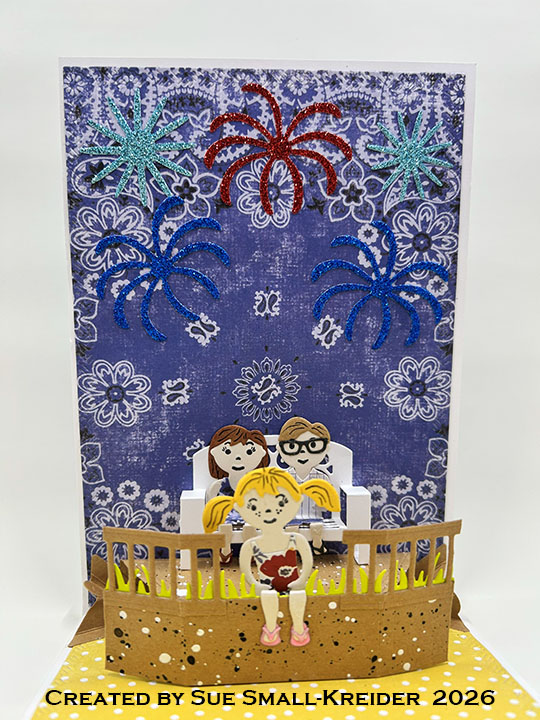
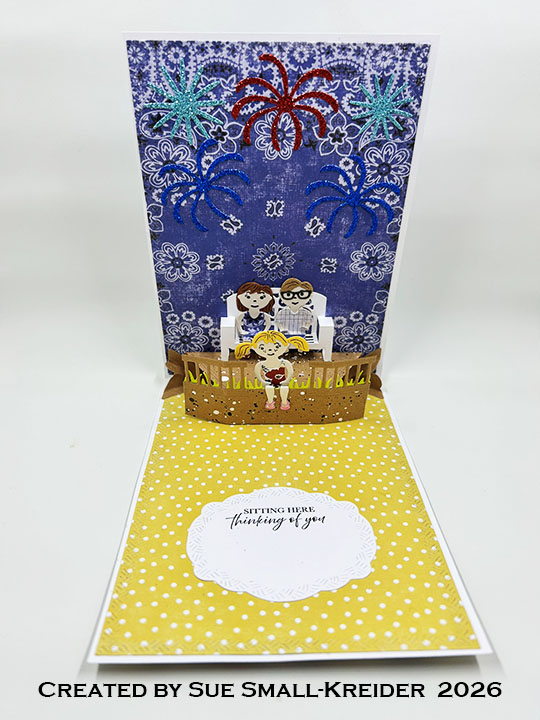
Using Karen Burniston‘s new July 2026 release Paper People Summer Styles, Little Bench Pop-Up, Gazebo Stage Add-Ons as well as previously released Grass Stage Add-Ons, Stage Pop-Up, Display Helpers, Fireworks, and Rectangles and Labels – Crosshatch, I made a 5×7-inch card that celebrates watching fireworks from the back deck with your family. It uses alternative methods for using the dies.It also uses two new stamp sets – Beer and Soda Sayings and Garden Greetings.
Watch the video below to learn how I made this card.

Cardbase: Cut a 5×7-inch rectangle and a 5×7.25-inch rectangle scored at .25-inches. Fold and glue tab to back of smaller rectangle to form a top-fold A7 size cardbase. Cut four of the largest crosshatch rectangle die in the Rectangles and Labels – Crosshatch from patterned paper and glue to the four panels of the cardbase.
Paper People: Cut three figures using the body die in the Paper People Summer Styles set. Stamp faces on them using the Fun Faces1 stamp set. Watch the video above to learn more about how I styles this family of three using just the dies in this die set. (I accidentally mixed up my body dies between the original Paper People set and the new one and so the original body shape with the very thin waist was used for the little girl. The feet are a bit different so the flip flops look big on her.)
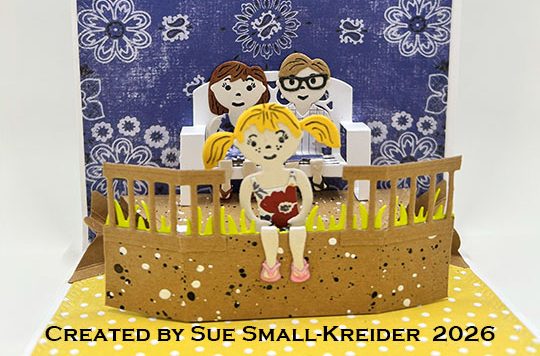
Deck: (My original idea was to have a half gazebo on this card, but the roof and side panels only work for a free-standing gazebo, hence the deck.) Cut one base piece, one side piece and one polygon decorative piece from the Stage Pop-Up die set. Cut one grassy side piece from the Grass Stage Add-Ons set. Cut one railing from the Gazebo Stage Add-Ons. (In hindsight, I would recommend gluing the grass strip whole to the brown side strip, but not to train any of the folds. Add railing as shown in the video. Also cut a rectangle the size of the deck instead of the polygon decorative piece. Trim the siding piece to the size of the rectangle.) Add two Display Helpers to either side of the deck to keep the card open.

Bench Pop-Up: This is an alternative way to use the Little Bench Pop-Up. Cut one bench and trim off the table strip as shown in the video above. Assemble as shown in video. Add glue to bottom of legs and to the back of bench to attach bench to deck and blue background. (Suggest bending Paper People bodies to fit bench, before styling them with clothes. This will allow you to avoid bending through three layers of clothing having to do “knee surgery” to get them to fit and bend up when card is closed.)
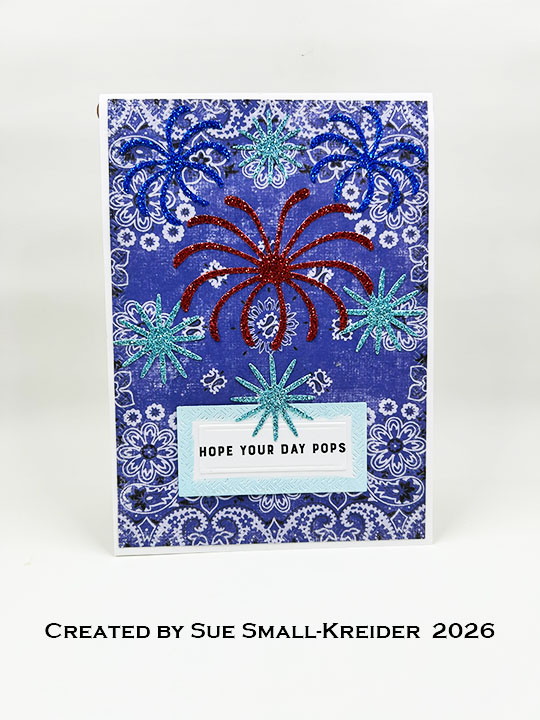
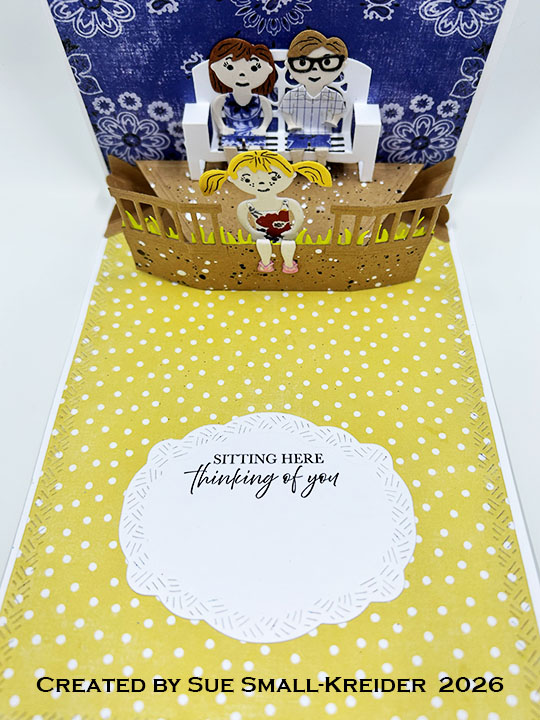
Sentiments: The front sentiment “Hope your day pops” comes from the Beer and Soda Sayings stamp set. Using the fancy label die from the Rectangles and Labels – Crosshatch for the inside sentiment of “Sitting here thinking of you” which comes from the Garden Greetings stamp set. The fireworks on the card front and inside are cut from glitter cardstock using the Fireworks die set.

Envelope: The card fits into an A7 (5×7-inch) envelope.

___________________________________

I hope this inspires you and makes you smile.

Please subscribe, like and leave comments 😊

Follow my YouTube channel, Instagram and Pinterest as well.

___________________________________

Disclaimer: Karen Burniston products are provided free of charge by the manufacturer for review and use. All other items were personally purchased. Compensated affiliate links used where or when possible, meaning I will receive a small percentage commission from these manufacturers at no cost to you. This will allow me to add more content to my YouTube channel and help out a lot. Thank you.

Materials Used:

Dies

Stamps

Papers

  • DCWV – 6×6 inch Glitter Stacks – Brights & Pastels
  • Recollections – 8.5×11 65 lb. Cardstock – Kraft
  • Simple Stories – 6×8 inch Double-Sided Cardstock – Simple Vintage Linen Market
  • The Paper Studio – 8.5×11 65 lb. Cardstock – White

Ink

  • Catherine Pooler – Bottled Ink – Pearl Shimmer
  • Hero Arts – Acrylic Spray – Opaque White
  • Hero Arts – Silk Ink – Bronze
  • Memento – Fade Resistant Dye Ink – Tuxedo Black
  • OLO Marker – N-G9 Neutral Gray & RV 0.2 Bubble Gum
  • Pigma – Mircon 05 Fine Tip Pen – Black
  • Scrapbook.com – Shimmer Glitter Brush Marker – Frosty Blue
  • Spellbinders – Splatter Effects – Raven
  • Stampin’ Up – Stampin’ Blends Marker – Light Copper Clay

Adhesives

Tools

  • Die Cutting Machine
  • Paper Trimmer
  • Bone Folder
  • Stamping Platform
  • Stamping Blocks used as paperweights
  • Scissors
  • Tweezers
  • Paper Masking Tape
Wood Flower Card

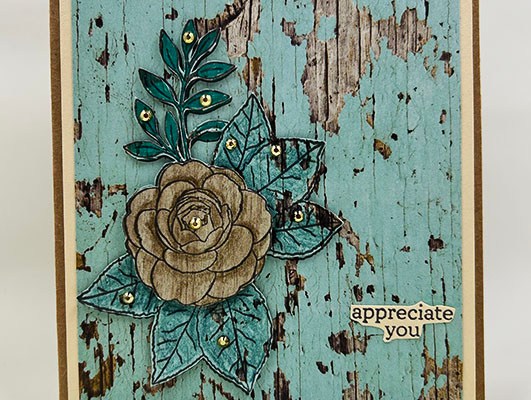
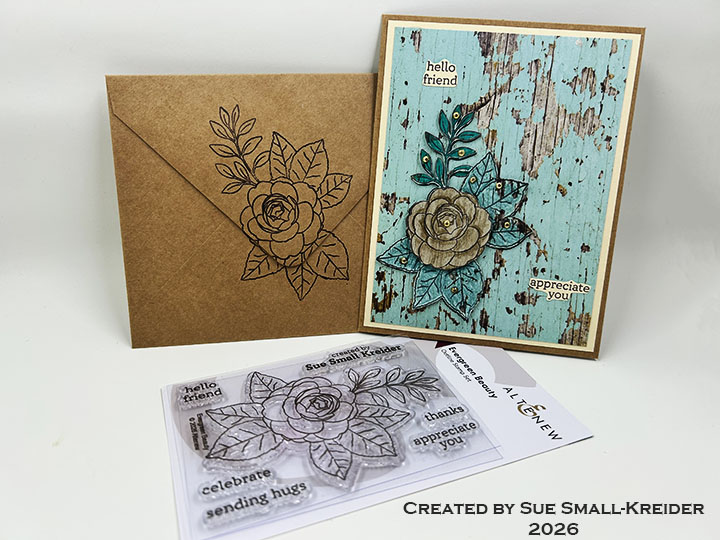
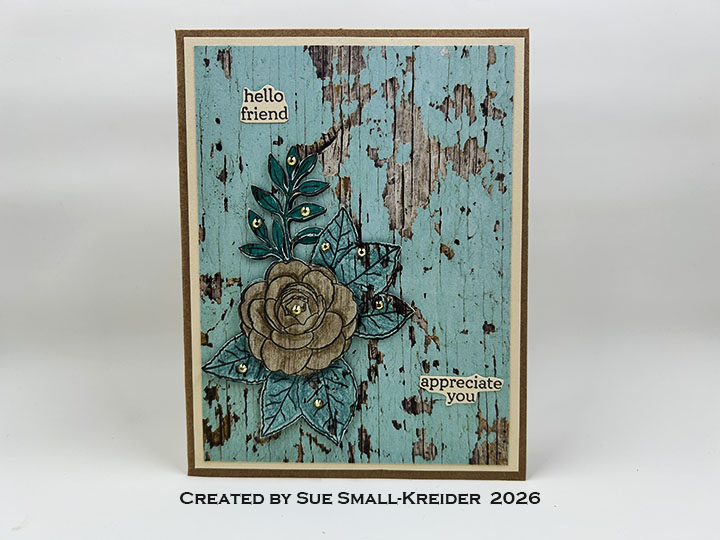
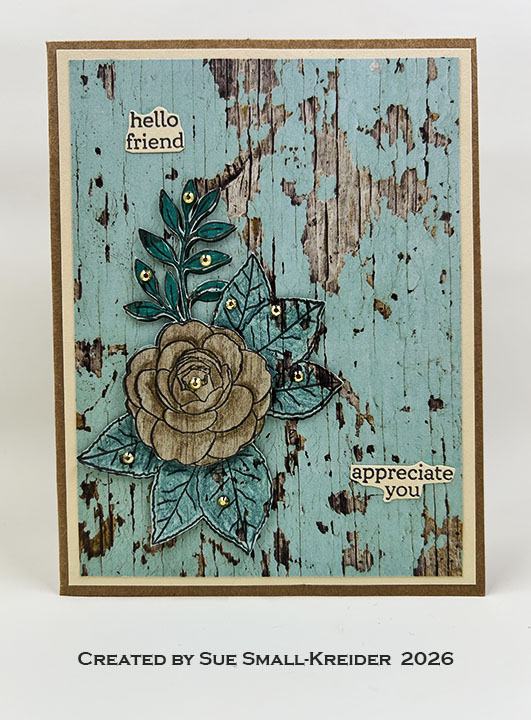
After receiving this personalized stamp set from Altenew, I had to make something with it. Card Chaos with Irene Smith! had a Bingo Challenge on with colors. I picked ivory, brown and teal colors and found a Stampin’ Up designer series paper pack called Country Woods that had those colors.

Cardbase: I used a brown kraft paper purchased A2 (4.25×5.5-inch) cardbase. Cut an ivory piece of cardstock 4×5.25-inches and glue to the front card panel.

Flower Image: Using brown ink and the Altenew Evergreen Beauty set, stamp the image on left bottom corner of a teal wood patterned paper 3.75×5-inches rectangle (Stampin’ UpCountry Woods). Stamp it again on a scrap of the same paper and color with teal watercolor pencil and teal marker. Fussy cut around the entire colored image. On a scrap piece of ivory colored woodgrain paper, stamp the flower and color with a brown watercolor pencil. Fussy cut around the colored flower.

Using 1mm thick foam tape, pop-up the entire colored image onto the rectangle stamped image.Next pop-up the brown colored flower on top of the colored image. Add nine gold gems to the image. Glue rectangle onto cardbase.

Sentiments: From the Altenew stamp set, “Hello friend” and “appreciate you” are stamped in brown ink onto ivory cardstock and fussy cut out. Glue directly to the card front. I used my custom stamp on the card back.

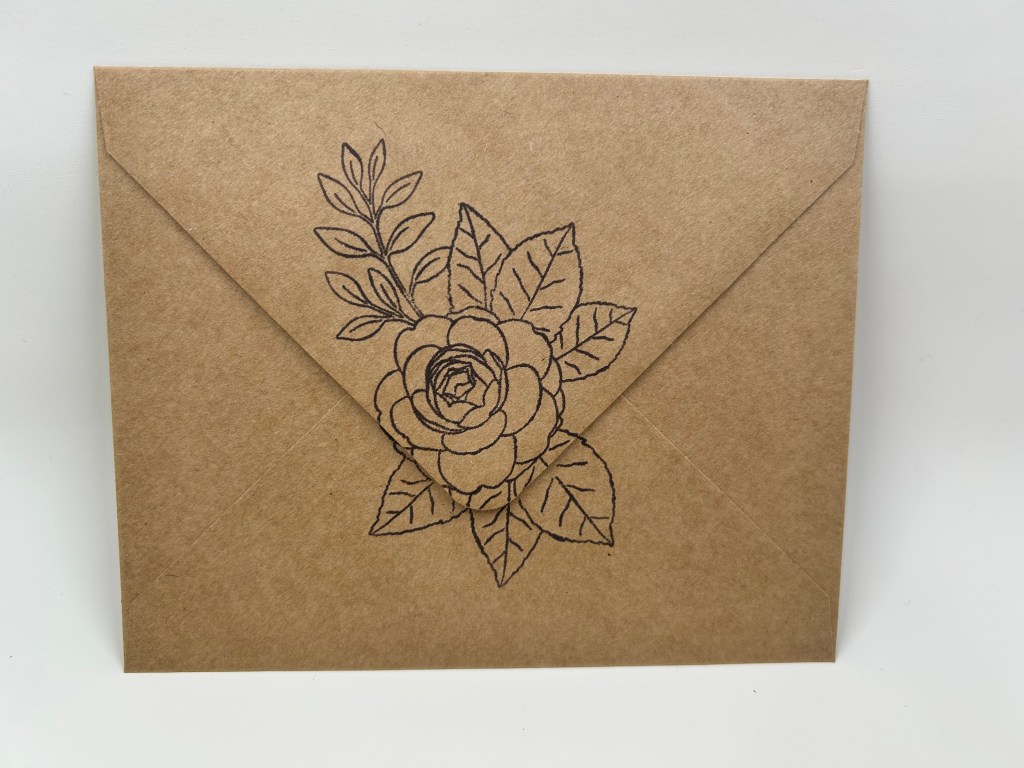
Envelope: Using a purchased A2 matching kraft paper envelope stamp the flower image on the back in brown ink.

___________________________________

Thank you for experiencing this blog post.

I hope this inspires you and makes you smile.

Please subscribe, like and leave comments 😊

Follow my YouTube channel, Instagram and Pinterest as well.

___________________________________

Disclaimer: Karen Burniston products are provided free of charge by the manufacturer for review and use. All other items were personally purchased. Compensated affiliate links used where or when possible, meaning I will receive a small percentage commission from these manufacturers at no cost to you. This will allow me to add more content to my YouTube channel and help out a lot. Thank you.

Materials Used:

Stamps

  • Altenew – Clear Stamps – Evergreen Beauty

Papers

Ink

  • Memento – Fade Resistant Dye ink – Espresso Truffle
  • Pigma – Mircon 01 Fine Tip Pen – Brown
  • Sharpie – Permanent Marker – Ultra Fine Tip – Teal
  • Nuvo – Highly Pigmented Watercolour Pencils – Potato Skin & Deep Viridian

Adhesives

  • Neutral PH Adhesive by LINECO
  • Fine-Tip Glue Bottle
  • Scrapbook.com – Foam Tape – 1mm thick

Tools

Miscellaneous

  • Craftstash – Gold Half Gems

2025 ATC Calendar – August

I started a new challenge for 2025 – the ATC calendar challenge. With a group of crafty friends, we are making a new image on a 4.25×5.5-inch calendar card for each month.

August’s card is made with Simon Says Stamp! dies and papers from it’s July 2025 card kit.

To see other months’ calendars go to click here.

___________________________________

Thank you for experiencing this blog post.

I hope this inspires you and makes you smile.

Please like and leave comments 😊

___________________________________

Disclaimer: Karen Burniston products are provided free of charge by the manufacturer for review and use. All other items were personally purchased. Compensated affiliate links used where or when possible, meaning I will receive a small percentage commission from these manufacturers at no cost to you. This will allow me to add more content to my YouTube channel and help out a lot. Thank you.

___________________________________

Materials Used:


Dies
• Simon Says Stamp! – Steel Dies – Window Trio – 1401sd


Press Plates
• Spellbinders – BetterPress Plates – 2025 DIY Calendar


Papers
• La-La Land Crafts 6×6 Double Sided Paper Pad – In The City
• Kraft Cardstock
• Spellbinders – BetterPress – 5.5 x 4.25” (A2) Cotton Card Panels – Porcelain & Pebble


Ink
• Spellbinders – BetterPress Ink – BetterPress Black

Adhesives
Neutral PH Adhesive by LINECO
Fine-Tip Glue Bottle

Tools
• Die Cutting Machine
• Scissors

We R Memories – QuickStick
• Paper Masking Tape

Miscellaneous
• Simon Says Stamp! – Stellar Embellishment Mix

2025 ATC Calendar – July

I started a new challenge for 2025 – the ATC calendar challenge. With a group of crafty friends, we are making a new image on a 4.25×5.5-inch calendar card for each month.

July’s card is made with Stampin’ Up’s Notes & Totes dies and stamps.

Learn how I made this calendar by watching the video below.

To see other months’ calendars go to click here.

Click to see Lois Bak’s July calendar.

___________________________________

Thank you for experiencing this blog post.

I hope this inspires you and makes you smile.

Please like and leave comments 😊

___________________________________

Disclaimer: Karen Burniston products are provided free of charge by the manufacturer for review and use. All other items were personally purchased. Compensated affiliate links used where or when possible, meaning I will receive a small percentage commission from these manufacturers at no cost to you. This will allow me to add more content to my YouTube channel and help out a lot. Thank you.

___________________________________

Materials Used:


Dies
• Stampin’ Up – Stampin’ Cut & Emboss Dies – Notes & Totes

Stamps
• Stampin’ Up – Clear Stamps – Notes & Totes

Press Plates
• Spellbinders – BetterPress Plates – 2025 DIY Calendar


Papers
• Core’dinations – 12×12 Textured Cardstock – Vintage Collection – Blue
• Copper Mirror Cardstock
• Pink Textured Shimmer Cardstock
• White and Yellow Cardstock
• Spellbinders – BetterPress – 5.5 x 4.25” (A2) Cotton Card Panels – Porcelain & Pebble


Ink
• Concord & 9th – Premium Dye Ink – Powder
• Memento – Fad-Resistant Dye Ink – Tuxedo Black
• My Favorite Things – Premium Dye Ink – Lazy Day
• Spellbinders – BetterPress Ink – BetterPress Black
• Stampin’ Up – Classic Stampin’ Pad – Crushed Curry

Adhesives
Neutral PH Adhesive by LINECO
Fine-Tip Glue Bottle
• Scrapbook.com – Foam Tape – 1mm


Tools
• Die Cutting Machine
• Scissors
• We R Memories – Piercing Tool
• Blending Brush
• Paper Masking Tape

Adhesives
• The Paper Studio – Brads – Copper

Watermelon Pop-Up Card

Watermelon Pop-Up Card

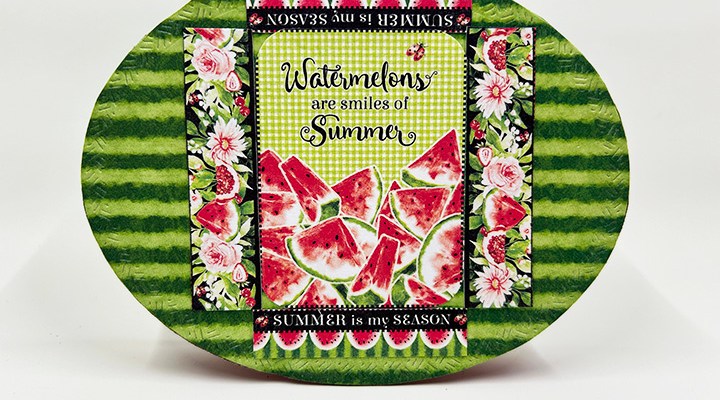
Inspired by a new Graphic 45 paper collection – Sunshine On My Mind that features watermelon papers, I created this A2 (4.25×5.5-inches) sized card using Karen Burniston’s Ovals and Heart Collage Pop-Up die sets.

Cardbase: Fold an 8.5 x 5.5-inch rectangle of card stock in half to form a top fold 4.24 x 5.5-inch card (or use a purchased A2 cardbase.) Tape the largest oval die so that the top of the die overhangs the fold. Die cut to form an oval folded cardbase. With a red marker color the inside edges of the cardbase. Repeat with green marker to the outside edges.

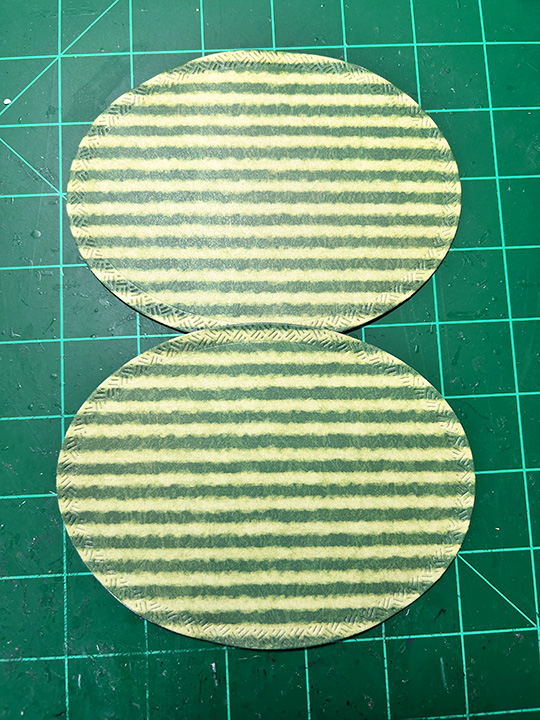
Using the same oval die, cut two ovals from green watermelon rind paper and two more ovals from red and black watermelon paper. Glue one of the red ovals inside the cardbase, fold cardbase in half and trim off red paper at fold. Repeat with the second red piece. Glue one green oval to the back side of cardbase. Trim at fold. Glue the last green oval to front of card.

The card front will be the only complete oval. All other panels should have been trimmed to allow the cardbase to fold. (Note in photo that a hint of red shows on the back of the card.)

Decorate the outside of the cardbase with sentiments cut from the collection pack papers.

Collage Mechanism: (Watch the assembly video for the Heart Collage Pop-Up located at the bottom of the linked page.) Cut the mechanism from red cardstock. Train folds and glue inside the cardbase. Allow the glue to dry before connecting the locking tabs. Cut sentiment panels from paper collection. Round the corners. Play with positioning of the panels onto the mechanism before permanently gluing in place. (I found that my side arms needed to be thin pieces and the top and bottom arms could handle larger panels.) Take the largest panel and fold in half before gluing over locking mechanism tabs.

Add other decorations to cardbase always checking for catchpoints to avoid.

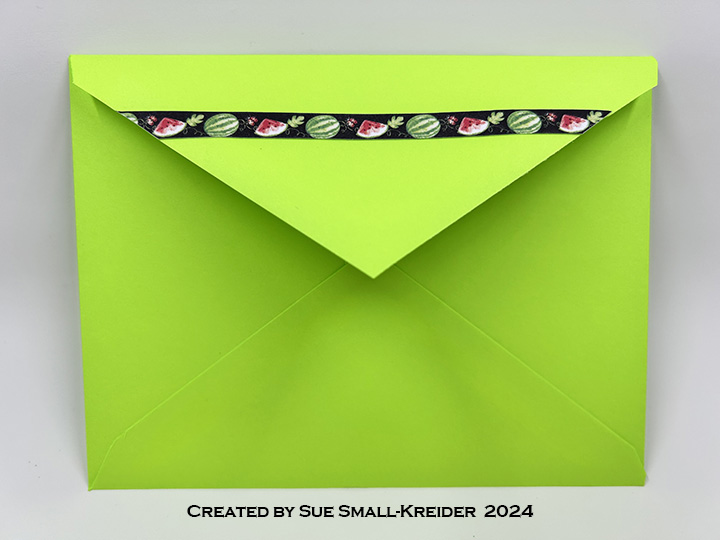
Envelope: Decorated the back envelope flap with decorative strips from paper collection.

__________________________________

Thank you for reading this blog post.

I hope this inspires you and makes you smile.

Please like and leave comments 😊

__________________________________

Materials Used:

Dies

Papers

  • Graphic 45 – 8×8 Double-Sided Collection Pack – Sunshine On My Mind
  • Red Cardstock
  • A2 (4.25×5.5-inches) Cardbase
  • A2 Envelope – Neon Green

Ink

  • Pigma – Mircon 01 Fine Tip Pen – Black
  • Scrapbook.com – Glitter Brush Marker – Red Shimmer
  • Sharpie – Permanent Marker – Fine Tip – Green
  • Sharpie – Permanent Marker – Fine Tip – Red

Adhesives

Tools

  • Die Cutting Machine
  • Bone Folder
  • Stamping Blocks used as paperweights
  • Scissors
  • Tweezers
  • Corner Punch

A Summer Fete Card

It’s time for the Karen Burniston April 2024 Design Team Challenge with the theme of Thirst Quencher. I chose lemonade as my thirst quencher and a card theme of a summer fete (festival or fair).

At a fete, there are generally small booths selling baked goods, drinks and other trinkets or handicrafts, so my card is a slimline (3 3/4 x 8 1/2-inch) card with three food booths using Karen Burniston dies.

Cardbase: Start with an 8 1/2 x 7 1/2-inch rectangle of a thick cardstock. (I used white.) Score at 3 1/2-inches and fold in half to create a top-fold 3 3/4 x 8 1/2-inch card base.

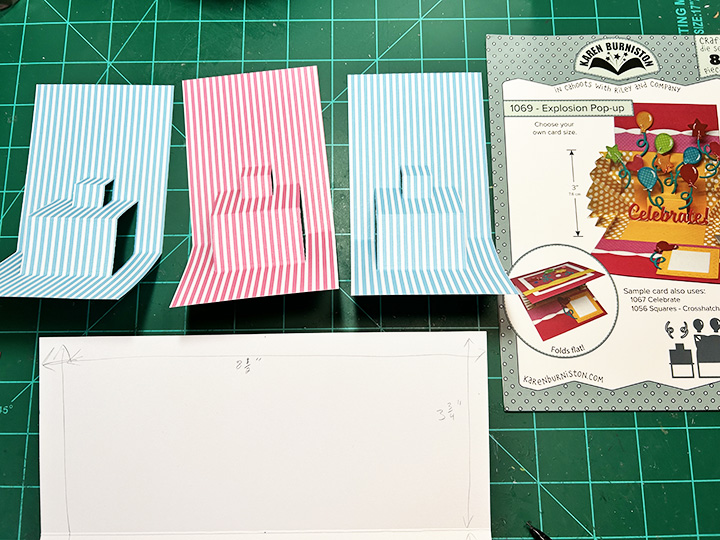
Booths: Cut three 6×3-inch panels of striped paper. (If you have longer than 6-inch striped paper cut them 7 1/2×3-inches.) Score and fold each panel at 3 3/4-inches. Using the pop-up center die from the Explosion Pop-Up, center the die on the fold of each panel.  Train the folds as directed in the assembly video for the die set located at the bottom of the linked page. Glue pop-up panels inside card with the long side attaching to the inside top panel.  Cover the bottom panel with grassy patterned paper. (I cut strips of the 6×6-inch patterned paper 1-inch wide to go through the pop-ups and cover over the striped paper.) I used a border print card layer to created the tablecloths on each booth table.

Posts and Banners: The posts are cut from glossy white cardstock using the Street Lantern die with the scrolling arms cut off. The pendant banners are made using the die from the Twist Panel Pop-Up set and threading them onto baker’s twine. The twine was wrapped around the knob top of a post before gluing it in place. (The two ends of twine can be taped to the front of the card to be covered over by the front panel.) The green bows that cover the looped twine on the posts are from the Street Lantern Pop-Up set. (I found it helped with the opening and closing of the card to place a small drop of glue at the top back center of each pendant to keep them from becoming catch-points, but still allowing them some dimension.) I used computer generated “Pies,” Lemonade” and “Cakes” printed on coiper paper and cut out with the banner label from the Lorna Label Pop-Up set.

Card Front: You will need to create a panel to hide the banner twine ends under. Cut a 3 3/4 x 8 1/2-inch of blue cardstock and a 3 3/8x 8 1/4-inch rectangle of dotted printed paper. Glue the dotted paper on top of the blue cardstock with an even border all around. Cut ten fishtailed banners from decorative paper using the die from the Twist Panel Pop-Up set. Cut the letters and shadows to spell out “SUMMER FETE” using the Mini Alphabet die set. Glue the letters onto the shadows and shadows onto the banners being careful not to cover the holes at the top of the banners.

Thread the two words on two separate pieces of twine. Die cut the “Enjoy the” from different colors using the Enjoy The Ride set. Once the placement of the words and banners have been established, tape the banner twine ends to the back of the panel. Glue the words and banners down onto the panel. Attach panel to cardbase front. (I used glue and double-side ½-inch tape.)

Pies: I created four pies using two different die sets. The top view lattice cherry pie and the key lime pie were created using the pie dies in the Baking Borders set. (I brushed the cherry pie red with a red glitter brush pen for some shine.) The horizontal pies were made with the pie die from the Picnic Elements set with the base piece cut from red and the crust cut from brown. All pie crust were inked with a light brown ink. The horizontal pie crusts had their slits inked red with an ultra-fine tipped red marker. I attached the horizontal pies using a foam square and a pop-up cube from a strip of white cardstock. (You could use the pop-up cube from the Oven Extras die set instead of making your own.)

Lemonade: The pitcher and glasses of lemonade were created from clear vellum with yellow cardstock behind. All the pieces were cut using the Picnic Elements die set. The pitcher is adhered to the pop-up base with a foam square and a drop of glue. The glasses are attached to a strip of clear packaging plastic with double sided tape all along the strip. The strip was threaded through the pop-up base and attached to the backside of the pop-up. (I covered the exposed adhesive on the strip with anti-static powder.)

Cakes: For these small cakes, I used the cupcakes in the Baking Borders set. I left the border base layer attached and trimmed off the excess behind the frosting. The bottom row has its center cake glued to the pop-up base while the upper row is attached to a pop-up cube.

Message Labels: The two white scalloped labels inside the card are for a personal message and are cut using the die from the Twist Panel Pop-Up set. (I did two to hide the seams of my patterned paper.)

Envelope: The card will fit into a #10 business size envelope.

_______________________________________

Thank you for reading this blog post.

I hope this inspires you and makes you smile.

Please like and leave comments 😊

_______________________________________

Materials Used:

Dies

Papers

  • Ink N’ Splatter – 6×6 Double-Sided Paper Pack – Strawberry Fields
  • Queen & Co. – 6×6 inch Double-Sided Papers – Simple Stripes
  • Stampin’ Up – 8.5×11 Thick Cardstock – Basic White
  • The Paper Cut – 8.5×11 Glossy 10 PT Kromekote Cardstock – White
  • The Paper Studio – 8.5×11 Printed Paper – Random Dot – Robin’s Egg Blue
  • The Paper Studio – 8.5×11 Clear Vellum
  • Anna Griffin – All Occasion Pretty Paintings Card Making Kit – Layer Card
  • Clear Plastic Packaging
  • Colored Cardstock
  • #10 Business Envelope

Ink

  • Ranger – Tim Holtz – Distress Ink- Frayed Burlap
  • Scrapbook.com – Glitter Brush Marker – Red
  • Sharpie – Permanent Marker – Fine Tip – Red
  • Sharpie – Permanent Marker – Ultra Fine Tip – Red
  • Pigma – Mircon 01 Fine Tip Pen – Black

Adhesives

Tools

  • Die Cutting Machine
  • Scoring Board
  • Bone Folder
  • Craft Mat
  • Paper Trimmer
  • We R Memories – QuickStick
  • Craft Clips
  • Sponge Dauber
  • Stamping Blocks used as paperweights
  • This Calls For Confetti – It’s No Secret – Anti-Static Powder Tool
  • Scissors
  • T-Ruler
  • Pencil
  • Tombow – Mono – Sand Eraser -512A

Miscellaneous

  • Baker’s Twine – Yellow and White