Root Beer Pop-Up Birthday Card

This card was made for Craft Roulette #328 whose parameters were: an A2 (4.25×5.5-inch) card, Tutti Fruiti colors, container(s) element and unusual color as random. I used Karen Burniston dies and stamp sets including the soon to be released Toolbox Pop-Up, Six Pack Toolbox Add-Ons, Cascade Pop-Up dies and the Beer and Soda Sayings stamps.

(New dies and stamps will be available on July 23, 2026 on Karen Burniston’s website.)

Watch the video below to learn how I made this card.

Cardbase: Score and fold an 11×4.25-inch neon pink rectangle of cardstock into a 4.25×5.5-inch cardbase. Cut four 4×5.25-inch rectangles of lime green cardstock and glue on to the cardbase panels.
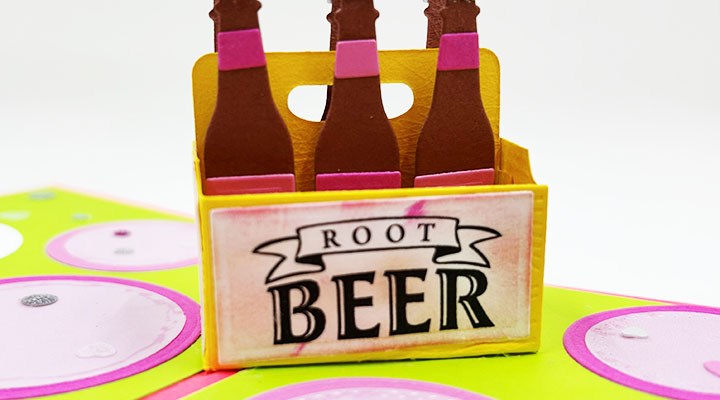
Six Pack Root Beer Pop-Up: w.

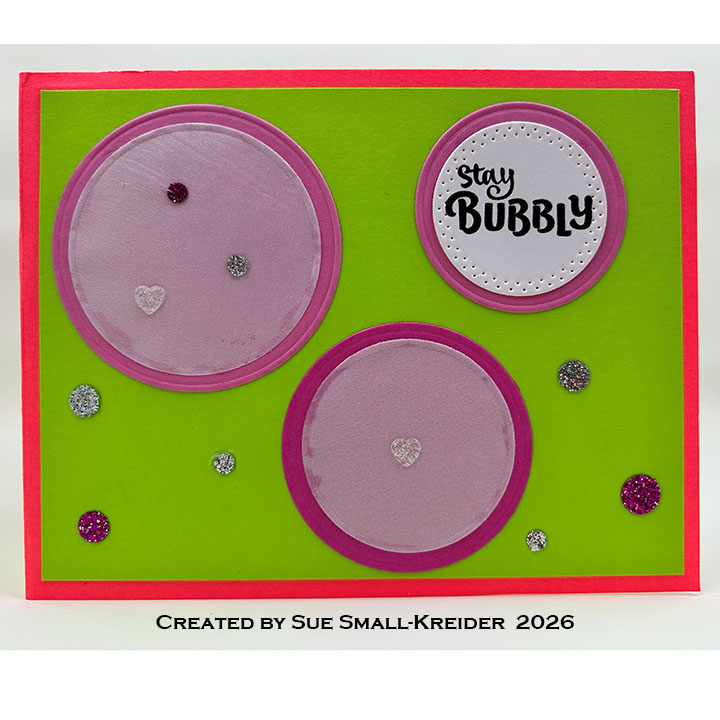
Bubbles: The bubble decorations are created by using the circles in the Cascade Pop-Up set to cut various size and shades of pink circles as well as vellum and pearlescent vellum circle. Sparkle spots and hearts are added for accents and tiny bubbles.

Sentiments: Using the Beer and Soda Sayings stamp set, stamp the “Root Beer” labels twice from white and die cut using the rectangle die in the Six Pack Toolbox Add-Ons die set. Ink blend labels with a light pink ink. From the Stage Scenes set stamp “Happy Birthday to you” in black and die cut using the medium circle in the Cascade Pop-Up die set. Use the smallest banner die in the Greeting Labels die set to cut out ” Hope your day pops” from the Beer and Soda Sayings stamp set and glue on to the popping circle with uses the largest Fireworks die and leaves from the leaf stem in the Cascade Pop-Up trimmed to droplets.

Envelope: The card fits into an A2 (4.25×5.5-inches) envelope.

___________________________________

Thank you for experiencing this blog post.

I hope this inspires you and makes you smile.

Please subscribe, like and leave comments 😊

Follow my YouTube channel, Instagram and Pinterest as well.

___________________________________

Materials Used:

Dies

Stamps

Papers

  • Lawn Fawn – 8.5×11 Vellum – Pearlescent
  • The Paper Studio – 8.5×11 65 lb. Cardstock – White
  • Ginger Brown, Lime Green, Shades of Pink and Yellow Cardstock
  • Matte Silver Paper

Ink

  • Memento – Fade-Resistant Dye Ink – Tuxedo Black
  • Pigma – Mircon 01 Fine Tip Pen – Black
  • Ranger – Tim Holtz – Distress Ink- Saltwater Taffy

Adhesives

Tools

  • Bone Folder
  • Die Cutting Machine
  • Microfiber Cloth
  • Ruler
  • Scrapbook.com – Magic Mat
  • Scissors
  • Scrapbook.com – Mint Tape
  • Sponge Dauber
  • Stamping Blocks as paper weights
  • Tweezers
  • We R Memories – QuickStick

Miscellaneous

  • Trinity Stamps – Sparkle Spots – Silver, Pink & White Hearts

Floral Pop-Up Arch Wedding Card

This card was made for Craft Roulette #327 whose parameters were: an interactive card, Summer colors, “Here Comes The Bride” element and ink edging as random. I used Karen Burniston dies and stamp sets.

Watch the video below to learn how I made this card.

Cardbase: Score and fold a 10×7-inch white rectangle of cardstock into a 5×7-inch cardbase. Ink the edges with green ink cube. Cut two sets of crosshatch frame and rectangle from two different patterned papers using the largest two dies in the Rectangles and Labels – Crosshatch die set. Glue frames and rectangles onto the four panels of the cardbase as shown in video above.

Arch Pop-Up: Cut from all the Arch Pop-Up pieces. Using Peacock Add-Ons, cut one of the large base piece. Assemble as shown in the video above. Glue tabs on back of arch down before gluing on the decorator dies cut from the Rainbow Add-Ons set. Decorate with the bride and groom and floral pieces described below.

Bride: Using the Paper People die set, cut one of the figure, one set of hair style pieces, one short skirt, one of the curvy v-neck t-shirt and one set of the slippers. From silver foil cardstock, cut one half circle. This will be the tiara that tucks behind the front hair piece.Using the Wedding Charms die set, cut one dress and trim off the bodice.This will be the skirt of the wedding dress. Trim figure at the waist and glue legs to back of the skirt so just the toes of the shoes pip out. Assemble as shown in the video (I used the Fun Faces 1 stamp set to stamp on her face before I added her hair.) Brush dress with Glitter Gloss for a shimmer.

Groom: Using the Paper People die set, cut one of the figure, one hair, one pants, one set of shoes, one long sleeved shirt. Using the Wedding Charms die set, cut one tuxedo and one of the shirt triangle piece. Trim the tuxedo’s loop, sleeves and pants off. Glue in shirt triangle and assemble the coat as shown in the video above. (I used the Fun Faces 1 stamp set to stamp on his face before I added his hair.) Color shoes, jacket lapels and buttons with light gray marker. Brush tuxedo with Glitter Gloss for a shimmer.

Floral Decorations: Assemble flowers and three butterflies from the Flower Pot Add-On die set using a small sponge dauber to add inky highlights to the pieces. Cut and assemble six large daisies, two small daisies and several tiny flowers from the Flowers and Bee die set. Using the Twist Flower Pop-Up set, cut six daisy borders and a number of small daisies. Cut six of the bluebells from the Fence Add-Ons set.

Sentiments: Using the Wedding Charms die set, cut “Best Wishes” from matte gold cardstock and the shadow from white. Adhere to card front using the left over flowers to decorate. Cut two large fancy labels from the Rectangles and Labels – Crosshatch die set and brush the crosshatch frames with Glitter Gloss.

Envelope: The card fits into an A7 (5×7-inches) envelope with “Congratulations” stamped in gray ink using a stamp from the Grad Greetings stamp set.

___________________________________

Thank you for experiencing this blog post.

I hope this inspires you and makes you smile.

Please subscribe, like and leave comments 😊

Follow my YouTube channel, Instagram and Pinterest as well.

___________________________________

Materials Used:

Dies

Stamps

Papers

  • Dare 2 B Artzy – 12×12 Double-Sided Paper Honey Blooms by Andie Hanna – Berry Botanical & English Garden
  • Recollections – 8.5×11 110 lb. Cardstock – Greens, Ocean, Rose, Yellows
  • The Paper Studio – 8.5×11 65 lb. Cardstock – White
  • Matte Gold Cardstock
  • Silver Foil Cardstock
  • A7 (5×7-inch) Envelope – White

Ink

  • Memento – Fade-Resistant Dye Ink – Flannel Gray & Tuxedo Black
  • OLO Marker – N-G 1 Neutral Gray
  • Pigma – Mircon 01 Fine Tip Pen – Black
  • Ranger – Tim Holtz – Distress Ink- Broken China, Rustic Wilderness, Spiced Marmalade
  • Spellbinders – Splatter Effects – Raven
  • Stampin’ Up – Stampin’ Blends Marker – Dark Pebbled Path

Adhesives

Tools

  • Bone Folder
  • Die Cutting Machine
  • Microfiber Cloth
  • Riley and Company – Pick & Poke Tool
  • Ruler
  • Scoring Board
  • Scrapbook.com – Magic Mat
  • Scissors
  • Scrapbook.com – Mint Tape
  • Sponge Daubers
  • Stamping Blocks as paper weights
  • Tweezers

Miscellaneous

  • Nuvo – Aqua Shimmer – Glitter Gloss
  • Pop Of Color – Gloss – Sunshine

Wizard Themed Pop-Up Birthday Card

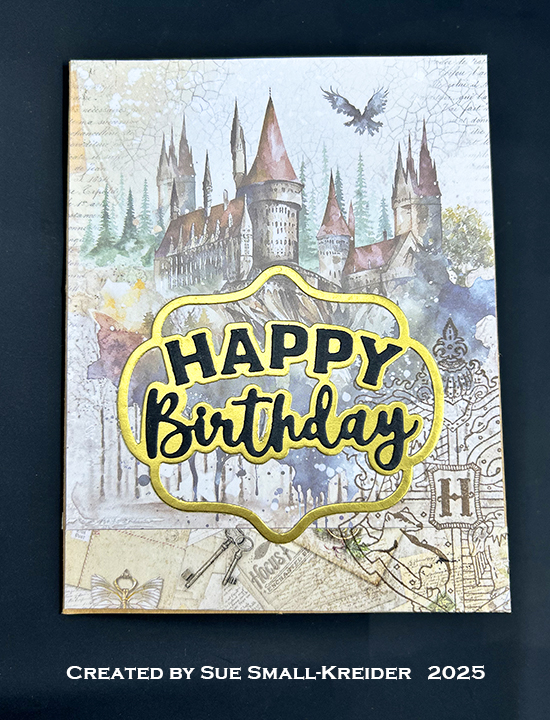
It’s the Karen Burniston design team challenge for September 2025 using the theme of letter. I chose to make a card celebrating the Owl Post in the Harry Potter world using the Feathered Animals, Postage Pop-Up, Arch Pop, Rainbow Add-Ons, and Paper People die sets.

Watch the process video to see how I made this card.

Cardbase: Start with a purchased A2 (4.25×5.5-inch) cardbase of brown kraft paper. Cover the four panels with decorative papers. (I used Ciao Bella’s Wizard Academy paper pad.)

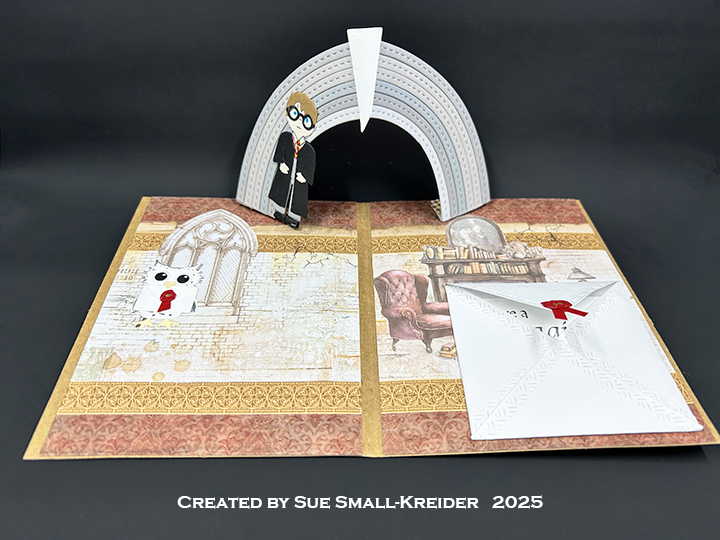
Arch Pop-Up: Watch the assembly videos (located at the bottom of the linked die set pages) for the Arch Pop-Up and Rainbow Add-Ons. Use different shades of gray to build up the stone archway. The keystone of the arch is a decorator die in the Photo Fan Pop-Up.

Harry and Hedwig: Harry is made using three die sets – Paper People, Tiny Accessories 1 and Graduation Elements. Hedwig is made using the Feathered Animals set using white card stock and a gray brush tipped marker. (Watch the video above for assembly. Also watch this video for more details on the Hogwarts uniform.) The envelope Hedwig carries is from the Postage Pop-Up set. Watch the video above to learn how the red seal is made.

Sentiments: All the sentiments and Hogwarts crest used on the card are stamped using brown ink and Crackerbox Stamps. Watch the video above for how the large envelope and message card are made from the Squares – Crosshatch die set. “Happy birthday” on the card front is the Happy Birthday Lorna Add-Ons.

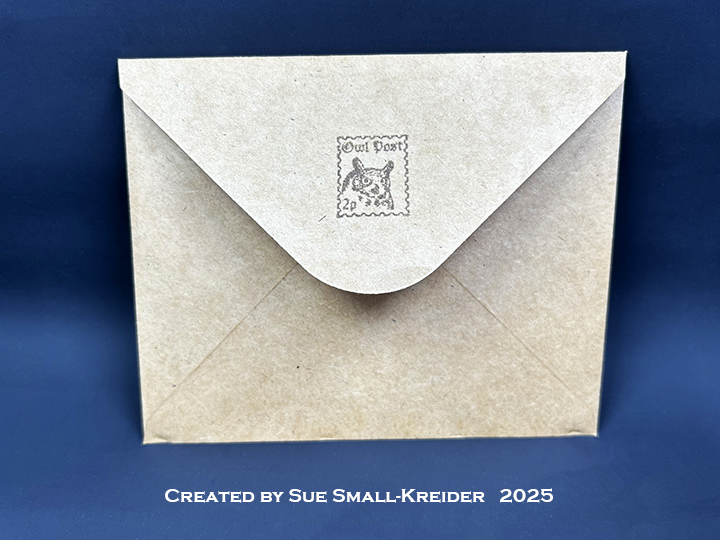
Envelope: The card fits into a brown kraft paper A2 (4.25x 5.5-inches) size envelope stamped with a castle and an owl post stamp on the back flap in brown ink.

___________________________________

Thank you for experiencing this blog post.

I hope this inspires you and makes you smile.

Please subscribe to the email notices, like and leave comments 😊

___________________________________

Disclaimer: Karen Burniston products are provided free of charge by the manufacturer for review and use. All other items were personally purchased. Compensated affiliate links used where or when possible, meaning I will receive a small percentage commission from these manufacturers at no cost to you. This will allow me to add more content to my YouTube channel and help out a lot. Thank you.

Materials Used:


Dies


Stamps

  • Crackerbox Stamps – Rubber Stamps – Harry Potter Collection


Papers

  • Bazzill – 8.5×11 Cardstock – Tiara -18-1002
  • Ciao Bella – 8×8-inch Double-Sided Paper –Wizard Academy
  • Concord & 9th – 8.5×11 Cardstock – Dove
  • Fun Stampers Journey – 8.5×11 Cardstock – Tin Pail
  • My Favorite Things – 8.5×11 Cardstock – Cement Gray
  • Black, Blush, Browns, White and Yellow Cardstock
  • A2 Cardbase and Envelope – Brown Kraft


Ink

  • Cricut – Marker Medium  Tip 1.0 – Gold
  • Gel Pen – Blue
  • Simply Lettering – Dual Tipped Marker – Gray
  • Memento – Fade Resistant Dye ink – Rich Cocoa
  • Pigma – Mircon 01Fine Tip Pen – Black
  • Sakura – Gelly Roll Pen – Medium – White
  • Sharpie – Permanent Marker – Ultra Fine Tip –Red, Yellow

Adhesives

  • Neutral PH Adhesive by LINECO
  • Fine-Tip Glue Bottle
  • Scrapbook.com – Double-Sided Tape – 4-inch wide

Tools

  • Die Cutting Machine
  • Paper Trimmer
  • Stamping Blocks
  • Scissors
  • Pencil
  • Paper Masking Tape
  • Riley and Company – Pick & Poke Tool
  • Hole Punches – 1/4 & 1/8-inch
  • Ruler