
Recently I had the honor of creating a pop-up card celebrating a couple’s 66th wedding anniversary. Since there are no special designations for the 66th anniversary, I decided to go with silver, gold and sapphire blue as colors and balloons, stars, hearts and streamers as elements. My inspiration for the card came from a 50th anniversary card by Nicky Foden using Karen Burniston‘s Heart Collage Pop-Up, Balloon Collage Add-Ons and other dies.
Before I began, I read through Nicky’s blog on her card and watched Karen Burniston’s video on making a triple heart collage slimline pop-up card. I learned that I would need to trim down the outer mechanisms’ arms that will stick out of the card and continually test the placement of items to avoid catch points. The mechanism I used is the from the Heart Collage Pop-Up die set.

Cardbase: I used a medium weight white cardstock rectangle measuring 8 3/4 x 7 3/4-inches. When folded in half, the card measures 3 3/8 x 8 3/4-inches. Using the largest two dies from the Long Rectangles – Crosshatch die set, I cut frames from gold glitter cardstock and a large white rectangle to cover the front of the card. The frames went on the front and back of the card. For the inside of the card, I followed the dimensions of the largest die, but used a paper cutter to cut two panels of gold dotted acetate. (The acetate was too thick for the die to cut well.) While the glitter cardstock and white cardstock could be adhered using glue, the acetate required double sided-tape. Measuring the inside of the glitter frame on the back of the card, I cut a piece of acetate to fit the opening.
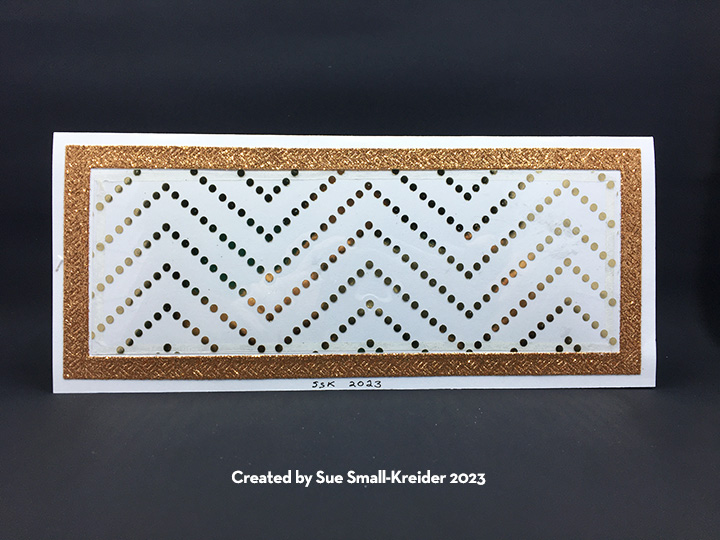
Mechanisms: Following Karen’s instructions on the placement of the mechanisms, I marked the locations with pencil on the inner fold. Making sure to line-up the pencil mark in the center hole of the mechanism and aligning the mechanism fold to the card fold, before I adhered one side of the mechanism to the card. Because of the acetate being used for the surface the mechanisms would adhered to, I used red backed super sticky double-sided tape. Once the mechanisms were in place and trained by opening and closing the card, I noted which arms stuck out of the card and trimmed them to fit inside the card.


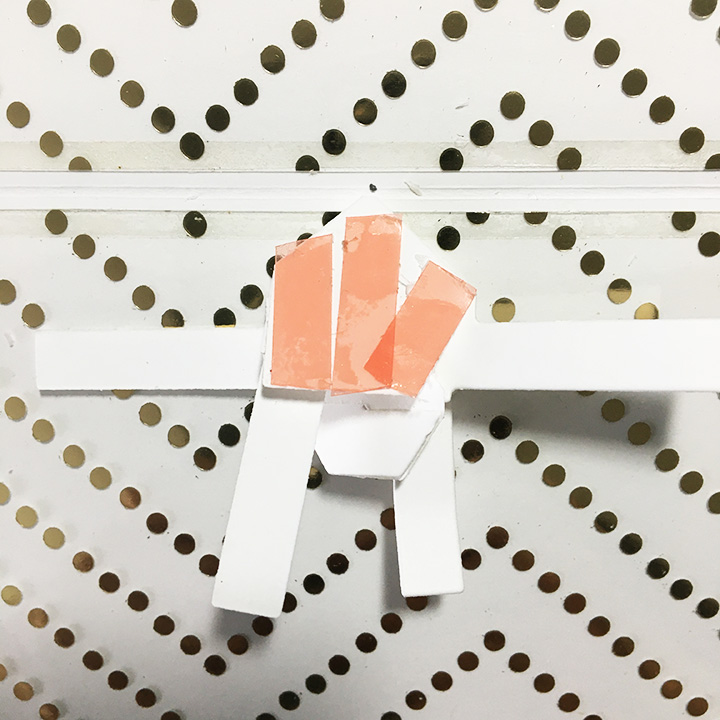

Decorating: Die-cutting a number of balloons and stars from the Balloon Collage Add-Ons die set and ribbons with tiny hearts from the Border Blends – Trims, I hoped I had enough pieces to decorate the card. Watching Karen’s video one more time to see how the dimension pieces needed to be installed on the mechanisms, I stated with those balloons on the top arms. I worked from the tips of the arms and center mechanisms using balloons, testing for catch points before gluing in permanently. Next came stars and streamers (I cut the ribbon down into smaller streamers.) Finally the tiny hearts. I used double-sided tape to adhere anything to the front of the glitter cardstock or acetate on the cardbase.

Sentiment: To create the custom “Happy 66th Anniversary” sentiment on the front of the card, I used two die sets – Word Set 12- Anniversary and Numbers. The Numbers set comes with the “th” as well as “st”, “rd” and “nd”. For the label to write a personal message inside the card, I used white cardstock and my favorite crosshatch label die from the Rectangles and Labels – Crosshatch set.

Envelope: The back of the envelope is decorated with ribbon bits and tiny hearts all cut from the Border Blends – Trims die set.
Thank you for reading this blog post. I hope this inspires you and makes you smile. Please like and leave comments 😊
Materials Used:
Dies
- Karen Burniston in cahoots with Riley and Company – Rectangles and Labels – Crosshatch – 1233
- Karen Burniston in cahoots with Riley and Company – Balloon Collage Add-On – 1195
- Karen Burniston in cahoots with Riley and Company – Heart Collage Pop-Up – 1193
- Karen Burniston in cahoots with Riley and Company – Border Blends -Trims – 1186
- Karen Burniston in cahoots with Riley and Company – Long Rectangles – Crosshatch – 1151
- Karen Burniston in cahoots with Riley and Company – Word Set 12 – Anniversary – 1137
- Karen Burniston in cahoots with Riley and Company – Numbers – 1031
Papers
- Hot off the Press– 8 1/2 x 11-inches Foil Cardstock – Fireworks Blue Holographic
- Hot off the Press– 8 1/2 x 11-inches Foil Cardstock – Stars Silver Holographic
- American Crafts – WE R – 8 1/2 x 11-inch Acetate – Chevron Dot – Gold
- Gold and Silver Foil Cardstock
- Gold Glitter Cardstock
- White Medium Weight Cardstock
- #10 Business Envelope – Kraft
Adhesives
- Neutral PH Adhesive by LINECO
- Fine-Tip Glue Bottle
- Scrapbook.com – Double-Sided Tape -1/8-inch wide
- Red-Backed, Super Sticky Double-Sided Adhesive Sheet – 1/4-inches wide
Tools
- Die Cutting Machine
- We R Memories – QuickStick
- We R Memories – Scoring Board and Trimmer
- Scissors
- Pencil
- Sand Eraser


 I was so excited when I received the


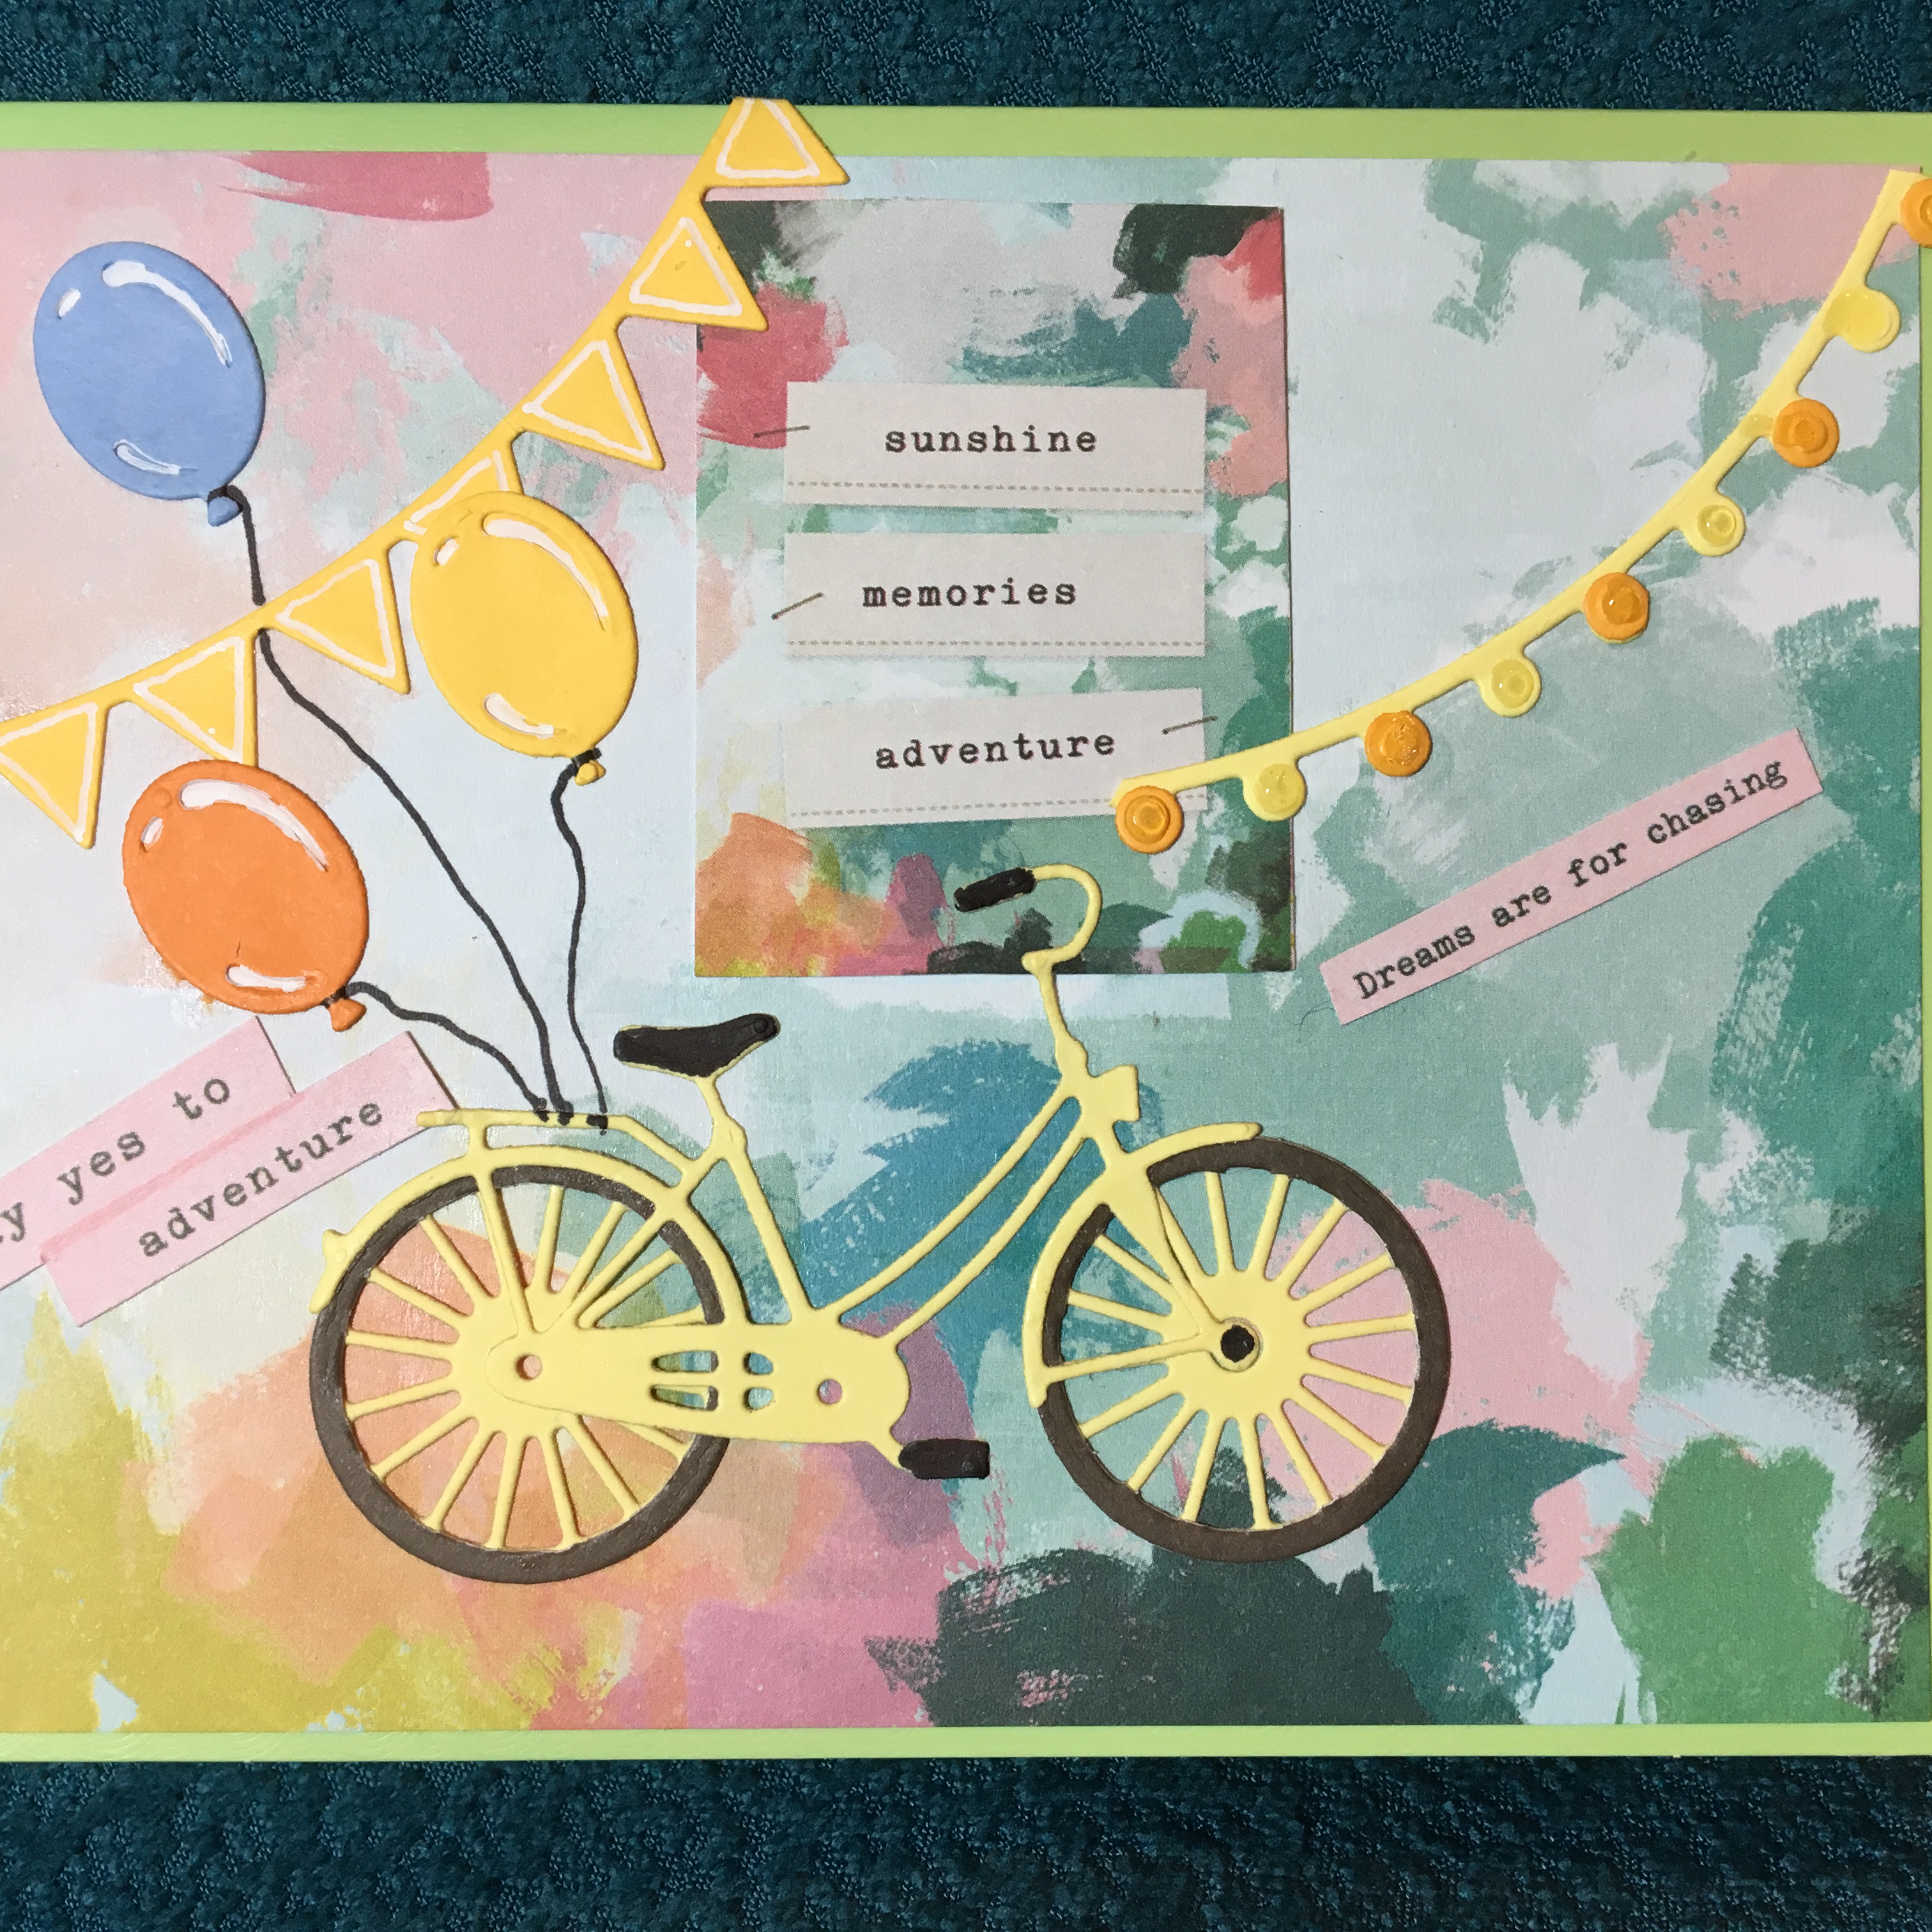 Say yes to adventure. Chase your dreams. Who knows where it will lead you? This is a card that tries to capture all these sentiments and to celebrate achievement.


