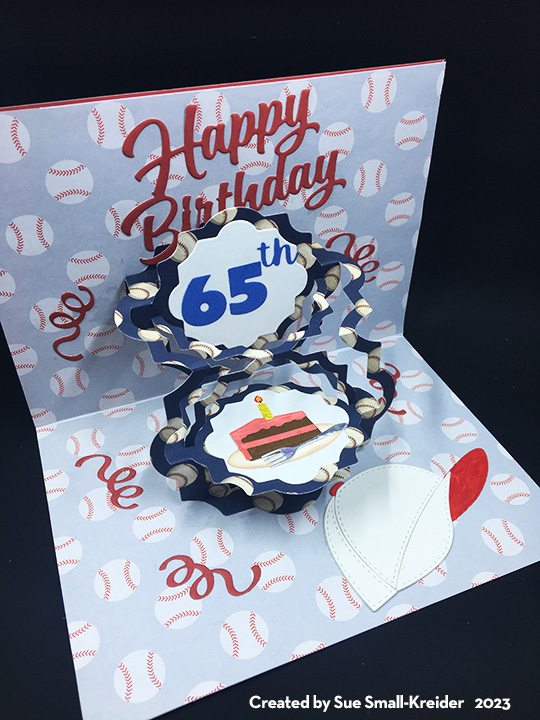
This card was made for Craft Roulette #299 whose parameters were: a double Z-fold card, Rudolph colors, optimistic element and plain circles. I used Karen Burniston dies and stamps as well as Waffle Flower dies and Graphic 45 stamps to create this card.
Watch the process video below to learn how this card was made.
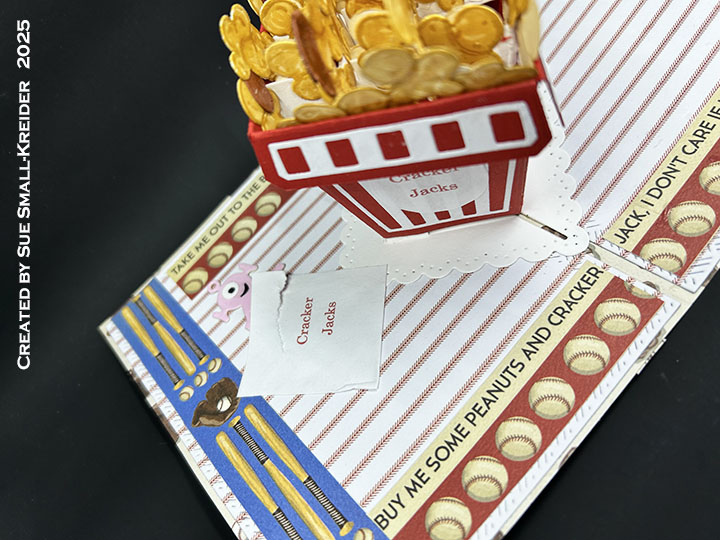
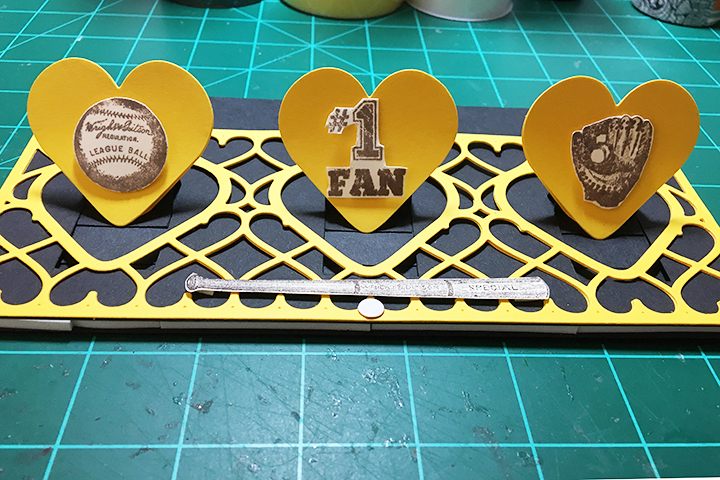
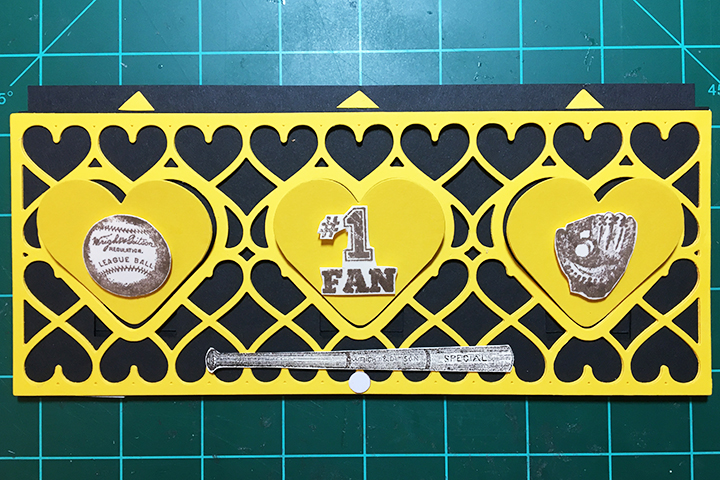
Cardbase: Using a 4.25×11-inch sheet of tan cardstock, fold in half for a 4.25×5.5-inch cardbase. Fold the front flap in half again to form the z-fold. Using the second smallest crosshatch circle die in Karen Burniston’s Circles – Crosshatch die set, center the die over the front panel folded in half to cut through the two layers as shown in the video above. Save the two circles. Cut a half-inch by 11-inch long strip of the tan cardstock and fold in half. Fold one half of the strip again in half to make the second z-fold piece for the card. Stamp all the pieces as described below before assembling the card.
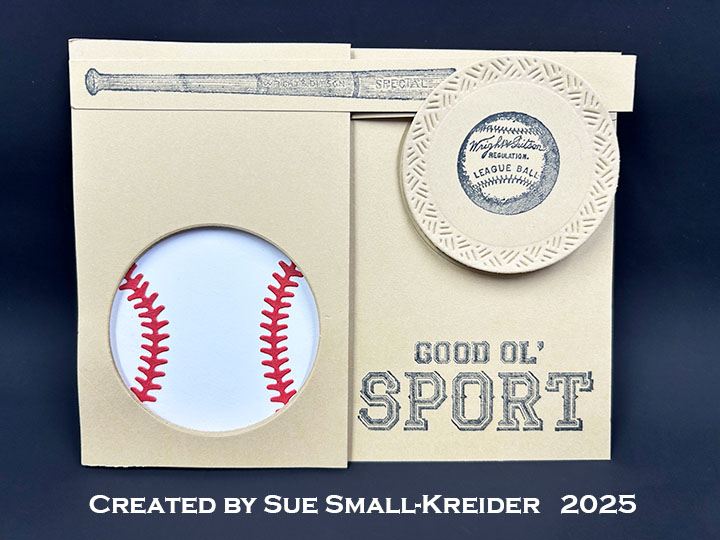
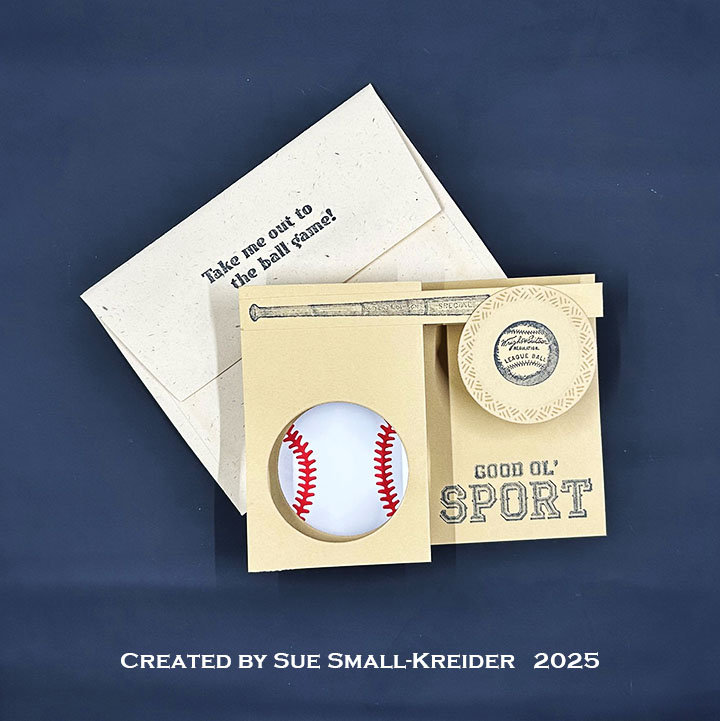
Baseball Equipment: Using the Graphic 45 Good Ol Sport set, stamp the baseball bat onto the long section of the 11-inch strip. Stamp one of the saved circles with the baseball stamp. From white cut out the largest circle in the Waffle Flower Stamps Baseball Dad die set. Cut the stitching from red. Glue the stitching onto the white circle to make it look like a baseball.
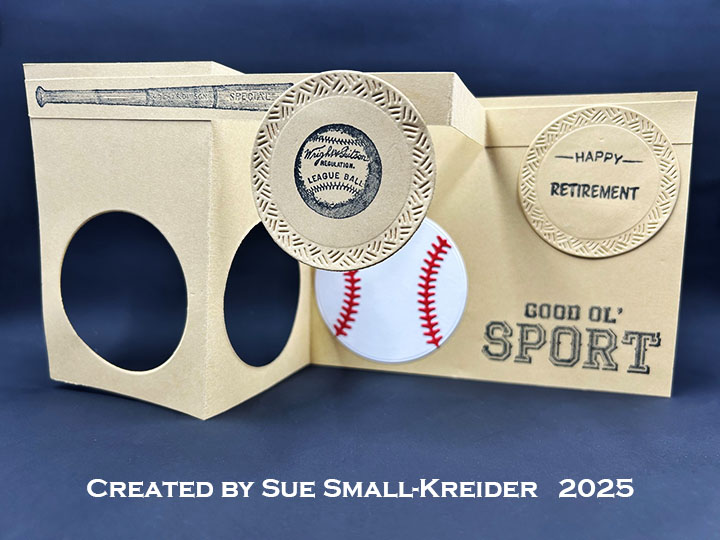
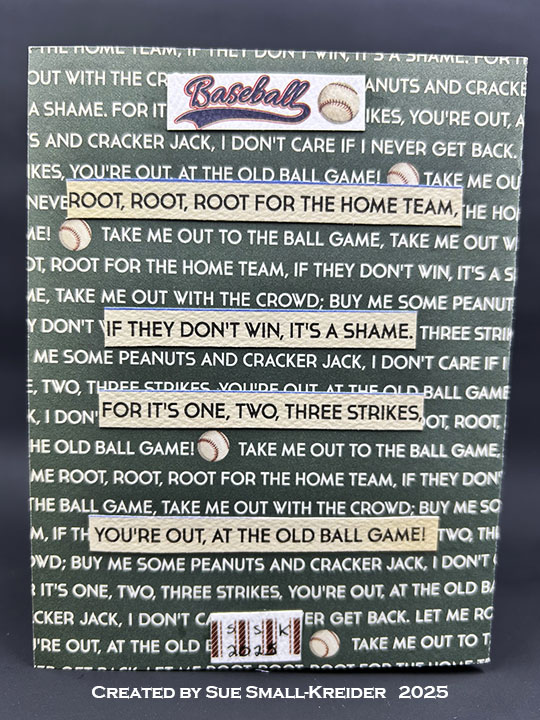
Sentiments: stamp “Happy Retirement” on the second save circle using Karen Burniston’s Fishing stamp set. From the Graphic 45 stamp set add “Good Ol’ Sport” to the bottom right corner of the card using black ink.
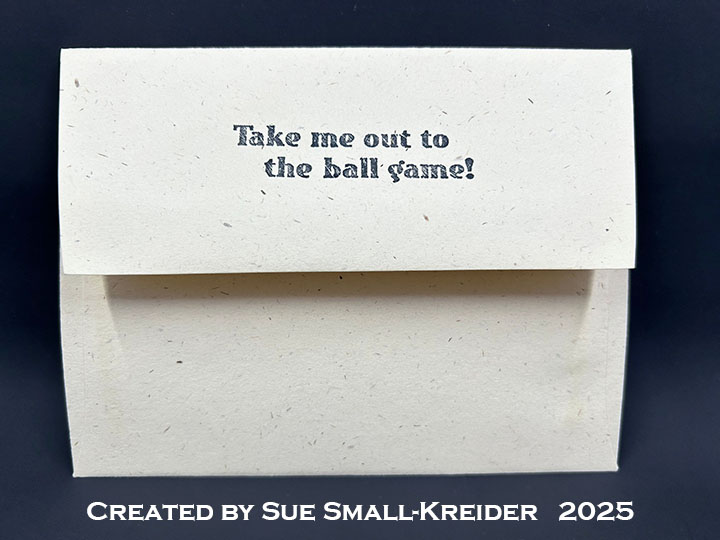
Envelope: The panel card fits into an A2 (4.25×5.5-inches) size envelope with the back flap stamped with “Take me out to the ball game!” from the Graphic 45 stamp set.
___________________________________
Thank you for experiencing this blog post.
I hope this inspires you and makes you smile.
Please subscribe, like and leave comments 😊
Follow my YouTube channel, Instagram and Pinterest as well.
___________________________________
Disclaimer: Karen Burniston products are provided free of charge by the manufacturer for review and use. All other items were personally purchased. Compensated affiliate links used where or when possible, meaning I will receive a small percentage commission from these manufacturers at no cost to you. This will allow me to add more content to my YouTube channel and help out a lot. Thank you.
Materials Used:
Dies
- Karen Burniston in cahoots with Riley & Company – Circles – Crosshatch – 1057
- Waffle Flower Stamps – Dies – Baseball Dad
Dies
- Graphic 45 – Red Rubber Cling Stamps – Good Ol Sport!
- Karen Burniston in cahoots with Riley & Company – Clear Stamps – Fishing
Papers
- Red, Tan and White Cardstock
- Fraser Papers for William House – A2 Envelope – Genesis Text Milkweed Smooth
Ink
- Memento – Fade-Resistant Dye Ink – Tuxedo Black
- Pigma – Mircon 01 Fine Tip Pen – Black
Adhesives
Tools
- Die Cutting Machine
- Scrapbook.com – Magic Mat
- Paper Trimmer
- Scrapbook.com – Mint Tape