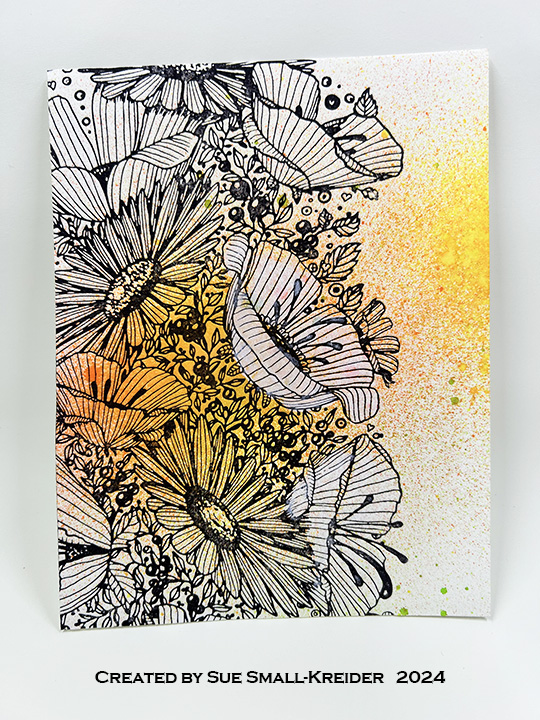
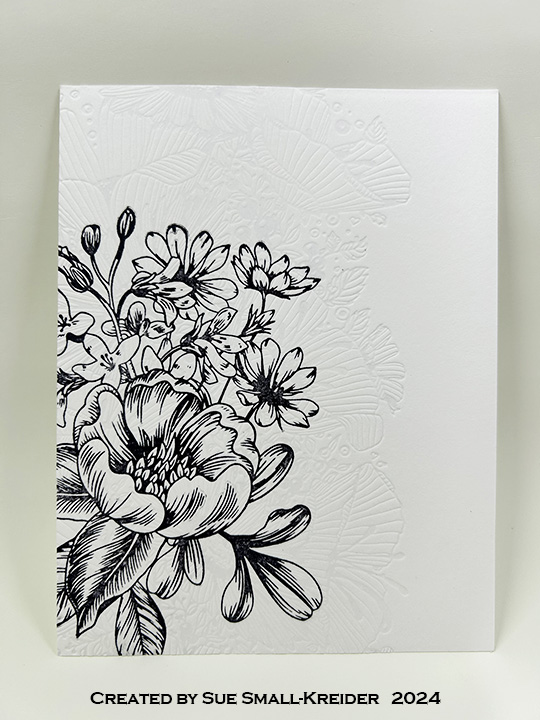
Stenciling Fun

I played with the March 2025 Spellbinders’ Stencil of the Month set – Mosaic & Quilted Memories and the Embossing Folder of the Month – Mosaic Memories to create some birthday cards.

Watch the process video to see how I made these cards.

All cards are A2 size (4.25×5.5-inches).

Voilet Mosaic: This card used – Stencil of the Month – Mosaic Memories – SOM-MAR25, Embossing Folder of the Month – Mosaic Moments – EOM-MAR25, BetterPress Press Plate & Die Set – Cheers To You Sentiments, BetterPress Press Plate & Die Set – Make A Wish Sentiments, Distress Inks – Shaded Lilac & Wilted Violet, Purple gems, Lilac cardstock and White cotton paper.

Blue Violet Mosaic: This card used – Stencil of the Month – Mosaic Memories – SOM-MAR25, Embossing Folder of the Month – Mosaic Moments – EOM-MAR25, BetterPress Press Plate & Die Set – Make A Wish Sentiments, Distress Inks – Shaded Lilac & Wilted Violet, Blue gems, Light Blue & Lilac cardstock and Grey cotton paper. (Blue sentiment strip β€œHave the best day ever” is a heat embossed with a blue sparkle powder. Stamp set unknown.)

Violet Quilted: Β This card used – Stencil of the Month – Quilted Memories – SOM-MAR25, BetterPress Press Plate & Die Set – Fancy Sentiment Strips, Distress Inks – Shaded Lilac, Yellow gems, Lilac cardstock and White cotton paper.

Posey Quilted:Β  This card used – Stencil of the Month – Quilted Memories – SOM-MAR25, BetterPress of the Month Press Plate & Die Set – Paint The Town-BPOM-NOV24, Distress Inks – Milled Lavender, Yellow gems, Lilac & Purple cardstock and White cotton paper. (Purple sentiment banner is hot foiled in black foil using an unknown β€œHappy Birthday” Glimmer plate but cut using Fancy Sentiment Strips die.)
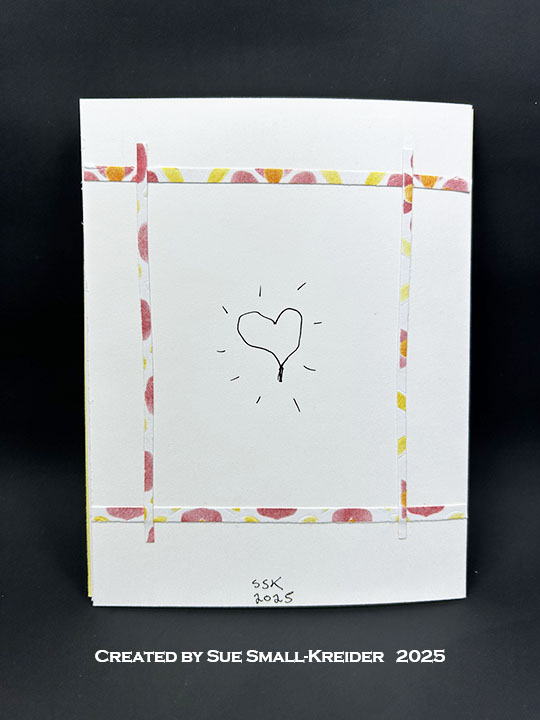
Red Quilted:  This card used – Stencil of the Month – Quilted Memories – SOM-MAR25, BetterPress Press Plate & Die Set – Make A Wish Sentiments, Distress Inks – Lumberjack Plaid, Mustard Seed & Spiced Marmalade, Yellow cardstock, White cotton paper and a red satin bow.

___________________________________

Thank you for experiencing this blog post.

I hope this inspires you and makes you smile.

Please like and leave comments 😊

___________________________________

Disclaimer: Karen Burniston products are provided free of charge by the manufacturer for review and use. All other items were personally purchased. Compensated affiliate links used where or when possible, meaning I will receive a small percentage commission from these manufacturers at no cost to you. This will allow me to add more content to my YouTube channel and help out a lot. Thank you.

Materials Used:

Press Plates & Dies

  • Spellbinders – BetterPress Press Plate & Die Set – Cheers To You Sentiments
  • Spellbinders – BetterPress Press Plate & Die Set – Fancy Sentiment Strips
  • Spellbinders – BetterPress Press Plate & Die Set – Make A Wish Sentiments
  • Spellbinders – BetterPress of the Month Press Plate & Die Set – Paint The Town-BPOM-NOV24

Stencils

  • Spellbinders – Stencil of the Month – Mosaic & Quilted Memories – SOM-MAR25

Embossing Folders

  • Spellbinders – Embossing Folder of the Month – Mosaic Moments – EOM-MAR25

Papers

  • Blue, Lilac, Purple, White and Yellow 65 lb. Cardstock
  • Crafter’s Companion – 4.25×5.5 250 gsm Cotton Paper – Cream, Grey, White
  • Scrapbook.com – 8.5×11 110 lb. Cardstock – Neenah Solar White
  • Fraser Papers for William House – A2 Envelope – Genesis Text Milkweed Smooth

Ink

  • Pigma – Mircon 01 Fine Tip Pen – Black
  • Ranger – Tim Holtz – Distress Ink – Milled Lavender, Shaded Lilac, Wilted Violet
  • Spellbinders – BetterPress Ink – BetterPress Black

Adhesives

Tools

  • Die Cutting Machine
  • Paper Trimmer
  • Gelli Arts – 8×10-inch Gel Plate
  • Bone Folder
  • Score Board
  • Scissors
  • Pencil
  • Paper Masking Tape
  • We R Memories – QuickStick

Miscellaneous

  • Red Satin Ribbon Bow
  • Adhesive Backed Gems- Blue, Purple, Yellow
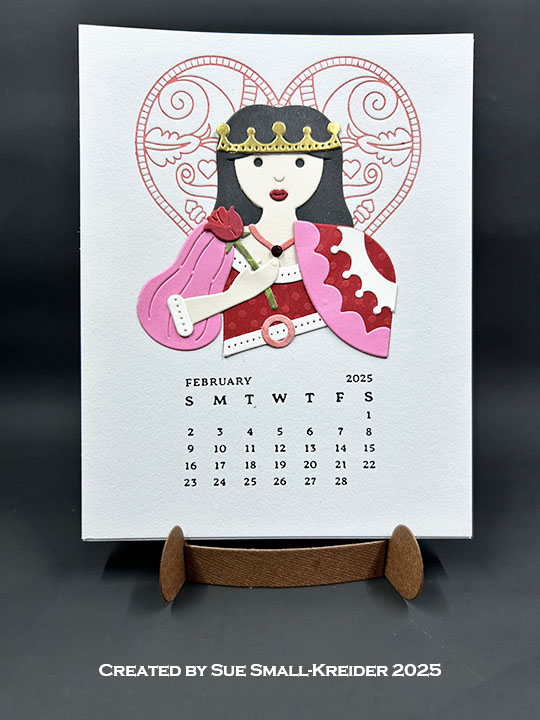
2025 ATC Calendar – FEBRUARY

I started a new challenge for 2025 – the ATC calendar challenge. With a group of crafty friends, we are making a new image on a 4.25×5.5-inch calendar card for each month.

Watch the process video to see how I made this calendar card.

To see other months’ calendars go to click here.

___________________________________

Thank you for experiencing this blog post.

I hope this inspires you and makes you smile.

Please like and leave comments 😊

___________________________________

Disclaimer: Karen Burniston products are provided free of charge by the manufacturer for review and use. All other items were personally purchased. Compensated affiliate links used where or when possible, meaning I will receive a small percentage commission from these manufacturers at no cost to you. This will allow me to add more content to my YouTube channel and help out a lot. Thank you.

Materials Used:

Dies

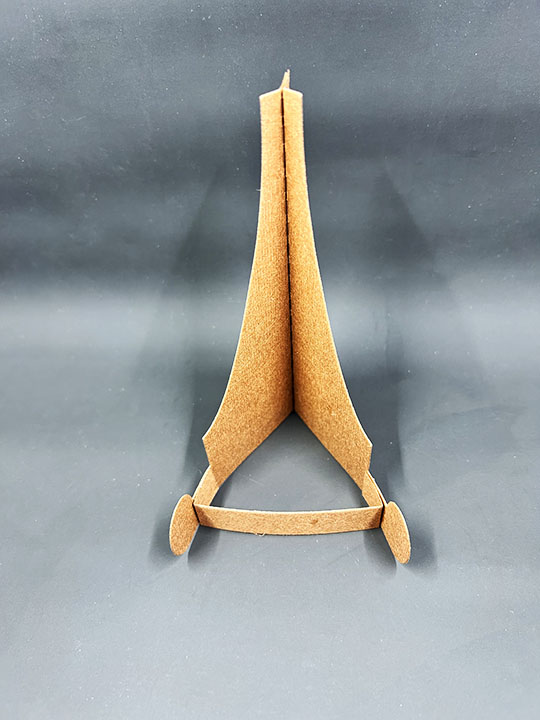
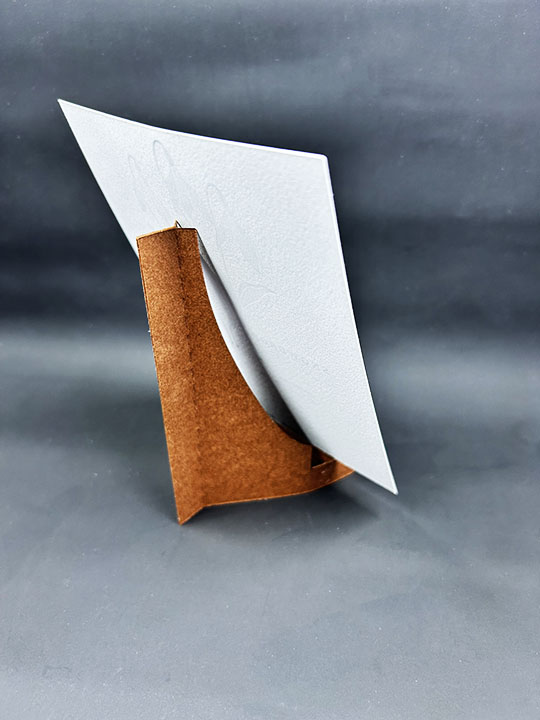
  • Spellbinders – Cutting Dies – DIY Easel
  • Spellbinders – Cutting Dies – Reversible Royal Court by Jaycee Gaspar

Press Plates

  • Spellbinders- BetterPress Plates – 2025 DIY Calendar
  • Spellbinders- BetterPress Plates – Enchanting Suit Facets by Jaycee Gaspar

Papers

  • Spellbinders- BetterPress – 5.5 x 4.25” (A2) Cotton Card Panels – Porcelain & Pebble
  • Gold Matte Cardstock
  • Black, Green, Pinks, Reds and White Cardstock
  • Heavy Weight Brown Cardstock

Ink

  • Sharpie – Permanent Marker – Fine Tip – Pink
  • Spellbinders- BetterPress Ink – BetterPress Black, Strawberry

Adhesives

Tools

Miscellaneous

  • Simon Says Stamp! -Peppermint Pawsitively Dazzling Gems

2025 ATC Calendar – JANUARY

I’m starting a new challenge for 2025 – the ATC calendar challenge. With a group of crafty friends, we are making a new image on a 4.25×5.5-inch calendar card for each month and then exchanging them.

I printed up four sets of 2025 monthly calendars using Spellbinders BetterPress 2025 DIY Calendar press plates. I also cut out four easels for the calendars to set on using the Spellbinders DIY Easel die set.

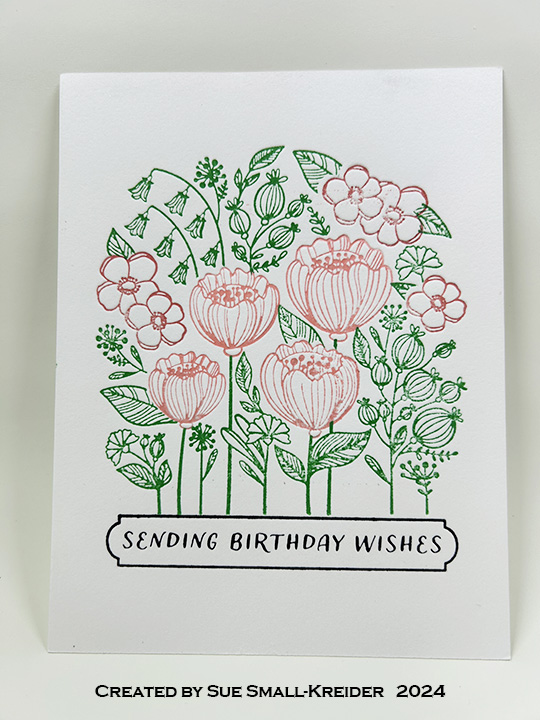
I printed the BetterPress January Snowdrop image using BetterPress Leaf green ink on the January calendar card to give an idea to my friends how the calendar works.

Now we have an excuse to get together once a month to exchange calendar cards for the next month and talk about how we created them.

___________________________________

Thank you for experiencing this blog post.

I hope this inspires you and makes you smile.

Please like and leave comments 😊

___________________________________

Disclaimer: Karen Burniston products are provided free of charge by the manufacturer for review and use. All other items were personally purchased. Compensated affiliate links used where or when possible, meaning I will receive a small percentage commission from these manufacturers at no cost to you. This will allow me to add more content to my YouTube channel and help out a lot. Thank you.

Materials Used:

Dies

  • Spellbinders – Cutting Dies – DIY Easel

Press Plates

  • Spellbinders- BetterPress Plates – 2025 DIY Calendar
  • Spellbinders- BetterPress Plates – January Snowdrop 

Papers

  • Spellbinders- BetterPress – 5.5 x 4.25” (A2) Cotton Card Panels – Porcelain & Pebble
  • Heavy Weight Brown Cardstock

Ink

  • Spellbinders- BetterPress Ink – BetterPress Black, Leaf

Adhesives

Tools

  • Die Cutting Machine
  • Paper Trimmer

A FUNN LetterPress Birthday Card

This card was made for Craft Roulette #243 whose parameters included a a belly band, cottage colors, coat(s) element, and upcycled.

Watch the process video to see how I made this card.

Cardbase: The cardbase is a top-fold A2 (4.25×5.5-inch).

Sentiment: “Hooray it’s your birthday” are printed with the Spellbinder’s BetterPress system, specifically Paint The Town press plates on bisque cotton card panel with BetterPress Black ink. The inside sentiments of “Happy Birthday” and longer rhyme, come from the Craft Roulette Funn Sentiments #01 stamp set and stamped with Memento Tuxedo Black ink.

Envelope: This card fits into an A2 envelope with it’s back flap stamped with “HBD” also from the Craft Roulette stamp set.

___________________________________

Thank you for experiencing this blog post.

I hope this inspires you and makes you smile.

Please like and leave comments 😊

___________________________________

Disclaimer: Karen Burniston products are provided free of charge by the manufacturer for review and use. All other items were personally purchased. Compensated affiliate links used where or when possible, meaning I will receive a small percentage commission from these manufacturers at no cost to you. This will allow me to add more content to my YouTube channel and help out a lot. Thank you.

Materials Used:

Dies & Press Plates

  • Spellbinders – BetterPress of the Month – Paint the Town
  • Spellbinders – Cutting Dies – Party Time Cake

Stamps

  • Craft Roulette – Clear Stamps – Funn Sentiments #01

Papers

  • Recollections – 8.5Γ—11 65 lb Cardstock – White
  • Spellbinders – 5.50×4.25″ (A2) BetterPress Cotton Card Panel – Bisque
  • Colorful Cardboard Packaging

Ink

  • Memento – Fade-Resistant Dye Ink – Tuxedo Black
  • Spellbinders – BetterPress Ink – Apricot, BetterPress Black, Clay, Coastal, Tuscan
  • Pigma – Mircon 005 Fine Tip Pen – Black
  • Sharpie – Permanent Marker – Ultra Fine Tip – Brown

Adhesives

Tools

  • Spellbinders – BetterPress System
  • Die Cutting Machine
  • Paper Trimmer
  • Stamping Platform
  • LDRS – Stampendable Stamping Tool
  • Stamping Blocks as paperweights
  • Scissors
  • Spellbinders – Best Ever Craft Tape
  • Paper Masking Tape
  • Archival Ink Cleaner
  • Micro Fiber Cloth

Miscellaneous

  • Nellie’s Choice – Effect Snow
  • Bakers Twine

Stamp & Scrapbook Expo Cards

Just wanted to share the card fronts and light-up lighthouse card I made at workshops at the Orlando Stamp & Scrapbook Expo last week.

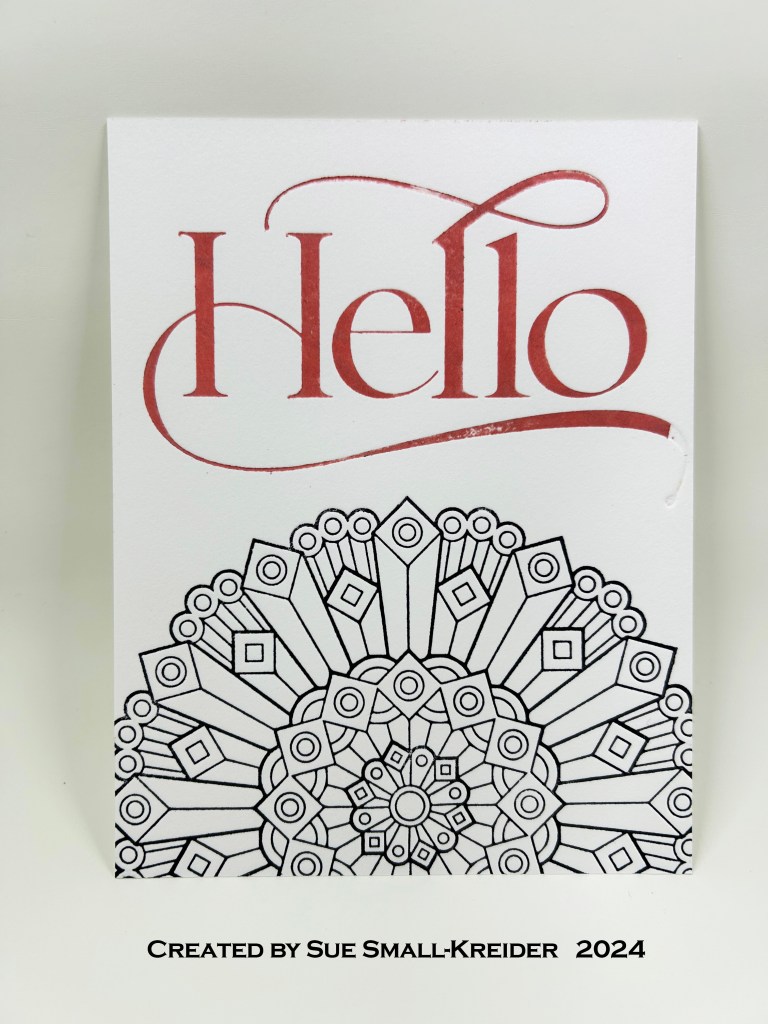
I took a class with Jennifer from Stamplistic on using the Spellbinder’s Better Press. We made a number of card fronts trying different techniques and papers. To get the letterpress look of an embossed plate, you need to use the thick cotton paper such as the Better Press papers. We learned to add sprays to the paper before stamping onto the paper for the crisp imprint and ink coverage of image. You can add a variety of ink colors to one plate, or use one of the new registration plate sets and print different colors in several printing passes. I found the Better Press to be a quick way to get professional and elegant looking images. The cost is more than rubber or clear stamps, but as long as you get enough ink on the plates, you get a professional looking image that you can then watercolor or color with alcohol markers.

Sabrina Leavell of Scrappy Tails taught a quick workshop on making a dimensional lighthouse with a Pear Blossom one light to make it light-up.

Lots of great and friendly vendors at the Expo too.