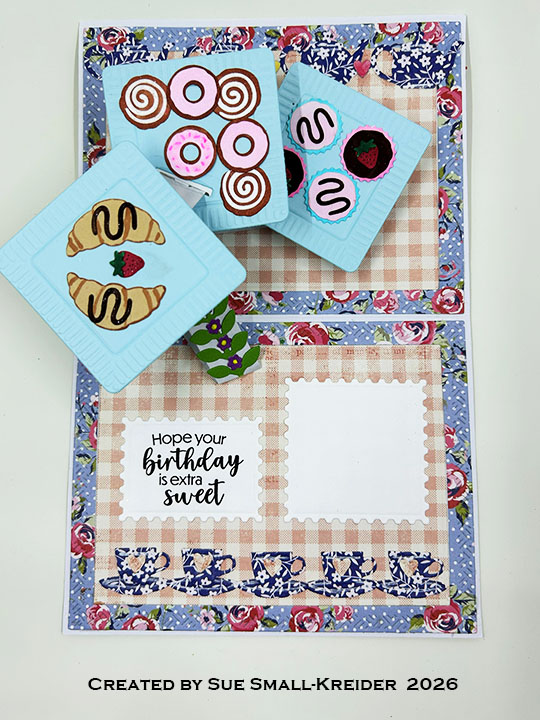
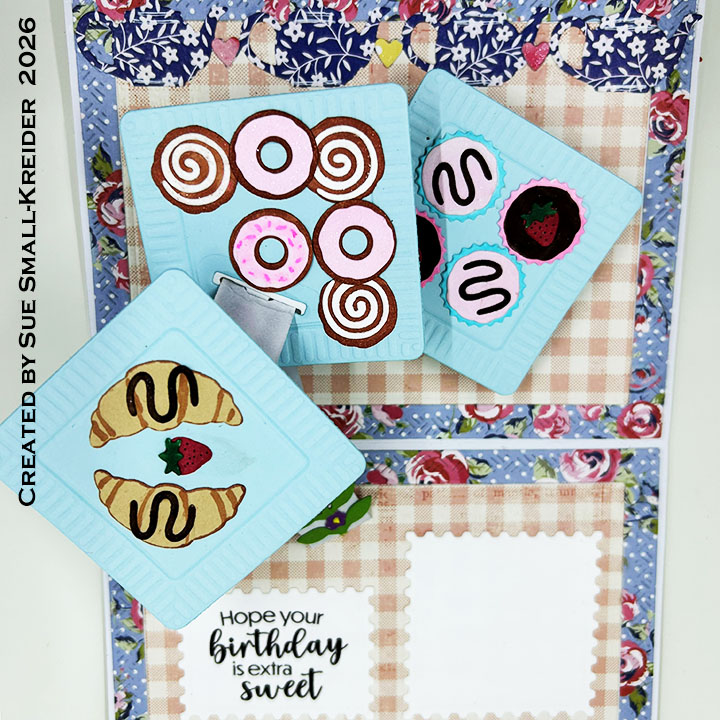
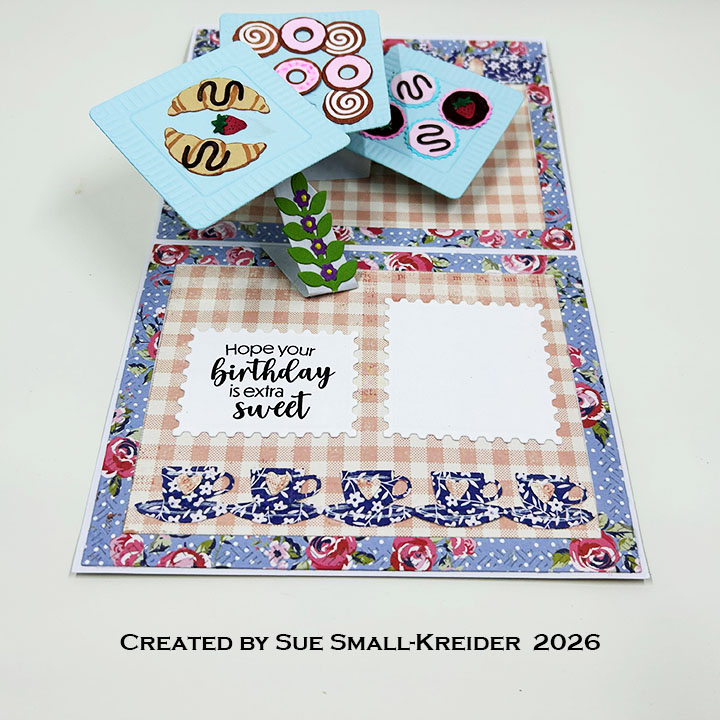
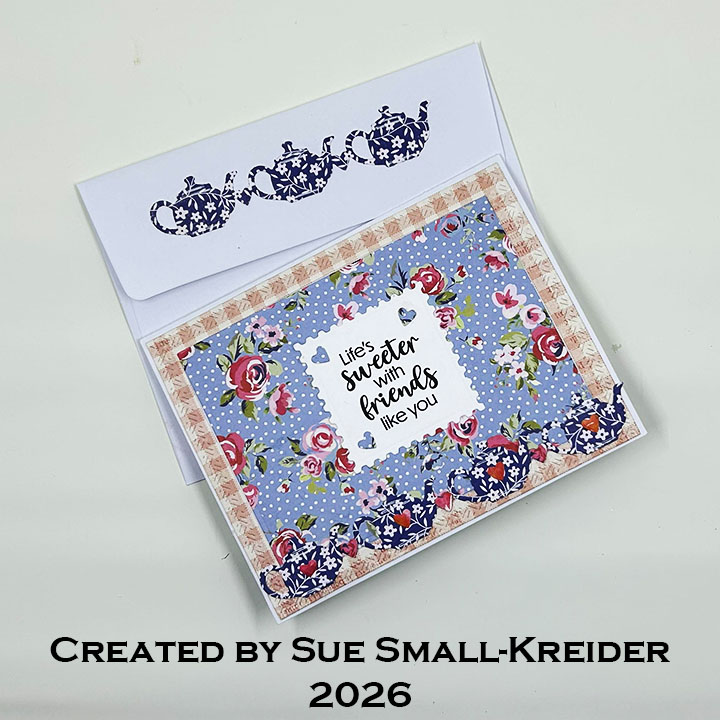
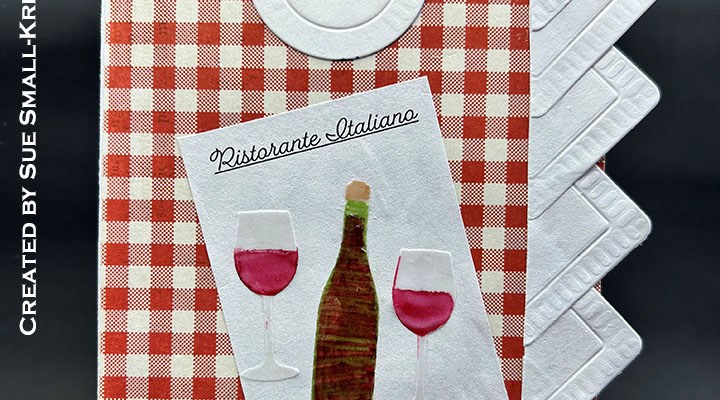
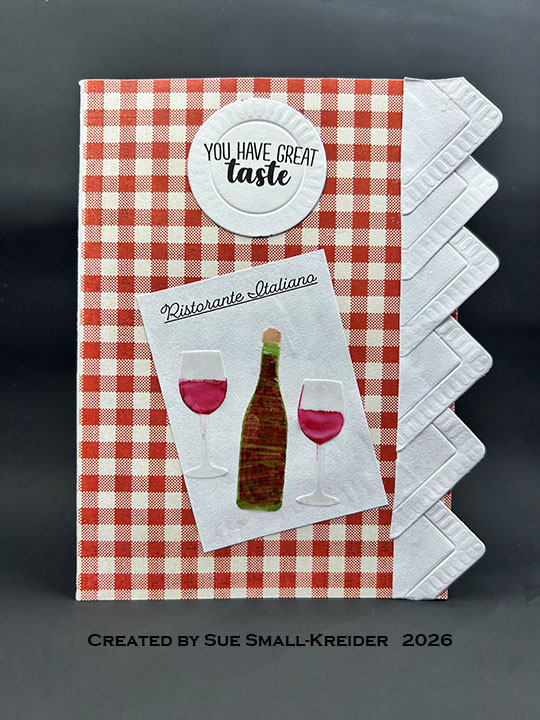
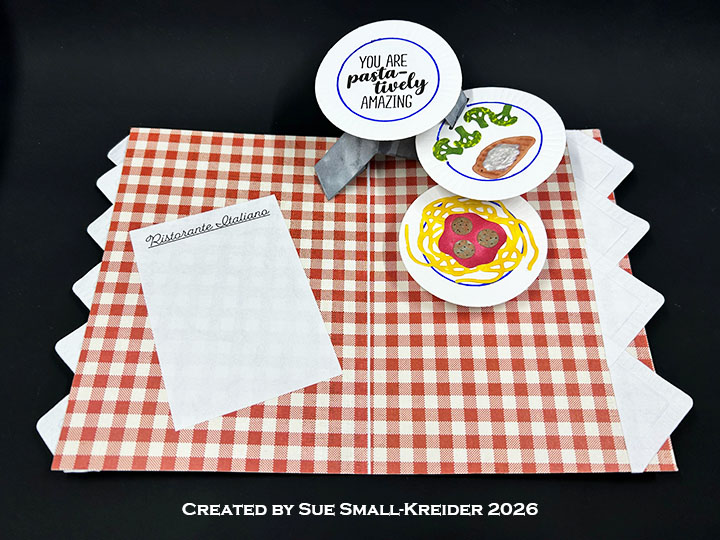
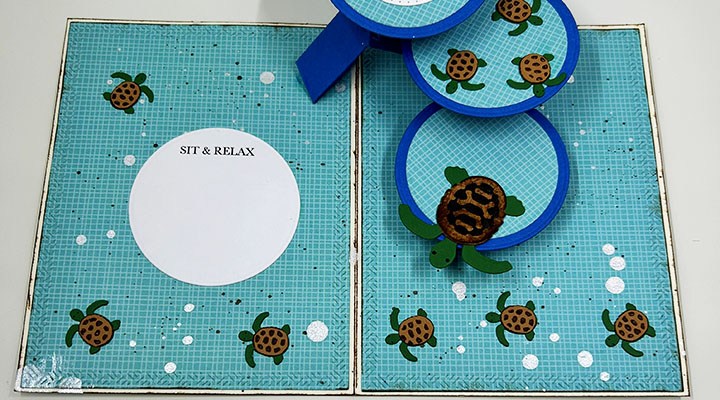
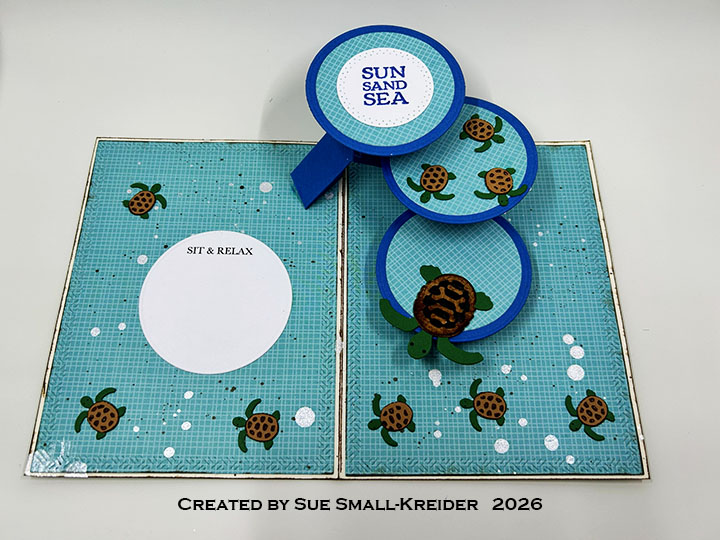
It’s time for the Karen Burniston Design Team August 2026 Challenge whose theme is MEALTIME. I chose to make a pop-up Thanksgiving Day card in the form of a cascading feast using double Cascade Pop-Up mechanisms and the Dessert Elements and Mealtime Elements. The stamped sentiments come from the new Mealtime Phrase stamp set.

Watch the process video to see how I made this card.

Cardbase: Fold a 10×7-inch piece of cardstock in half to make a 5×7-inch top fold cardbase. Using the largest rectangle die in the Rectangles and Labels – Crosshatch, cut four panels to cover the cardbase inside and out. (I had to use scraps of my decorative papers to cover all of the back panel.)


Food: Watch the video above for the styling and assembly of the food using the die sets of Dessert Elements, Mealtime Elements, Big Birthday Charms and Happy Hour Charms as well as markers and Distress Inks.

Cascade Pop-Up: Watch the video above for the assembly of the two Cascade Pop-Up mechanisms. Cut two each of the large die and small strip dies from gray medium weight cardstock. Cut from heavy white cardstock, four large plates using the large plate die in the Mealtime Elements set. Cut two large slotted circles from the Cascade Pop-Up and then position the large plate die so that the plate has the slot still cut in it. Cut the two slotted plated from heavy white cardstock.

Card Front Kitchen: (Follow the instructions in the video above to assemble.) From the Oven Pop-Up, cut one oven piece from a white coated cardstock. Cut from silver foil cardstock one oven handle, four stove knobs and eight cabinet knobs. Also cut from silver cardstock, using the Oven Extras, one hood vent, two pots and one pan. From woodgrain cardstock, cut eight sets of the cabinet panels using the Oven Extras. From black cut two 1/2×1-inch strips for the stove burners. from gray metallic textured cardstock, cut a 2-inch square for inside of the oven and a strip that is at least 1/4×6-inches for the kick-plate at the base of the cabinets. (I used three different silver metallic cardstock/paper – one was mirror cardstock packaging, one was a matte silver envelope and the last was a textured, shimmer, gray cardstock.) Cut one turkey leg bone piece from white and one turkey from kraft cardstock using the Oven Extras. Color and shade with Distress Inks and markers.

Sentiments: The front “What’s cookin’?” and the inside “Hope your day is delicious” are from the Fall Phrases stamp set with the fancy labels cut using the Greeting Labels. “Happy Thanksgiving” inside the card uses Word Set 7 – Autumn die set. “Hope your day is Delicious” is from Mealtime Phrase.

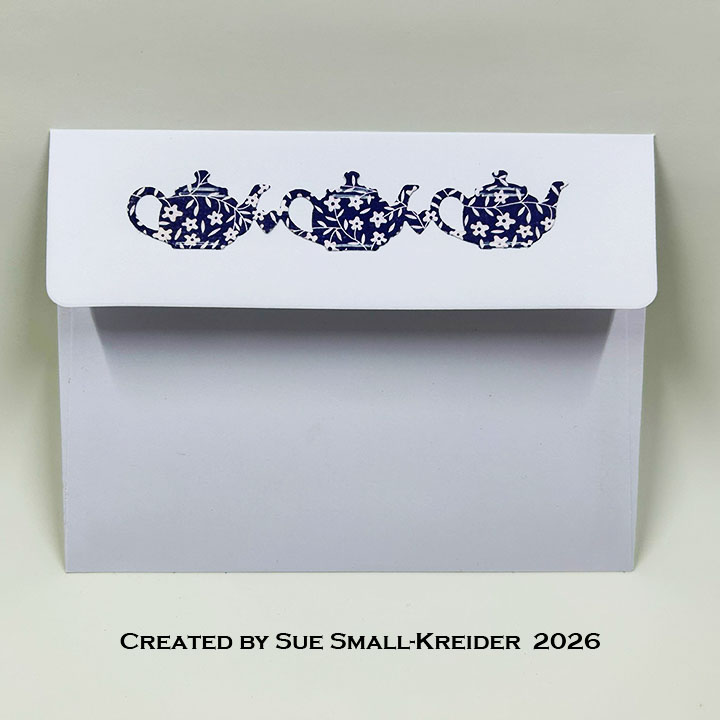
Envelope: The card fits into an A7 (5x 7-inches) size envelope with “Thankful, Grateful, Blessed” stamped on the back flap from the Fall Phrases stamp set.
___________________________________
Thank you for experiencing this blog post.
I hope this inspires you and makes you smile.
Please subscribe, like and leave comments 😊
___________________________________
Disclaimer: Karen Burniston products are provided free of charge by the manufacturer for review and use. All other items were personally purchased. Compensated affiliate links used where or when possible, meaning I will receive a small percentage commission from these manufacturers at no cost to you. This will allow me to add more content to my YouTube channel and help out a lot. Thank you.
Materials Used:
- Karen Burniston in cahoots with Riley and Company – Dessert Elements – 1339
- Karen Burniston in cahoots with Riley and Company – Mealtime Elements – 1338
- Karen Burniston in cahoots with Riley and Company – Cascade Pop-Up– 1336
- Karen Burniston in cahoots with Riley and Company – Greeting Labels – 1312
- Karen Burniston in cahoots with Riley and Company – Oven Extras – 1251
- Karen Burniston in cahoots with Riley and Company – Oven Pop-Up – 1250
- Karen Burniston in cahoots with Riley and Company – Rectangles and Labels – Crosshatch – 1233
- Karen Burniston in cahoots with Riley and Company – Big Birthday Charms – 1180
- Karen Burniston in cahoots with Riley and Company – Happy Hour Charms – 1110
- Karen Burniston in cahoots with Riley and Company – Word Set 7 – Autumn – 1060
Stamps
- Karen Burniston in cahoots with Riley and Company – Clear Stamps – Fall Phrases
- Karen Burniston in cahoots with Riley and Company – Clear Stamps – Mealtime Phrases
Papers
- Bazzill – 8.5×11 Cardstock – Tiara -18-1002
- Carta Bella – 12×12 Double-Sided Cardstock Collection by Steven Duncan – Country Kitchen
- Concord & 9th – 8.5×11 80 lb. Cardstock – Dove
- Grafix – 8.5×11 Dura-Lar Acetate .005 – Clear Film
- MemoryBoxCo – 8.5×11 65 lb. Woodgrain Embossed Cardstock – Kraft
- The Paper Cut – 8.5×11 10 PT Kromekote Cardstock – White Glossy
- The Paper Studio – 8.5×11 65 lb. Cardstock – White
- The Paper Studio – 8.5×11 110 lb. Cardstock – White
- The Paper Studio – 8.5×11 – Clear Vellum
- Matte Silver Paper Envelope
- Silver Foil Cardstock Packaging
- Multicolored Cardstock Scraps
- Park Lane Paperie – A7 Envelope – White
- Xcut – A5 Adhesive Vellum Sheets – White
Ink
- OLO Markers – RV0.1 Cotton Candy, RV0.6 Dragon Fruit, Y1.1 Ginger, YG2.3 Muscat Grape
- Pigma – Mircon 01 Fine Tip Pen – Black
- Memento – Fade Resistant Dye Ink – Espresso Truffle & Tuxedo Black
- Ranger – Tim Holtz – Distress Ink- Antique Linen & Vintage Photo
- Sharpie – Permanent Marker – Ultra Fine Tip – Black & Green
- Stampin’ Blends – Markers – Light & Dark Copper Clay
- Stampin’ Write – Marker – Chocolate Chip
Adhesives
Tools
- Bone Folder
- Die Cutting Machine
- Sponge Dauber
- Paper Masking Tape
- Ruler
- Stamping Blocks used as paperweights
- Scissors
- Tweezers
- We R – Precision Press Mini – Stamping Platform
- We R Memories – QuickStick
Miscellaneous
- Nuvo – Aqua Shimmer – Glitter Gloss