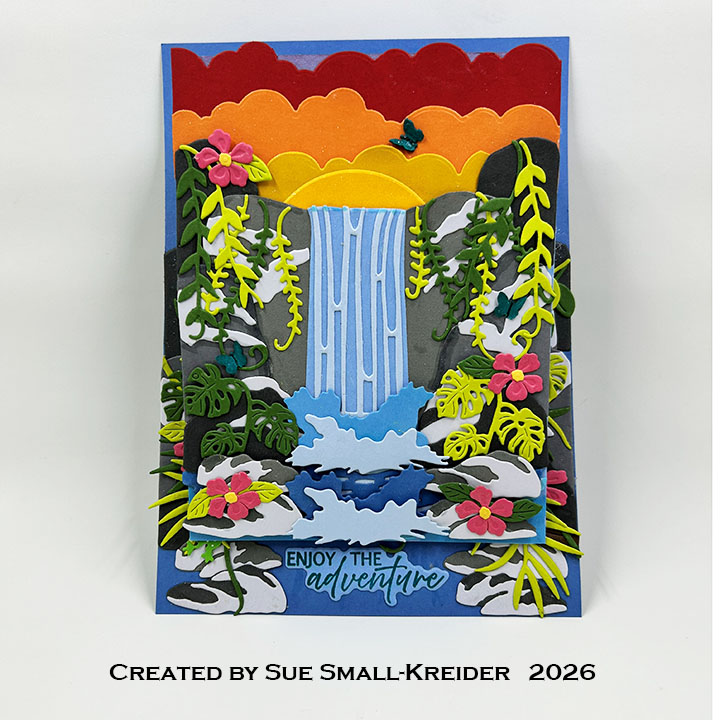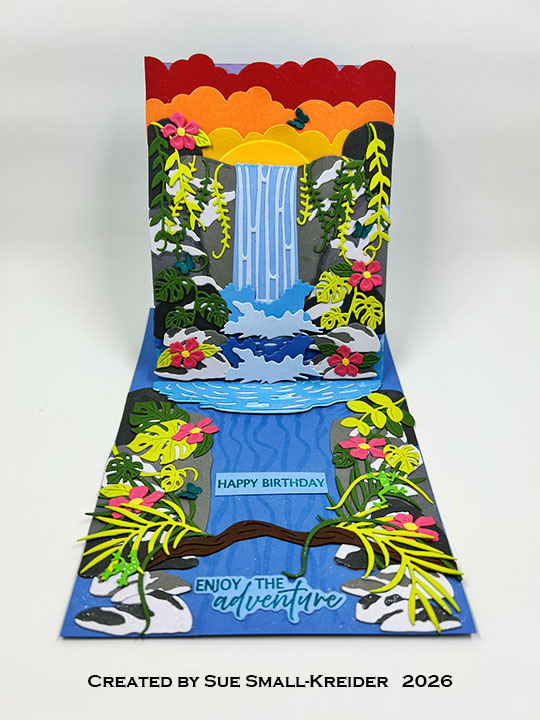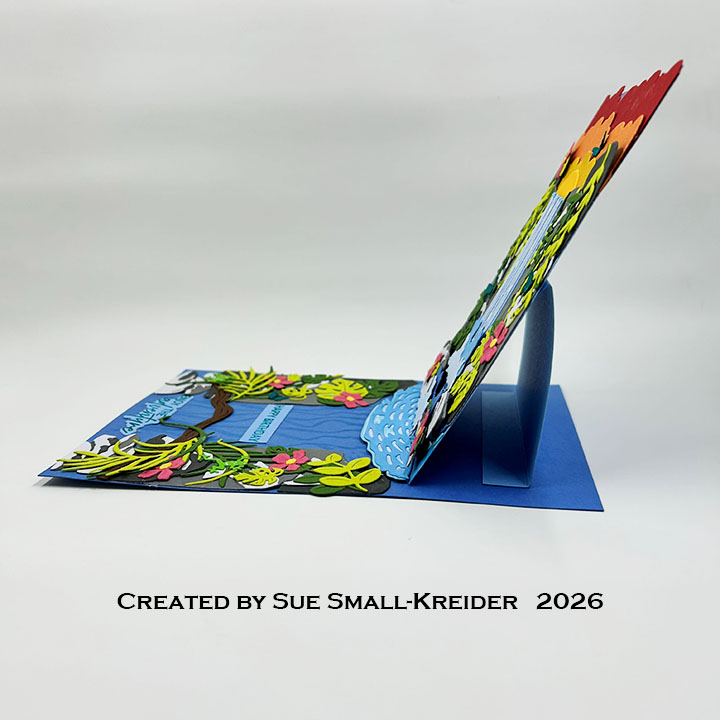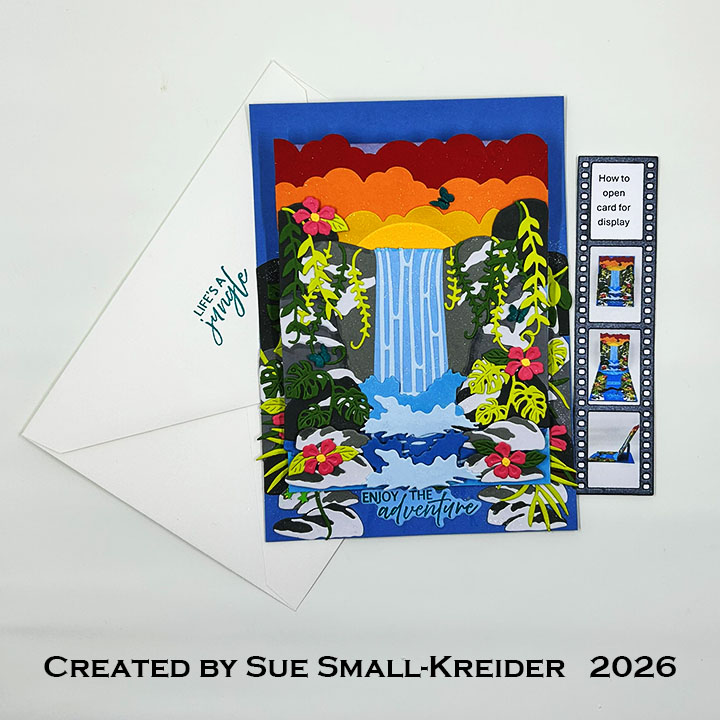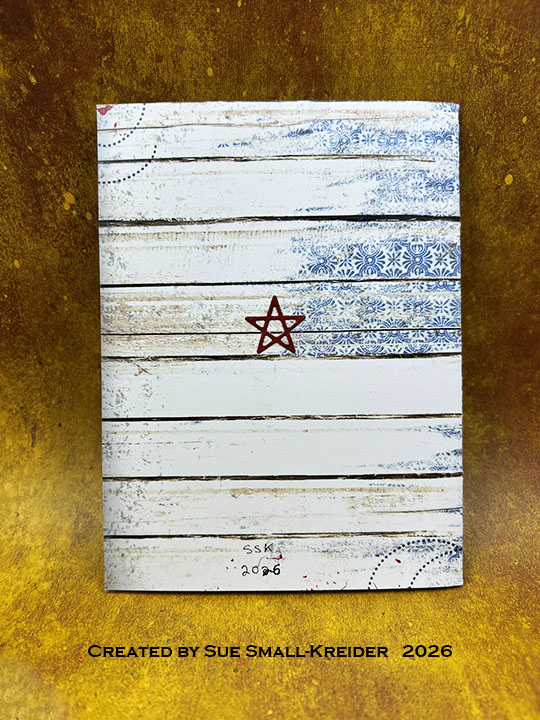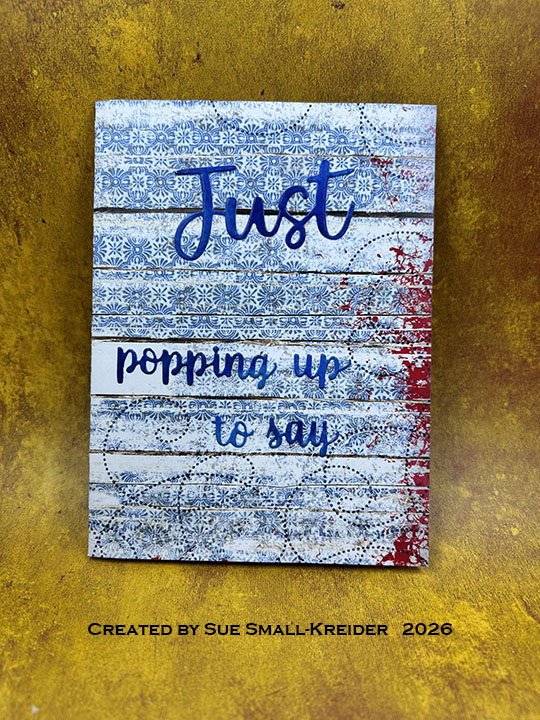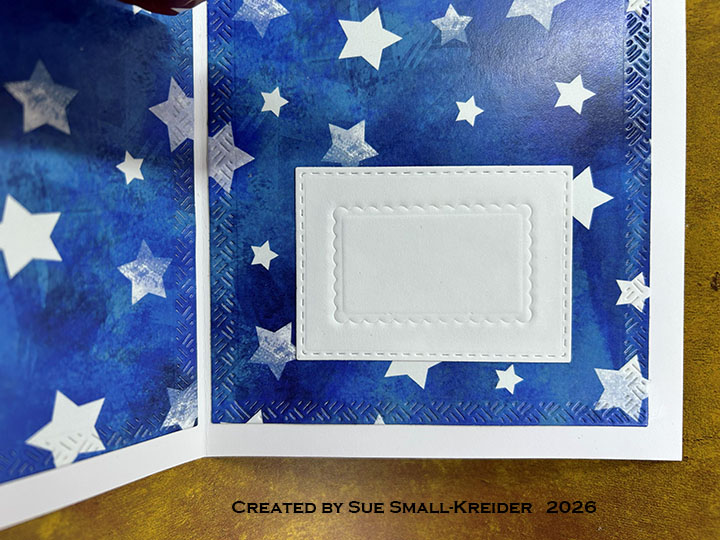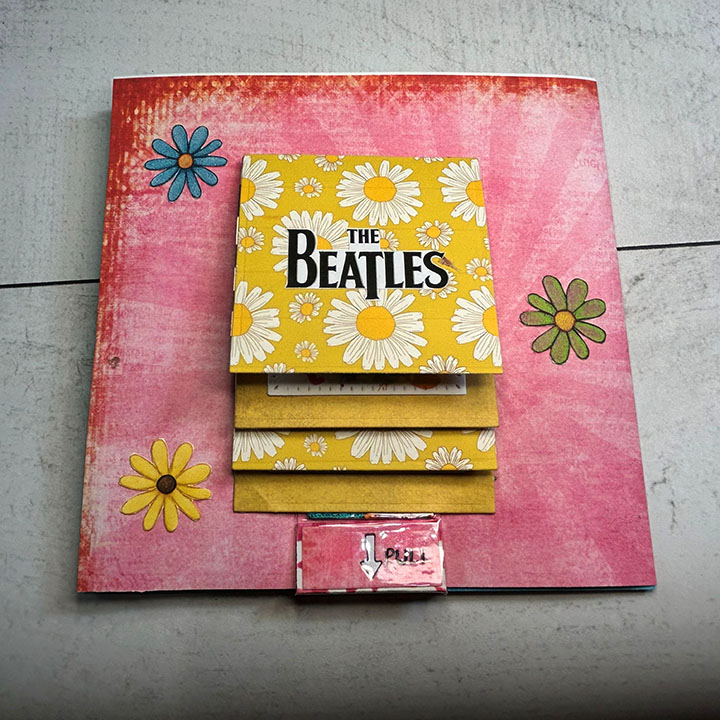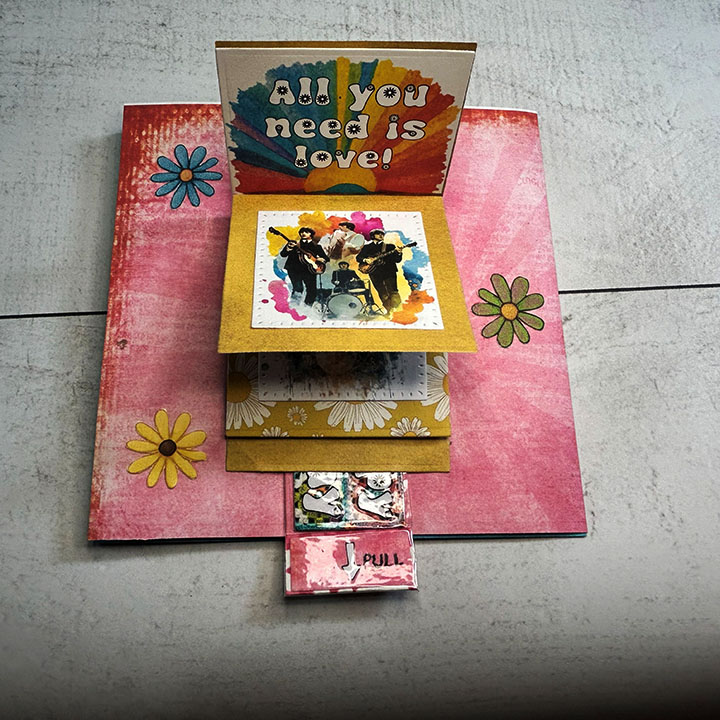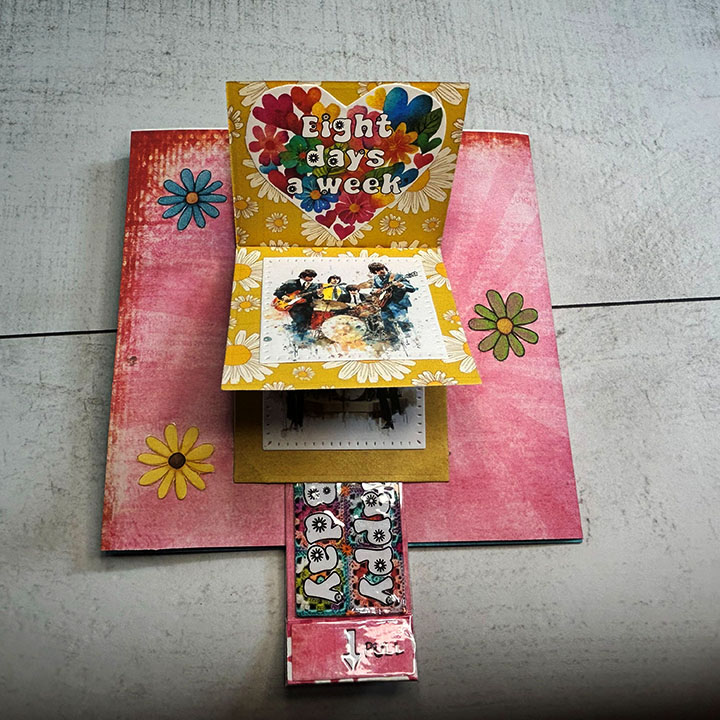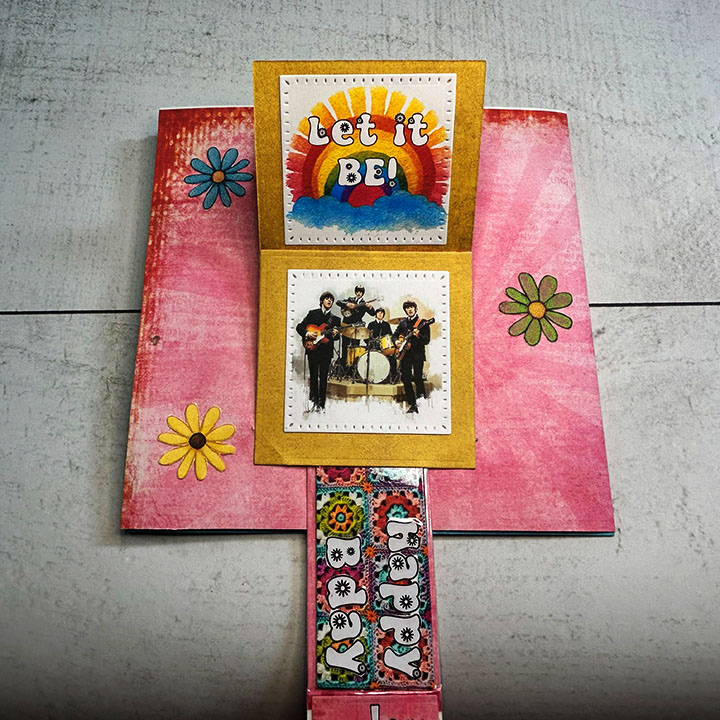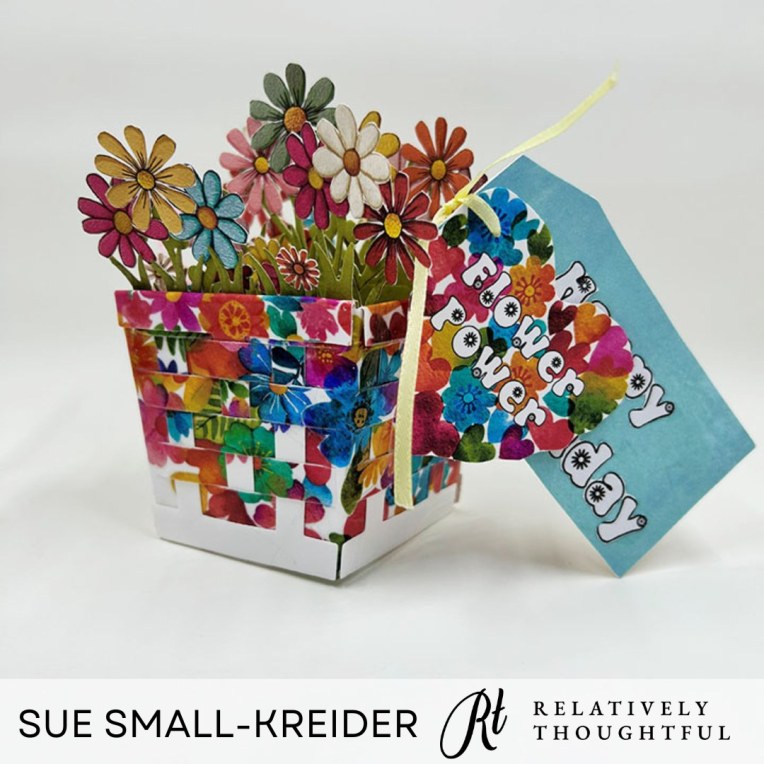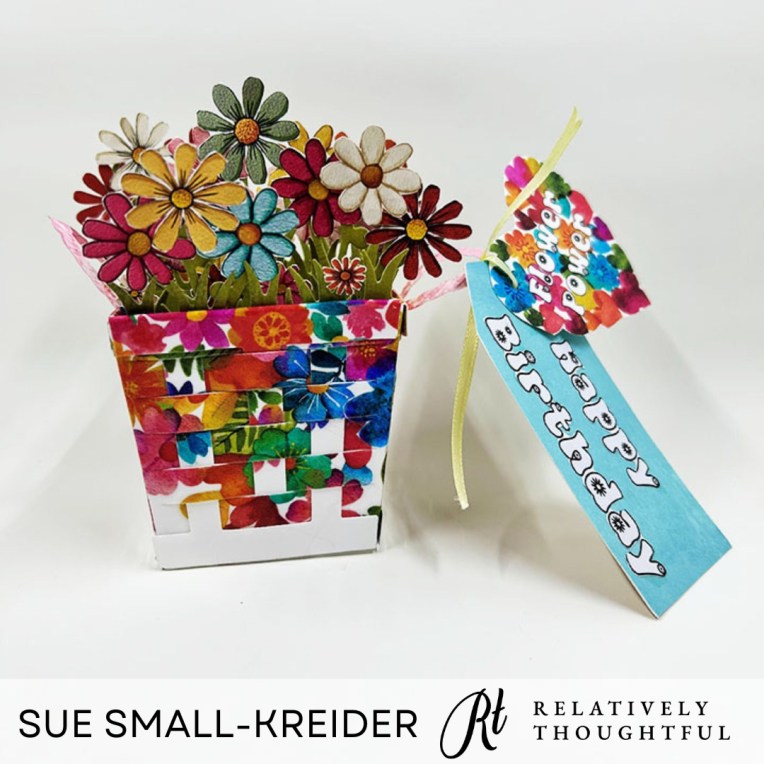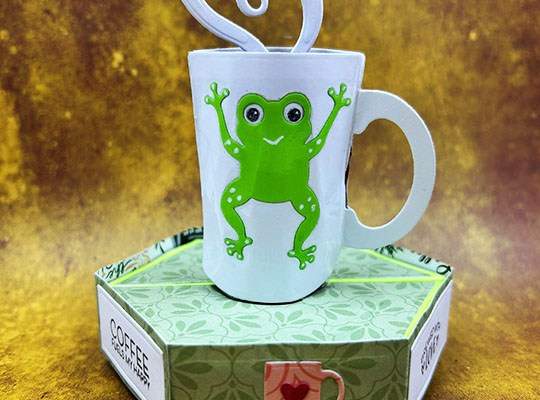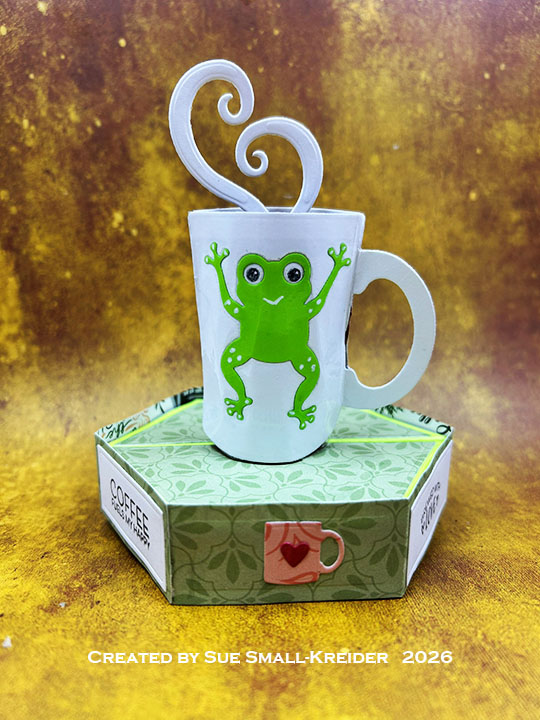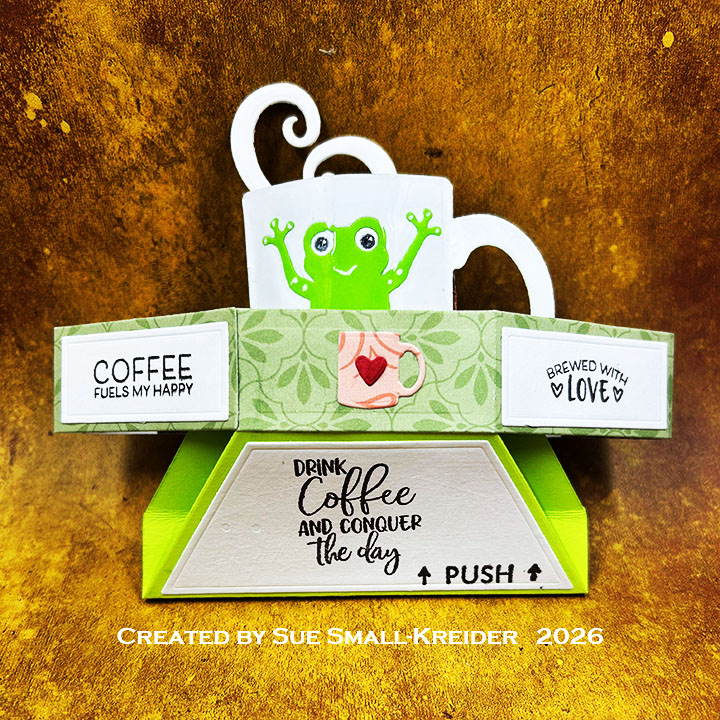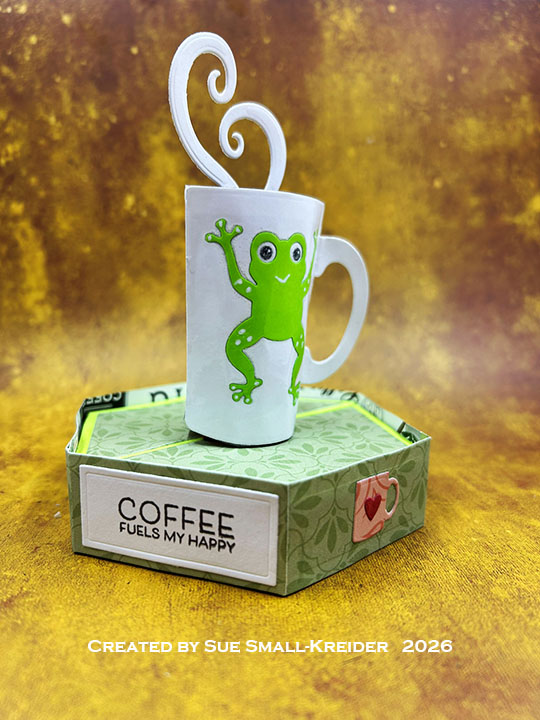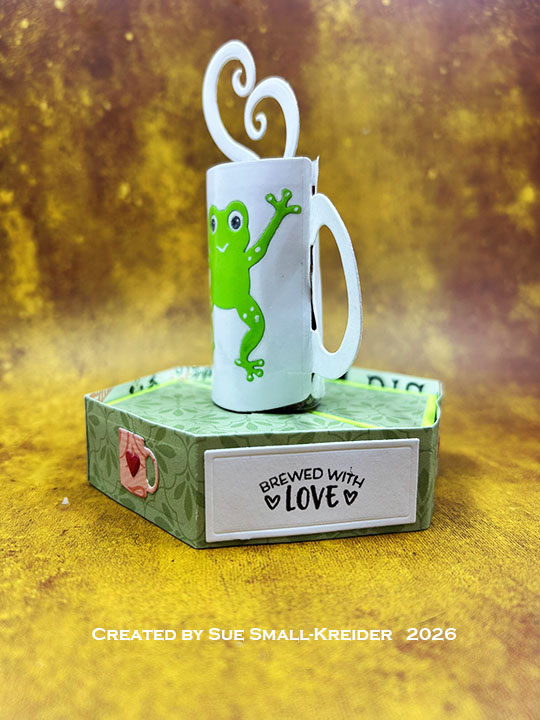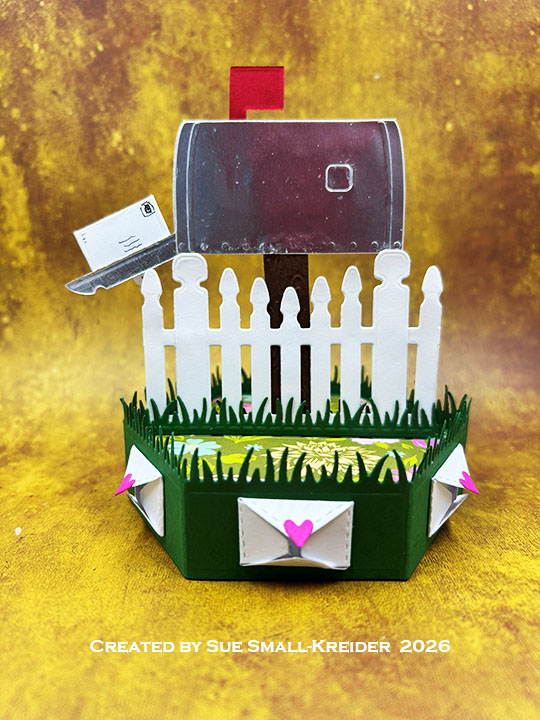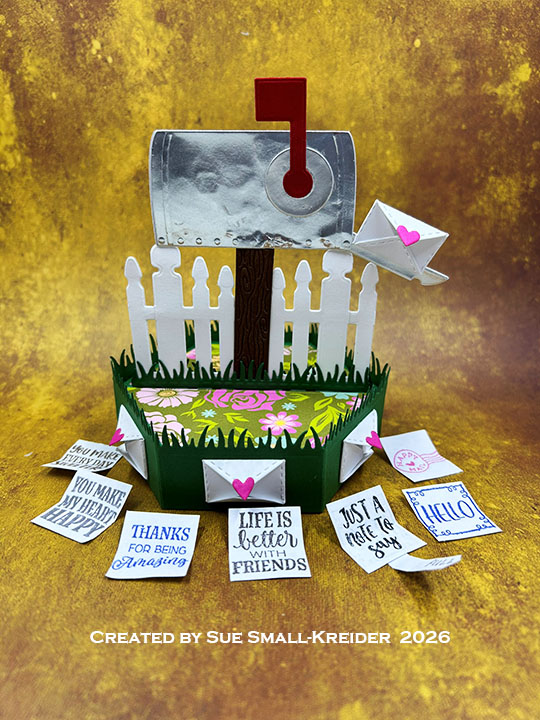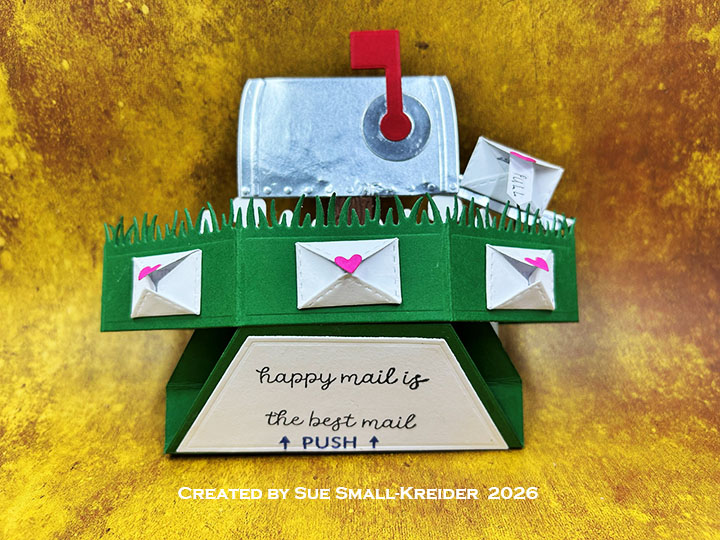
Love Notes – A Pop-Up Valentine

IT’S TIME for the Karen Burniston Products – KB Riley LLC January 2026 Release Blog Hop. (See GIVEAWAY details at the end of this post for blog hop list.) The Design Team have come together with Karen today for a fun blog hop to celebrate the release of 10 new dies and 5 new stamp sets. Sneak peeks of the new release started last week, and the dies are available to pre-order NOW!

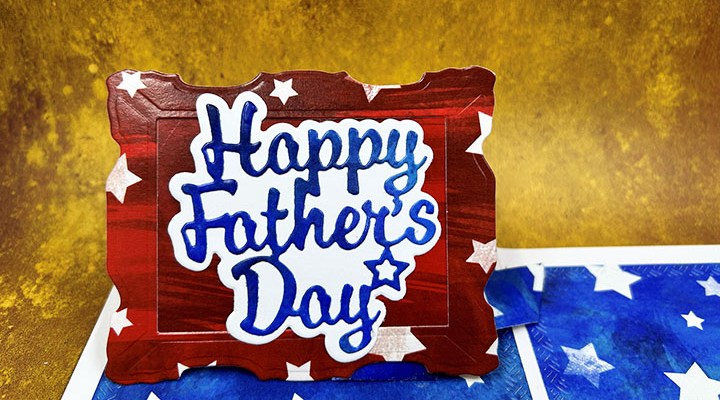
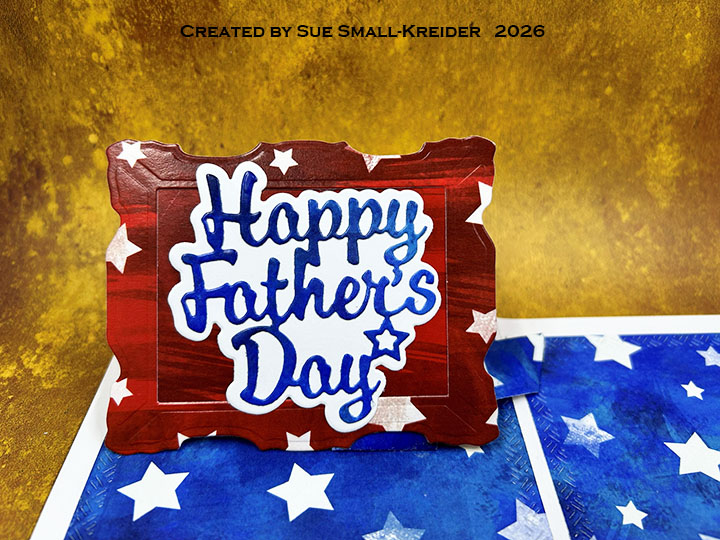
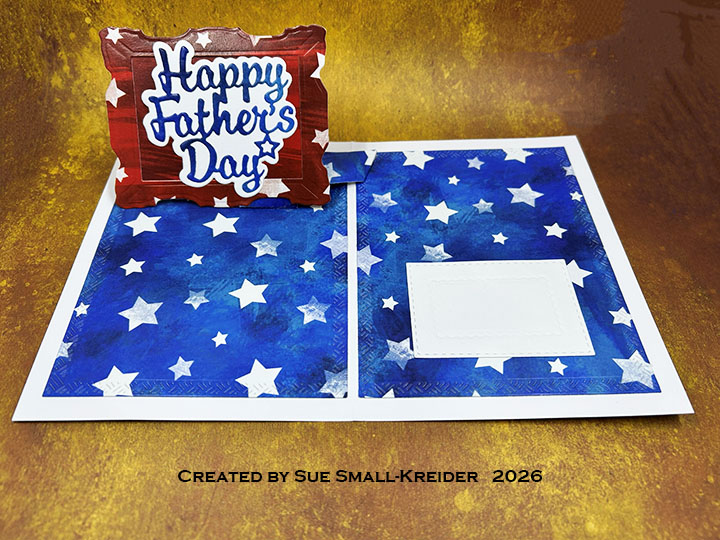
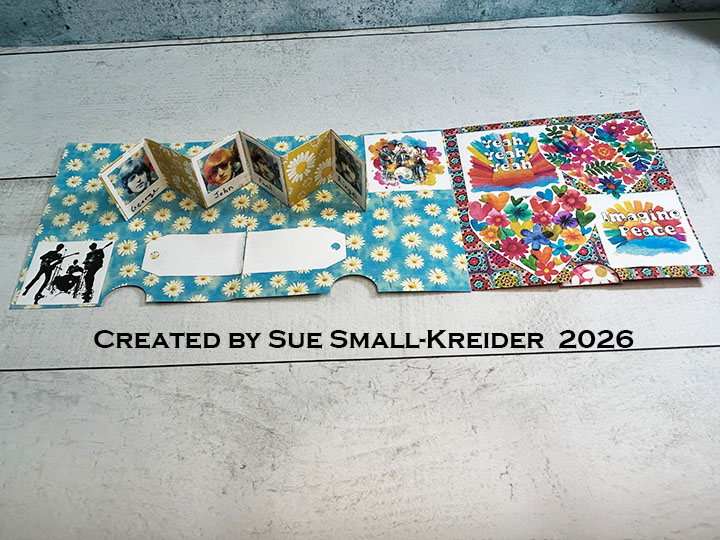
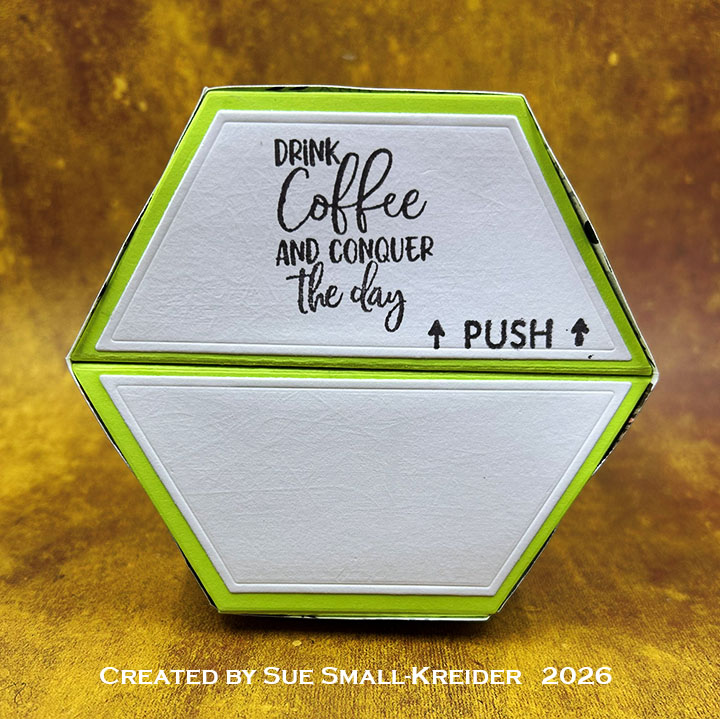
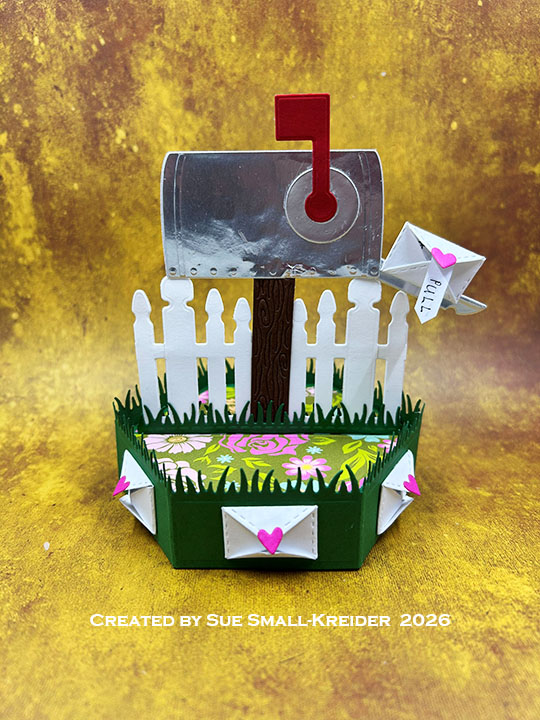
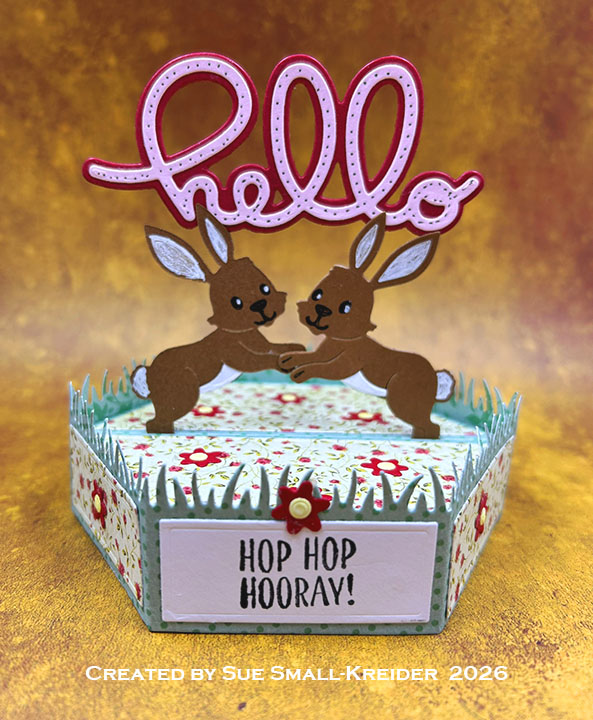
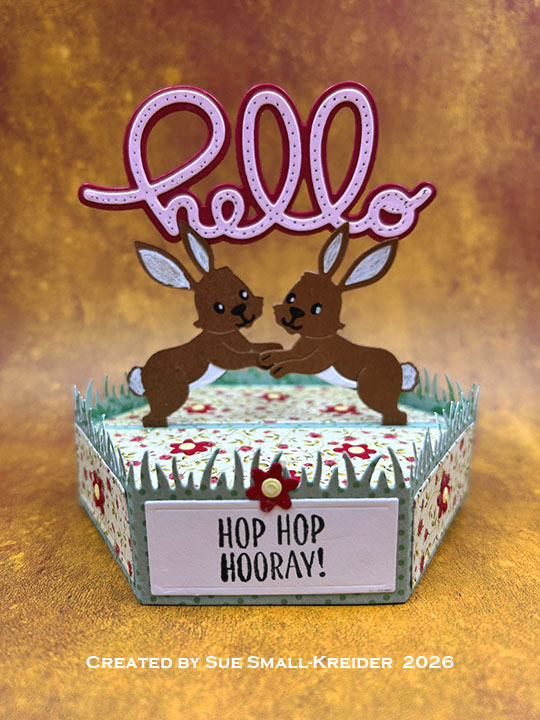
Today’s card uses the new dies of Stage Pop-Up and Grass Stage Add-Ons and two new stamp sets – Love Notes and Stage ScenesThe card also uses previously released die sets of Mailbox Pop-Up, Fence Add-Ons and Greeting Labels.
Watch the process video to see how I made these cards.

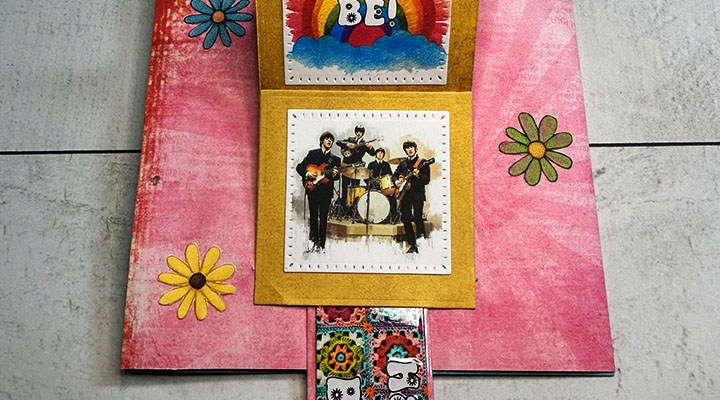
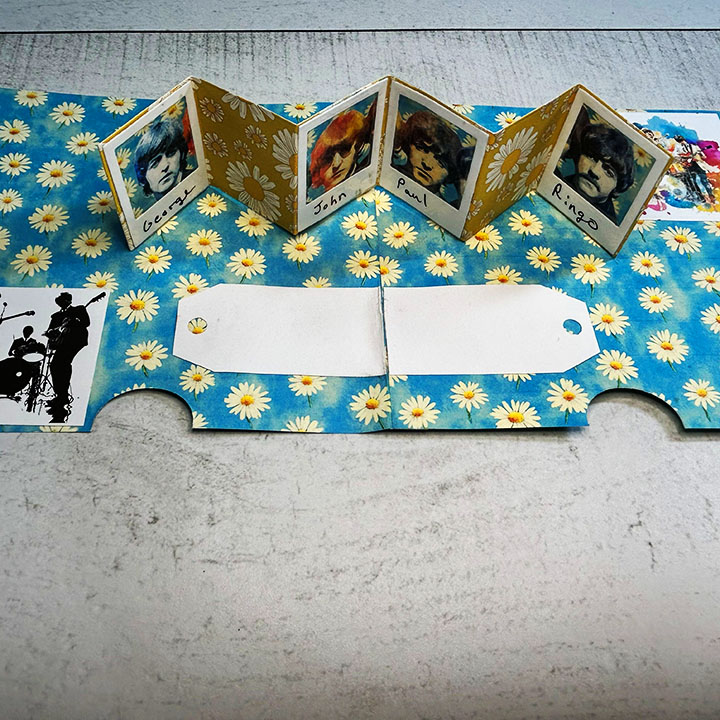
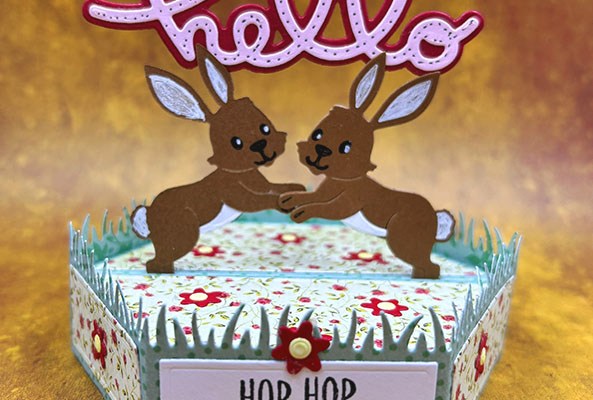
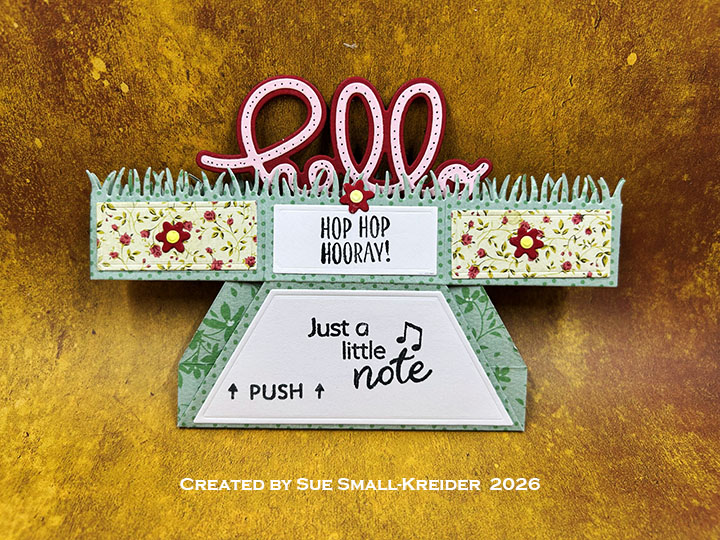
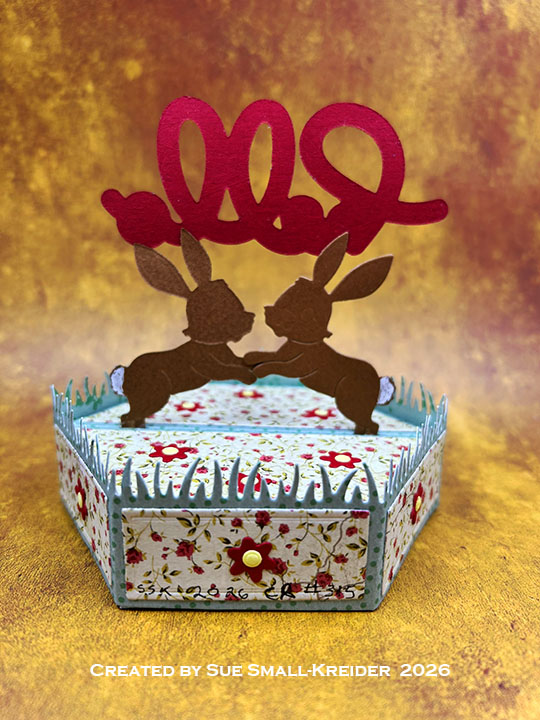
Stage Pop-Up Base: Using the Stage Pop-Up die set, cut two of the largest die from patterned cardstock. Cut six of the rectangle decorator dies from the same patterned paper. From green cardstock cut two of the grassy stage-side strips and two of the smaller grass strip from the Grass Stage Add-Ons die set.  Glue the decorator rectangles on to the front panels of the grassy stage-side strips.  Assemble the stage platform as shown above in the video.

Fence: Cut two of the fence pieces from the Fence Add-Ons die set. Trim off the right end large post and small tabs on each end to create a symmetrical fence with a large center post that is 4-inches wide. Repeat with second piece. Glue the pieces together matching up the fence pickets.

From green cut twice the short grass die from the Mailbox Pop-Up set and then cut each of them in the middle. Glue these pieces to the ends of the grass strips cut from the Grass Stage Add-Ons. Center and adhere the grass strips on the bottom edge of both sides of the fence. Trim the grass flush with the fence edge.

Mailbox: Cut the mailbox, lid and circle dies in the Mailbox Pop-Up set from silver cardstock. Cut the same pieces from the back side of the silver cardstock so you will have the reverse set of pieces. (A suggestion that I should have done when I cut my reverse pieces, is to lay a thin piece of paper on your cutting mat then then the sliver cardstock silver side down. Then the dies and top plate. This will help eliminate all the scratches that will be embossed onto the reverse silver side.)

Cut from brown, two mailbox posts and glue them to the center post of the fence on each side. Glue the Two lid pieces back-to-back. Glue the front mailbox piece onto the top of the brown post. Adhere the back mailbox piece back-to-back with the front mailbox with no glue on the front edge where the lid will be slid into it. Trim if necessary and glue the lid into the mailbox.  Add silver circles to the mailbox sides to cover the holes. Add the red flag to the front.

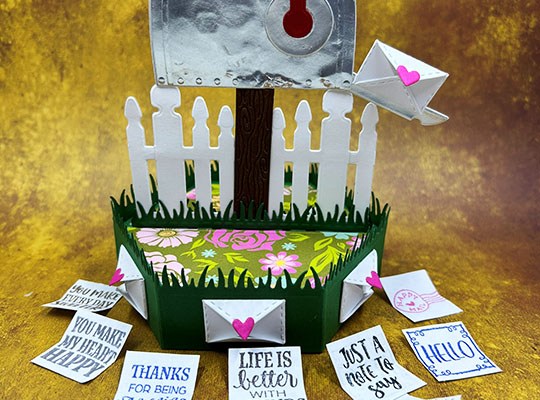
Tiny Envelopes: Cut seven of the envelopes in the Mailbox Pop-Up set from thin white cardstock. Fold on the side stitch lines. Glue one envelope together as shown in the video above. Cut one set of the tiny hearts in the same die set from red. Glue hearts to envelopes top flaps with a dot of glue.

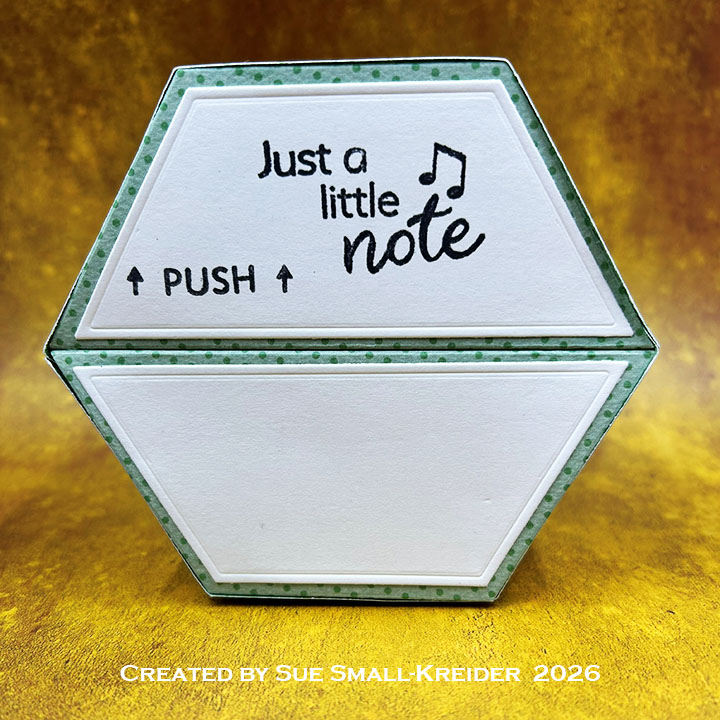
Sentiments: Stamp seven of the Love Notes sentiments on thin paper and cut out with a square die and trim to fit into the envelopes. (I used the stitched 1 1/8-inch square die in the Greeting Labels set and trimmed on the stitched lines to get a 1-inch square.) Add a ΒΌ-inch strip of thin paper to the back of the note to go in the mailbox envelope as shown in the video. Write β€œLift” on one side and β€œPull” on the other side of the strip. From Stage Scenes the “Push” with arrows was stamped on white and glued to the bottom of the stage to help the card recipient know how to open the stage card.

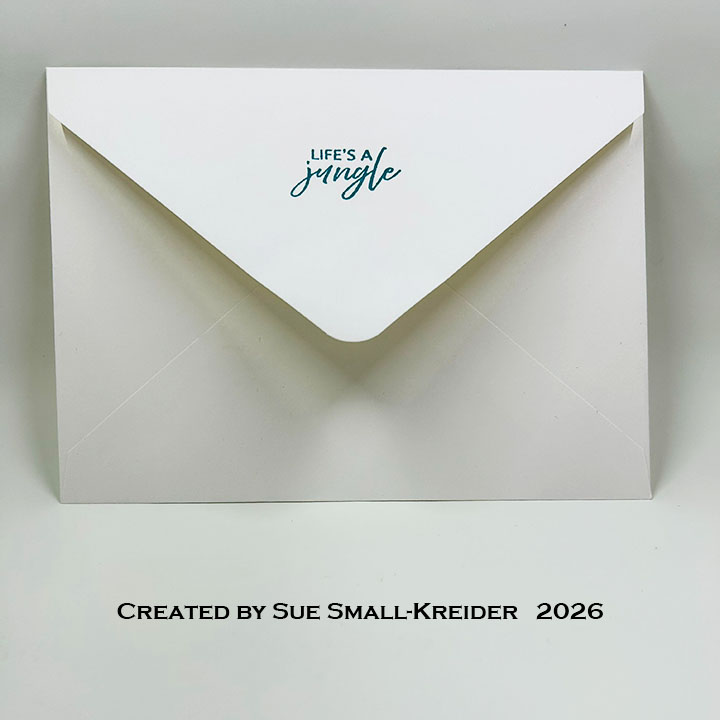
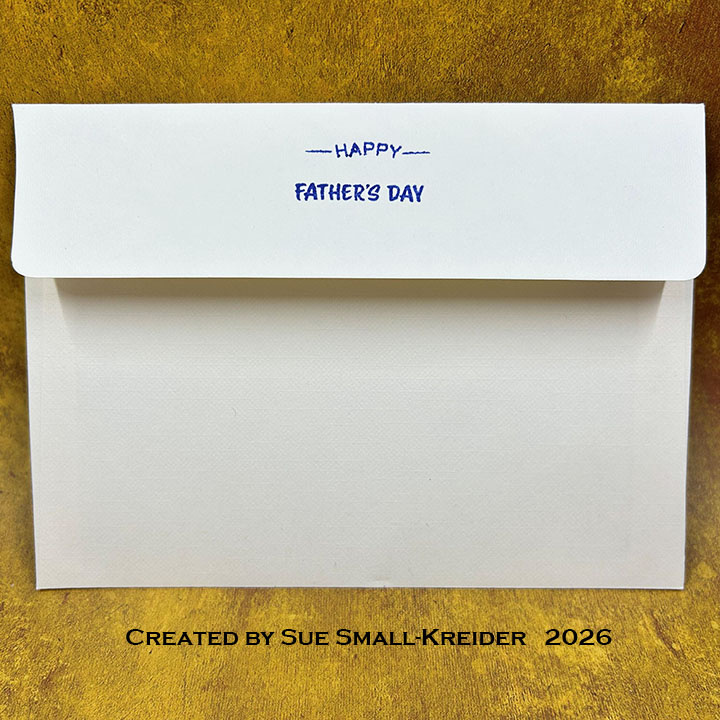
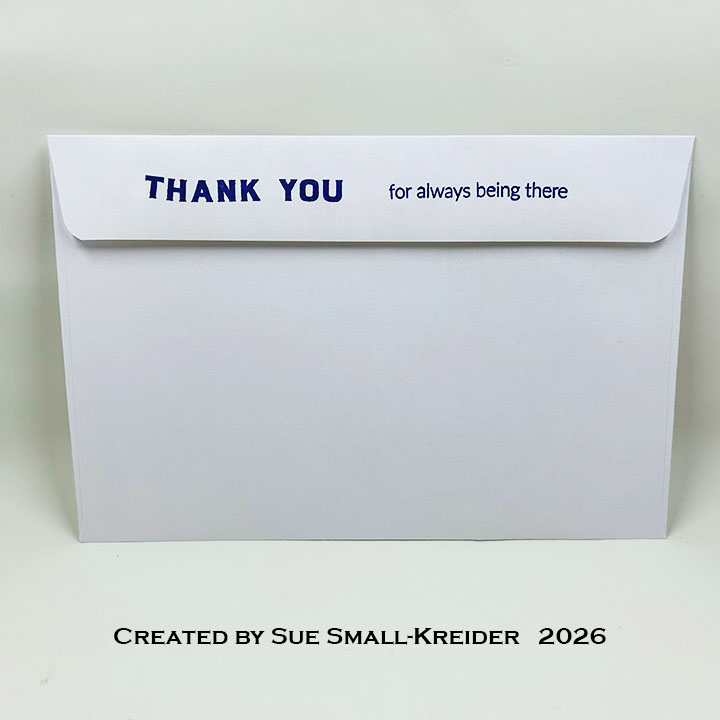
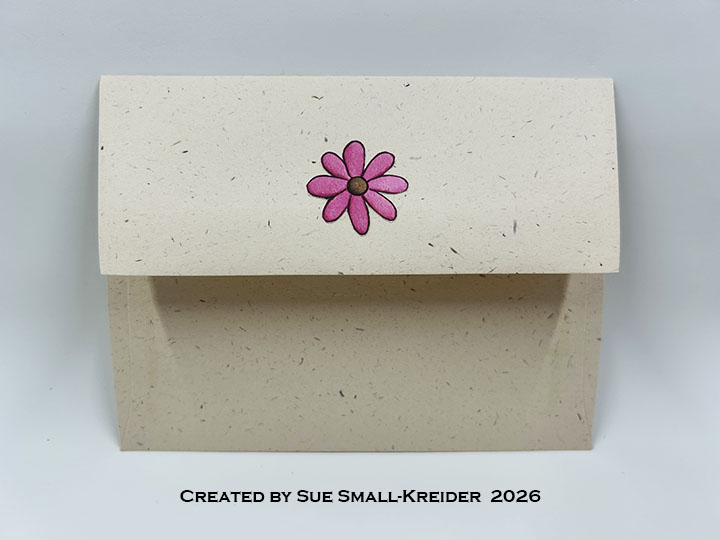
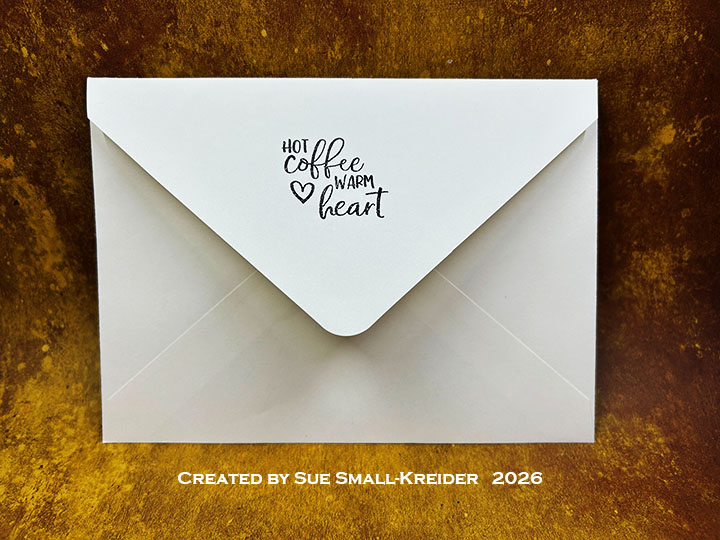
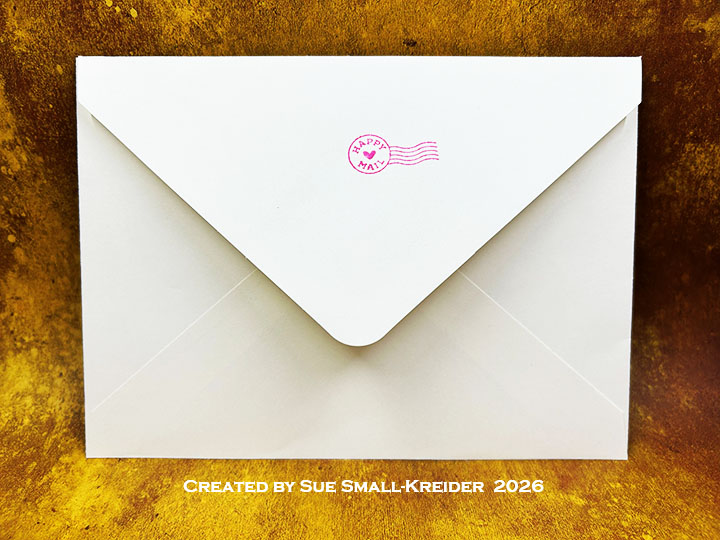
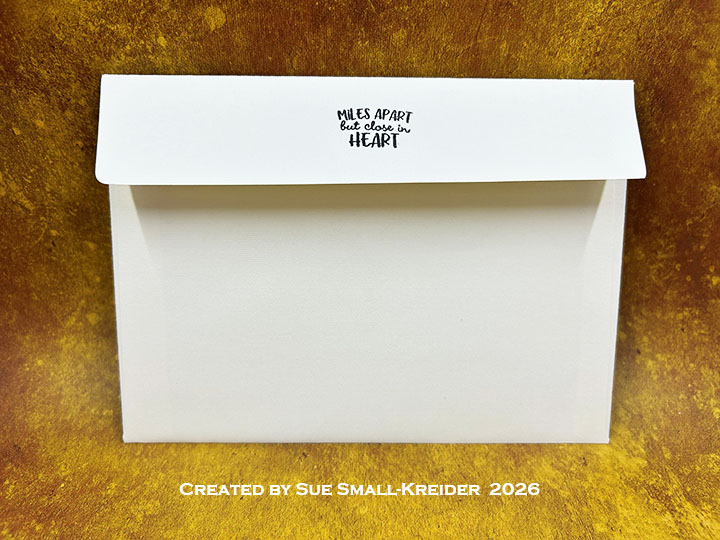
Envelope: The card fits into an A7 (5x 7-inches) size envelope with one of the Love Notes sentiments stamped on the back flap.

___________________________________

Thank you for experiencing this blog post. I hope this inspires you and makes you smile.

Please subscribe, like and leave comments. 😊

Follow my YouTube channel, Instagram and Pinterest as well.

___________________________________

Disclaimer: Karen Burniston products are provided free of charge by the manufacturer for review and use. All other items were personally purchased. Compensated affiliate links used where or when possible, meaning I will receive a small percentage commission from these manufacturers at no cost to you. This will allow me to add more content to my YouTube channel and help out a lot. Thank you.

Materials Used:

Dies

Stamps

Stencil

  • Waffle Flower – Plastic –  Birthday Puppies

Papers

  • Simple Stories – 12×12 inch Double Sided Cardstock – Garden Party Collection – Tea Garden
  • Thin White Copier Paper
  • Silver Foil Cardstock
  • Brown, Green, Red and White Cardstock
  • Park Lane Paperie – A7 Envelope – White

Ink

  • Memento – Fade Resistant Dye ink – Tuxedo Black
  • Pigma – Mircon 01 Fine Tip Pen – Black

Adhesives

Tools

  • Die Cutting Machine
  • Paper Trimmer
  • Bone Folder
  • Stamping Platform
  • LDRS – Stampendable Stamping Tool
  • Stamping Blocks used as paperweights
  • Scissors
  • Paper Masking Tape
  • Tweezers
  • We R Memories – QuickStick

GIVEAWAY

To celebrate the release Karen Burniston and each of the Karen Burniston – KB Riley LLC Design Team members will be giving away a $25 Gift Certificate to some lucky person who comments on our blog posts, so make sure you join the hop and comment on everyone’s blog post. Winners will be randomly chosen from ALL of the blog hop comments received on our blog posts by Monday, February 9, 2026. Lots of chances to win some goodies, so just leave a comment on this post or any other blog hop posts to enter! Don’t forget to leave some way for us to contact you, in case you are a lucky winner!

Karen Burniston – https://karenburniston.com/blog/january-2026-release-blog-hop/

Lois Bak – https://clownmomcreations.blogspot.com/2026/02/karen-burniston-new-release-blog-hop.html

Sue Small-Kreider – YOU ARE HERE

Frances Byrne – https://stampowl.blogspot.com/2026/02/karen-burniston-kb-riley-llc-january.html

Jennifer Webster – https://www.jlwebstercreations.com/2026/01/karen-burniston-kb-riley-llc-january.html

Suzanne Smit – https://knutselsuus.blogspot.com/2026/01/kb-riley-llc-januari-2026-release-blog.html

Nicky Foden – http://mymessycraftroom.me/2026/01/28/little-bitty-pretty-one-karen-burniston-january-release-blog-hop/

Sandy Diller – https://sandydiller.blogspot.com/2026/01/new-release-blog-hop-2026.html

Pop-Up Valentine’s Day Hot Air Balloon Card

This card was made for Craft Roulette #304 whose parameters were: drop down project, mahjong colors, go wild element and hand drawn border. I used new Karen Burniston dies and stamps for this airy, pop-up Valentine. (Dies will be available for sale on February 2, 2026)

Watch the process video to see how I made this card.

Pop-Up Stage Base: (Watch the video above for assembly instructions.) Cut two base pieces and two side strips from the Stage Pop-Up die set.

Hot Air Balloons and Raining Hearts: (Watch the video above for assembly instructions.) The Hot Air Balloons die set along with the tiny hearts from the Love Is In The Air Charms set are the key dies used. The hearts are sandwiched with dots of glue to pieces of cotton thread. The cloud die used is the largest one in the Hot Air Balloons set. Cut the different balloon designs several times from different patterned papers to get the different colored stripes.

Sentiments:Go Wild!” is a previously released Karen Burniston die cut in red patterned paper. The “Happy Valentine’s Day” is part of the new Love Notes clear stamp.The stitching and hearts were hand-drawn onto the label. Stage Scenes stamps set was used for the “Push” on the bottom of the stage.

Envelope: The card fits into a 6×9-inches envelope.

___________________________________

Thank you for experiencing this blog post.

I hope this inspires you and makes you smile.

Please subscribe, like and leave comments 😊

Follow my YouTube channel, Instagram and Pinterest as well.

___________________________________

Disclaimer: Karen Burniston products are provided free of charge by the manufacturer for review and use. All other items were personally purchased. Compensated affiliate links used where or when possible, meaning I will receive a small percentage commission from these manufacturers at no cost to you. This will allow me to add more content to my YouTube channel and help out a lot. Thank you.

Materials Used:

Dies

Stamps

Papers

  • Echo Park – 6×6-inch Double-Sided Paper – Love Notes
  • Stampin’ Up – 8.5Γ—11 80 lb. Cardstock – Copper Clay
  • Red, Tan and White Cardstock
  • Clear Plastic Packaging
  • 6×9-inch Catalog Envelope – White

Ink

  • Memento – Fade-Resistant Dye Ink – Tuxedo Black
  • Pigma – Mircon 005 Fine Tip Pen – Black

Adhesives

Tools

  • Die Cutting Machine
  • Scrapbook.com – Magic Mat
  • Stamping Block
  • Stamping Platform
  • Paperweight
  • Scissors
  • Scrapbook.com – Mint Tape
  • Tweezers
  • We R Memories – QuickStick

Miscellaneous

  • White Cotton Sewing Thread

Thank You Pop-Up

It’s Sneak Peek Week for Karen Burniston’s February 2026 Release of new dies and stamps.

Today’s card uses the new die sets of Thank You Lorna Add-Ons and the Stage Pop-Up as well as the previously released Lorna Label Pop-Up. Sentiments come from the new clear stamp sets called Thank You Phrases and Love You Phrases. The new dies and stamps will be available for order starting February 2, 2026.

Watch the process video to see how I made this card.

Stage Pop-Up Base: Using the Stage Pop-Up die set, cut two of the largest die from patterned cardstock. From the same patterned cardstock, cut two of the stage-side strips.Β  After stamping and cutting the 6 decorator rectangles, glue them onto the front panels of the stage-side strips.Β  Assemble the stage platform as shown above in the video. (Below is what the completed card looks like when folded flat.)

Sentiments: The five sentiments were stamped in black ink on white cardstock and cut-out using the rectangle decorator dies from the Stage Pop-Up die set. Cut a sixth rectangle, but leave it blank to write a personal message. Use the short sentiments “For Being You,” “You’re The Best,” “For Everything” and “So Very Much” from the Thank You Phrases stamp set, and “Big Time” from Love You Phrases.

Lorna Label Thank You: Using the Thank You Lorna Add-Ons set, cut two of the large frame die from patterned paper and two sets of the words from red cardstock. From the Lorna Label Pop-Up die set, cut two of the large die from green. Glue the Thank You frames on to the green Lorna labels and adhere the letters. Add tape the the back of the Lorna Labels at the narrow bottom tip as shown in the video. Glue the green pieces back-to-back and trim off the excess flaps at the top and cut down the bottom base to fit in between the two stage halves as shown in the video.

To decorate, cut six of the leafy stems in the Thank You Lorna Add-Ons from green and glue onto the top of each of the stage sides. Cut two of the flowers in the set to add to the stage floor in front of the “Thank You.” (I used patterned paper that had daisies printed on it, so I did not use the flower center die from the set.)

Envelope: The card fits into an A7 (5×7-inches) size envelope with “Thank You” from Thank You Phrases stamped on the back flap.

___________________________________

Thank you for experiencing this blog post.

I hope this inspires you and makes you smile.

Please subscribe, like and leave comments 😊

Follow my YouTube channel, Instagram and Pinterest as well.

___________________________________

Disclaimer: Karen Burniston products are provided free of charge by the manufacturer for review and use. All other items were personally purchased. Compensated affiliate links used where or when possible, meaning I will receive a small percentage commission from these manufacturers at no cost to you. This will allow me to add more content to my YouTube channel and help out a lot. Thank you.

Materials Used:

Dies

Stamps

Papers

  • Scrapbook.com – 6Γ—8-inch Double-Sided Cardstock Patterned Collection– Berry Sweet
  • White Cardstock
  • A7 Envelope – White

Ink

  • Memento – Fade Resistant Dye ink – Tuxedo Black

Adhesives

Tools

Peacock Pop-Up Card

It’s Sneak Peek Week for Karen Burniston’s February 2026 Release of new dies and stamps.

Today’s card uses the new die set of Peacock Add-Ons as well as the previously released Greeting Labels, Arch Pop-Up, Lorna Label Pop-Up and Border Blend – Trims sets. Sentiments come from the new clear stamp set called Strut Your Stuff. The new dies and stamps will be available for order starting February 2, 2026.

Watch the process video to see how I made this card.

Cardbase: I used a 10×7-inch rectangle of purple cardstock scored and folded in half to form a 5×7-inch side fold A7 size cardbase. I covered the front and inside with 5×7 rectangles of embossed pink vellum. I used a square scrap of the vellum to decorate the back. Decorate with Border Blend – Trims and other leftover decoration bits as shown in video.

Peacock Pop-Up: Using the Arch Pop-Up set, cut one of the two arch pieces from purple cardstock. From the Peacock Add-Ons die set, cut the head and large fan-shaped pieces from purple. From the same die set, cut fourteen feathers, and fourteen of the feather’s “eye” decorations in three other colors than the feather. (I used four shades of blue/purple/pink mirror foil cardstock and a black permanent marker to color the foiled cardstock.) Cut the eye and peacock’s “crown” or corona from black cardstock. (I used some glitter black cardstock.) Eye highlights were added with a white gel pen. From yellow cardstock cut the feet and beak. Follow the video above and photos to assemble the pop-up peacock using ten of the feathers. (I cut a second set of pieces to make another head and used three of the feathers to make a flat peacock on the card front. The final feather I placed on the card back.)

Sentiments: The sentiments from the Strut Your Stuff set were stamped in black ink on white cardstock and cut out using the Greeting Labels die set. The inside label for “You were made to stand out” also uses a label die from the Lorna Label Pop-Up set to cut the black glitter label.

Envelope: The card fits into an A7 (5×7-inches) size envelope with a tiny heart leftover from the feather decorations.

___________________________________

Thank you for experiencing this blog post.

I hope this inspires you and makes you smile.

Please subscribe, like and leave comments 😊

Follow my YouTube channel, Instagram and Pinterest as well.

___________________________________

Disclaimer: Karen Burniston products are provided free of charge by the manufacturer for review and use. All other items were personally purchased. Compensated affiliate links used where or when possible, meaning I will receive a small percentage commission from these manufacturers at no cost to you. This will allow me to add more content to my YouTube channel and help out a lot. Thank you.

Materials Used:

Dies

Stamps

Papers

  • American Crafts – Core’dinations – 8.5Γ—11 inch Textured Glitter Cardstock – Black Tie
  • Encore – 12×12 inch Foil Cardstock – Fuchsia, Kunzite, Regal Purple, & Serene Blue
  • Stampin’ Up – 12×12 inch Embossed Vellum – So Very Vellum – Pink
  • Purple, White and Yellow Cardstock
  • A7 Envelope – White

Ink

  • Memento – Fade Resistant Dye ink – Tuxedo Black
  • Pigma – Mircon 05 Fine Tip Pen – Black
  • Sakura – Gelly Roll Pen – Medium – White
  • Sharpie – Permanent Marker – Chisel Tip – Black
  • Sharpie – Permanent Marker – Fine Tip – Black

Adhesives

Tools

Pop-Up Ball Grasshopper and Box

It’s time for the Karen Burniston Design Team January 2026 Challenge whose theme is BUGS.

I made a Bitty Ball sized pop-up grasshopper in a bug decorated box using the die sets – Bitty Ball Pop-Up, Animal Add-Ons 6, Bitty Ball Double-Ups, Bitty Ball Access Tabs, Bug Borders, Happily Ever After along with the Oval – Crosshatch and Circles – Crosshatch.

Watch the process video to see how I made this card.

Box: Cut from 12×12 sheets of cardstock one 10-inch square and on 10.25-inch square. On a score board, score on all sides of each square at .5-inch and 1-inch. Cut the corners as shown in video above to form four tabs. Assemble the two box pieces as shown in the video and glue to the inside bottom an 8-inch square of decorative cardstock. Add another 8-inch square of decorative cardstock to the box lid. Decorate the box lid with the Bug Borders insects cut into individual insects. (I used the second largest Circles -Crosshatch die as a guild in the center of the box lid to aid in the symmetrical layout of the bugs.) Uses twine or ribbon to tie the box closed.

Sentiments: Cut from red paper “Happily Ever After” using the die set of the same name and glue to the underside of the box lid.

Grasshopper: (Watch the assembly video located at the bottom of the linked page for Bitty Ball Access Tabs.) Using the Bitty Ball Pop-Up, Bitty Ball Access Tabs and Bitty Ball Double-Ups die sets, cut enough pieces to make two pop-up balls. Assemble as show in the assembly video. (Hopefully you won’t have to replace the rubber band as I did, but think through the locations of the access tabs when you assemble your grasshopper, for easy access.) Cut the grasshopper legs, mouth and eye pieces using the Animal Add-Ons 6 die set. glue in place as shown in the video above. (Remember to not glue the top edge of the decorative panel under the eyes so you can slide the antenna under it and glue in place.)

Cut the two largest ovals from the Oval – Crosshatch die set from patterned cardstock and glue together. Glue the grasshopper onto the oval making sure that it is centered when open on the oval. Use a Velcro circles to attach the oval to the bottom inside of the box.

___________________________________

Thank you for experiencing this blog post.

I hope this inspires you and makes you smile.

Please subscribe, like and leave comments 😊

Follow my YouTube channel, Instagram and Pinterest as well.

___________________________________

Disclaimer: Karen Burniston products are provided free of charge by the manufacturer for review and use. All other items were personally purchased. Compensated affiliate links used where or when possible, meaning I will receive a small percentage commission from these manufacturers at no cost to you. This will allow me to add more content to my YouTube channel and help out a lot. Thank you.

Materials Used:

Dies

Papers

  • Bazzill – 8.5×11-inch Solid Colored Cardstock – Candy Corn
  • Bazzill – 12×12-inch Double-Sided Cardstock – Easter Grass Marble
  • Keep It Simple – 12×12-inch Double-Sided Cardstock – Lucky Day Collection
  • Black, Pink, Red, White and Yellow Cardstock

Ink

Adhesives

Tools

  • Die Cutting Machine
  • Paper Trimmer
  • Bone Folder
  • Score Board
  • Stamping Blocks used as paperweights
  • Scissors
  • Paper Masking Tape
  • Tweezers
  • We R Memories – QuickStick

Miscellaneous

  • Blue Baker’s Twine
  • Velcro 1-inch Circles

Double Z Baseball Retirement Card

This card was made for Craft Roulette #299 whose parameters were: a double Z-fold card, Rudolph colors, optimistic element and plain circles. I used Karen Burniston dies and stamps as well as Waffle Flower dies and Graphic 45 stamps to create this card.

Watch the process video below to learn how this card was made.

Cardbase: Using a 4.25×11-inch sheet of tan cardstock, fold in half for a 4.25×5.5-inch cardbase. Fold the front flap in half again to form the z-fold. Using the second smallest crosshatch circle die in Karen Burniston’s Circles – Crosshatch die set, center the die over the front panel folded in half to cut through the two layers as shown in the video above. Save the two circles. Cut a half-inch by 11-inch long strip of the tan cardstock and fold in half. Fold one half of the strip again in half to make the second z-fold piece for the card. Stamp all the pieces as described below before assembling the card.

Baseball Equipment: Using the Graphic 45 Good Ol Sport set, stamp the baseball bat onto the long section of the 11-inch strip. Stamp one of the saved circles with the baseball stamp. From white cut out the largest circle in the Waffle Flower Stamps Baseball Dad die set. Cut the stitching from red. Glue the stitching onto the white circle to make it look like a baseball.

Sentiments: stamp “Happy Retirement” on the second save circle using Karen Burniston’s Fishing stamp set. From the Graphic 45 stamp set add “Good Ol’ Sport” to the bottom right corner of the card using black ink.

Envelope: The panel card fits into an A2 (4.25×5.5-inches) size envelope with the back flap stamped with “Take me out to the ball game!” from the Graphic 45 stamp set.

___________________________________

Thank you for experiencing this blog post.

I hope this inspires you and makes you smile.

Please subscribe, like and leave comments 😊

Follow my YouTube channel, Instagram and Pinterest as well.

___________________________________

Disclaimer: Karen Burniston products are provided free of charge by the manufacturer for review and use. All other items were personally purchased. Compensated affiliate links used where or when possible, meaning I will receive a small percentage commission from these manufacturers at no cost to you. This will allow me to add more content to my YouTube channel and help out a lot. Thank you.

Materials Used:

Dies

  • Karen Burniston in cahoots with Riley & Company – Circles – Crosshatch – 1057
  • Waffle Flower Stamps – Dies – Baseball Dad

Dies

Papers

  • Red, Tan and White Cardstock
  • Fraser Papers for William House – A2 Envelope – Genesis Text Milkweed Smooth

Ink

  • Memento – Fade-Resistant Dye Ink – Tuxedo Black
  • Pigma – Mircon 01 Fine Tip Pen – Black

Adhesives

Tools

  • Die Cutting Machine
  • Scrapbook.com – Magic Mat
  • Paper Trimmer
  • Scrapbook.com – Mint Tape

What’s New Kitty Cat

It’s time for the Karen Burniston Design Team December 2025 Challenge whose theme is SONG LYRICS. I made an A2 (4.25×5.5-inch) card using the new die and stamp sets – Playful Pop-Up, Dog and Cat Playful Add-Ons, Cat Borders, Greeting Labels and Cat Sayings along with other Karen Burniston dies.

Watch the process video to see how I made this card.

Cardbase: I cut a 5.5×8.5-inch rectangle from orange 100lb. cardstock. Then I scored and folded in half to create a 4.25×5.5-inch A2 side-fold cardbase. Using the largest die in the Rectangles – Crosshatch die set, cut four panels of decorative paper to cover the four card panels. (I ended up cutting three panels and using a large scrap of the decorative paper for the card back.)

Sentiments: Word surgery (i.e. – Die cut words being cut apart and glued back together to form new words) was involved to make the custom words for this card’s front. “What’s” is made from the “W” from the Go Wild die set and the “hat” from the word “Christmas” in the Merry Christmas die set. “New” is from the Happy New Year die set. Word Set 4 -Just A Note used the words “up” and “to say” as well as the words “Blessings” and “color” from Word Set 7 – Autumn, to make the words “pussy cat.” The three “WHOA” inside used the Mini Alphabet and Numbers set.

The stamped sentiments “Happy Purr-thday” and “HOME is where the CAT is” are from the new stamp set Cat Sayings. They were stamped in black ink on white cardstock and die cut using the Greeting Labels and Hearts – Crosshatch die sets. Cut an oval for a personal message to go on the inside.

Paw Print Border: Using the Cat Borders die set, cut one paw print die from black cardstock and one paw back die from pink cardstock. glue the two pieces together. Trim border to fit the card front as shown in the photos and video. Use the extra paw prints to decorate inside the card.

Playful Pop-Up: Cut one of the large die, one of the face plate and one of the “K” shaped mechanism in the Playful Pop-Up set from black cardstock. Assemble as show in the video above.

Cat: Using the Dog and Cat Playful Add-Ons die set, cut from black, the large cat ears, paw arms, nose/mouth, and small oval eyes. From pink cardstock cut, the small cat ears, nose, tongue and paw back pieces. From white cardstock cut one set of large oval eyes and one set of whiskers. Assemble and install as show in the video. Use a white gel pen to add the eye and nose highlights. I

Envelope:  The card fits into an A2 (4.25×5.5-inch) size envelope whose back flap was stamped β€œHope your day is PURR-fect!” from the Cat Sayings stamp set.

___________________________________

Thank you for experiencing this blog post.

I hope this inspires you and makes you smile.

Please subscribe, like and leave comments 😊

___________________________________

Disclaimer: Karen Burniston products are provided free of charge by the manufacturer for review and use. All other items were personally purchased. Compensated affiliate links used where or when possible, meaning I will receive a small percentage commission from these manufacturers at no cost to you. This will allow me to add more content to my YouTube channel and help out a lot. Thank you.

Materials Used:

Dies

Stamps

  • Karen Burniston in cahoots with Riley and Company – Clear Stamps – Fall Phrases

Papers

  • Ms. Sparkle & Co. Paperie – 5.5×7.5 Single -Sided Paper – Rainbow
  • Recollections – 8.5×11 100 lb. Cardstock – Orange
  • Black, Pink and White Cardstock
  • Fraser Papers for William House – A2 Envelope – Genesis Text Milkweed Smooth

Ink

Adhesives

Tools

  • Die Cutting Machine
  • Paper Trimmer
  • Bone Folder
  • Score Board
  • Stamping Platform
  • Stamping Blocks used as paperweights
  • Scissors
  • Paper Masking Tape
  • Tweezers
  • We R Memories – QuickStick

A Snowy Yeti Pop-Up Birthday Card

This card was made for CRAFT ROULETTE #294 whose parameters included an A2 card, holiday colors,  from the mountains element, and fancy paper. I used stamps and dies by Karen Burniston to make this card.

Watch the process video to see how I made this card.

Cardbase: Watch the video to see how the card base was cut with a corner fold using the Rectangles – Crosshatch dies. The front and back panels were embossed using the embossing plates in my die-cutting machine and the Pattern Plate – Swirls die. Color swirls with a blue glitter brush marker.

Yeti Pop-Up: Cut from white the largest die in the Playful Pop-Up and the arms from the Monster Playful Add-Ons set. From blue cut the face plate square from the Playful Pop-Up and hands from the Monster Playful Add-Ons. Cut the mouth with lots of teeth in the from the Monster Playful Add-Ons once from black and once from red. Cut the v-shaped tongue piece from black and trim into two oval nostrils. Cut the two sets of oval eye pieces from black and white. Assemble pop-up as shown in the video above.

Sentiments:RAWR!” is cut from blue and white cardstock. The inside sentiment “Hope your Birthday is Wild” is from the Monster Sayings stamp set and cut out using the Greeting Labels die set.

Envelope: The card fits into an A2 (4.25x 5.5-inches) size envelope.

___________________________________

Thank you for experiencing this blog post.

I hope this inspires you and makes you smile.

Please subscribe, like and leave comments on this site and my YouTube channel. 😊

___________________________________

Disclaimer: Karen Burniston products are provided free of charge by the manufacturer for review and use. All other items were personally purchased. Compensated affiliate links used where or when possible, meaning I will receive a small percentage commission from these manufacturers at no cost to you. This will allow me to add more content to my YouTube channel and help out a lot. Thank you.

Materials Used:

Dies

Stamps

Papers

  • Bazzill – 8.5×11 Cardstock – Evening Surf 7-798
  • Black, Red and White Cardstock
  • Fraser Papers for William House – A2 Envelope – Genesis Text Milkweed Smooth

Ink

  • Scrapbook.com – Shimmer Glitter Brush Marker – Frosty Blue

Adhesives

Tools

  • Die Cutting Machine
  • Paper Trimmer
  • Bone Folder
  • Stamping Platform
  • Stamping Blocks used as paperweights
  • Scissors
  • Pencil
  • Eraser
  • Paper Masking Tape
  • Tweezers
  • Spellbinders – Mighty Mister Spray Bottle
  • We R Memories – QuickStick

Bee Pop-Up In A Flower Card

IT’S TIME for the Karen Burniston Products – KB Riley LLC November 2025 Release Blog Hop. (See GIVEAWAY details at the end of this post for blog hop list.) The Design Team have come together with Karen today for a fun blog hop to celebrate the release of 15 new dies and 5 new stamp sets. Sneak peeks of the new release started last week, and the dies are available to pre-order NOW!

Today’s card uses the new dies of Greeting Labels, Mini Ball Access Tabs, Surprise Ball Access Tabs and Animal Add-Ons 6 and a new stamp set – Bug Greetings. The card also uses previously released die sets of Mini Ball Pop-Up, Hexagons – Crosshatch and Ovals -Crosshatch.

Watch the process video to see how I made this card.

Cardbase: Cut eight dotted lavender cardstock hexagons using the largest die in the Hexagons – Crosshatch. Using the next two plain edged hexagon dies in the set, cut a total of 12 of the medium hexagon from patterned paper and six of the smaller die also from patterned paper. Cut two sets of the Surprise Ball Access Tabs from the dotted lavender cardstock. Assemble card as show in video.

Bee Pop-Up: Cut two ball halves and 12 decorative pieces from yellow cardstock using the Mini Ball Pop-Up set. Also cut one set of Mini Ball Access Tabs from yellow cardstock. Assemble Mini Ball as shown in the video above using the access tabs. Create the bee using the Animal Add-Ons 6 set. Cut four sets of the antenna, one large circle and two small eye ovals from black cardstock. Cut two of the smaller circle from white cardstock and the mouth from pink. (I cut the mouth from white and colored with a pink marker.) Cut one set of wings and two wing vein overlays from clear vellum. Assemble as shown in video above. Cut one lavender oval for the base for the bee to set on using the medium die in the Ovals -Crosshatch set.

Sentiments: All the sentiments are stamped on white cardstock using the Bug Greetings stamp set and the Greeting Labels die set was used to cut the belly band label out. The large label on the back used the largest crosshatch die in the Hexagons – Crosshatch set.

___________________________________

Thank you for experiencing this blog post.

I hope this inspires you and makes you smile.

Please subscribe, like and leave comments 😊

Follow my YouTube channel, Instagram and Pinterest as well.

___________________________________

Disclaimer: Karen Burniston products are provided free of charge by the manufacturer for review and use. All other items were personally purchased. Compensated affiliate links used where or when possible, meaning I will receive a small percentage commission from these manufacturers at no cost to you. This will allow me to add more content to my YouTube channel and help out a lot. Thank you.

Materials Used:

Dies

Stamps

Papers

  • Bazzill – 12×12 Polka Dot Embossed Cardstock – Lavender
  • Memory Box – 6×6 inch Double-Sided Cardstock – Anemone Grove – PP1026 & Glimmering Gladiola – PP1028
  • The Paper Studio – 8.5×11 Clear Vellum
  • Black, White and Yellow Cardstock

Ink

Adhesives

Tools

GIVEAWAY

To celebrate the release Karen Burniston and each of the Karen Burniston – KB Riley LLC Design Team members will be giving away a $25 Gift Certificate to some lucky person who comments on our blog posts, so make sure you join the hop and comment on everyone’s blog post. Winners will be randomly chosen from ALL of the blog hop comments received on our blog posts by Monday, 1st December 2025. Lots of chances to win some goodies, so just leave a comment on this post or any other blog hop posts to enter! Don’t forget to leave some way for us to contact you, in case you are a lucky winner!

Karen Burniston – 

Lois Bak –

Sue Small-Kreider – YOU ARE HERE

Frances Byrne –

Jennifer Webster –

Suzanne Smit –

Nicky Foden –