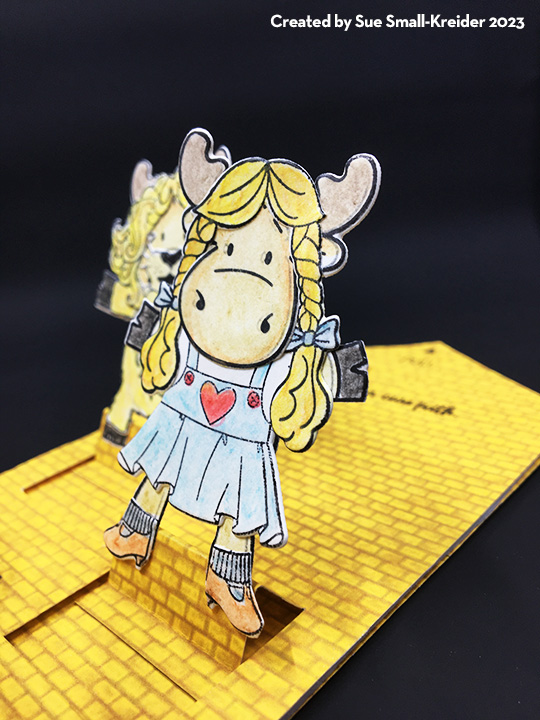
This card was made to celebrate Simon Says Stamp! Stamptember with Riley & Company’s The Dog Life stamp set and coordinating dies. It also uses pop-up dies by Karen Burniston.

Watch the video to see how this card was made.
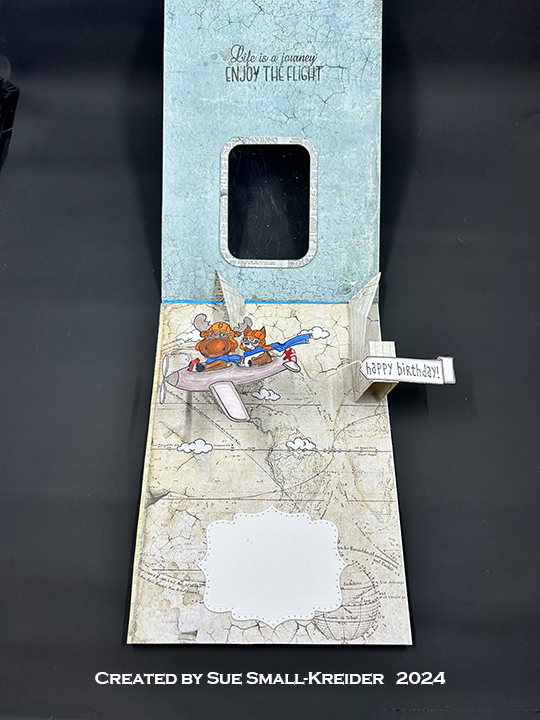
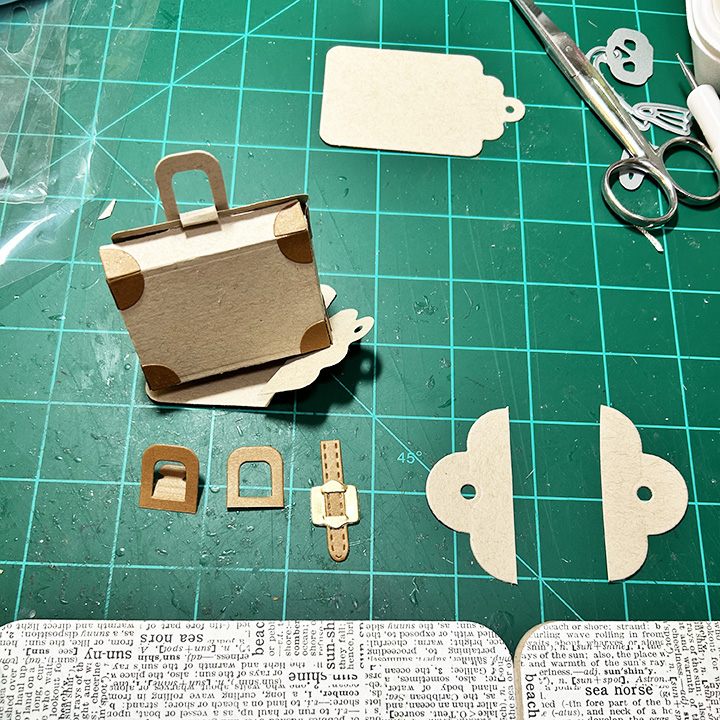
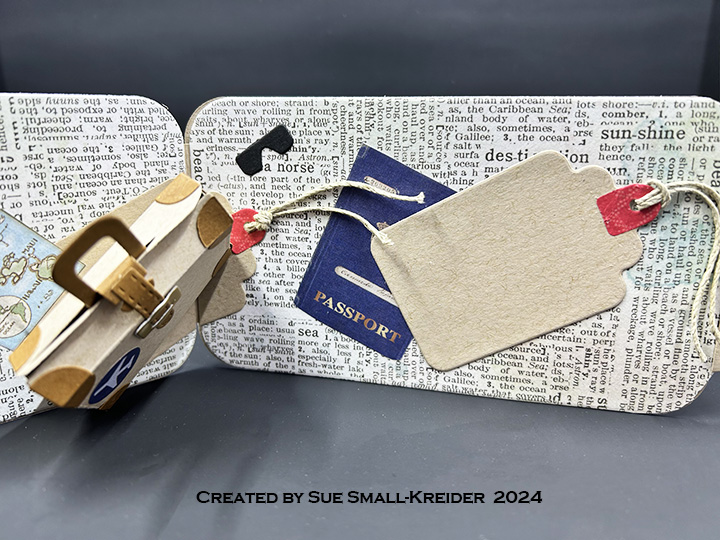
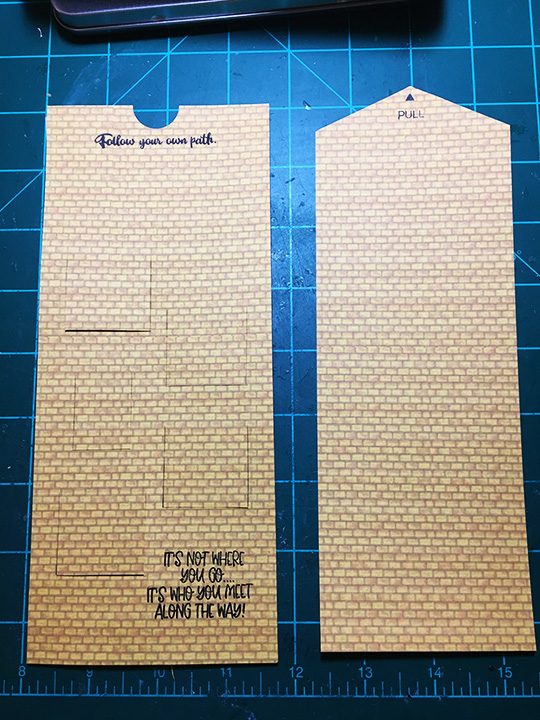
Woven Basket: The base of this basket card that can fold flat, is Karen Burniston’s Woven Basket Box Card. The grass inside is also from the same set. For assemble see video above. A black alcohol marker was used on the coated gold cardstock to make the nail heads on the basket frame.

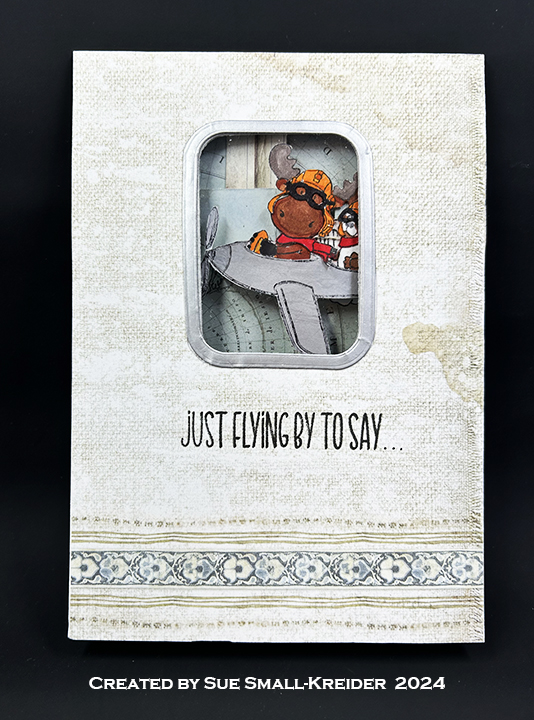
Sentiments: The main sentiment on the card was stamped in black ink and die cut using the coordinating dies in The Dog Life stamp set. It is on the round stem piece from the Bouquet Bits die set. The white fancy label on the basket back is for a personal message and is cut using the fancy label die in the Triple Platform Pop-Up set.

Tree: The tree was cut from some doubled-sided scrap patterned papers using the Tree Pop-Up die set.
___________________________________
Thank you for experiencing this blog post.
I hope this inspires you and makes you smile.
Please subscribe to the email notices, like and leave comments 😊
___________________________________
Disclaimer: Riley & Company and Karen Burniston products are provided free of charge by the manufacturer for review and use. All other items were personally purchased. Compensated affiliate links used where or when possible, meaning I will receive a small percentage commission from these manufacturers at no cost to you. This will allow me to add more content to my YouTube channel and help out a lot. Thank you.
Materials Used:
Dies
- Karen Burniston in cahoots with Riley and Company – Triple Platform Pop-Up – 1300
- Karen Burniston in cahoots with Riley and Company – Bouquet Bits – 1293
- Karen Burniston in cahoots with Riley and Company – Woven Basket Box Card – 1080
- Karen Burniston in cahoots with Riley and Company – Tree Pop-Up – 1005
- Simon Says Stamp! – Riley and Company – Coordinating Dies – The Dog Life – 1463sdc
Stamps
- Simon Says Stamp! – Riley and Company – Clear Stamps – The Dog Life -3319ssc
Papers
- Brown and Green Patterned Cardstock Scraps
- Green and White Cardstock
- Park Lane – 8.5×11 Cardstock – Gold Shimmer Sheets
- White 4×6-inch Catalog Envelope
Ink
- American Crafts – Metallic Marker – Silver
- Memento – Fade Resistant Dye ink – Tuxedo Black
- Nuvo – Highly Pigmented Watercolour Pencils – Brilliantly Vibrant and Hair & Skin Tones
- Pigma – Mircon 01Fine Tip Pen – Black
- Sharpie – Permanent Marker – Ultra Fine Tip – Black
Adhesives
Tools
- Die Cutting Machine
- Stamping Platform
- Brutus Monroe – Stick & Stamp Mat
- LDRS – Stampendable Stamping Tool
- Stamp Shammy
- Scissors
- Pencil
- Paper Masking Tape
- Waterbrush