
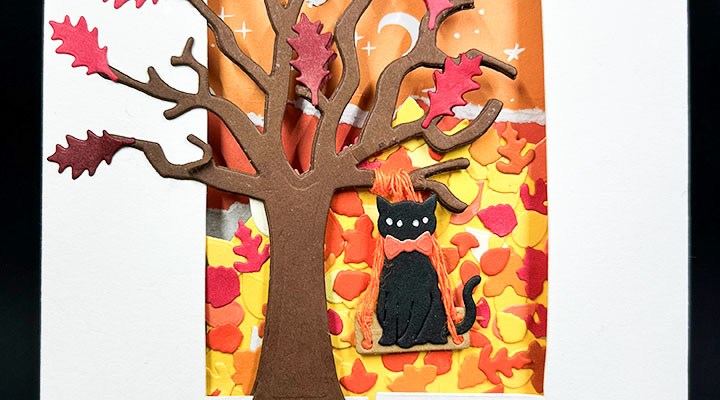
This card was made for Craft Roulette #335 whose parameters were include a gatefold project, vacation colors, CAS (copy and sample) from last week’s gallery as element and paper strip(s) as random. I used Karen Burniston dies and stamp set to CAS Megan Francis’s leafy card from Craft Roulette’s #334 galley.
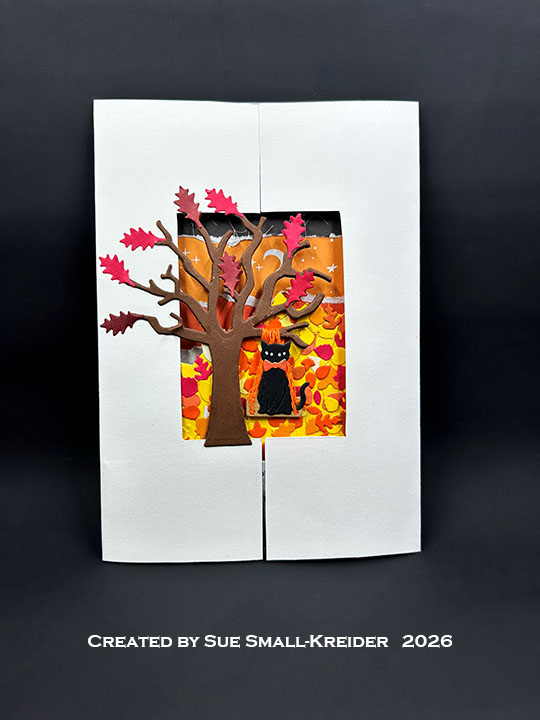
Watch the video below to learn how I made this card.
Cardbase: Watch the video above for how to cut and score the cardbase. Cut an 8.5×11-inch sheet of white 65lb. cardstock down to 8.5×10-inches and scored at 2.5-inches and 7.5-inches along the long side and then flipped the cardstock sideways to score at 7-inches. Cut away the small rectangles at the sides of the long rectangle.
With the gatefold flaps closed, begin drawing the window aperture over the two flaps. Using a 2.5×3.5-inch rectangle of scrap paper, find the best placement for the ATC cut-out. With a T-square ruler, drawn in the lines to cut out with a craft knife as shown in the video. (My border measurements are 1.75-inches at the top, 1.25-inches at the sides and 2-inches at the bottom.)
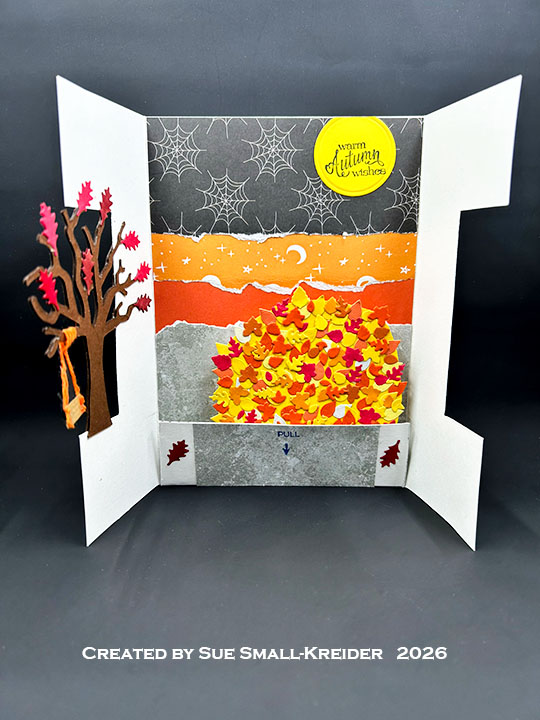
Background: Using torn strips of decorative papers, create the 4.875x 6.875-inch background for the inside of the card. Cover the bottom flap on both sides with your grass-colored paper. (I ended up using scrapes for the flap, and some extra leaves to decorate the side of the flap with the “Pull” and arrow stamped on it. I used My Favorite Things Interactive Labels stamp set.)
Tree: Cut six trees from brown using the Tree Pop-Up die set. Glue three trees together twice as shown in the video above and adhere them to the card. Add leaves cut from the same die set. (I cut three sets of leaves and colored some of the leaves to get three different shades of red using two shades of cardstock – kraft and red.)
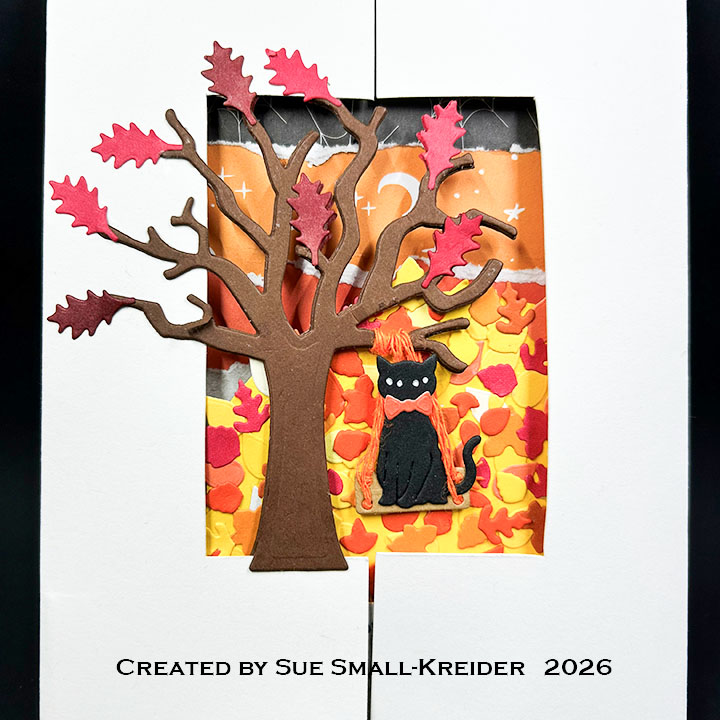
Cat Swing: Cut two black cats from the Skeleton and Bat die set. Glue together. Use die stencil to color eyes. (Yes, the eyes on this cat can look like four eyes or very large cat eyes. Which did you see first?) Add bow tie also in the same die set. Cut two seat pieces from the Tree Pop-Up set and glue together. Glue cat to seat and add orange twine as shown in video above.

Leaf Pile with Pop-up Dog: Cut a squat arch large enough to cover the Parcel Pop-Up mechanism and cover it with die-cut leaves. Watch the assembly video at the bottom of the linked page for the Parcel Pop-Up . Cut the three pieces for the mechanism from white cardstock and assemble as shown in video above. Cut the upper half of the largest mechanism piece from grass colored paper. Trim and adhere it to the mechanism as shown in the video above. Cut two of the dog from Doghouse Tiny House Add-Ons set. Use die stencil to color eyes, nose and belly. Color ears black. Use bow tie from Skeleton and Bat die set in orange as collar. Glue dog onto pop-up strip.
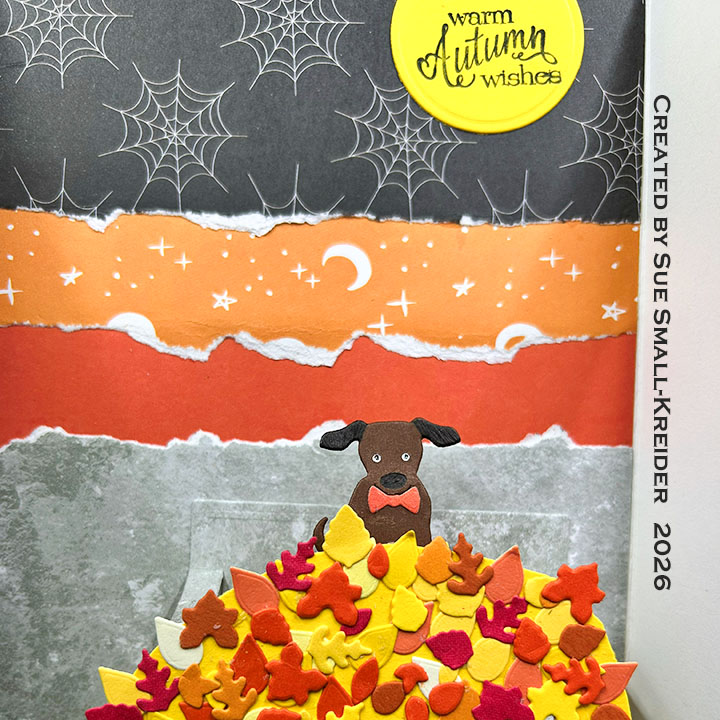
Sentiments: Stamp “Warm Autumn Wishes” from Karen Burniston’s Fall Phrases stamp set onto a 1.5-inch circle of yellow. (My circle die slipped when cutting it out and so my moon goes was placed at the top edge of the card.)
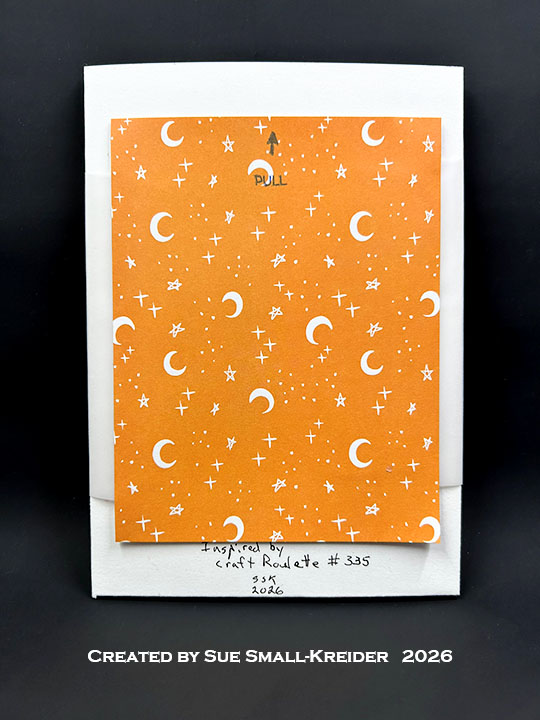
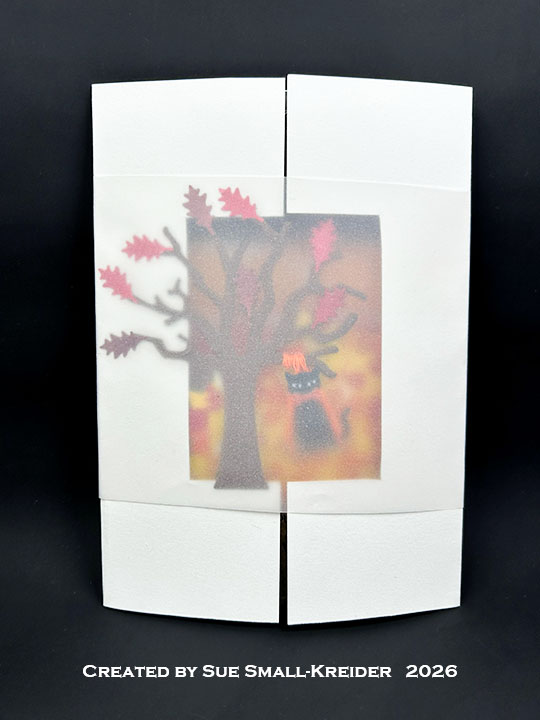
Belly Band: Using a sheet of 4×6-inch decorative paper and a scrap piece of clear vellum, I made the belly band to keep the card closed. Again, stamping the “Pull” and arrow using My Favorite Things Interactive Labels stamp set.
Envelope: The card fits into an A7 (5x 7-inch) size envelope.
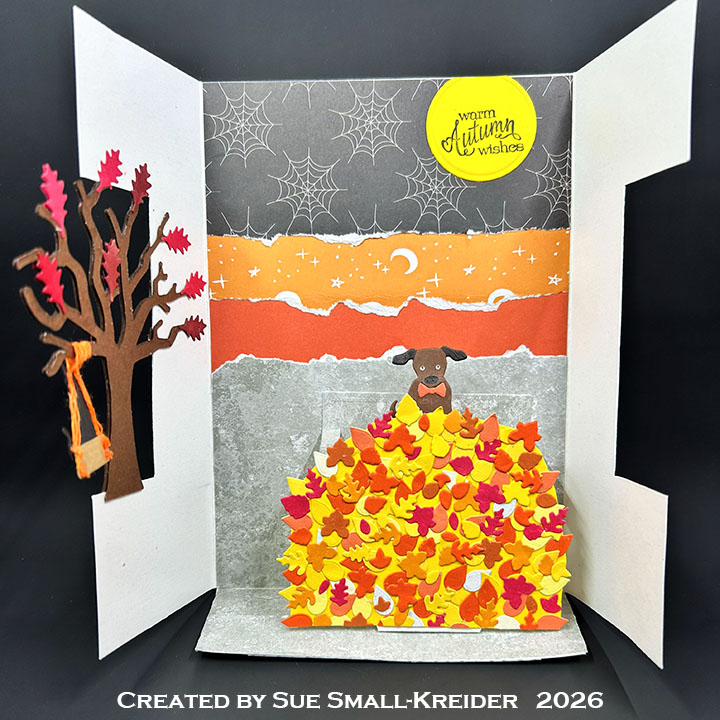
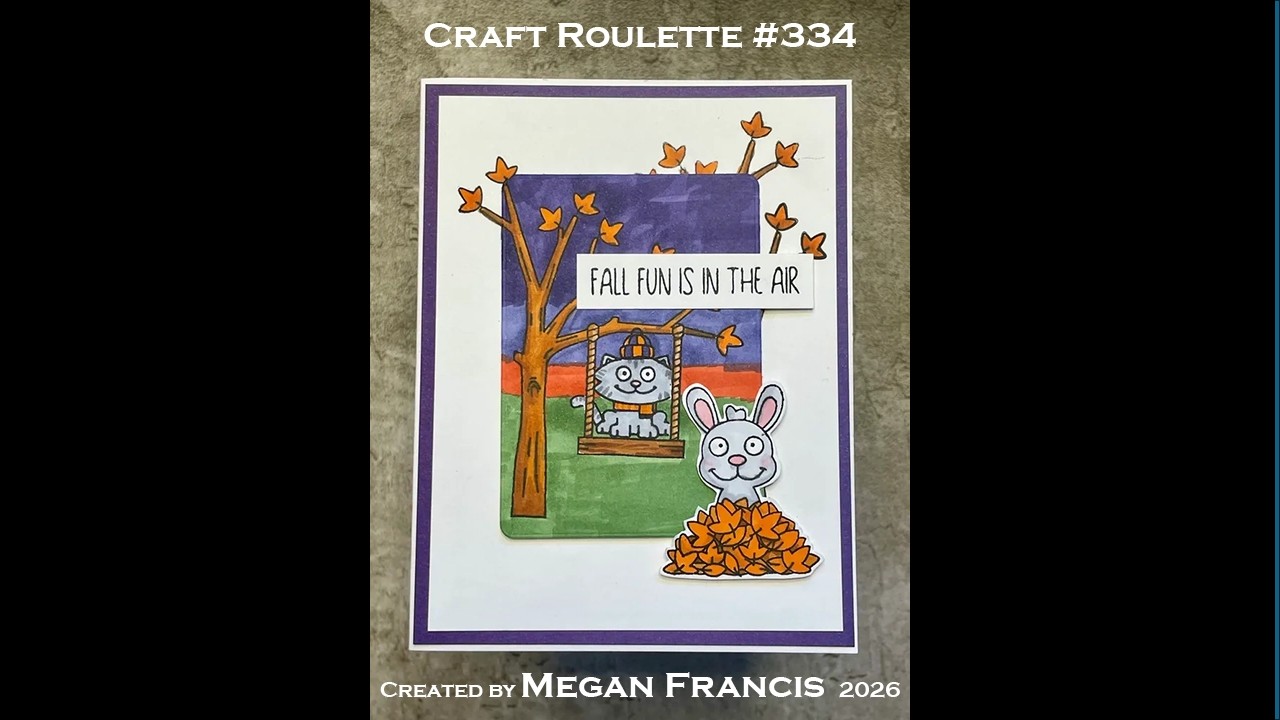
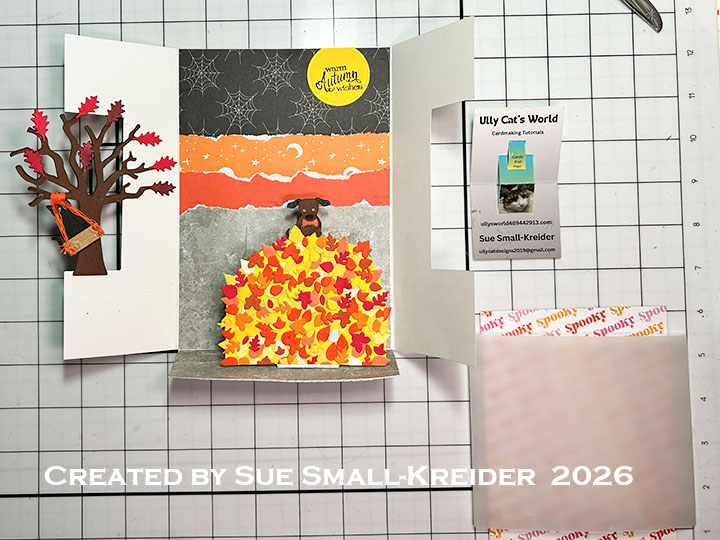
Above is my pop-up card in the left two photos and Megan Francis’s card that I CAS’ed on the right. Can you see what elements from her card that I sampled?
___________________________________
Thank you for experiencing this blog post.
I hope this inspires you and makes you smile.
Please subscribe, like and leave comments 😊
Follow my YouTube channel, Instagram and Pinterest as well.
___________________________________
Materials Used:
Dies
- Karen Burniston in cahoots with Riley and Company – Doghouse Tiny House Add-Ons – 1221
- Karen Burniston in cahoots with Riley and Company – Skeleton and Bat – 1206
- Karen Burniston in cahoots with Riley and Company – Parcel Pop-Up – 1116
- Karen Burniston in cahoots with Riley and Company – Circles Crosshatch – 1057
- Karen Burniston in cahoots with Riley and Company – Tree Pop-Up – 1005
Stamps
- Karen Burniston in cahoots with Riley and Company – Clear Stamps – Fall Phrases
- My Favorite Things – Clear Stamps – Interactive Labels
Papers
- Scrapbook.com – 4.5×5.5-inches Double-Side Cardstock – Spooky and Willow Lane
- My Favorite Things- 8.5×11 100 lb. Cardstock – White
- The Paper Studio – 8.5×11 Clear Vellum
- Brown, Greens, Kraft, Orange, Red and Yellow Cardstock
Ink
- Memento – Fade Resistant Dye Ink – Tuxedo Black
- OLO Marker – Dragon Fruit
- Pigma – Mircon 05 Fine Tip Pen – Black
- Sakura – Gelly Roll Pen – Medium – White
- Sharpie – Permanent Marker – Fine Tip – Black
Adhesives
Tools
- Craft Knife
- Cutting Mat
- My Sweet Petunia – Misti Stamping Tool
- Paper Trimmer
- Pear Blossom Press – Cardmaker’s T-square A2
- Pencil
- Metal Ruler
- Microfiber Cloth
- Scrapbook.com – Magic Mat
- Scissors
- Scrapbook.com – Mint Tape
- Spellbinders – Platinum Die Cutting Machine – 8.5″ Platform
- Spellbinders – Mighty Mister Spray Bottle
- Stamping Blocks as paper weights
- T-Square Ruler
- Tombow – Mono – Sand Eraser -512A
- Tweezers
- We R Memories – QuickStick
Miscellaneous
- Bakers’ Twine – White & Orange
- Tiny Leaf Die-Cuts from a variety of dies in my stash


