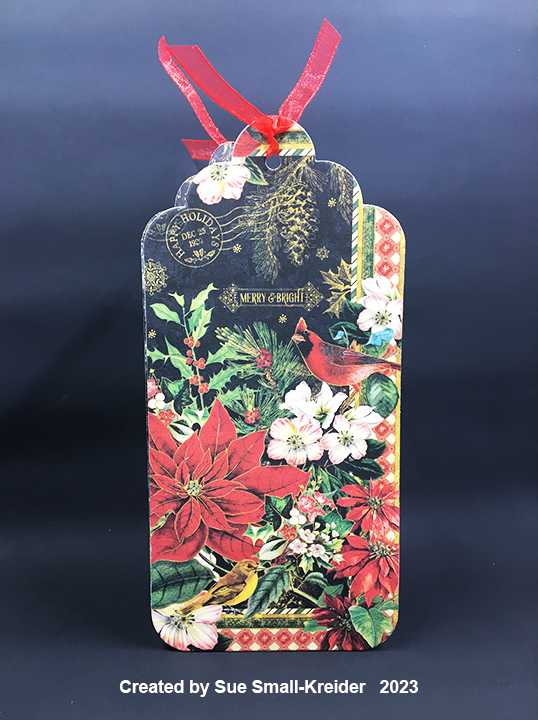
Beautiful holiday papers inspired this gift card holder/Christmas card.
It uses two of the new die sets in Karen Burniston’s December 2023 release – Mini Gift Bag and Topper Tags.
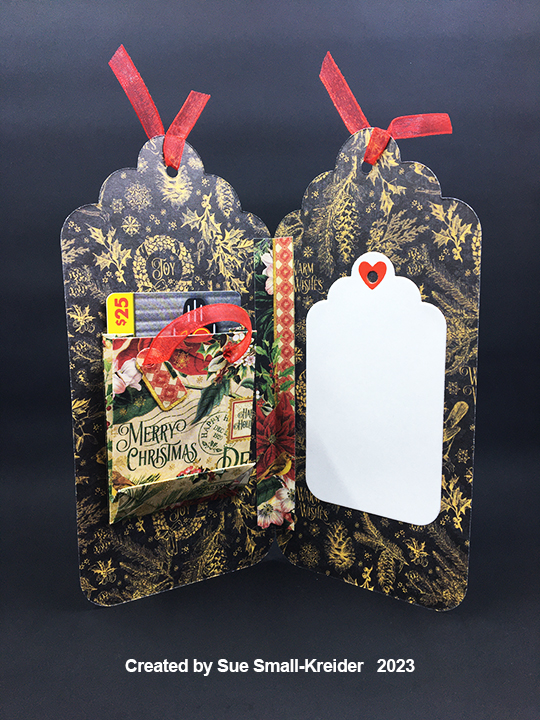
Cardbase: Cut two tags using the largest die in the topper tags set from decorative paper. From the same double-sided paper cut a strip 5×1/2-inch and fold lengthwise in half for the card hinge. Glue the hinge to the tag edges to form the inside of the card. Tie ribbon through the tag hole on each side of the card.
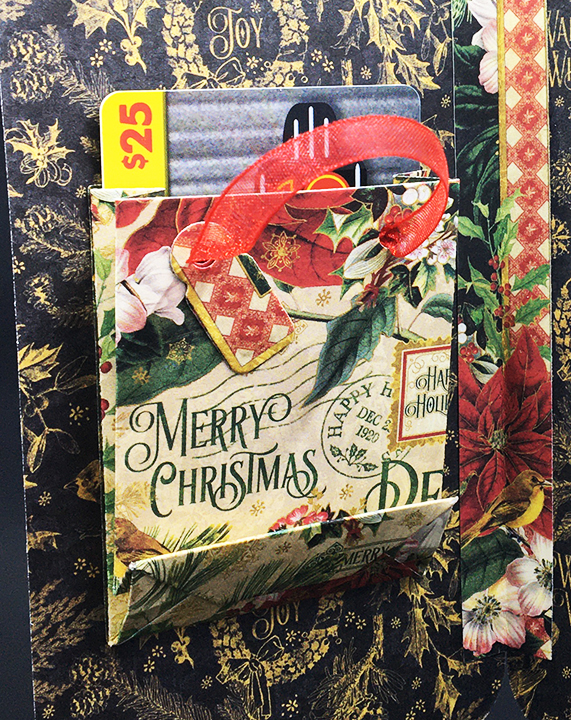
Gift Bag: Plan out what images you want to see on the mini gift bag when it is attached. Center the larger of the two bag dies using the square opening over your desired image making sure the top flat die edge with holes is at the top of your image. (I have a few upside-down paper bags in my stash.) Assemble bag as shown on the packaging. Glue the flat side of the bag to the inside of the card. Add the ribbon handle by threading ribbon through the holes and knotting it inside the bag.
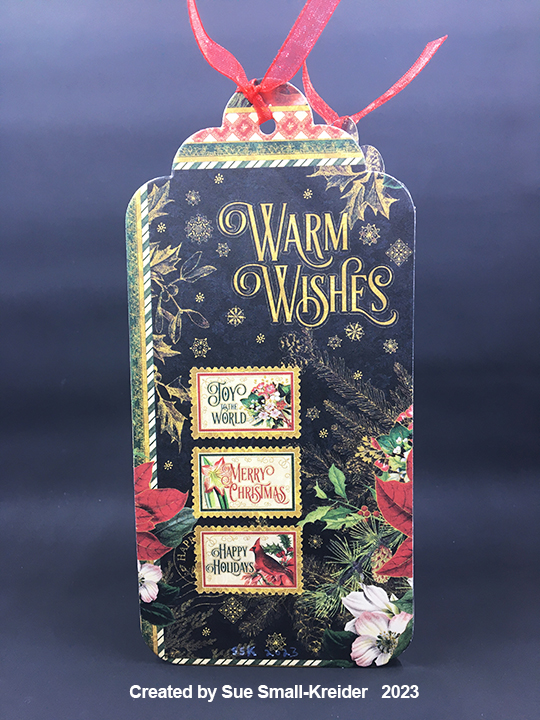
Sentiments: The main sentiments of “Merry & Bright,” “Merry Christmas,” and “Warm Wishes” are all on the decorative cardstock. The white tag label inside for a personal message is cut from smallest tag in the tag set and uses the heart hole protector also in the set.

Envelope: The tag card easily fits into a #10 business envelope.

Thank you for reading this blog post. I hope this inspires you and makes you smile. Please like and leave comments 😊
Materials Used:
Dies
- Karen Burniston in cahoots with Riley and Company – Mini Gift Bag – 1255
- Karen Burniston in cahoots with Riley and Company – Topper Tags – 1253
Papers
- Graphic 45 – 8×8 Double-Sided Paper Pad – Warm Winter Wishes
- White and Red Cardstock
- #10 Business Envelope – Kraft
Adhesives
Tools
- Die Cutting Machine
- We R Memories – QuickStick
- Scissors
Miscellaneous
- Red Organza Ribbon – 1/4-inch wide
