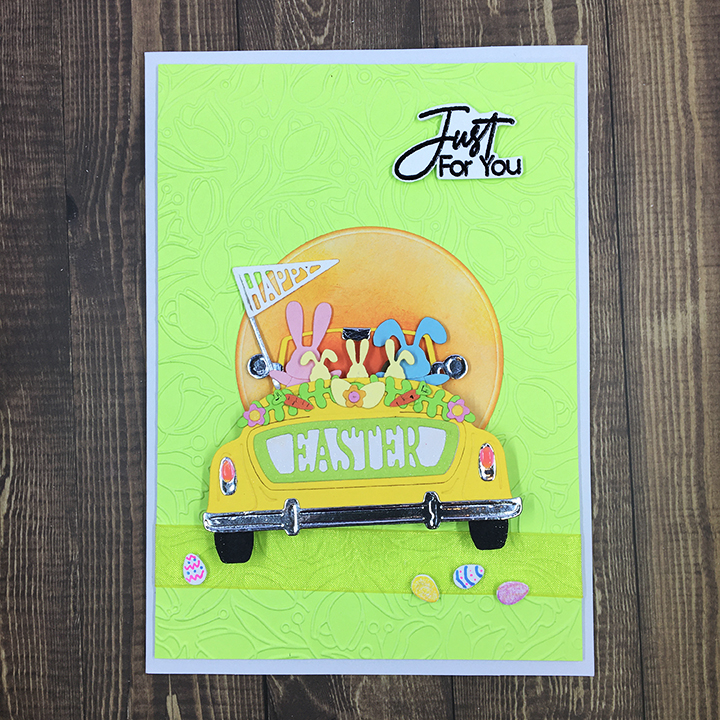
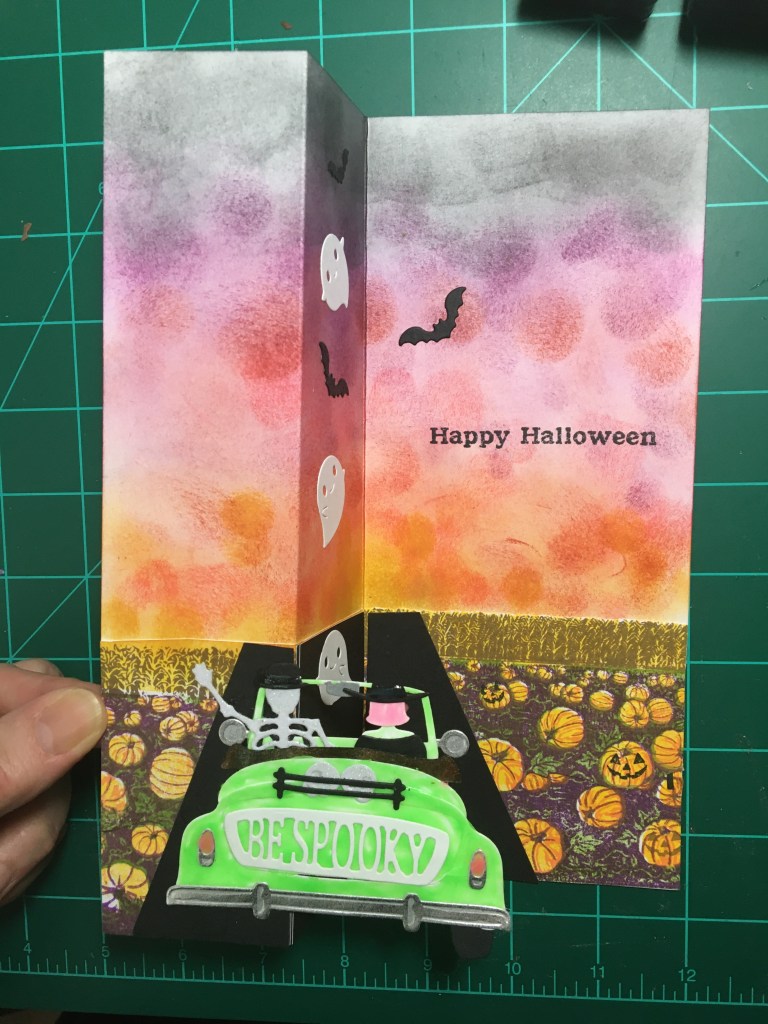
This card was made for Craft Roulette #218 whose parameters included for a holiday project, tropical colors, wheel(s) element and geometric shape(s).
Envelope: This card fits into an A7envelope.

See other Cards made with the Spellbinder’s Sunday Drive die sets:
- Santa Bauble
- A Snowy Sunday Drive with Santa
- Sunday Drive Celebration
- The Best is Yet to Come
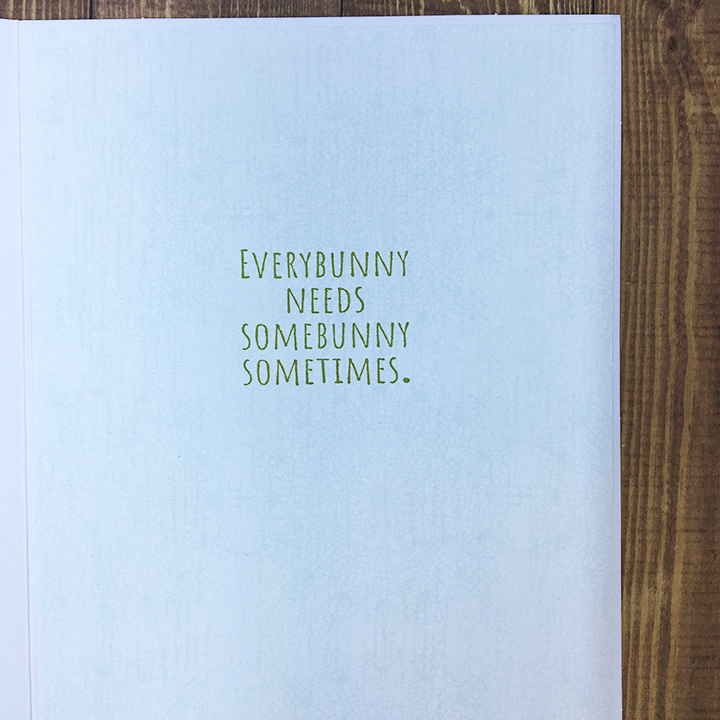
- Hoppy Spring!
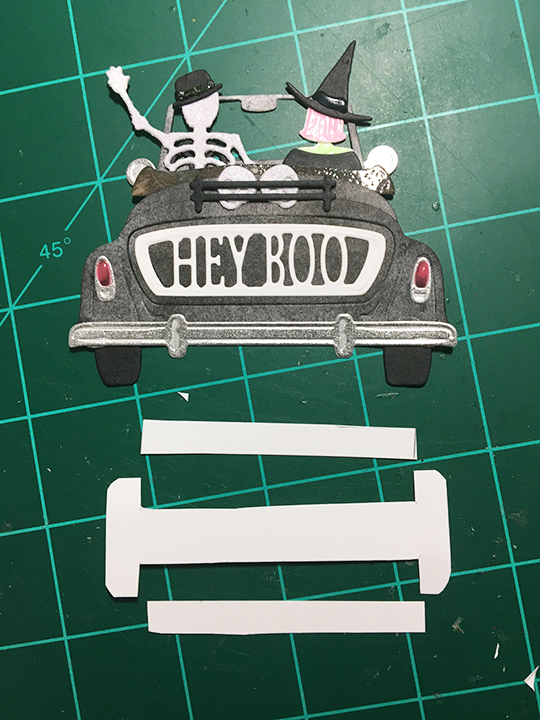
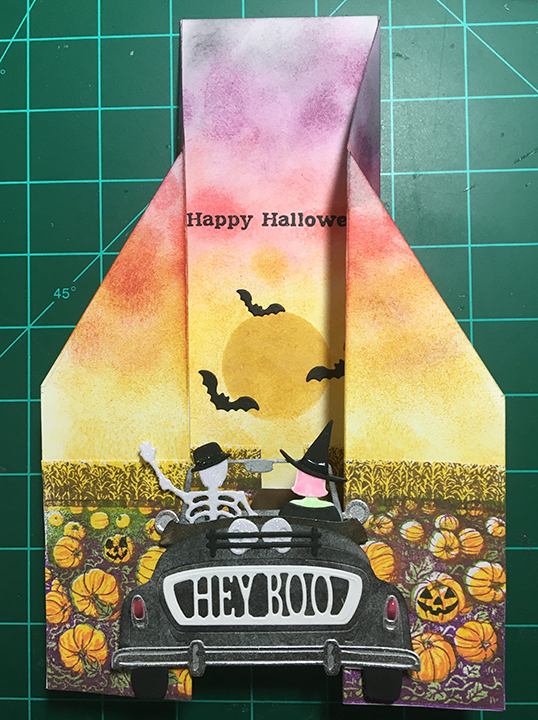
- Being Spooky
- Driving into a Spooky Sunset
___________________________________
Thank you for experiencing this blog post.
I hope this inspires you and makes you smile.
Please subscribe, like and leave comments 😊
Follow my YouTube channel, Instagram and Pinterest as well.
___________________________________
Materials Used:
Dies
- Karen Burniston in cahoots with Riley and Company – Pattern Plate – Fronds – 1142
- Spellbinders – Cutting Dies – Fluted Classic Circles – S4-1150
- Spellbinders – Cutting Dies – Sunday Drive – S4-1053
- Spellbinders – Cutting Dies – Sunday Drive with Santa – S3-401
- Spellbinders – Cutting Dies – Sunday Sunset Drive – S4-1150
Stamps
- Rubbernecker – Clear Stamps – Winter Wonderland – 3338
- Craft Roulette – Clear Stamps – The Basics
Papers
- Spellbinders – 8.5×11 inch Color Essentials 100 lb Cardstock – Peridot
- Silver Foil Cardstock
- Coated Colored Packaging
- Colored Cardstock Scraps
- A7 Envelope – Ivory
Ink
- Ranger – Tim Holtz – Distress Ink- Mowed Lawn
- Simon Says Stamp – Pawsitivity Saturated Ink – Doll Pink
- StazOn – Solvent Ink – Jet Black
- Creative Craft Products – Alcohol Markers – 183 Phthalo blue
- Pigma – Mircon 01 Fine Tip Pen – Black
- Sharpie – Permanent Marker – Chisel Tip – Black
Adhesives
Tools
- Die Cutting Machine
- Bone Folder
- Stamping Blocks
- Scissors
- We R Memories – QuickStick
- Craft Mat
- Sponge Dauber