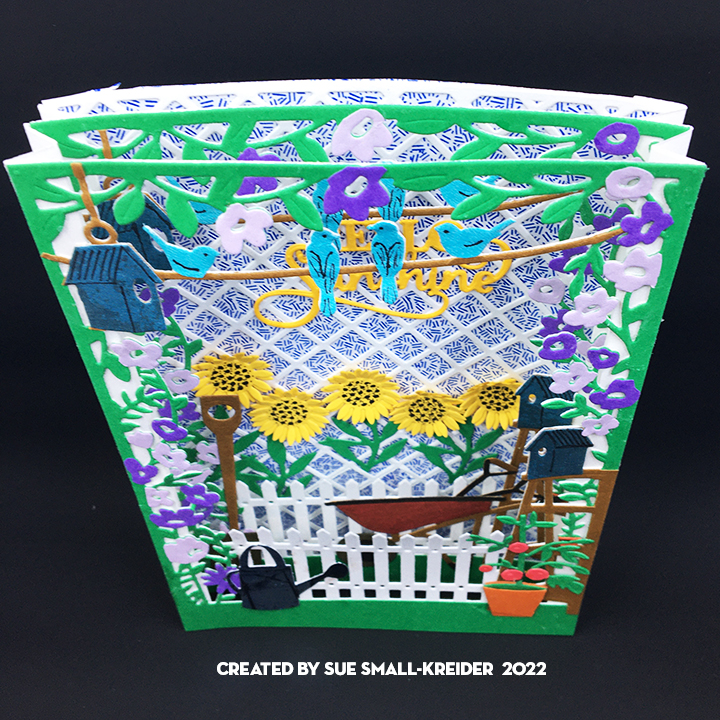
Spring greenery and the mention of fairies, sprits, leprechauns and other wee creatures of mischief and fortune is what this card is about. It uses papers from the Graphic 45’s Little Things collection and dies by Karen Burniston including the new Rectangles and Labels Crosshatch set for creating backgrounds.
The card uses a pre-made 5×7-inch cardbase that decorative papers have been adhered. For the card front a card topper and two layers of decorative papers were used.

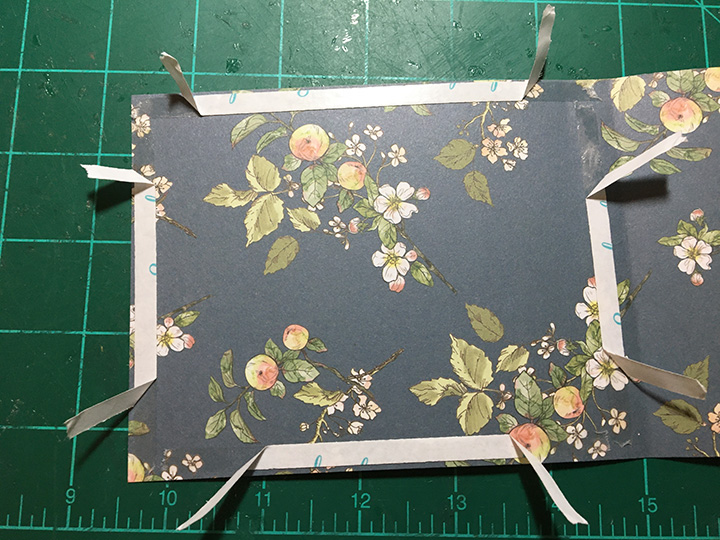
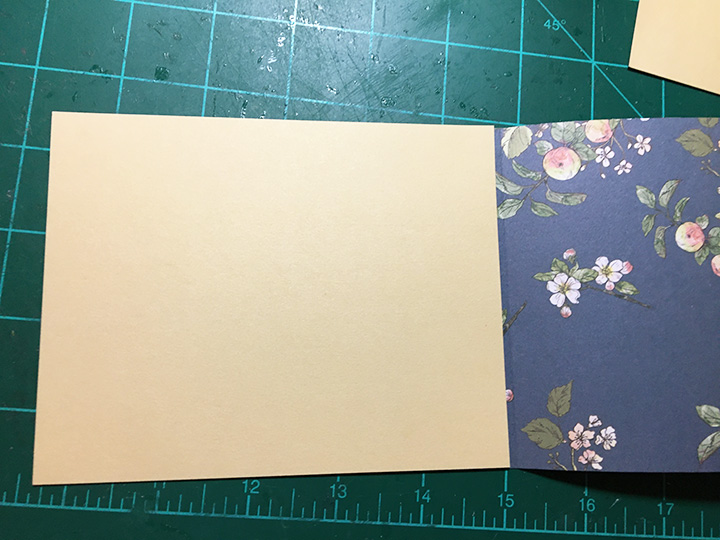
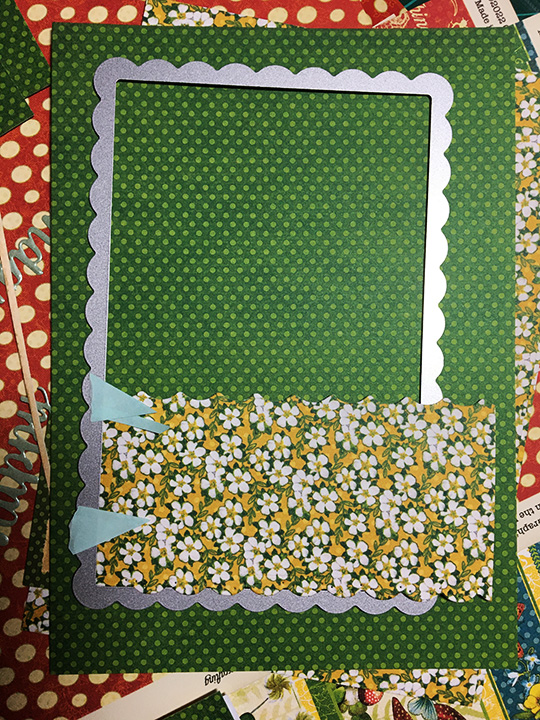
On the inside of the card, I covered the cardbase with a green dotted paper (5×7-inch) and then cut the floral papers (6×4.5-inches). I wanted a scalloped edge on the floral paper, but the scalloped rectangle in the die set is slightly smaller than 6×4-inches, so I had to cut the edges in a modified way. I placed one edge under the die and the other over the top of the die to cut. Unfortunately, I messed-up and cut two edges, which meant I had to piece the paper when I adhered it. The edge of the floral paper that abuts the center fold is not scalloped.


Before cutting or assembling the mushroom house, I watched the assembly video for both the Tiny House and Mushroom Roof. I decorated the white house piece first before assembling the house using windows and door from the mushroom set. I had a thin strip of the green dotted paper that I placed as grass edging the bottom of the house. The paper collection has a red dotted mushroom paper that was perfect for the roof.

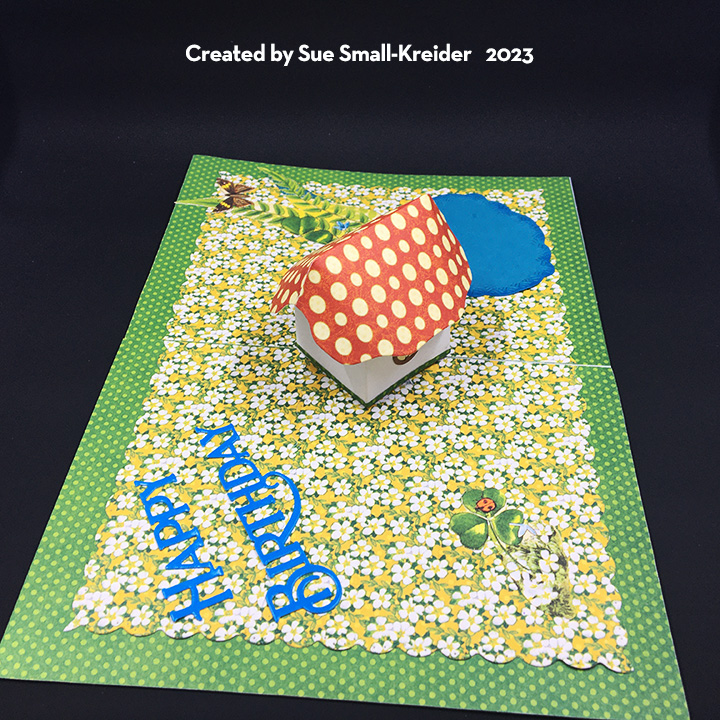
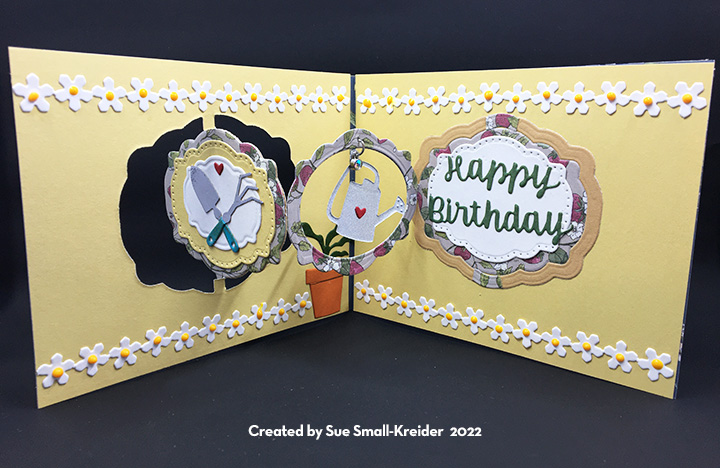
I wanted the “Happy Birthday” to match as close as possible to the lettering font used on the card front, so I used a PoppyStamp word die, cut twice from blue cardstock scraps and glued together before adhering to the card.
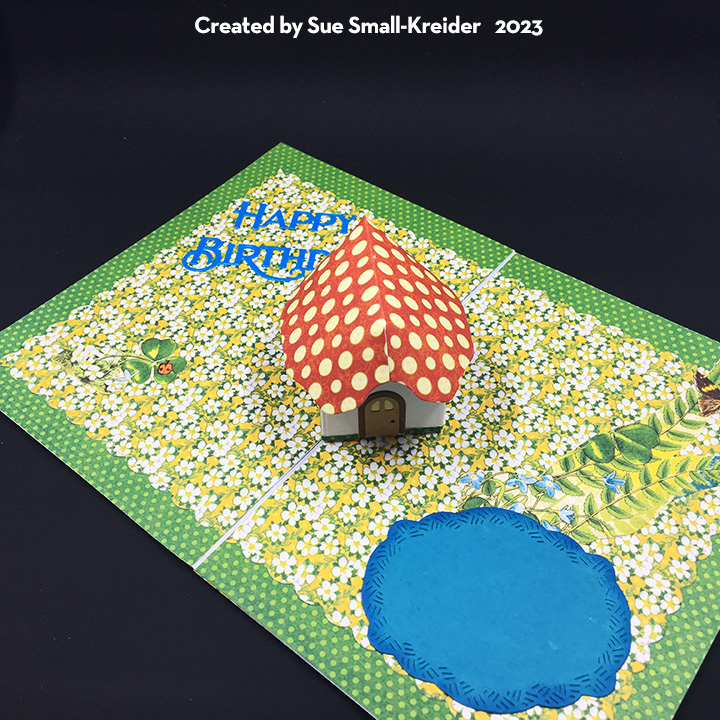
For the pond label, I cut the crosshatch label from the new Rectangle and Labels die set and inked the edges with a dark blue ink. The clover leaf and ferns were fussy cut from the decorative papers.

One of the coordinating papers was used on the card back while a large sentiment was cut from the paper set for the back of the envelope flap.

Thank you for reading this blog post. I hope it gave you inspiration and a smile. Please like and leave comments 😊
Materials Used:
Dies
- Karen Burniston in cahoots with Riley and Company – Rectangles and Labels Crosshatch – 1233
- Karen Burniston in cahoots with Riley and Company – Mushroom Tiny House Add-ons – 1158
- Karen Burniston in cahoots with Riley and Company – Tiny House Pop-Up – 1157
Papers
- Graphic 45 – 12×12 Double-Sided Papers – Little Things Collection
- Blue, Brown and Yellow Cardstock Scraps
- Park Lane – A7 White Card and Envelope
Ink
- Ranger – Tim Holtz Distress Ink – Prize Ribbon
Miscellaneous
- Neutral PH Adhesive by LINECO
- Fine-Tip Glue Bottle
- Pokey Tool
- Die Cutting Machine
- Scissors
- Sponge Dauber
- Paper Tape
- Scrapbook.com- Double-Sided Tape – 1/4-inch wide