It’s Day 7 of my 12 Days of Christmas Ovens.
I’m using Paper Discovery’s Cosy Kitchen dies and stamp sets for today’s Christmas oven card. Olga Direktorenko is the designer behind Paper Discovery, a Craftstash/Practical Publishing brand.
Watch video above for a tutorial on how to make the card.

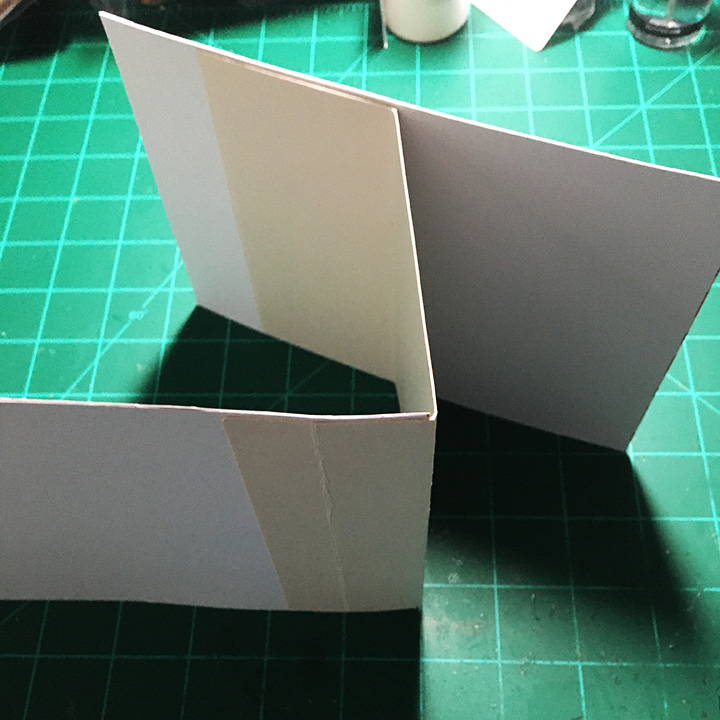
Cardbase: I started with a 5 3/4 x 10 1/2-inch rectangle of white cardstock that was scored and folded at 2 5/8-inches, 3 5/8-inches, 6 7/8-inches and 7 7/8-inches.

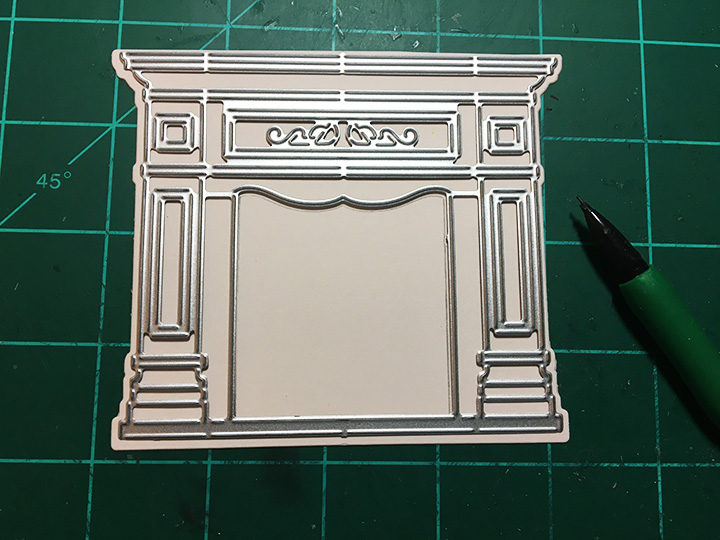
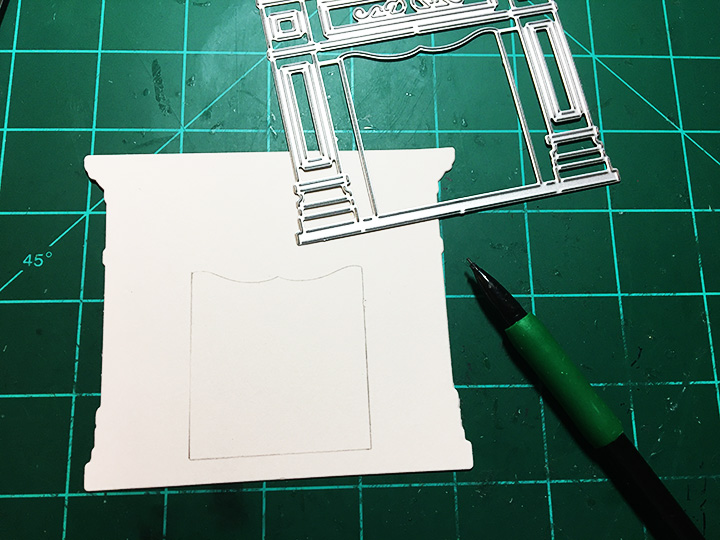
Oven: I cut the oven and hutch out in two pieces so I could cut the hutch down a 1/4-inchto allow the card to fit in a 6×9-inch envelope. (See an earlier blog on how I first made this oven bridge card.)

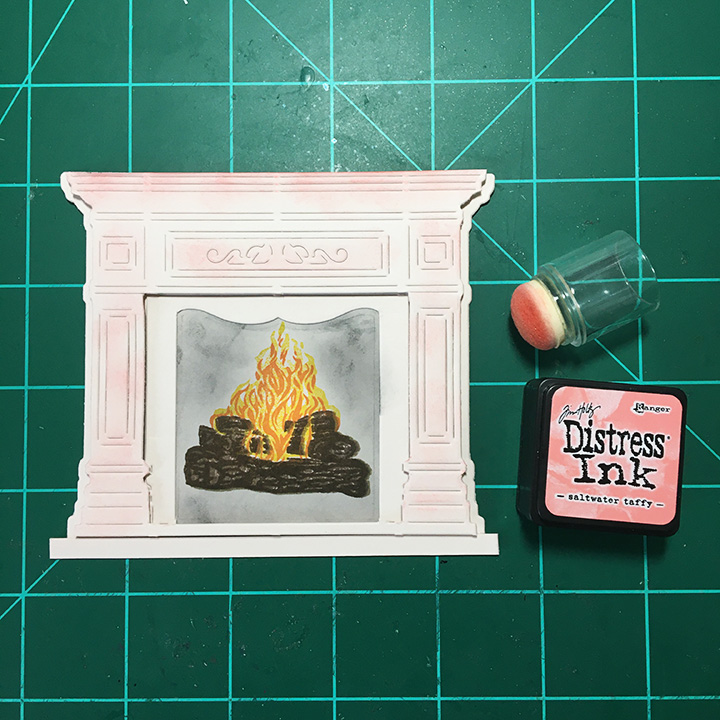
Decorations: The copper kettle and utensils are stamped on orange foil cardstock with StazOn ink using the Paper Discovery Cooking Up A Storm set and fussy cut. The trolley tables are made with a die from Paper Discovery Cosy Kitchen -Baking Fun die set. The gingerbread house, Christmas pudding and bowls are from the Lawn Fawn A Creature Was Stirring stamp set. The wallpapers, borders and picture stamps are from Graphic 45’s T’was The Night Before Christmas paper collection.
Sentiments: I used sentiment stamps from three sets. On the back of the card – “This kitchen is seasoned with love” and “Eat, Drink & be merry” are from Paper Discovery’s Simply Food set. Heat embossed in white behind the oven doors are “Merry Christmas” and “Baked with Love” from the Greetery’s Bake Someone Happy set. Also behind an oven door is “Warm Wishes” from the My Hero Monthly kitchen kit. The “NOEL” banner is a shape die set by Scrapbook.com.
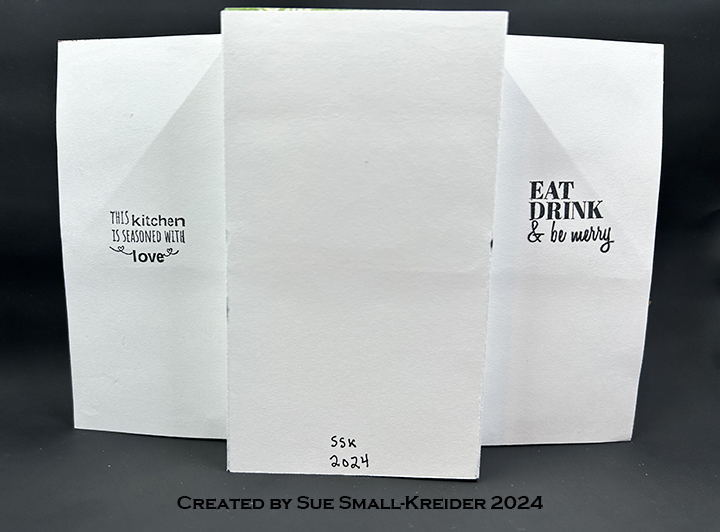
Envelope: The card fits into a 6×9 catalog envelope. The back flap are stamped with an Hero Arts sentiment and images from Lawn Fawn.

___________________________________
Thank you for experiencing this blog post.
I hope this inspires you and makes you smile.
Please like and leave comments 😊
___________________________________
Disclaimer: Karen Burniston products are provided free of charge by the manufacturer for review and use. All other items were personally purchased. Compensated affiliate links used where or when possible, meaning I will receive a small percentage commission from these manufacturers at no cost to you. This will allow me to add more content to my YouTube channel and help out a lot. Thank you.
Materials Used:
Dies
- Paper Discovery – Dies – Cosy Kitchen – 2D Perfect Kitchen
- Paper Discovery – Dies – Cosy Kitchen – Baking Fun
- Scrapbook.com – Shape Dies – Holiday Banners
Stamps
- Hero Arts – My Monthly Hero Kit – May 2022 – Clear Sentiment Stamps
- Lawn Fawn – Clear Stamps – A Creature Was Stirring
- Paper Discovery – Clear Stamps – Cosy Kitchen – Cooking Up A Storm
- Paper Discovery – Clear Stamps – Cosy Kitchen – Simply Food
- The Greetery – Clear Stamps – Bake Someone Happy
Papers
- Graphic 45 – 8×8 Double-Sided Cardstock – ‘Twas The Night Before Christmas
- Orange Foil Cardstock
- White Brown Black Cardstock
- 6×9-inch Catalog Envelope
Ink & Embossing Powder
- VersaMark – Watermark Stamp Pad
- Recollections – Detail Embossing Powder – Snow
- Stampin’ Up – Classic Ink Pad – Cherry Cobbler
- StazOn – Solvent Ink – Jet Black
- Creative Craft Products – Alcohol Markers – Dual Tipped – 15 Geranium, 95 Burnt Sienna, & Pale Cherry Pink
- Pigma – Mircon 01 Fine Tip Pen – Black
- Sharpie – Permanent Marker – Chisel Tip – Black
- Sharpie – Permanent Marker – Fine Tip – Black
Adhesives
- Neutral PH Adhesive by LINECO
- Fine-Tip Glue Bottle
- Clear Packing Tape
Tools
- Die Cutting Machine
- Scoring Board
- Bone Folder
- Stamping Platform
- Brutus Monroe – Stick & Stamp Mat
- LDRS – Stampendable Stamping Tool
- Kat Scrappiness – Anti-Static Tool
- Heat Tool
- Stamping Blocks used as paperweights
- Scissors
- Pencil
- We R Memories – QuickStick
- Tweezers
- T-Ruler
- Glue Eraser
- Tombow – Mono – Sand Eraser -512A
- Paper Masking Tape
- Hole Punch – 3/16-inch