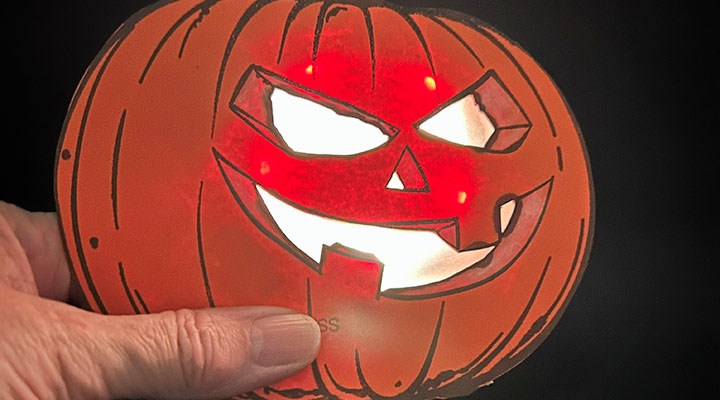
Lighted Jack O’Lantern Halloween Card

I made this stamped pumpkin shaped jack o’lantern card that lights up for someone special using Colorado Craft Company’s Big & Bold Scary Pumpkin stamp set and Pear Blossom Press Halo Light.
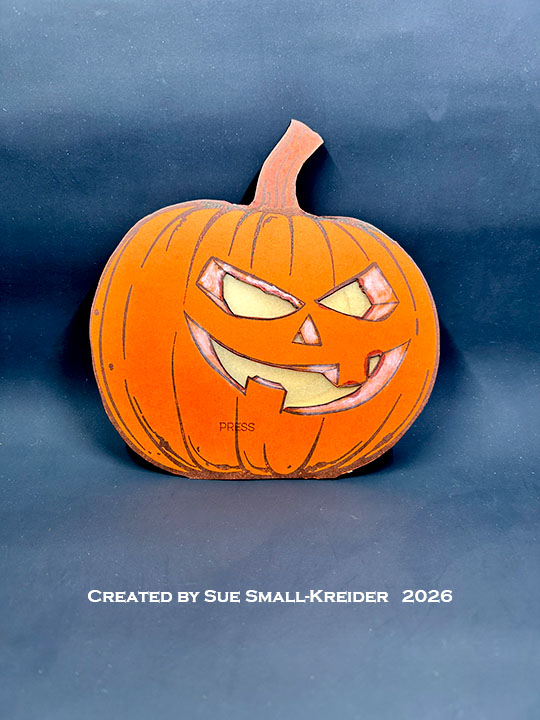
Card Front

Cardbase: I used a purchased 5×7 cardbase that I fussy cut to the shape of the pumpkin. The inside sentiments an the card back pumpkin were stamped before the pumpkin image ( Trinity Stamps Pick of The Patch) with lights was adhered to the cardbase.
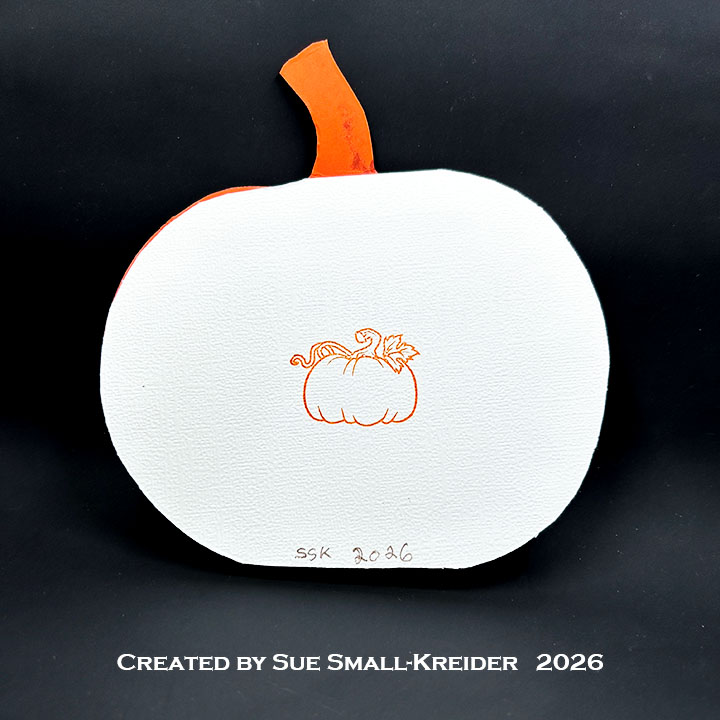
Card Back

Jack O’Lanterns: The pumpkin image was stamped using the Colorado Craft Company – Big & Bold Clear Stamps – Scary Pumpkin with dark brown ink on to orange cardstock. Using a light green marker, the stem was colored. Then the pumpkin was fussy cut out with a craft knife used to cute the eyes, nose and mouth out after the edges were colored with a chalky white marker. Golden printed parchment/vellum was attached with double-sided tape behind the facial features. A Pear Blossom Press Halo Light was adhered to the back of the jack o’lantern with double-sided tape. 2mm tick foam tape was used to adhere the pumpkin to the cardbase.
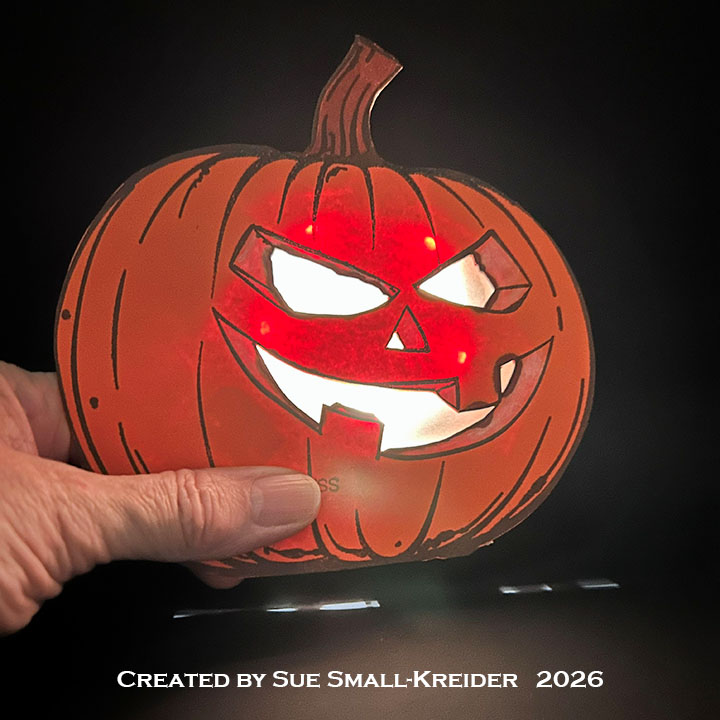
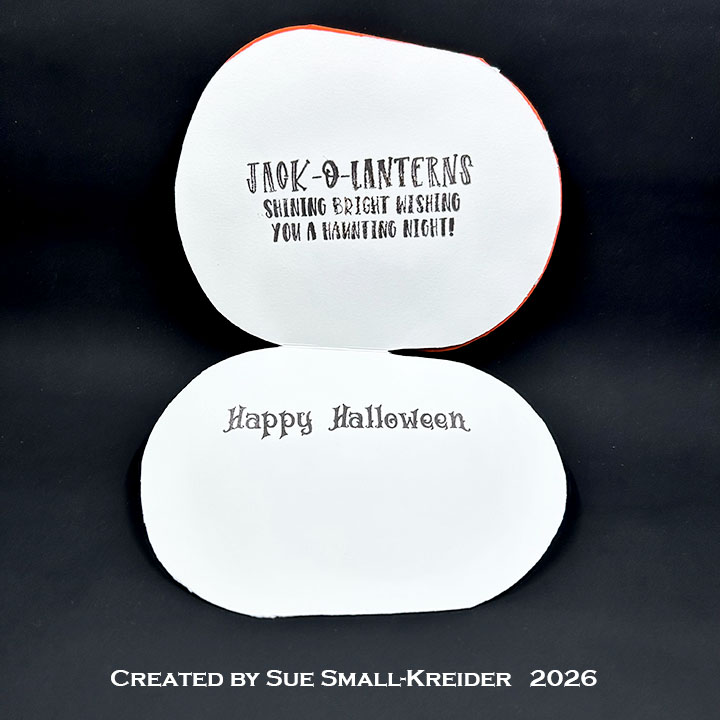
Sentiment: The inside sentiments of come from the Colorado Craft Company – Big & Bold Clear Stamps – Scary Pumpkin stamp set.
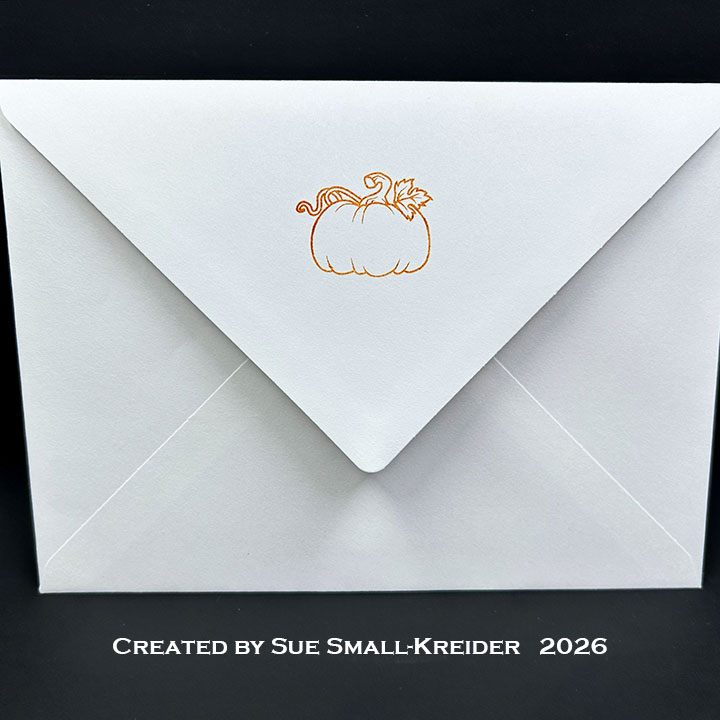
Envelope: The card fits into an A7 (5x 7-inches) size envelope stamped with a pumpkin on the back flap in orange ink.
___________________________________

Thank you for experiencing this blog post.

I hope this inspires you and makes you smile.

Please subscribe to the email notices, like and leave comments 😊

Follow my YouTube channel, Instagram and Pinterest as well.

___________________________________

Disclaimer: Karen Burniston products are provided free of charge by the manufacturer for review and use. All other items were personally purchased. Compensated affiliate links used where or when possible, meaning I will receive a small percentage commission from these manufacturers at no cost to you. This will allow me to add more content to my YouTube channel and help out a lot. Thank you.

Materials Used:

Stamps

Papers

  • Hunkydory – Printed Parchment – Forever Florals – Autumn Days
  • Orange Cardstock
  • Spellbinders Merry Moments Holiday Kit – A7 Cardbase and Envelope – White

Ink

  • Memento – Fade Resistant Dye Ink – Espresso Truffle
  • OLO Marker – Muscat Grape
  • Pigma – Mircon 01 Fine Tip Pen – Black
  • Stampin’ Up – Classic Ink Pad – Pumpkin Pie
  • White Chalky Marker

Adhesives

Tools

Miscellaneous

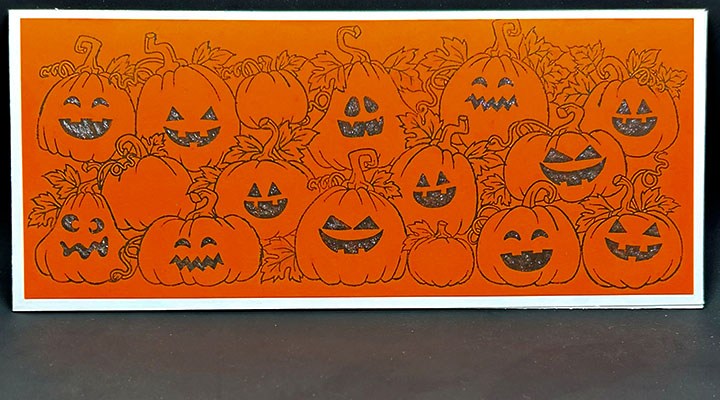
Slimline Jack O’Lanterns Halloween Card

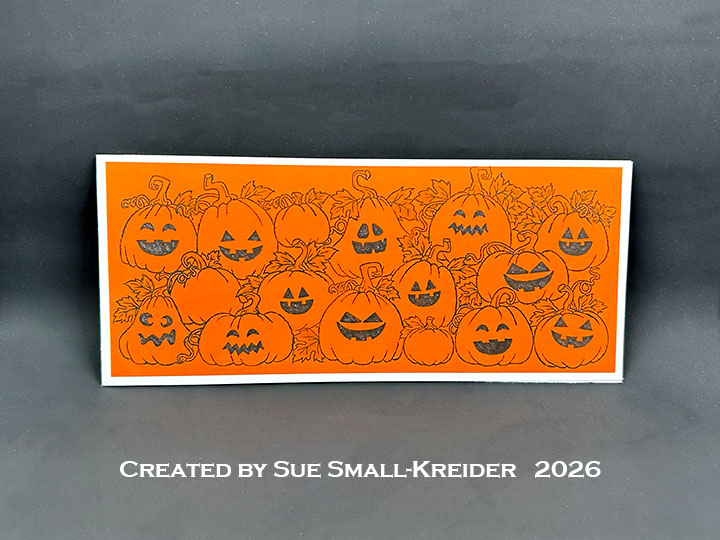
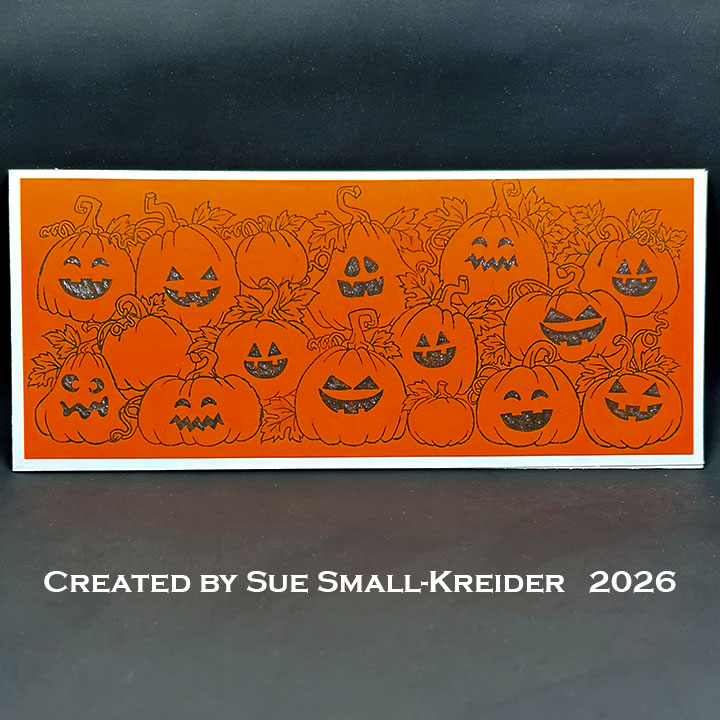
In tidying up my stash, I came across this Trinity Stamps Pick of The Patch slimline stamp set and a side-fold 3.75×8.75-inch cardbase, orange cardstock scrap, black ink, green marker and a glitter gloss brush. With these items I made a quick and sweet Halloween card.

Card Front

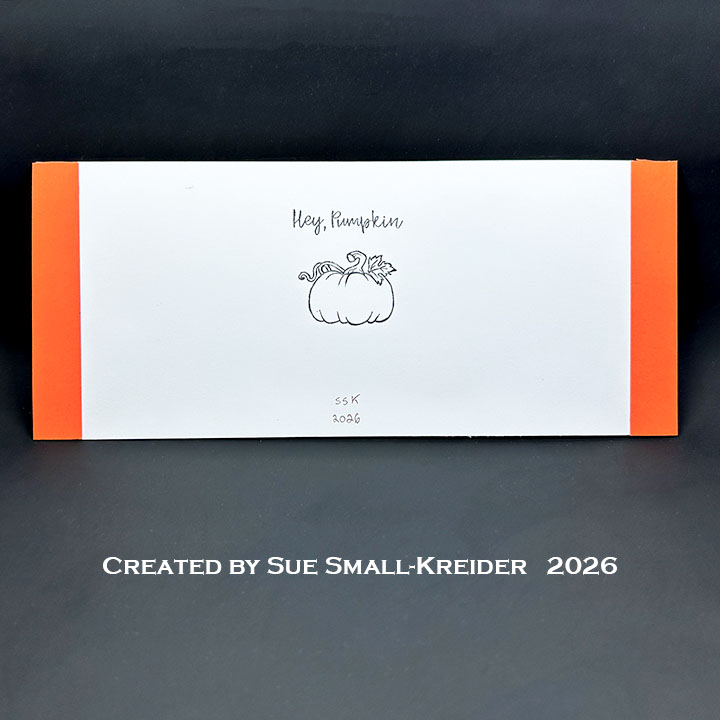
Cardbase: I used a 3.75×9-inch piece of white 100lb cardstock, scored and fold to create a .25-inch tab at one end. This tab was glued to the back of a 3.75×8.75 rectangle of the same white cardstock.

Card Back

Jack O’Lanterns: The front image was stamped using the Trinity Stamps Pick of The Patch slimline stamp set with black ink on to an orange panel. The panel was trimmed down to 3.5×8.375-inches before being glued to the card front. The vines, stems and leaves were colored with a light green marker and the eyes, noses and mouths were brushed with a glitter gloss.

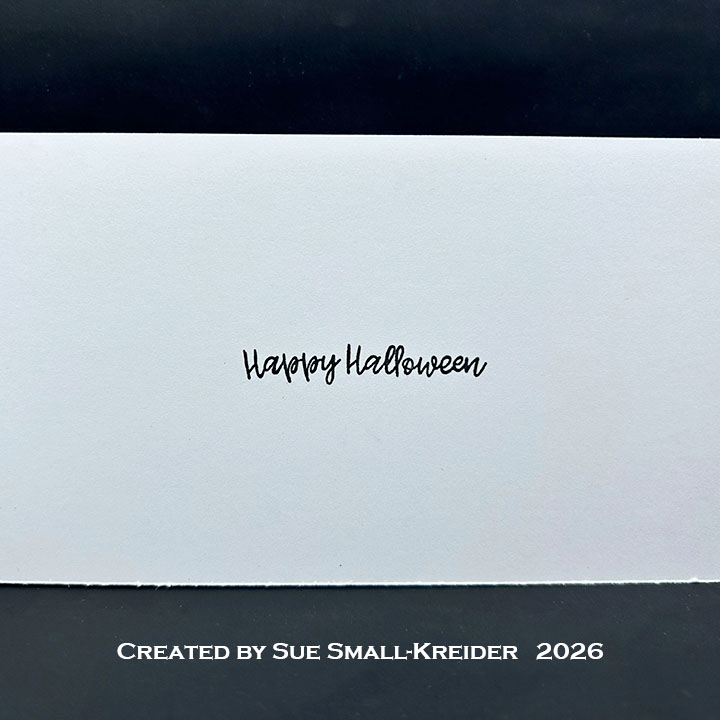
Sentiment: The inside and card back sentiments of “Happy Halloween” and “Hey, Pumpkin” come from the Trinity Stamps Pick of The Patch stamp set as does the small pumpkin on the back.

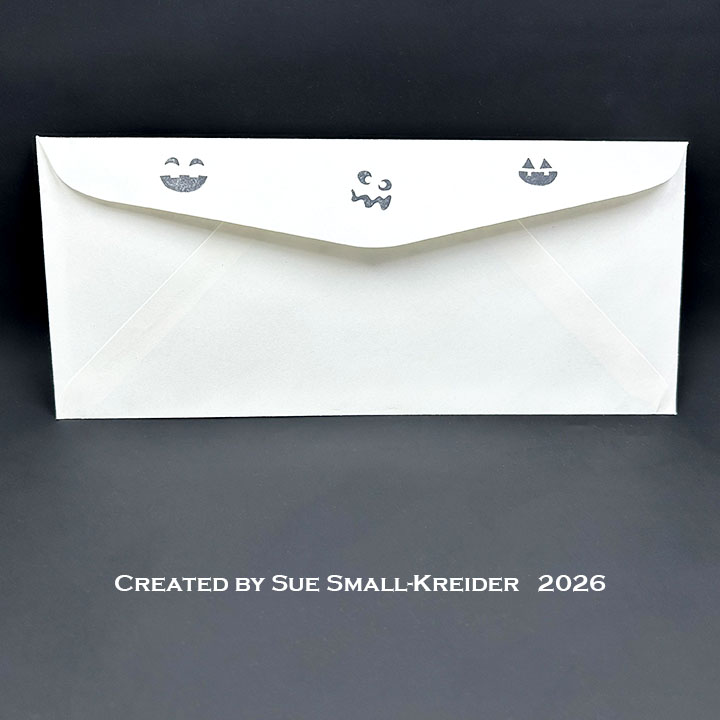
Envelope: The card fits into a #10 business size envelope stamped with jack o’lantern faces on the back flap.

___________________________________

Thank you for experiencing this blog post.

I hope this inspires you and makes you smile.

Please subscribe to the email notices, like and leave comments 😊

Follow my YouTube channel, Instagram and Pinterest as well.

___________________________________

Disclaimer: Karen Burniston products are provided free of charge by the manufacturer for review and use. All other items were personally purchased. Compensated affiliate links used where or when possible, meaning I will receive a small percentage commission from these manufacturers at no cost to you. This will allow me to add more content to my YouTube channel and help out a lot. Thank you.

Materials Used:

Stamps

  • Trinity Stamps – Clear Stamps – Pick of The Patch


Papers

  • Orange, White and Yellow Cardstock
  • #10 Business Envelope


Ink

  • Memento – Fade Resistant Dye Ink – Tuxedo Black
  • Nuvo – Aqua Shimmer – Glitter Gloss
  • OLO Marker – Muscat Grape
  • Pigma – Mircon 01 Fine Tip Pen – Black


Adhesives


Tools

Pumpkin Shaker Halloween Card

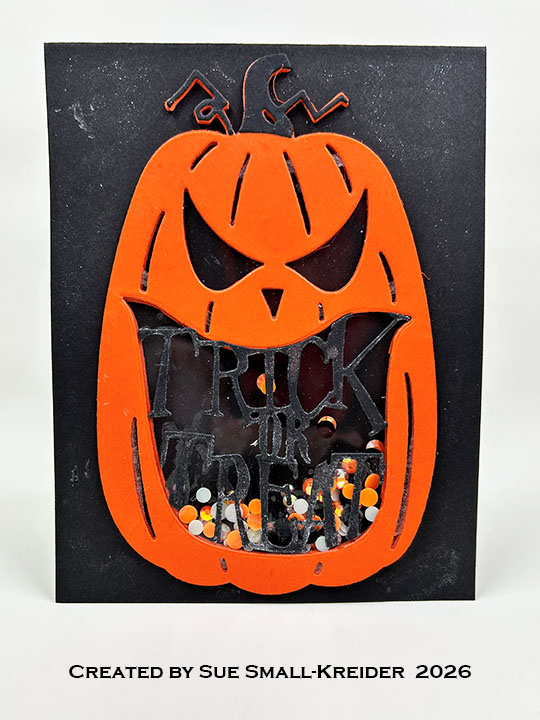
I recently purchased a Scrappy Tails Halloween die set to make a Jackolantern Shaped Card. This was my first go at making a shaker card with this die set.

Cardbase: I used an 11×4.25 rectangles of heavy black cardstock that was scored and folded to form a 4.25×5.5-inch top-fold card. Decorate the card front with glitter gloss as needed.

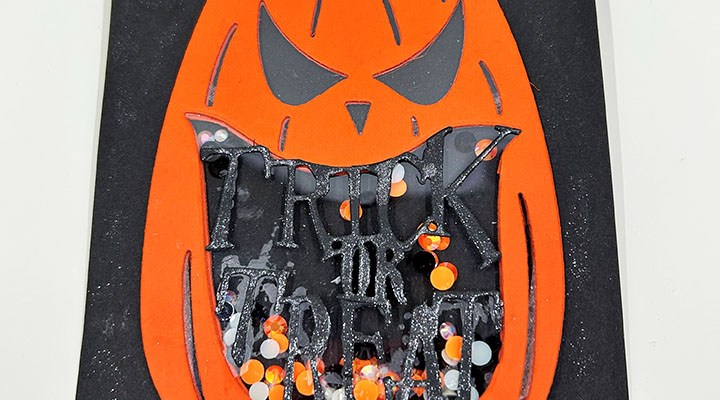
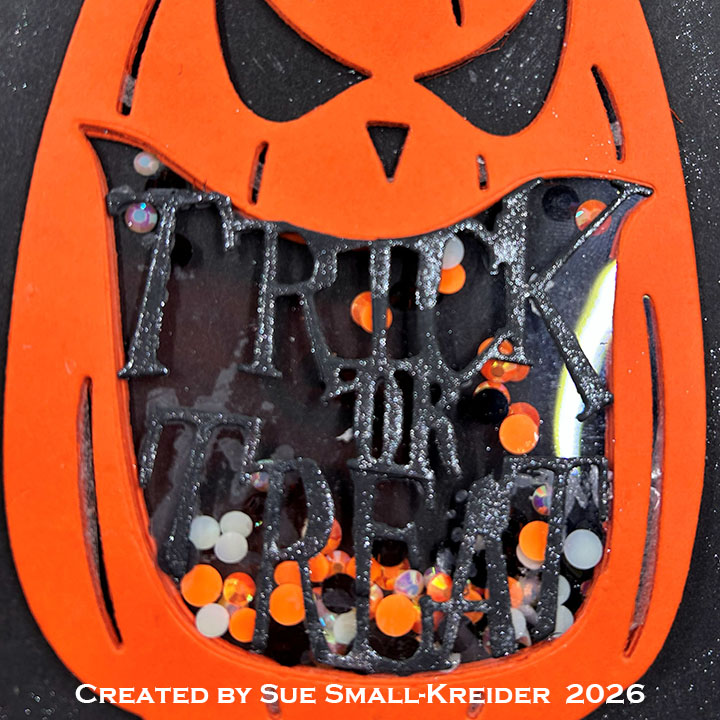
Jack O’lantern Shaker: The pumpkin was cut four times from heavy orange cardstock using the large pumpkin and mouth dies in the Scrappy Tails Jackolantern Shaped Card set. After weeding out the face and vertical ridge lines, a piece of acetate was sandwiched between the back of one pumpkin and the front of another with double-sided tape. The excess acetate was trimmed away. Next, the remaining two pumpkins were glued to the back of the other pumpkins. From black cardstock cut the stem, vines and the sentiment “Trick or Treat” using the same die set. Brush glitter gloss over the words and let dry before gluing onto the mouth opening. Position the pumpkin on card front and note where the mouth opening is. remove pumpkin and place a small quantity of shaker elements in the mouth area on the card front. Add glue to the back of the pumpkin and adhere to the card front trapping the shaker elements in the mouth section. Add a weight over the pumpkin until glue drys.

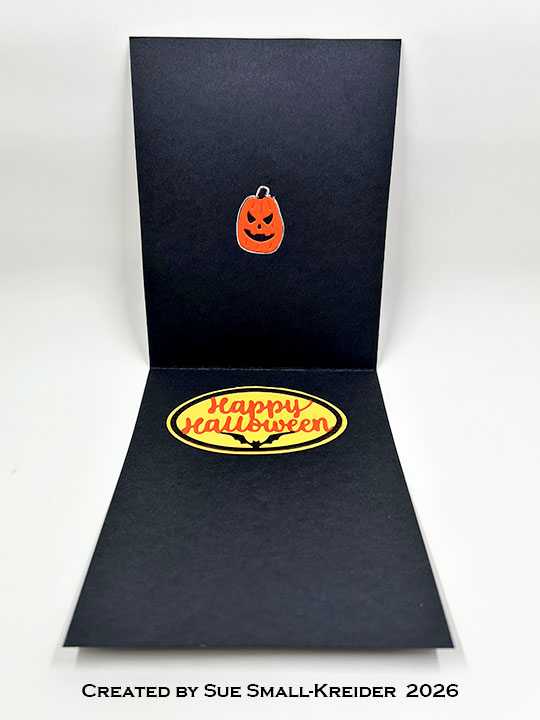
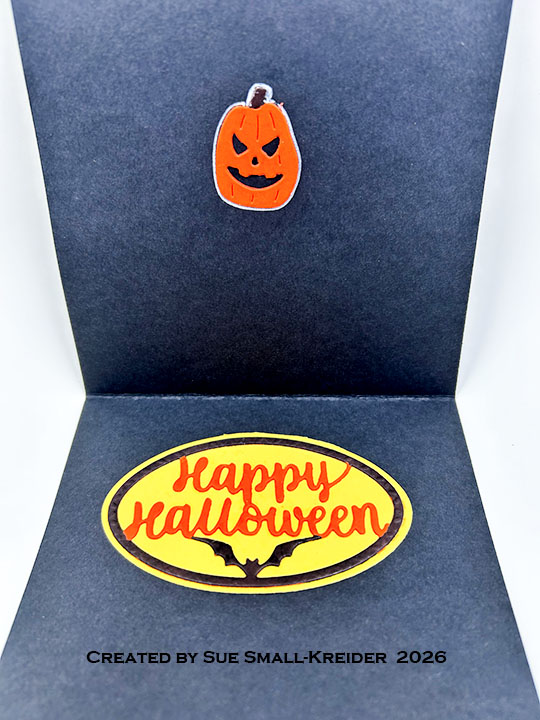
Sentiment: The inside sentiment uses my favorite Karen Burniston “Happy Halloween” from her Halloween Charms die set. (I cut a backing oval from yellow using an unknown die from my stash cut in yellow. Then I cut the charm die from orange and color the frame and bat black before gluing the pieces together.) The inside pumpkin (outlined in white gel pen) and the front “Trick or Treat” sentiment are from the Jackolantern Shaped Card die set.

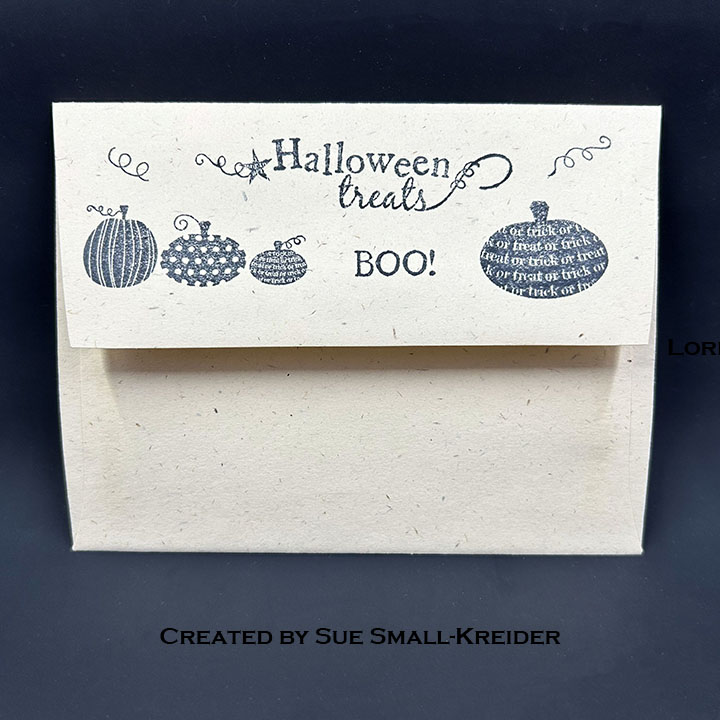
Envelope: The card fits into an A2 size envelope with the a Halloween themed sentiment stamped on the back flap using My Favorite Things Primitive Pumpkins stamp set.

___________________________________

Thank you for experiencing this blog post.

I hope this inspires you and makes you smile.

Please subscribe to the email notices, like and leave comments 😊

Follow my YouTube channel, Instagram and Pinterest as well.

___________________________________

Disclaimer: Karen Burniston products are provided free of charge by the manufacturer for review and use. All other items were personally purchased. Compensated affiliate links used where or when possible, meaning I will receive a small percentage commission from these manufacturers at no cost to you. This will allow me to add more content to my YouTube channel and help out a lot. Thank you.

Materials Used:

Dies

Stamps

  • My Favorite Things – Clear Stamps – Primitive Pumpkins


Papers

  • Grafix – 8.5Γ—11 Dura-Lar Acetate .005 – Clear Film
  • Black, Orange and Yellow Cardstock


Ink


Adhesives


Tools

Miscellaneous