Hero Arts – Nutcracker Slider Card

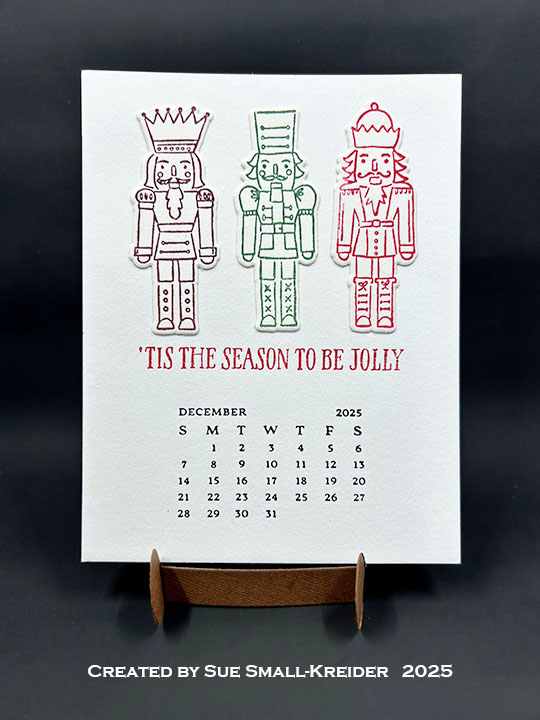
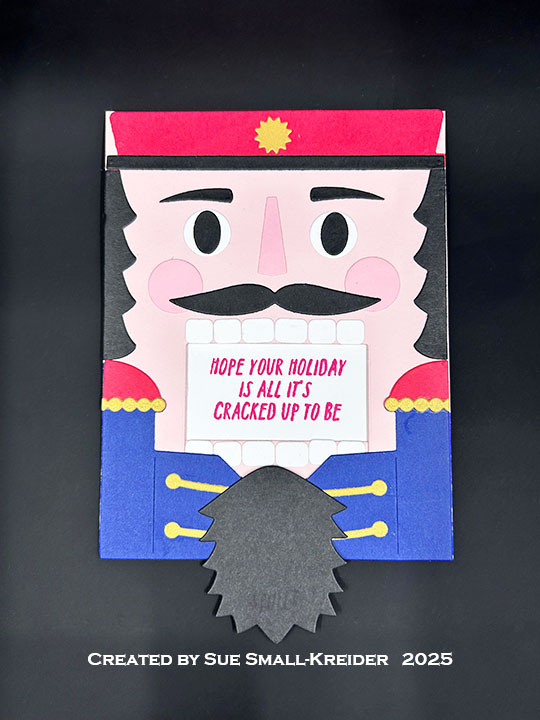
Welcome to Day 1 of my Nutcracker series using a variety of stamps and die sets to make some nutcracker themed cards. My card today uses products by Hero Arts – Big Mouth Nutcracker Bundle of dies and A Little Nuts stamp set.

Watch the process video below to learn how this card was made.

Cardbase: Cut from white light-to-medium weight cardstock one 4.25 x 5.5-inch rectangle. Also cut one pink 4.25 x 5.5-inch rectangle.

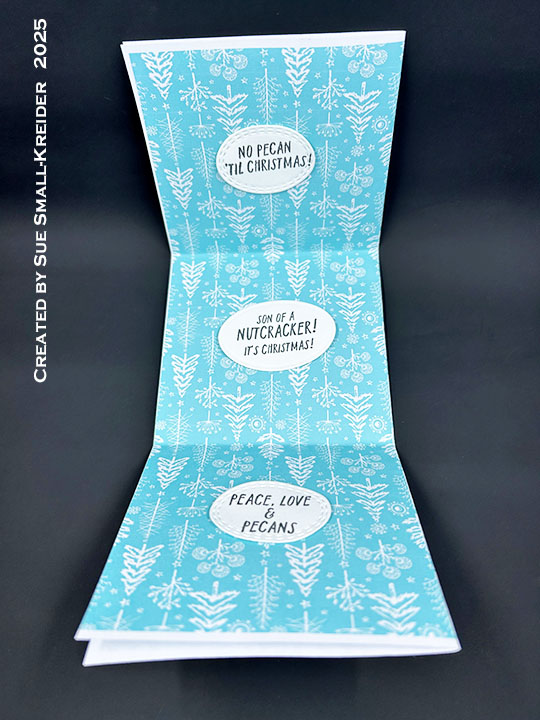
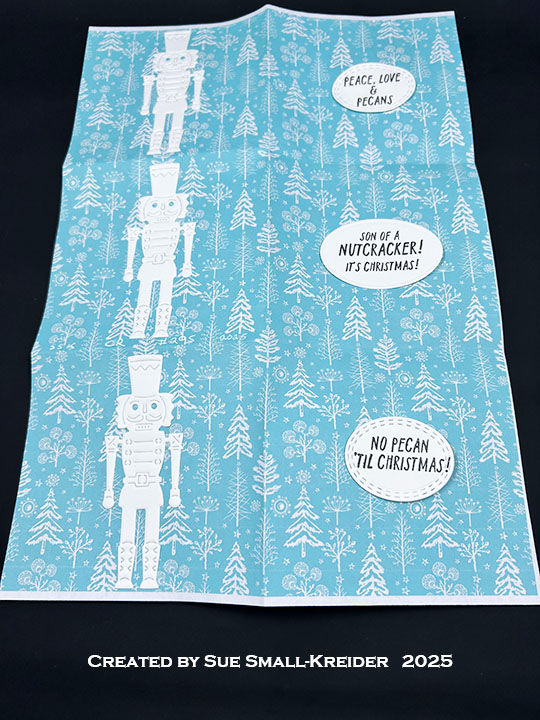
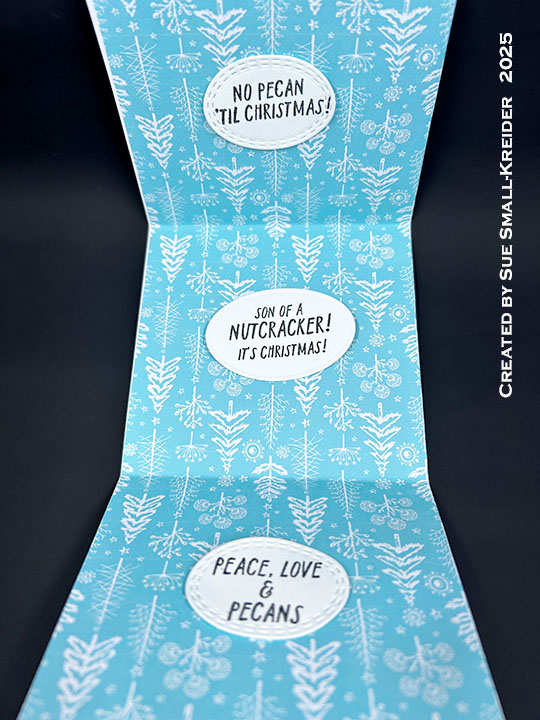
Slider Mechanism: Cut three of the large mechanism from the Big Mouth Slider die set from light-to-medium weight cardstock. Cut one “T” interactive sliding piece from pink. Using the upside-down “U” die cut out an opening as shown in the video above from the center bottom pink panel.

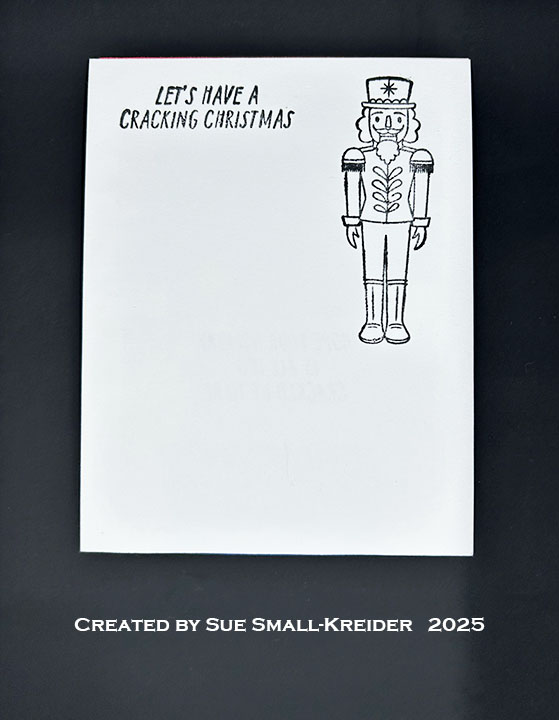
Sentiments: Stamped sentiments are from the Stamp & Cut A Little Nuts set. Inside the mouth is “Hope your holiday is all it’s cracked up to be.” On the card back is a nutcracker and “Let’s have a cracking Christmas.”

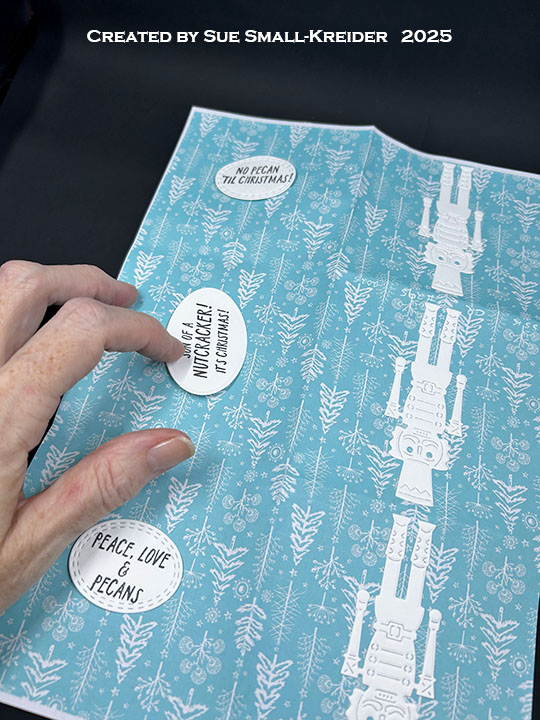
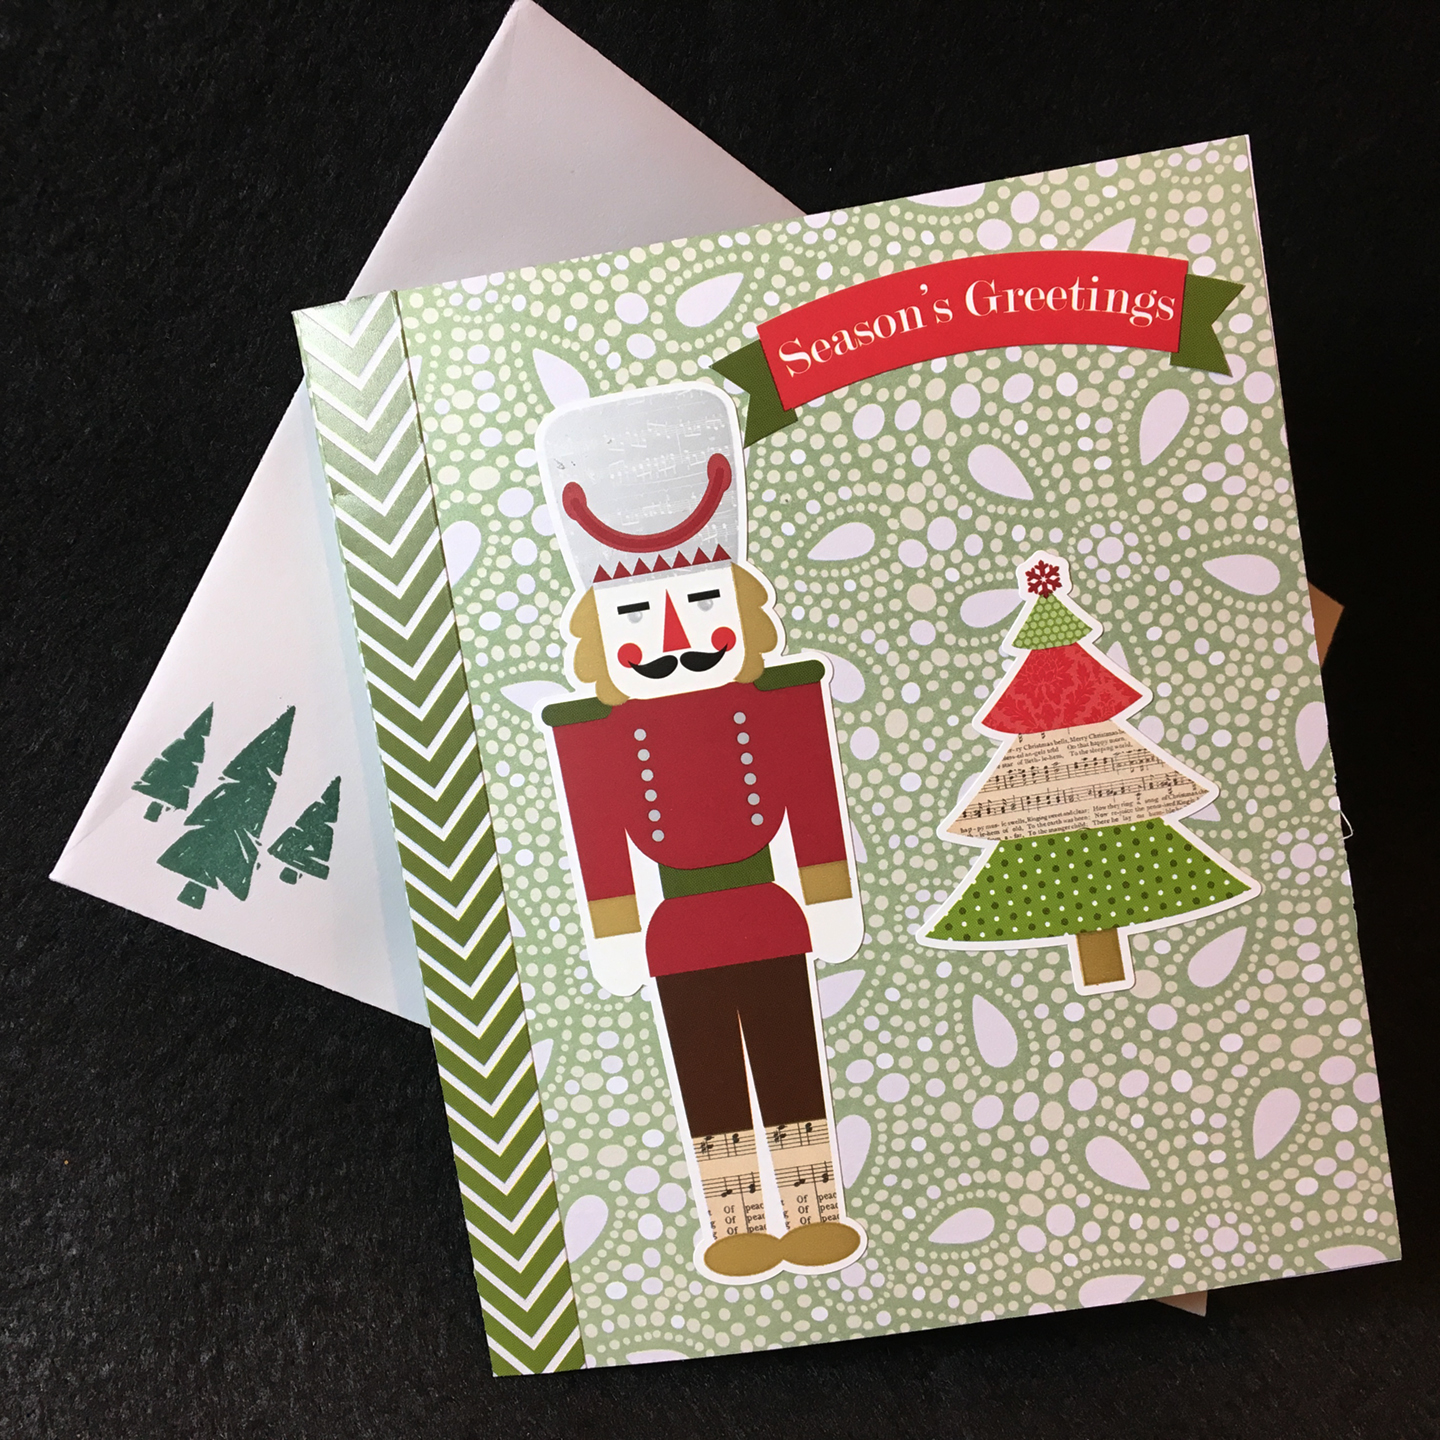
Envelope: The panel card fits into an A2 size envelope with a nutcracker and “Peace, Love & Pecans” on the envelope back.

___________________________________

Thank you for experiencing this blog post.

I hope this inspires you and makes you smile.

Please subscribe, like and leave comments 😊

___________________________________

Disclaimer: Karen Burniston products are provided free of charge by the manufacturer for review and use. All other items were personally purchased. Compensated affiliate links used where or when possible, meaning I will receive a small percentage commission from these manufacturers at no cost to you. This will allow me to add more content to my YouTube channel and help out a lot. Thank you.

Materials Used:

Dies

  • Hero Arts – Dies – Big Mouth Nutcracker
  • Hero Arts – Dies – Big Mouth Slider

Stamps

  • Hero Arts – Clear Stamps & Dies- A Little Nuts

Papers

  • Park Lane – 8.5×11 80 lb. Shimmer Sheets – Gold
  • Recollections – 8.5×11 100 lb. Cardstock – Pink
  • Recollections – 8.5×11 80 lb. Cardstock – White
  • Black, Blue, Brown, Pink, Red and Yellow Cardstock
  • Fraser Papers for William House – A2 Envelope – Genesis Text Milkweed Smooth

Ink

  • Memento – Fade Resistant Dye ink – Tuxedo Black & Rose Bud
  • Sharpie – Permanent Marker – Fine Tip – Blue

Adhesives

Tools

2025 ATC Calendar – DECember

I started a new challenge for 2025 – the ATC calendar challenge. With a group of crafty friends, we are making a new image on a 4.25×5.5-inch calendar card for each month.

December’s card is made with Spellbinders BetterPress Press Plate & Die set called Nutcracker Trio by Simon Hurley. It also uses Dina Wakley Media Better Press Ink in Eggplant, Fir and Ruby.

To see other months’ calendars go to click here.

Watch a video about the making of this calendar and a Christmas card made with these nutcrackers.

___________________________________

Thank you for experiencing this blog post.

I hope this inspires you and makes you smile.

Please like and leave comments 😊

___________________________________

Disclaimer: Karen Burniston products are provided free of charge by the manufacturer for review and use. All other items were personally purchased. Compensated affiliate links used where or when possible, meaning I will receive a small percentage commission from these manufacturers at no cost to you. This will allow me to add more content to my YouTube channel and help out a lot. Thank you.

___________________________________

Materials Used:


Dies
• Spellbinders – Cutting Dies – Simon Hurley’s Nutcracker Trio


Press Plates
• Spellbinders – BetterPress Plates – 2025 DIY Calendar

• Spellbinders – BetterPress Plates – Simon Hurley’s Nutcracker Trio


Papers
• Spellbinders – BetterPress – 5.5 x 4.25” (A2) Cotton Card Panels – Porcelain & Pebble


Ink
• Spellbinders – BetterPress Ink – Dina Wakley Media’s Eggplant, Fir & Ruby


Adhesives
Neutral PH Adhesive by LINECO
Fine-Tip Glue Bottle

Tools
• Die Cutting Machine
• Scissors
• Paper Masking Tape


map fold nutcracker card

This card was made for CRAFT ROULETTE #295 whose parameters included a map fold, planter colors,  from the sky element, and three in a row. I used stamps and dies by Hero Arts and Karen Burniston to make this card.

Watch the process video to see how I made this card.

Cardbase: Watch the video to see how the card base was made using digital paper by Carnation Crafts into a map fold card.

Nutcrackers were die cut using Hero Arts’ Fancy Dies Toys.

Sentiments were stamped on white cardstock using Hero Arts’ Stamp & Cut A Little Nuts set and cut out using Karen Burniston’s Greeting Labels die set. Three 1-inch circles were cut and marked with an “X” and a center circle to show where to stop when cutting the tabs. The tabs were folded to be inserted through a 3/4-inch hole in each of the card’s panels that will have sentiments. The oval sentiment labels are then glued onto the unfolded tabs and swiveled to make sure they are not glued to the card base.

Envelope: The card fits into an A2 (4.25x 5.5-inches) size envelope.

___________________________________

Thank you for experiencing this blog post.

I hope this inspires you and makes you smile.

Please subscribe, like and leave comments on this site and my YouTube channel. 😊

___________________________________

Disclaimer: Karen Burniston products are provided free of charge by the manufacturer for review and use. All other items were personally purchased. Compensated affiliate links used where or when possible, meaning I will receive a small percentage commission from these manufacturers at no cost to you. This will allow me to add more content to my YouTube channel and help out a lot. Thank you.

Materials Used:

Dies

Stamps

  • Hero Arts – Clear Stamps & Dies- A Little Nuts

Papers

  • Carnation Crafts – Digital Paper – (printed on copier paper)
  • White Cardstock

Ink

Adhesives

Tools

  • Die Cutting Machine
  • Paper Trimmer
  • Bone Folder
  • Stamping Platform
  • Stamping Blocks used as paperweights
  • Scissors
  • Pencil
  • Paper Masking Tape

12 Days of Christmas Trees – Day 8

Each day for 12 days, I will be showing card variations made with Karen Burniston’s Christmas Tree Pop-up die.  I recommend watching her assembly video before attempting to cut and assemble the pop-up tree.

For all of these cards I started with an A7 size card base (10 x 6 ½ inches), but because my die cutting machine can only accommodate 6-inch-wide pieces of paper, I had to trim the cards down to 10 x 6 inches.

Day 8 – Nutcracker Greetings

Nutcracker-inside

After using lots of Christmas and winter themed papers, I decided to look at other paper collections in my stash though I would challenge myself to use the Bo Bunny Garden party Collection which includes many cacti and succulent plants as well as white roses.

Nutcracker- front

For the card base I used two layers of a mosaic design in green. Because the cardstock is coated on the front, it makes it harder to get a sharp fold. I should have folded the outside and cut the inside into two pieces. To make for a flatter card when opened. The tree is cut from a striped paper in the collection and like other trees in this 12 posts blog, because the paper is print only on one side, I had to cut two of each of the center tall tree pieces and glue together. The smaller side tree pieces are a single thickness since the inside isn’t visible. The red cardinal and gold holographic star are cut from the Christmas tree die set.

White Christmas inside cu

Stickers from Echo Park’s Home For the Holidays collection finish out the decorations and sentiments for this card.

See all the of the 12 Days of Christmas Trees by clicking on one below.

Day 1 – Give Joy -Plaid

Day 2 – Home for the Holidays-Village

Day 3 – Holly Joy

Day 4 – Snowy Day

Day 5 – Give Joy – Holly

Day 6 – Gingerbread Joy

Day 7 – Home for the Holidays-Joy to the World

Day 8 – Nutcracker Greetings

Day 9 – Plaid Joy

Day 10 – Home for the Holidays-Let It Snow

Day 11 – White Christmas

Day 12 – Home for the Holidays-Peace and Joy

Bonus Day – Tropical Christmas

Click Here for video of all 12 trees

SUPPLIES USED:

Dies

Stamps & Ink (on envelope)

Paper

Miscellaneous