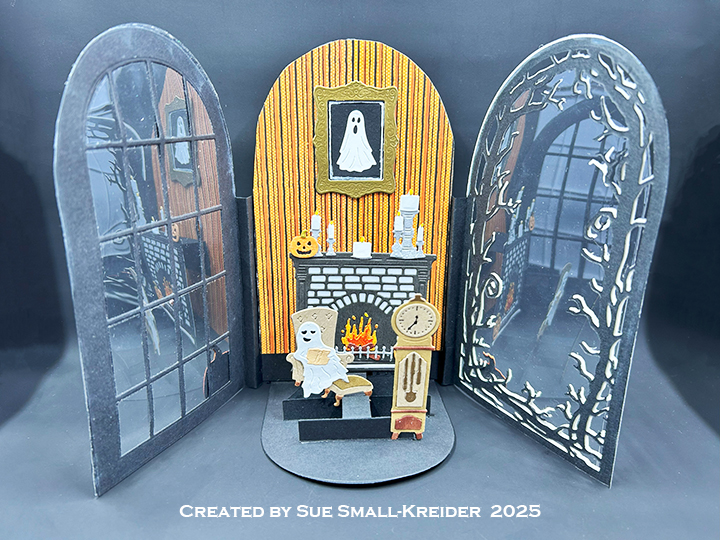
It’s time for the October 2024 Karen Burniston Design Team Challenge with the theme of a haunted location. I chosen an Adirondack chair in a pumpkin patch to be haunted.

Watch the process video to see how the card was assembled.
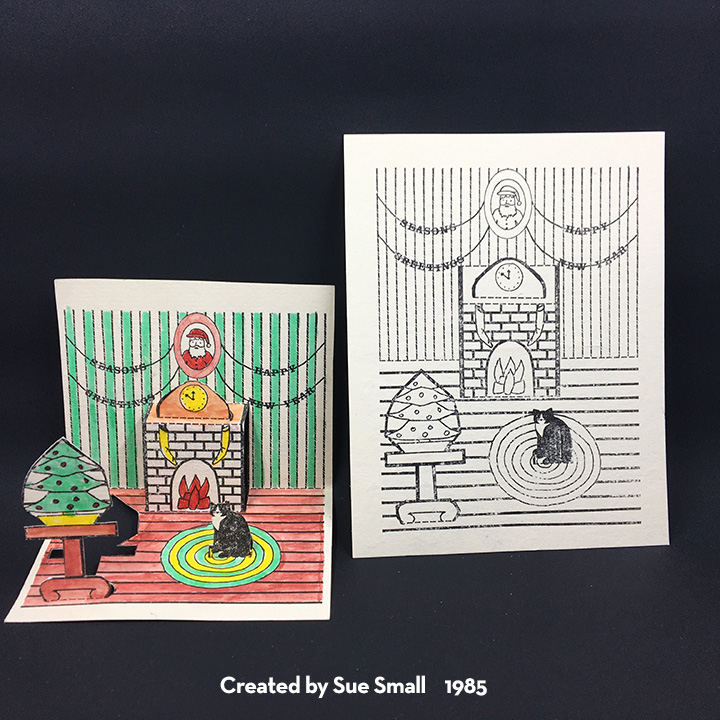
Cardbase: Cut two 5 1/2 x 11-inch rectangles from black cardstock. Fold each rectangle in half to form two 5 1/2-inch square top fold cards. Two pieces of patterned paper from Graphic 45 were used to cover the inside floor and front card cover.
Adirondack Chair: Watch the assembly video for the Adirondack Chair located at the bottom of the linked page.
Ghost Mechanism: Watch the assembly video for the Spinner Square Pop-Up located at the bottom of the linked page. The ghosts are from the Halloween Charms set and were cut once from white cardstock and had their eyes and mouth stenciled on using the die. They also were cut from glow-in-the-dark paper for their backs and to hide the black mechanism arm.

Decorations: The large pumpkins are from the Autumn Elements set and the smaller jack-o-lantern and green hands are from the Halloween Elements set. The background pumpkins were cut from the Graphic 45 papers. The black cat on the chair is from the Skeleton and Bat set. The Slim Pattern Plate – Spiders was cut from pearlescent vellum and the spiders colored black. Then it was placed on the diagonal on the card front.

Sentiments: The card front uses the “Happy Halloween” from the Halloween Charms set while the inside uses a Spellbinders BetterPress “Happy Haunting” sentiment. Other inside sentiments – “Boo!” “Sit for a spell” and “Hey Pumpkin” – are cut from the Graphic 45 papers.
Envelope: The card will fit into a 6×6-inch square envelope or a 6×9-inch catalog envelope.
___________________________________
Thank you for experiencing this blog post.
I hope this inspires you and makes you smile.
Please like and leave comments 😊
___________________________________
Disclaimer: Karen Burniston products are provided free of charge by the manufacturer for review and use. All other items were personally purchased. Compensated affiliate links used where or when possible, meaning I will receive a small percentage commission from these manufacturers at no cost to you. This will allow me to add more content to my YouTube channel and help out a lot. Thank you.
Materials Used:
Dies
- Karen Burniston in cahoots with Riley and Company – Slim Pattern Plate – Spiders – 1207
- Karen Burniston in cahoots with Riley and Company – Skeleton and Bat – 1206
- Karen Burniston in cahoots with Riley and Company – Adirondack Chair Pop-Up – 1071
- Karen Burniston in cahoots with Riley and Company – Autumn Elements – 1059
- Karen Burniston in cahoots with Riley and Company – Halloween Charms – 1058
- Karen Burniston in cahoots with Riley and Company – Spinner Square Pop-Up – 1042
- Karen Burniston in cahoots with Riley and Company – Halloween Elements – 1013
Press Plates
- Spellbinders – BetterPress Letterpress System – Press Plate & Die Set – Halloween Icons
Papers
- Graphic 45 – 8×8 Double-Sided Paper – Charmed
- Lawn Fawn – 8.5×11 Lawn Fawndamentals – Pearlescent Vellum
- Stampin’ Up – 6×6 Specialty Paper – Glow-In-The-Dark
- Thin Clear Cello Packaging
- Black, Orange, Purple, White Cardstock
- 6×6 Brown Envelope
Ink
- Spectrum Noir – Shimmer Gold Series Pearlescent Pigment – Peach Terracotta
- Ranger – Tim Holtz – Distress Ink- Gathered Twigs
- Pigma – Mircon 005 Fine Tip Pen – Black
- Sharpie – Permanent Marker – Chisel Tip – Black
- Sharpie – Permanent Marker – Fine Tip – Green
- Sharpie – Permanent Marker – Ultra Fine Tip – Black
- Sakura – Gelly Roll Pen – Medium – White
Adhesives
Tools
- Die Cutting Machine
- Bone Folder
- Stamping Blocks used as paperweights
- Scissors
- Pencil
- We R Memories – QuickStick
- Tweezers
- Metal Ruler
- T-Ruler
- Glue Eraser
- Craft Mat
- Sponge Daubers
- Blending Brush
- Paper Masking Tape