It’s time for the Karen Burniston Design Team June 2026 Challenge whose theme is Flag Colors – using the colors of each designer’s national flag. For me it is red, white and blue. I choose to make a star themed Father’s Day card.
Watch the process video to see how I made this card.
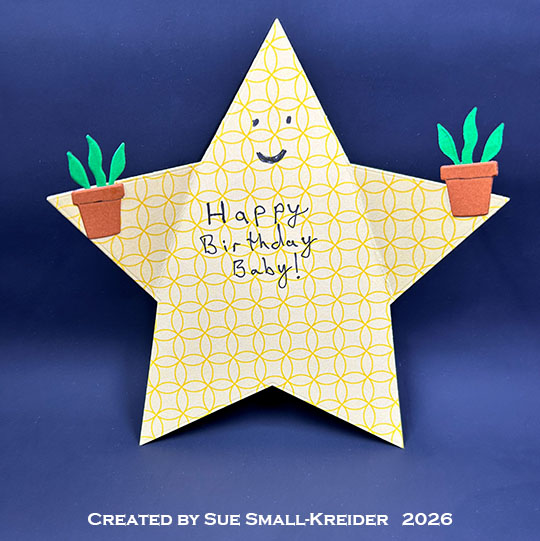
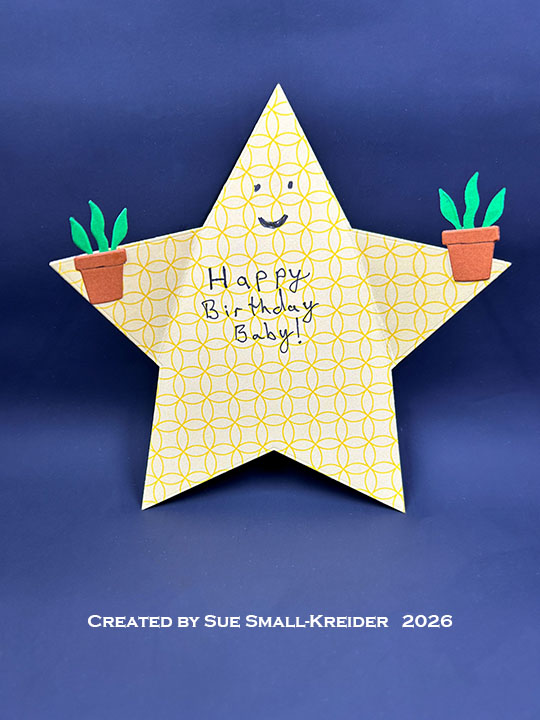
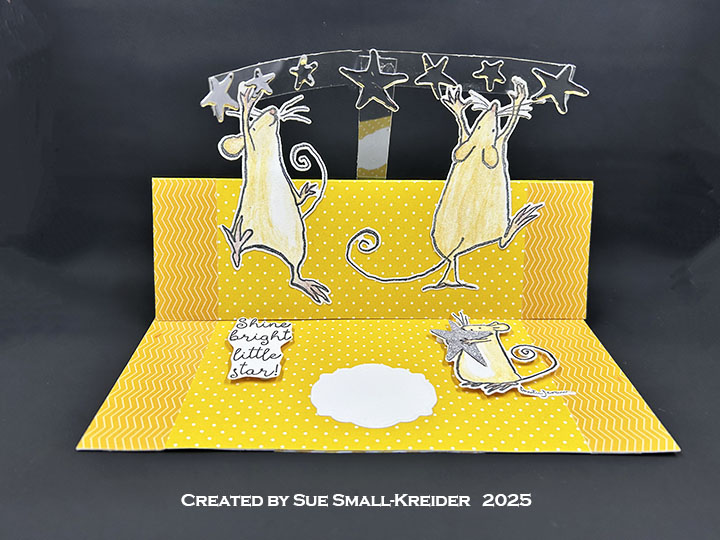
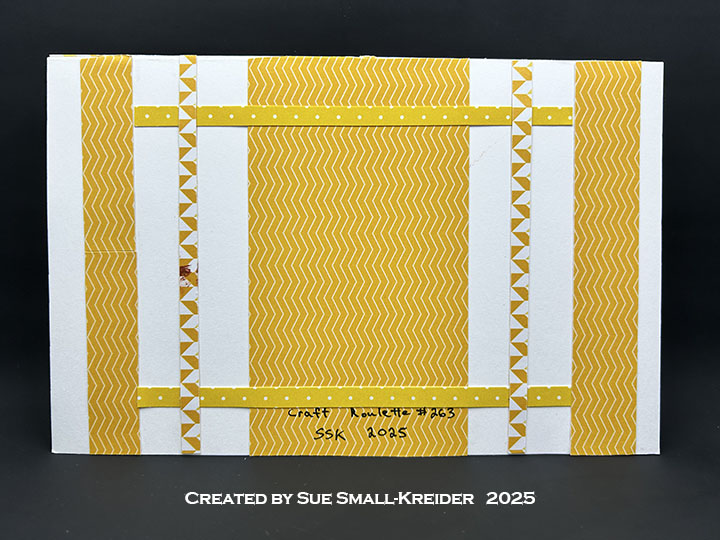
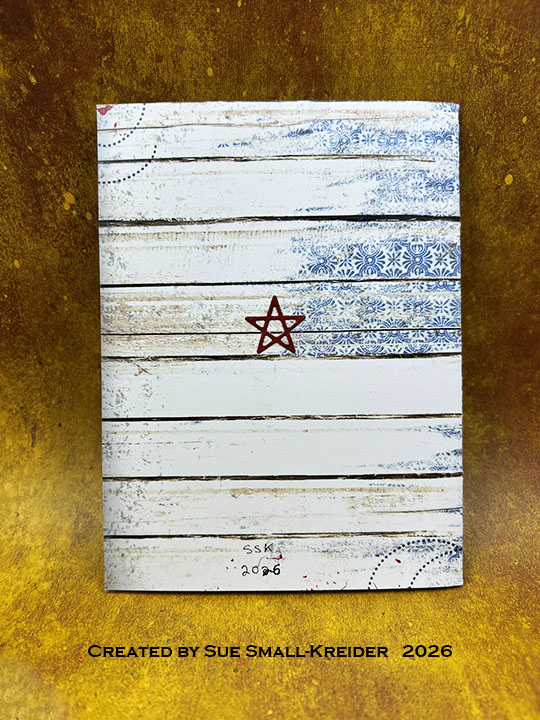
Cardbase: I folded a 6×9-inch piece of pattern cardstock in half to make a 4.5×6-inch side fold cardbase. Next, I added two 4.125 x 5.375- inch mats cut with the largest die in the Rectangles – Crosshatch set. I added a star from the Label Charm Pop-Up die set to the back of the card.
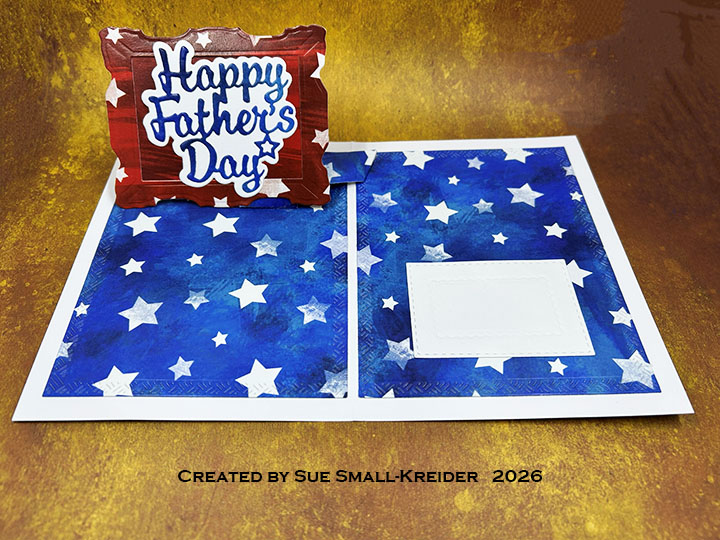
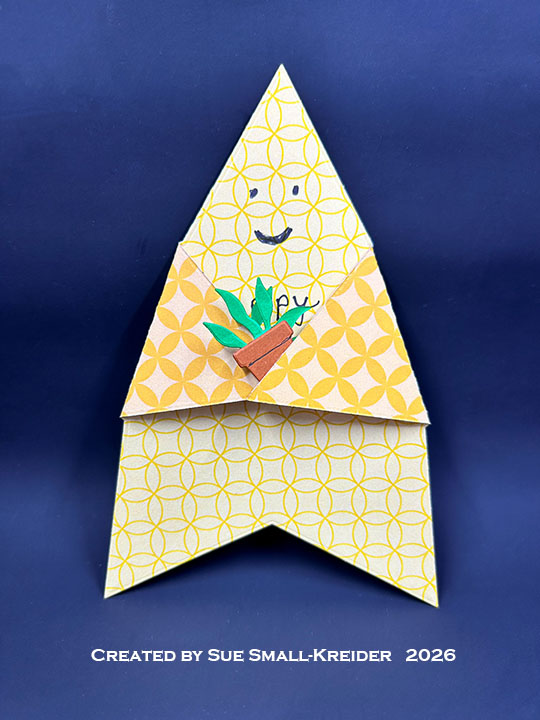
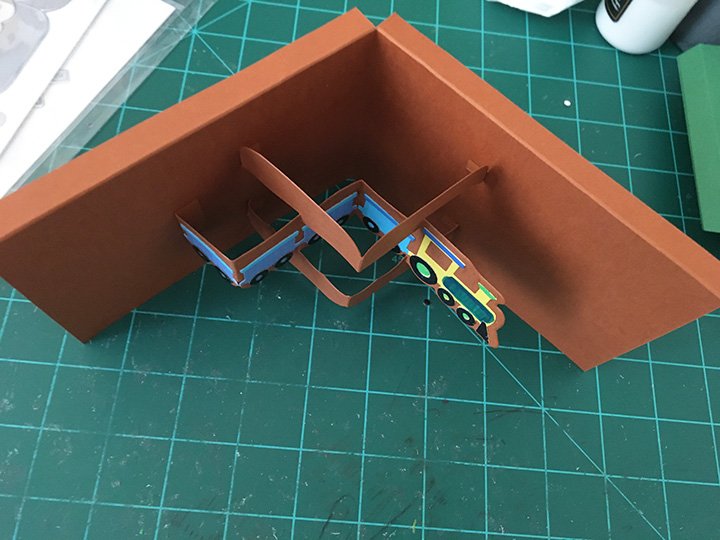
Flip Frame Pop-Up: Inside the card is a simple pop-up mechanism made using the Flip Frame Pop-Up die set. (View assembly video by clicking on the die set and scrolling to the bottom of the linked page.) See the video above for how I installed it.
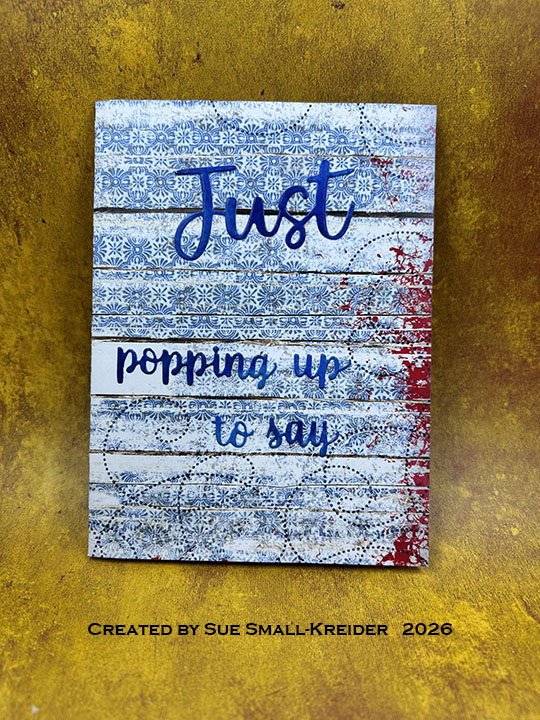
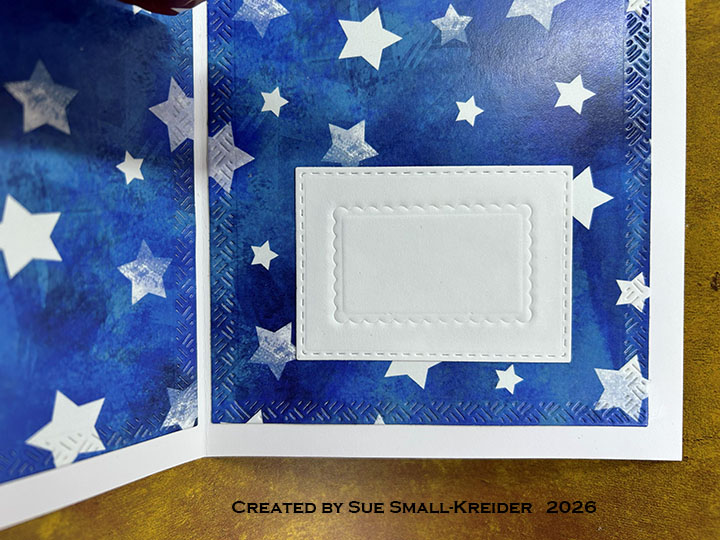
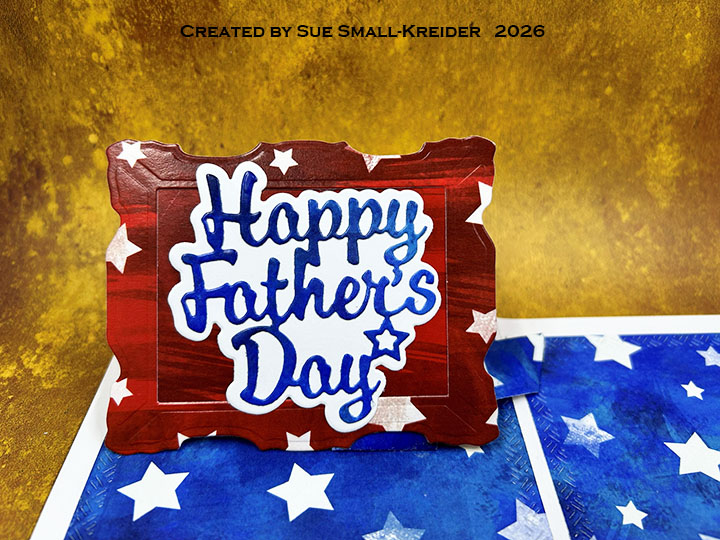
Sentiments: The front sentiment of “Just Popping Up To Say” is cut from two die sets – Word Set 4 – Just a Note and Word Set 15 – Just Because. The inside sentiment uses both the shadow and words from the Happy Father’s Day set. The white personal message label is a stitch rectangle embossed with a scalloped die – both from the Flip Frame Pop-Up set.
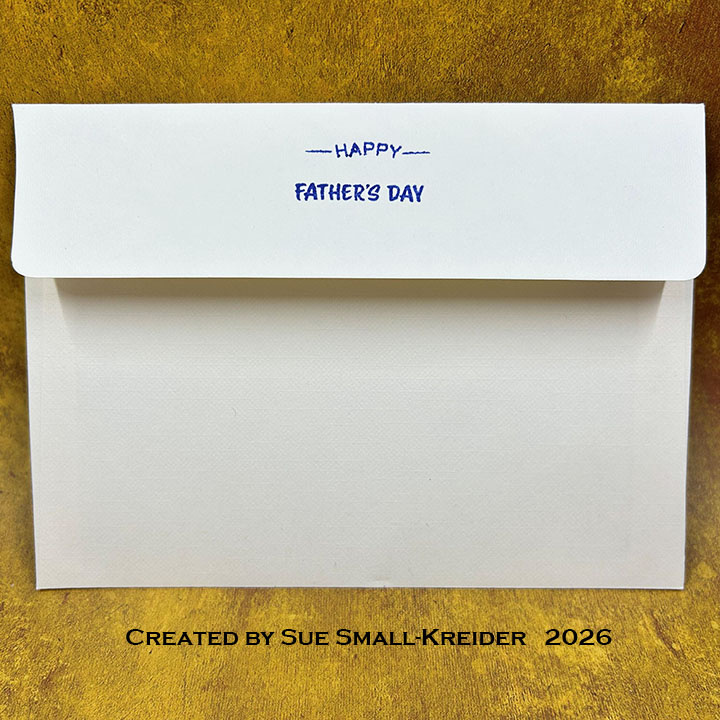
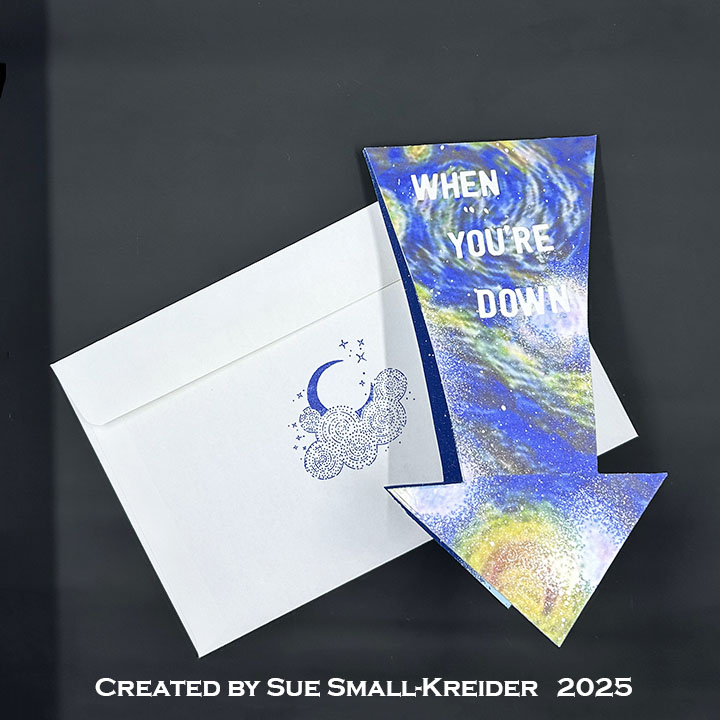
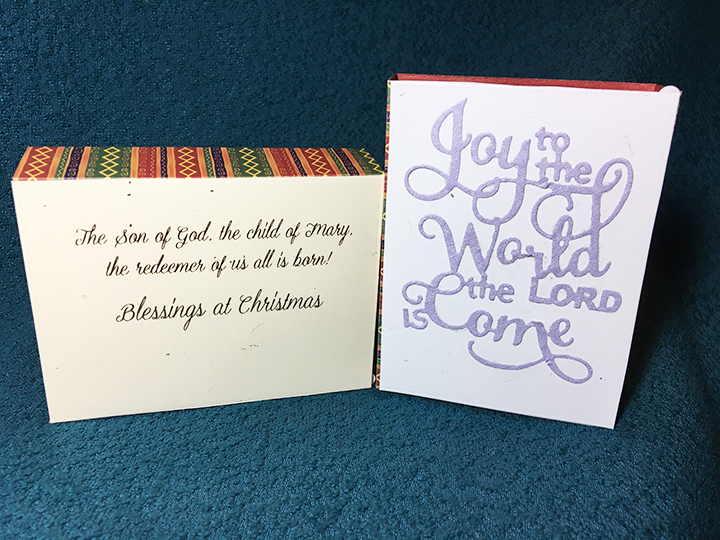
Envelope: The card fits into an A6 (4.75x 6.5-inches) size envelope with “Happy Father’s Day” stamped on the back flap from the Fishing stamp set.
___________________________________
Thank you for experiencing this blog post.
I hope this inspires you and makes you smile.
Please subscribe, like and leave comments 😊
___________________________________
Disclaimer: Karen Burniston products are provided free of charge by the manufacturer for review and use. All other items were personally purchased. Compensated affiliate links used where or when possible, meaning I will receive a small percentage commission from these manufacturers at no cost to you. This will allow me to add more content to my YouTube channel and help out a lot. Thank you.
Materials Used:
- Karen Burniston in cahoots with Riley and Company – Label Charm Pop-Up – 1209
- Karen Burniston in cahoots with Riley and Company – Word Set 15 – Just Because– 1205
- Karen Burniston in cahoots with Riley and Company – Happy Father’s Day – 1164
- Karen Burniston in cahoots with Riley and Company – Flip Frame Pop-Up – 1134
- Karen Burniston in cahoots with Riley and Company – Rectangles – Crosshatch – 1054
- Karen Burniston in cahoots with Riley and Company – Word Set 4 – Just a Note – 1027
Stamps
Papers
- Divinity Designs – 6×9 Singled-Sided Coated Cardstock – Star Shaker Kit – Patriotic
- Unity Stamp Co. – 6×6 Singled-Sided Coated Cardstock – Americana Vibes
- White Cardstock
- Park Lane Paperie – A6 Cardbase and Envelope – Cream
Ink
- Memento – Fade Resistant Dye ink – Paris Dusk
- Pigma – Mircon 005 Fine Tip Pen – Black
Adhesives
Tools
- Die Cutting Machine
- Bone Folder
- Stamping Blocks used as paperweights
- Scissors
- Paper Masking Tape
- Tweezers
- We R – Precision Press Mini – Stamping Platform