Thanks To A Colleague

An order came for a card for co-workers to sign for their office manager who was leaving to take a new job at a library.  A slimline card that would fit into a #10 business envelope was the size requested.

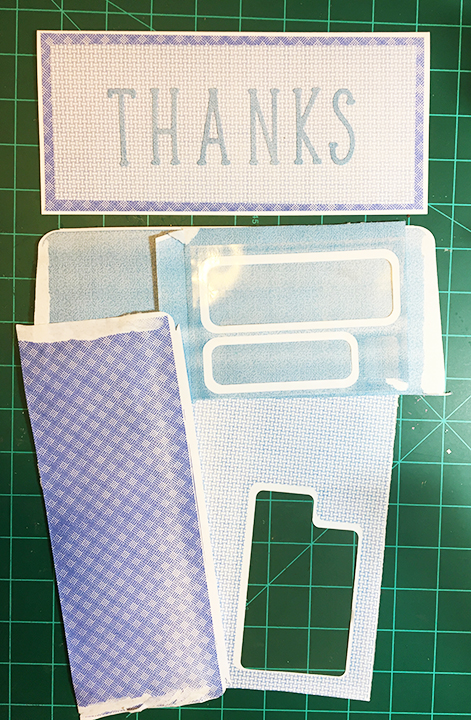
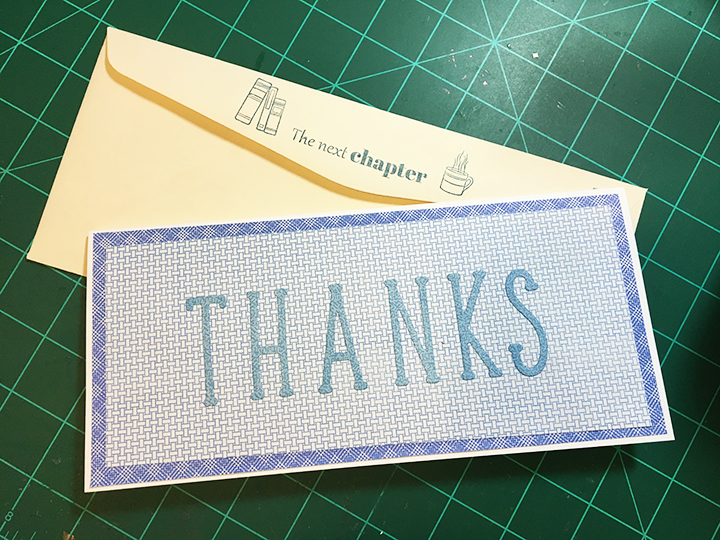
Decorative printed papers from the insides of “security” envelopes that bills came in was the theme for the outside of the card with the word “THANKS.” Three different envelope papers were used to mat and die-cut the word. Each mat layer was adhered with double-sided tape. A piece of double-sided adhesive sheet was attached to the back of the paper used for the letters before they were die-cut.

Inside the card was the small, heat embossed sentiment “Every job is a self-portrait of the person who does it. Autograph your work with excellence.”

Stamped on the back of the envelope is the phrase “The next chapter” to hint at what is to come as the colleague leaves to go work at a library. Knowing that the colleague liked books and coffee, they also were stamped on the envelope.

Thank you for reading this blog post. Please like and leave a comment. 😊

Materials Used:

Dies

Stamps

Ink

Papers

  • Heavy white cardstock 8 ¾ inches x 8 inches from my stash
  • Three printed insides of envelopes from my stash
  • Cream #10 business envelope from my stash

Miscellaneous

A Veggie Thank You

Veggies-front

A very veggie tale of how this card developed. I had received some new stamps and had tested them out. The background stamp was begging to be used and I had a test strip of the garden stamps floating around on my desktop, and thought they were a good mix.

I fussy cut the garden stamps and glued all the pieces except the banner on to the background using glue dots. Next, I adhered the banner using foam squares. The card front still needed something, so I added Nuvo drops in black. I thought the top right corner needed a tad more black, but I ended-up smearing it a bit.

A day or so later I needed a thank you card and thought this card front would work well on a craft card base with matching envelope. So adhered front to card with double-sided tape. Then I stamped the ‘Thank You” sentiment inside and the peas on the envelope flap.

Veggies-inside-envelope

E-Z-peas-z. The card was finished.

I want to give a special shout-out to my Stampin’ Up demonstrator and friend, Donna Butler, for all her help in learning to how to stamp well.

Materials Used:

Stamps

Inks

Papers

  • A2 Brown craft paper card base and envelope purchased from Target
  • White cardstock

Miscellaneous

Thank You Satchel

IMG_7991

This Thank You gift bag was created to say thank you to everyone who has continued to do their jobs through this time of uncertainty, change and home isolation. Thank you to health carer workers, public service workers, restaurant and grocery store workers, to delivery and transportation workers, to gas station workers, to teachers and students who all keep doing their work from home or their regular work spaces. This is a bag full of thanks to those workers whose place of work have been closed or whose work hours have been cut who look out for and help their neighbors with health issues. This is a thank you to little ones who are trying to help their parents get through these stressful times.

Materials used include: Simply Made Crafts by Helen Griffin -Luxury Handbag Gift Box die set, Karen Burniston’s Word Set 1-Greetings die set, lightweight blue cardstock and black, silver and light blue paper scraps, double-sided tape and glue.


Thank You for Your Service

IMG_4933

Thanking our military for their service is the theme of this card using a Karen Burniston’s pop-up die set from Elizabeth Craft Designs. The glitter stars are 3D by folding on the score lines and placing a double thickness of foam tape under the center of the star.

IMG_4930

Because this was the first time I had assembled the star accordion card, I accidentally placed the center section with the start being upside-down and the connecting tab on the wrong side. My solution was to cut off all the stars’ tabs and connect them using a yellow ribbon.  My heat embossed “Thank you” was a bit messy so I fussy cut it out and used a white gel pen for emphasis. A red and white checked gingham paper was used to back the stars and cover up the ribbon.

Supplies: