I had a rare Sunday afternoon to just play in my craft room and I made four of the same card, but each with a different version of the word “merry.” These cards were inspired by a card class that Meghann Andrew taught during the Scrapbook and Cards Today‘s Christmas in July – Jolly Holiday 2024 event.
Leave a comment letting me know which version of “merry” you like best.
I also stamped envelopes for the cards.
All cards and envelopes used stamps, stencils and dies from the event kit. I used the Stampin’ Up – Tranquil Tide and Simon Says Stamp – Surf Blue ink pads, Spectrum Noir Tri-Blend – Green Turquoise Blend Light, red and gold gel pens, gold metallic marker, Nuvo Glitter Paste – Moonstone, Nuvo- Glitter Gloss and some tiny gold gems and puff star stickers from my stash.
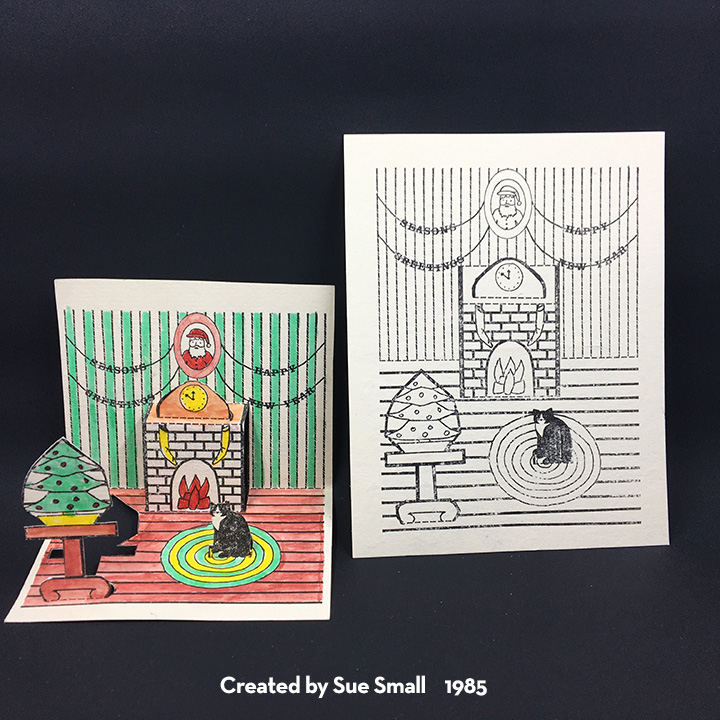
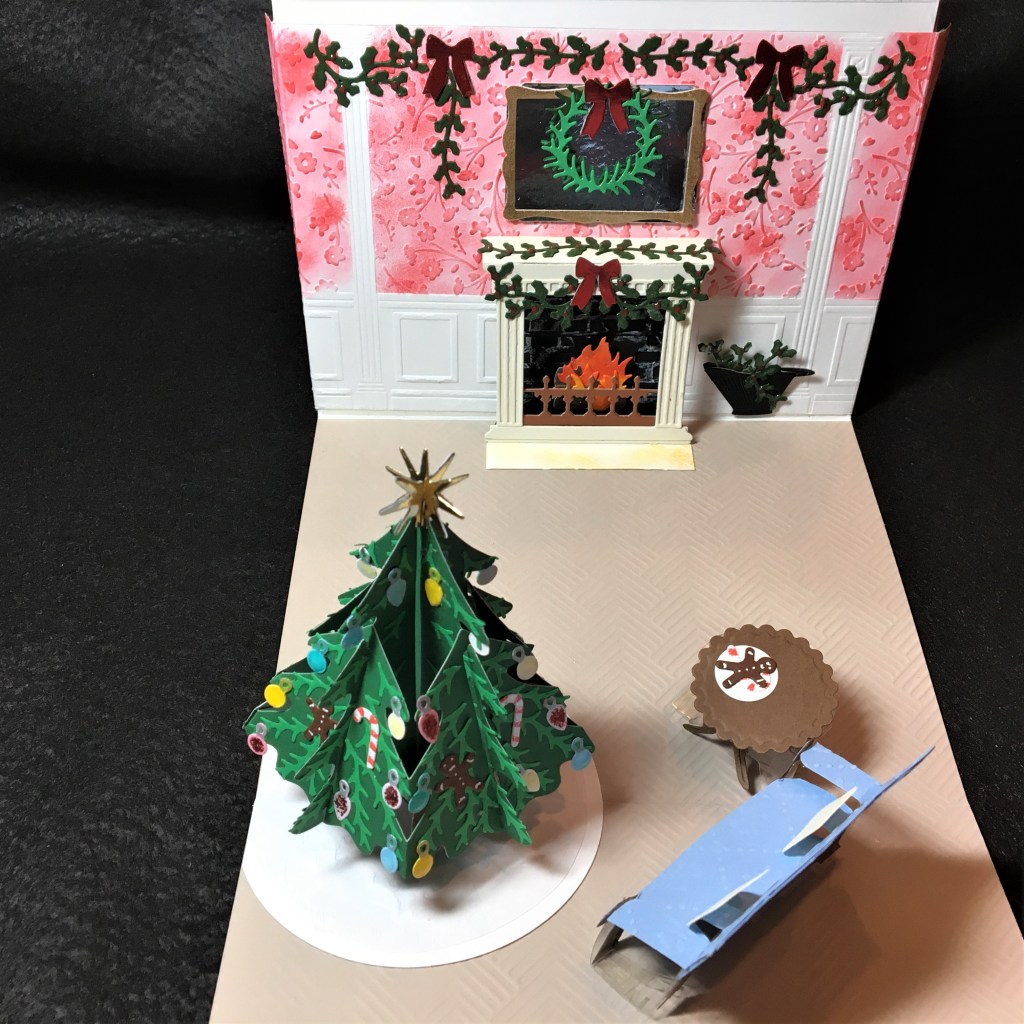
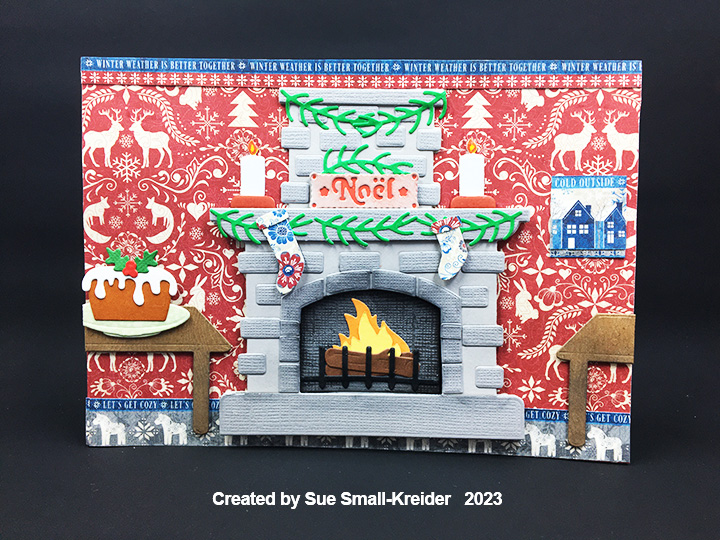
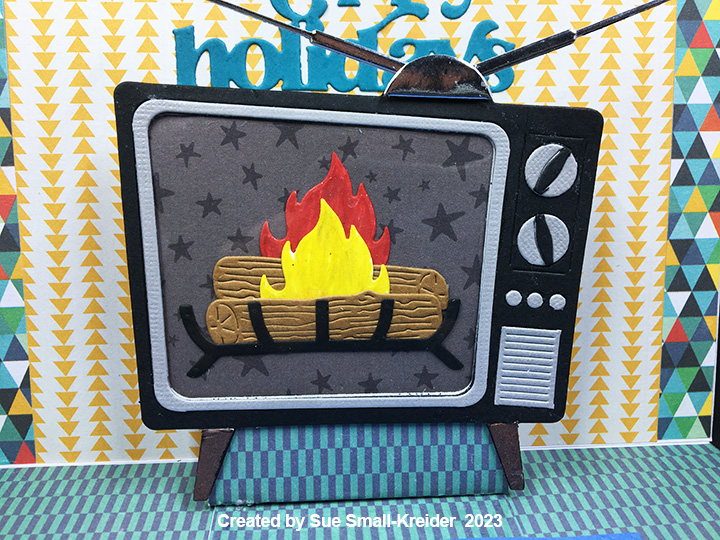
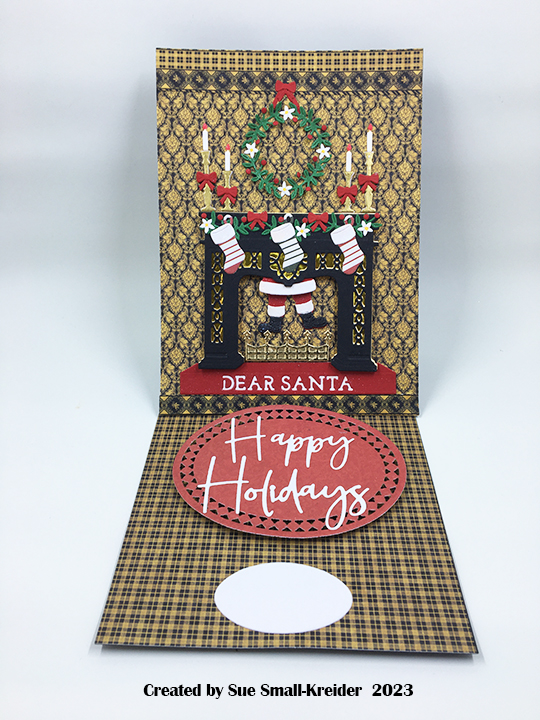
I have been collecting and making fireplace cards for several years now. Here is a collection of all my fireplace blog posts. Click on an image to see details of the fireplace.
___________________________________
Thank you for experiencing this blog post.
I hope this inspires you and makes you smile.
Please like and leave comments 😊
___________________________________
Disclaimer: Karen Burniston products are provided free of charge by the manufacturer for review and use. All other items were personally purchased. Compensated affiliate links used where or when possible, meaning I will receive a small percentage commission from these manufacturers at no cost to you. This will allow me to add more content to my YouTube channel and help out a lot. Thank you.
This card was made for Craft Roulette #231 whose parameters included for Project – Outside/Inside, tulip colors, festival element and checks.
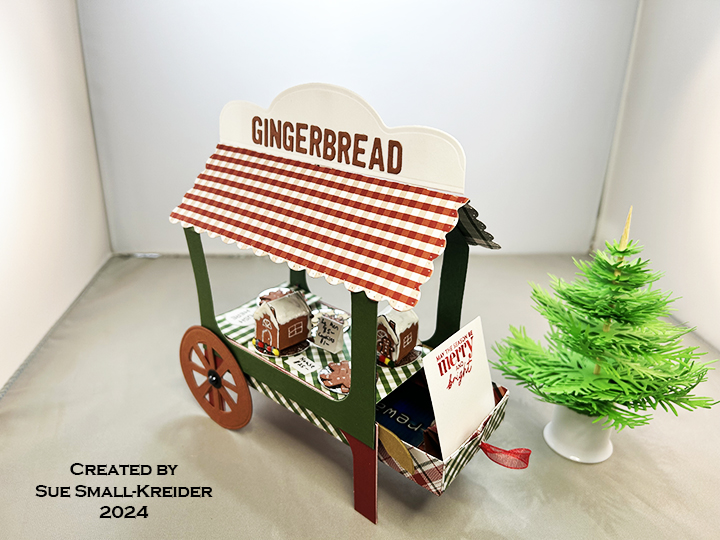
Watch the video to see how I made this cart.
___________________________________
Thank you for experiencing this blog post.
I hope this inspires you and makes you smile.
Please like and leave comments 😊
___________________________________
Disclaimer: Karen Burniston products are provided free of charge by the manufacturer for review and use. All other items were personally purchased. Compensated affiliate links used where or when possible, meaning I will receive a small percentage commission from these manufacturers at no cost to you. This will allow me to add more content to my YouTube channel and help out a lot. Thank you.
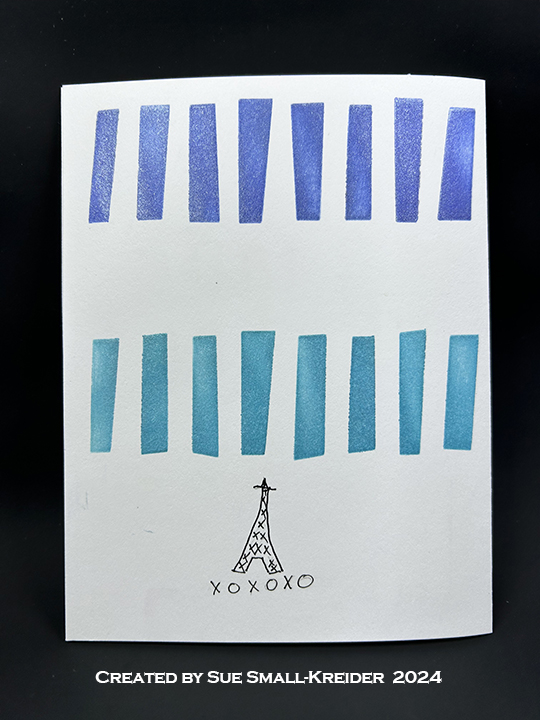
This card was made for Craft Roulette #230 whose parameters included shaped card, peacock colors, tall element and XOXO.
Watch the video below to learn how I made the card.
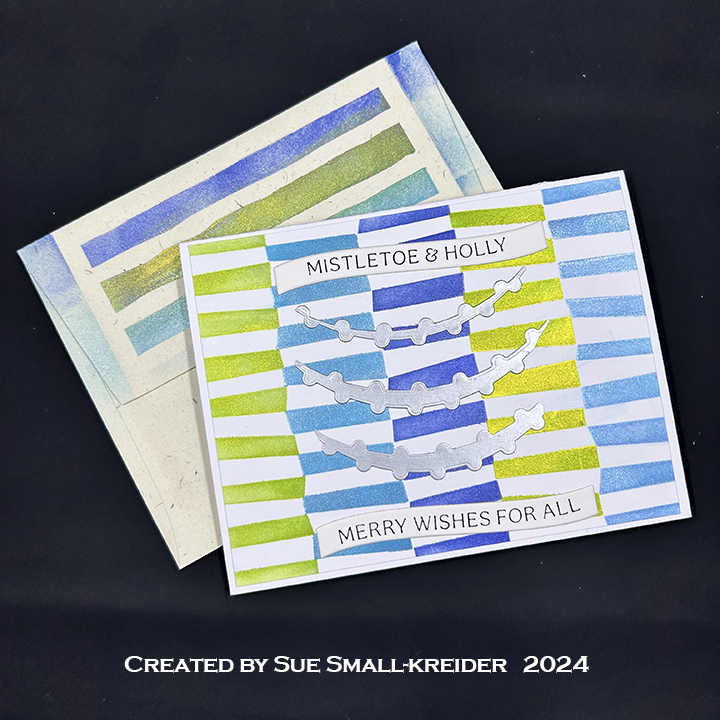
Cardbase: I made a side-fold A2 cardbase by folding a 4 1/4 x 5 1/2-inch rectangle in half and stenciled the front on a separate panel. The tiny gold gems where glued on as the last decoration.
Sentiments: The banner sentiments were made using the Spellbinders BetterPress letterpress system and Cheers to You press plates and dies. The inside of the card is blank for a personal message.
Envelope: Envelope flap was stenciled with the same stencil and inks.
Here are two more cards I made at the same time using the same inks and stencil sets, but different BetterPress press plate – Mistletoe Greetings. (“Merry everything” sentiment inside is from Scrapbook and Cards Today’s Jolly Holiday workshop kit.)
___________________________________
Thank you for experiencing this blog post.
I hope this inspires you and makes you smile.
Please like and leave comments 😊
___________________________________
Disclaimer: Karen Burniston dies are provided free of charge by the manufacturer for review and use. All other items were personally purchased. Compensated affiliate links used where or when possible, meaning I will receive a small percentage commission from these manufacturers at no cost to you. This will allow me to add more content to my YouTube channel and help out a lot. Thank you.
Materials Used:
Dies
Spellbinders – BetterPress Press Plates & Dies – Cheers to You Sentiments
Spellbinders – BetterPress Press Plates & Dies – Mistletoe Greetings
Stencils
PinkFresh – Stencils – Art Deco
Spellbinders – Stencil of the Month – March 2024 – Dynamic Backgrounds
Press Plates
Spellbinders – BetterPress Press Plates – Cheers to You Sentiments
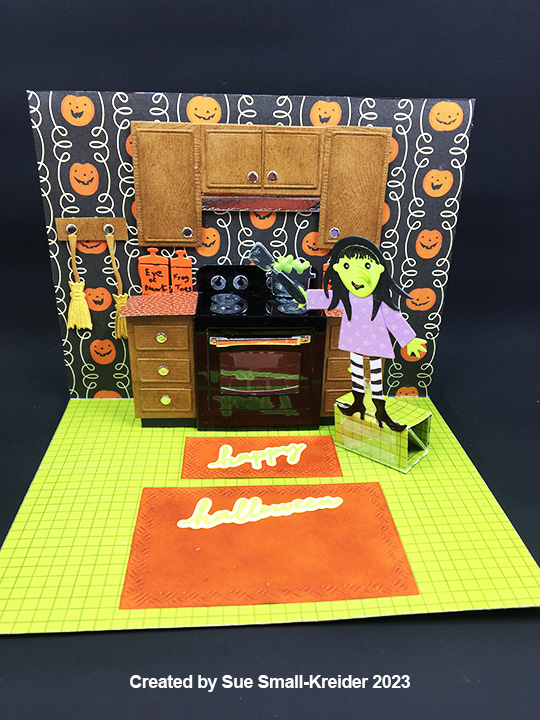
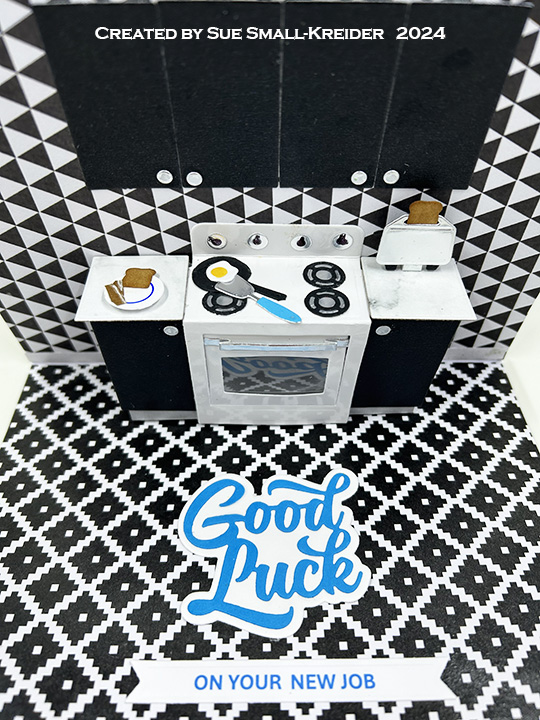
I have been collecting and making oven cards for several years now. Here is a collection of all my ovens blog posts. Click on an image to see details of the oven.
(Images are posted from the earliest release of dies/stamps/kits 2016 to newest 2023.)
____________________________
Thank you for experiencing this blog post.
I hope this inspires you and makes you smile.
Please like and leave comments 😊
___________________________________
Disclaimer: Karen Burniston products are provided free of charge by the manufacturer for review and use. All other items were personally purchased. Compensated affiliate links used where or when possible, meaning I will receive a small percentage commission from these manufacturers at no cost to you. This will allow me to add more content to my YouTube channel and help out a lot. Thank you.
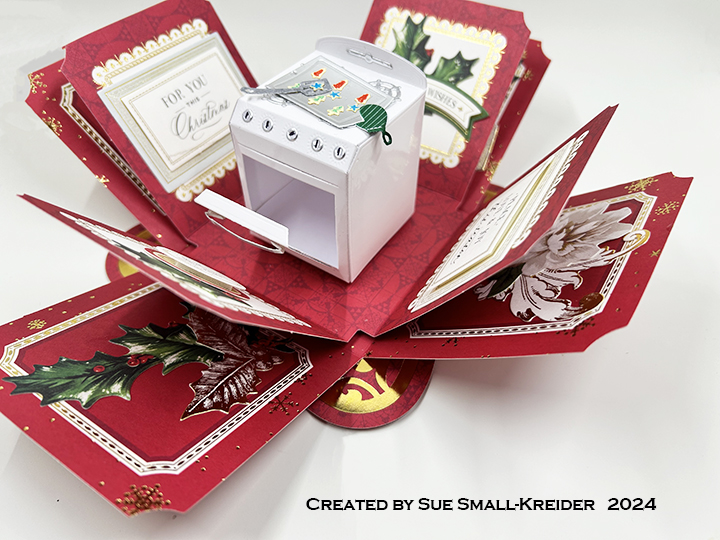
I’m using Spellbinders’ APG Die of the Month for May 2022 – Pop-Up 3D Vignette – What’s Bakin’ Oven and a Pear Blossom Press One Light to create this light-up oven.
Watch video above for a tutorial on how to make the card.
Sentiments: The banner greeting of “Happy Christmas” was made using a BetterPress plate and die set.
Envelope: The card fits into an A7 envelope stamped with a sentiment “Warm Wishes” from Hero Arts.
___________________________________
Thank you for experiencing this blog post.
I hope this inspires you and makes you smile.
Please like and leave comments 😊
___________________________________
Disclaimer: Karen Burniston products are provided free of charge by the manufacturer for review and use. All other items were personally purchased. Compensated affiliate links used where or when possible, meaning I will receive a small percentage commission from these manufacturers at no cost to you. This will allow me to add more content to my YouTube channel and help out a lot. Thank you.
Materials Used:
Dies
Elizabeth Craft Designs – Metal Dies – Let’s Bake – 1994
Hero Arts – My Monthly Hero Kit – May 2022 – Kitchen Dies
Spellbinders – APG Die of the Month -May 2022-Pop-Up 3D Vignette – What’s Bakin’ Oven
Spellbinders – BetterPress Press Plate & Die Set – Mistletoe Greetings
Stamps
Hero Arts – My Monthly Hero Kit – May 2022 – Clear Stamps
Pear Blossom Press – Clear Stamps – PBP-01
Spellbinders – BetterPress Press Plate & Die Set – Mistletoe Greetings
Papers
Bazzill – 8.5×11 Cardstock – Tiara -18-1002
Bazzill – 12×12 inch Solid Cardstock – Nautral
Grafix – 8.5×11 Dura-Lar Acetate .005 – Clear Film
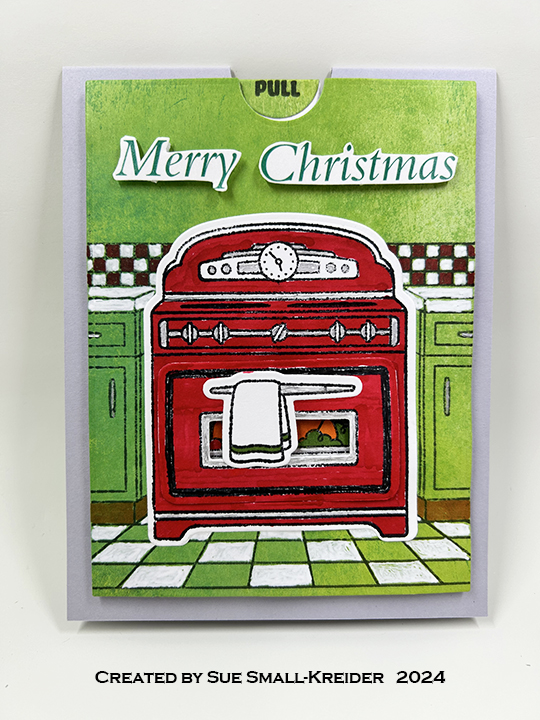
I’m using Lawn Fawn’s 2016 Sprinkled with Joy stamps and dies for this slimline Christmas oven card.
Watch video above for a tutorial on how to make the card.
Card FrontCard Back
Cardbase: The card base is 8 1/2-inches tall and 3 7/8-inches wide when folded closed.
Oven: Watch my YouTube video above for how the oven was assembled.
Sentiments: Outside I used “Sweet” stamped on a green scrap strip. Inside the oven I used “Christmas Wishes” both from the Lawn Fawn Sprinkled With Joy stamp set. Inside the card I used a stamp from Scrapbook and Cards Today’s Jolly Holiday workshop kit.
Envelope: The card fits into an A2 envelope.
___________________________________
Thank you for experiencing this blog post.
I hope this inspires you and makes you smile.
Please like and leave comments 😊
___________________________________
Disclaimer: Karen Burniston products are provided free of charge by the manufacturer for review and use. All other items were personally purchased. Compensated affiliate links used where or when possible, meaning I will receive a small percentage commission from these manufacturers at no cost to you. This will allow me to add more content to my YouTube channel and help out a lot. Thank you.
Materials Used:
Dies
Lawn Fawn – Custom Craft Dies – Sprinkled With Joy-LF1271
Stamps
Lawn Fawn – Clear Stamps – Sprinkled With Joy-LF1214
Scrapbook and Cards Today’s Jolly Holiday workshop kit.
Embossing Folder
Stampin’ Up – Cut & Emboss Folder – Dotted Circles 3D
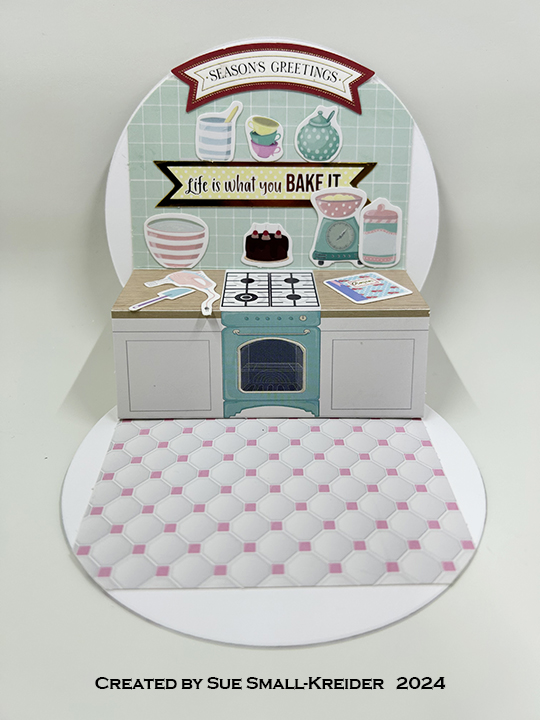
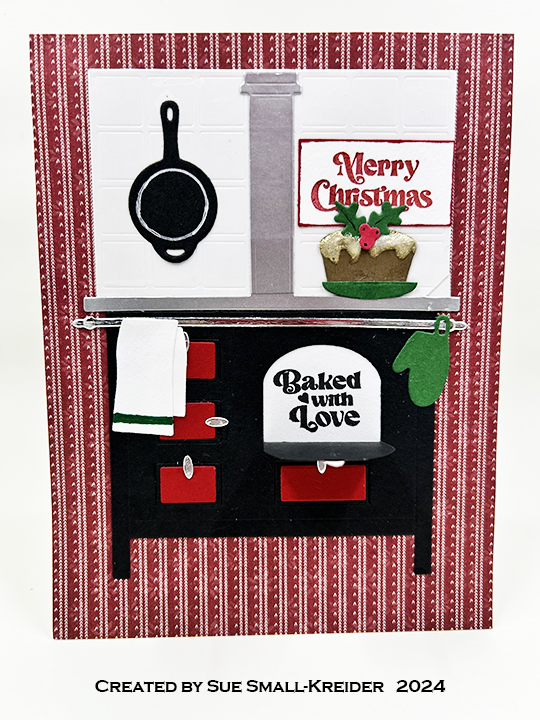
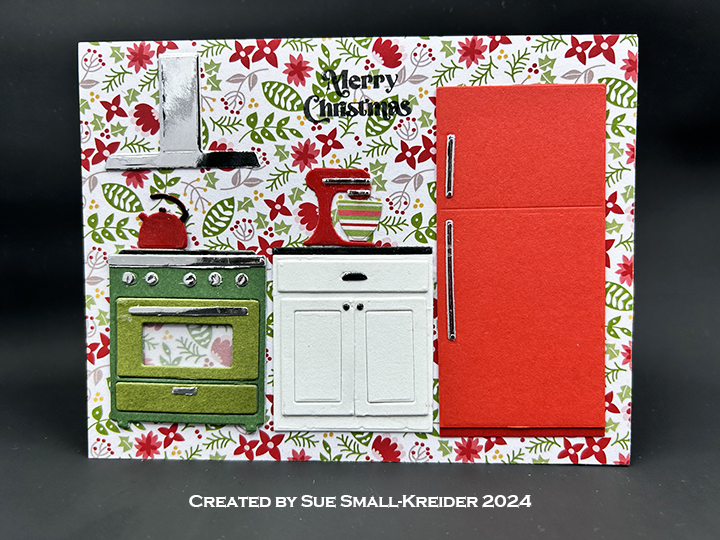
I’m using My Favorite Things What’s Cooking kitchen dies for this A2 (4.25×5.5-inch) card.
Watch video above for a tutorial on how to make the card.
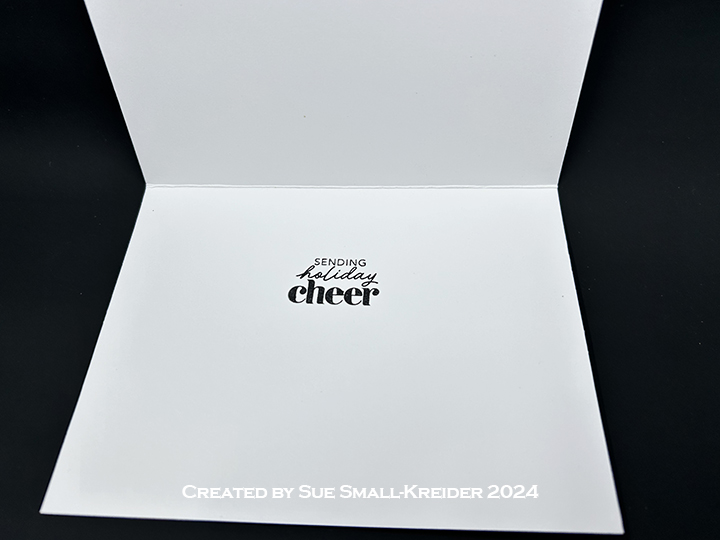
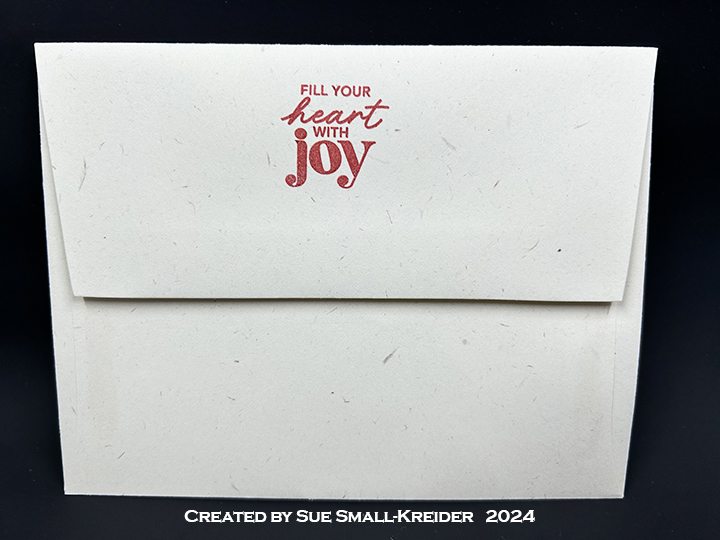
Sentiments: While the My Favorite Thing’s What’s Cooking collection comes with a stamp set, none of the sentiments fit the Christmas theme. So I used a “Merry Christmas” from The Greetery and two stamp sentiments from the Scrapbook and Cards Today’s Jolly Holiday kit for the card inside and envelope flap.
Envelope: The card fits into an A2 envelope.
___________________________________
Thank you for experiencing this blog post.
I hope this inspires you and makes you smile.
Please like and leave comments 😊
___________________________________
Disclaimer: Karen Burniston products are provided free of charge by the manufacturer for review and use. All other items were personally purchased. Compensated affiliate links used where or when possible, meaning I will receive a small percentage commission from these manufacturers at no cost to you. This will allow me to add more content to my YouTube channel and help out a lot. Thank you.
Materials Used:
Dies
My Favorite Things – Die-namics – Everything And The Kitchen Sink
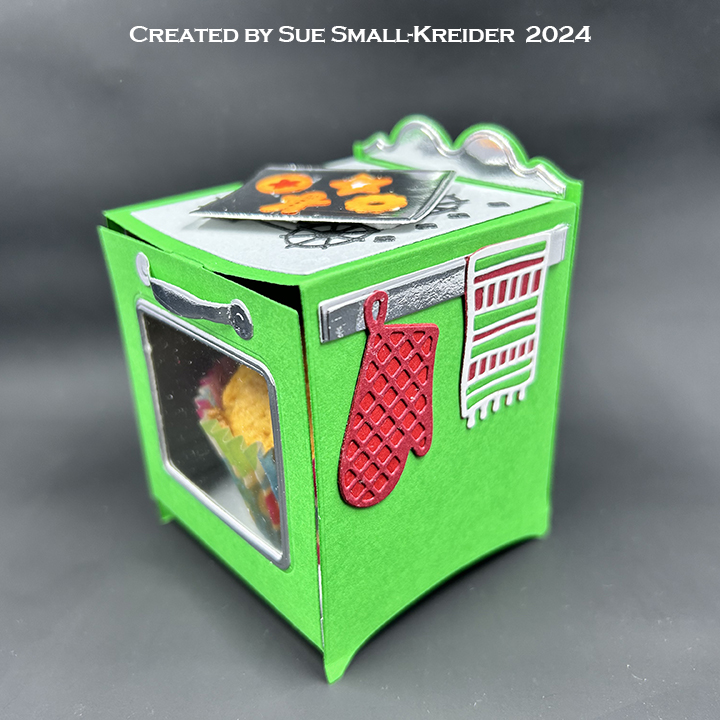
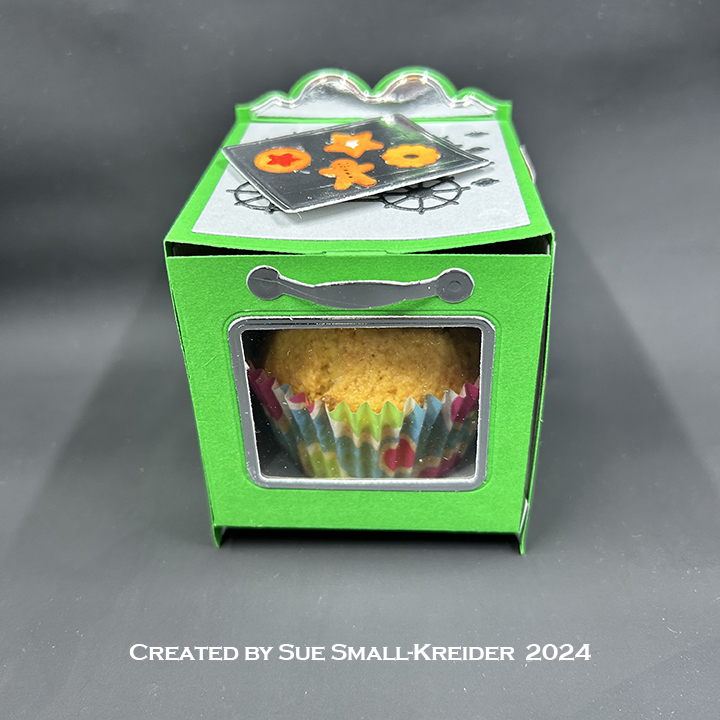
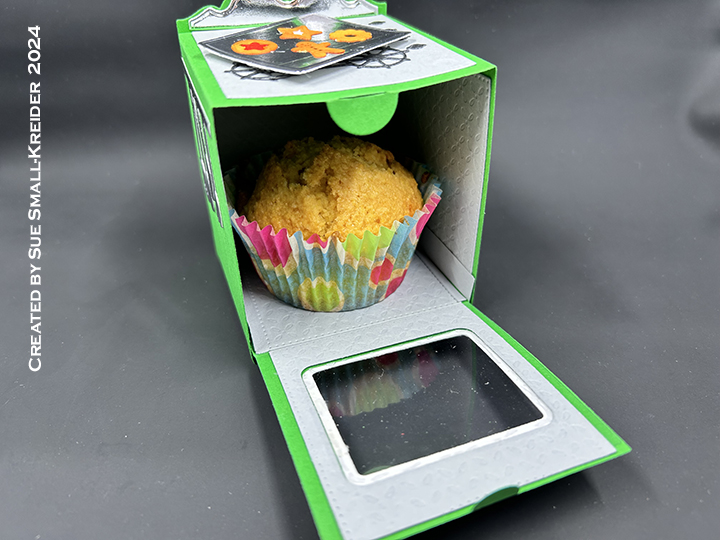
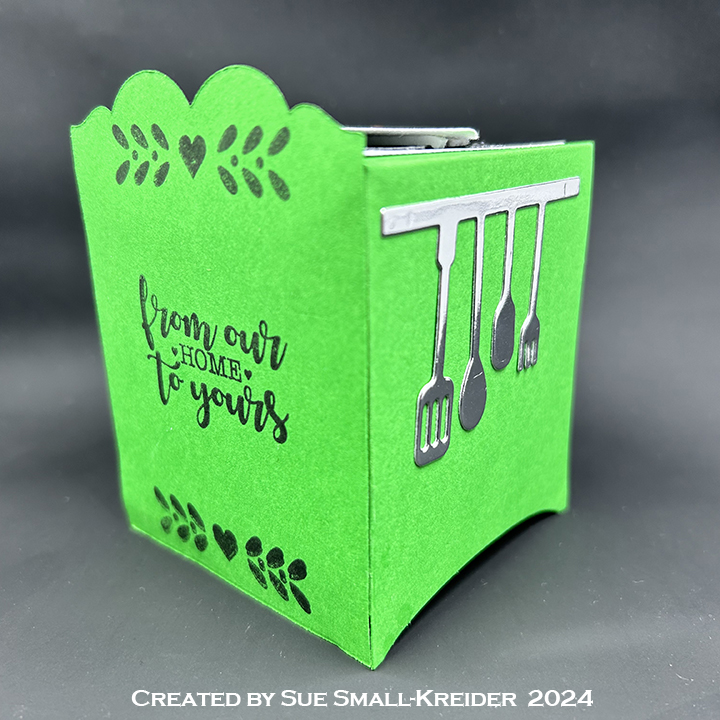
I’m using Tonic Studios showcase set Baked with Love that includes dies and stamps to make this Christmas oven treat box..
Watch video above for a tutorial on how to make the card.
___________________________________
Thank you for experiencing this blog post.
I hope this inspires you and makes you smile.
Please like and leave comments 😊
___________________________________
Disclaimer: Karen Burniston products are provided free of charge by the manufacturer for review and use. All other items were personally purchased. Compensated affiliate links used where or when possible, meaning I will receive a small percentage commission from these manufacturers at no cost to you. This will allow me to add more content to my YouTube channel and help out a lot. Thank you.
Materials Used:
Dies
Tonic Studios – Die Set – Baked With Love
Stamps
Tonic Studios – Clear Stamp Set – Baked With Love
Papers
Silver Foil Cardstock
Acetate/Clear Plastic
Black, Gray, Green and White Cardstock
Ink
Hero Arts – Alcohol-Marker Friendly Ink Pad – Intense Black