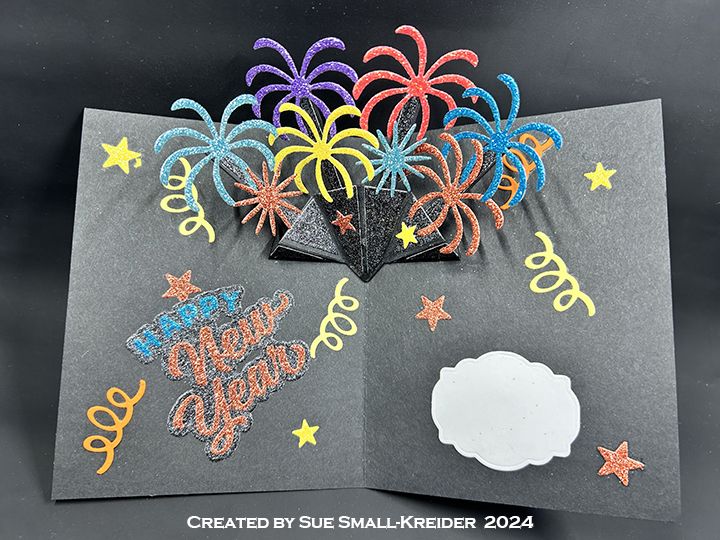
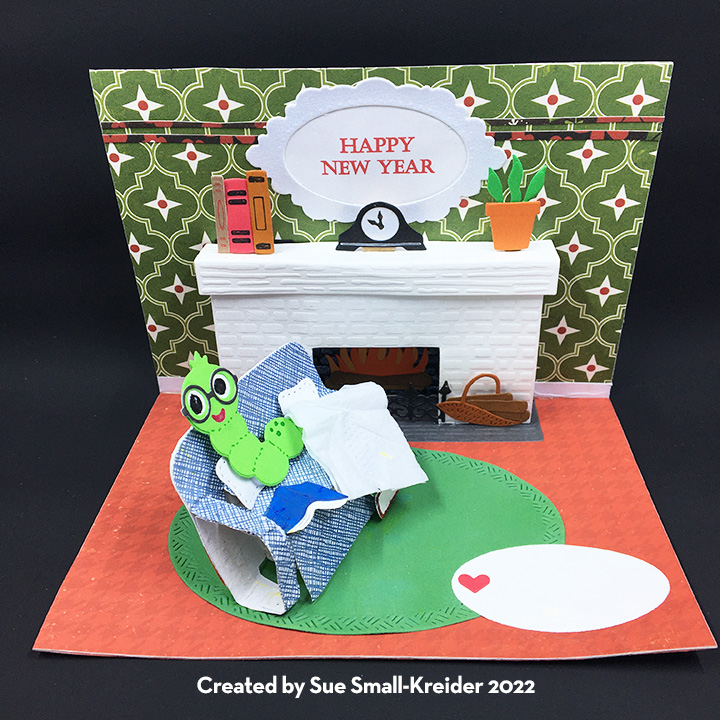
It’s the Karen Burniston design team challenge for December 2024 using the theme of “Happy New Year.” For this challenge I chose to make a top-fold A2 size card with pop-up fireworks and the sentiment “Happy New Year” on a wobble spring.

Watch the process video to see how I made this card.
(Most of the instruction on how to make this card is in the video, but I’ve listed some measurements and sets used below.)

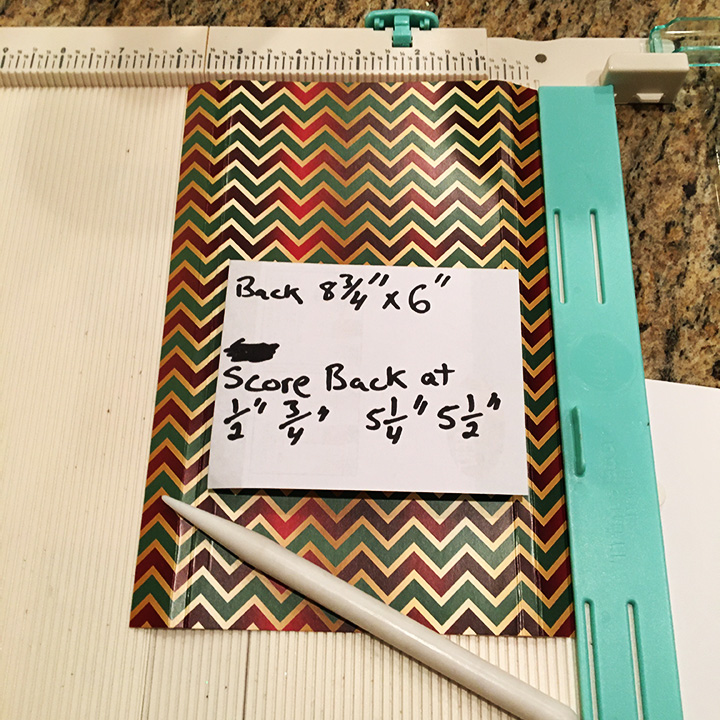
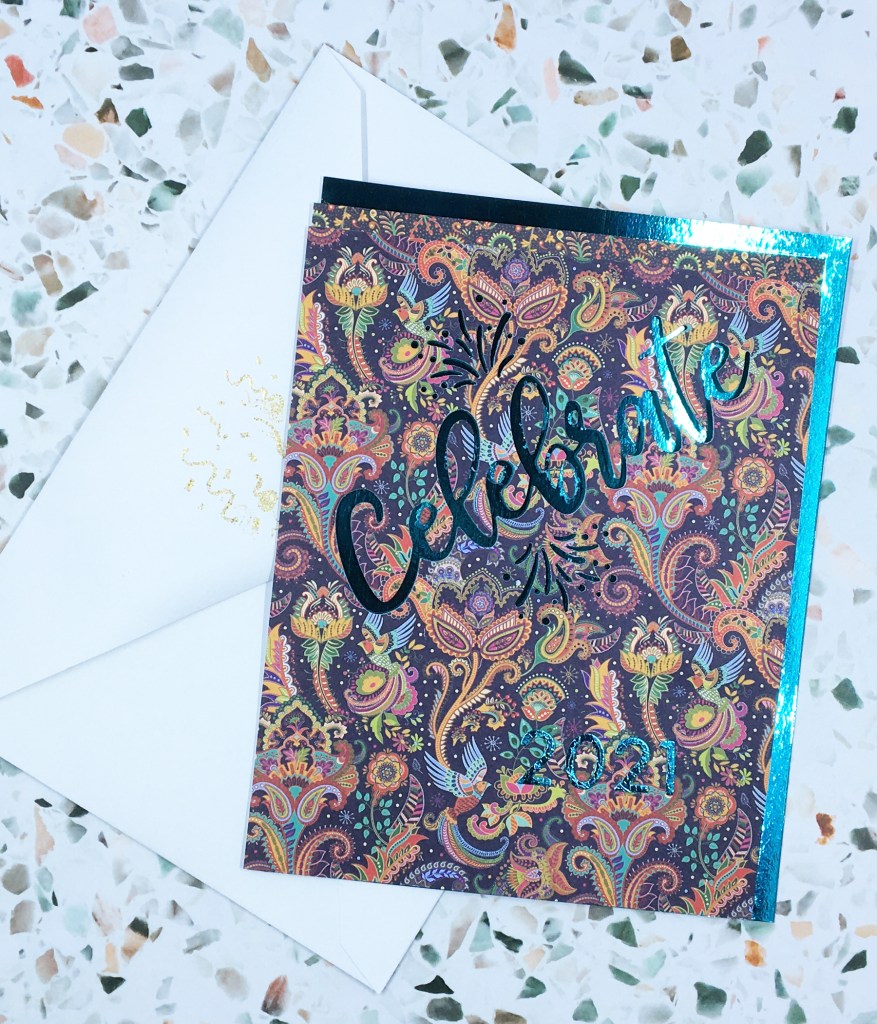
Cardbase: Take an 11×4.25-inch rectangle and fold in half to create an A2 size top-fold card. Cover all four panels with decorative paper.


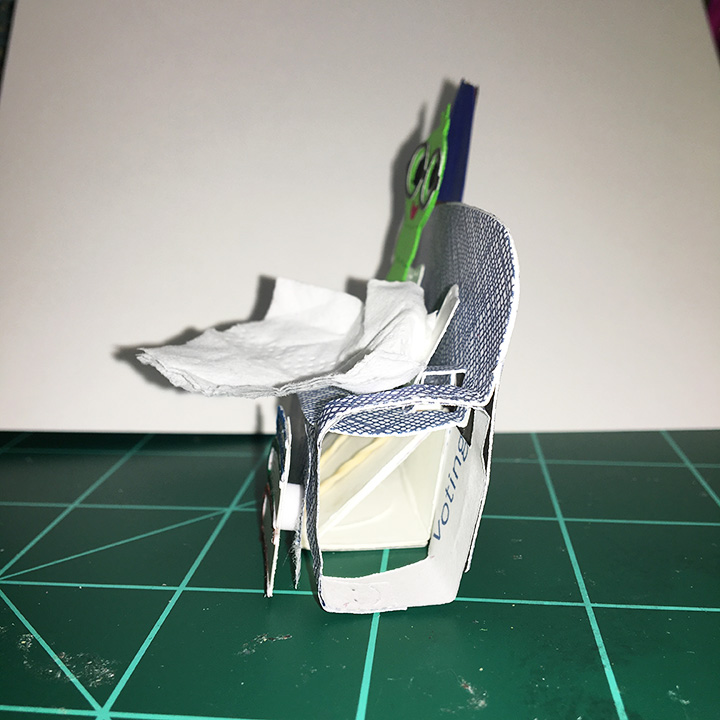
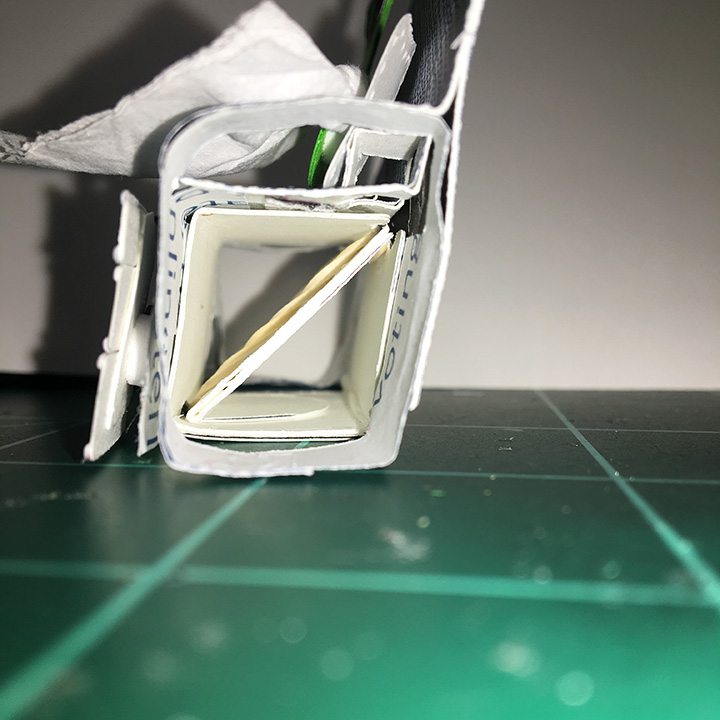
Pop-Up Fireworks: (I’ve used the double Katherine Label Pop-Up mechanism in these other cards – World Card Making Day Card, Flying By Pop-up Birthday Card, Interactive Money Holder Halloween Cards and Do What Brings You Joy.)


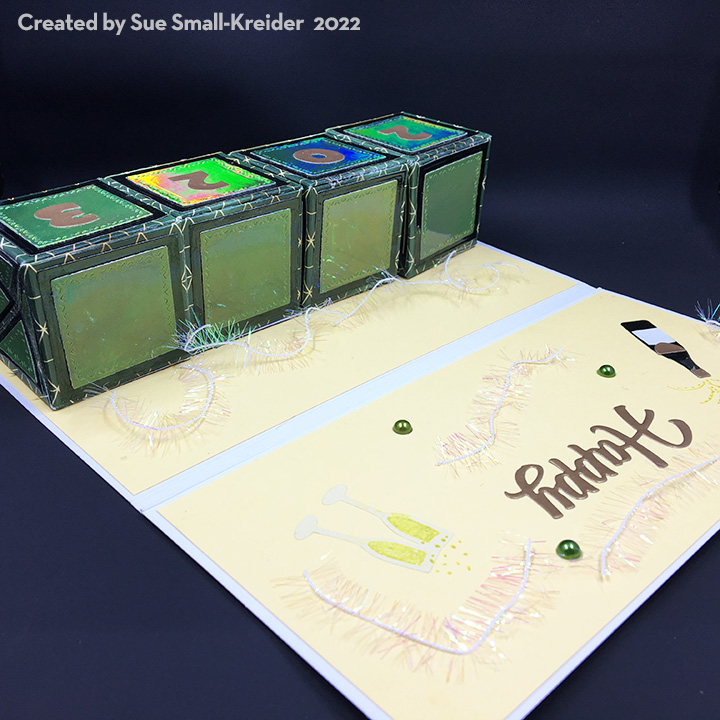
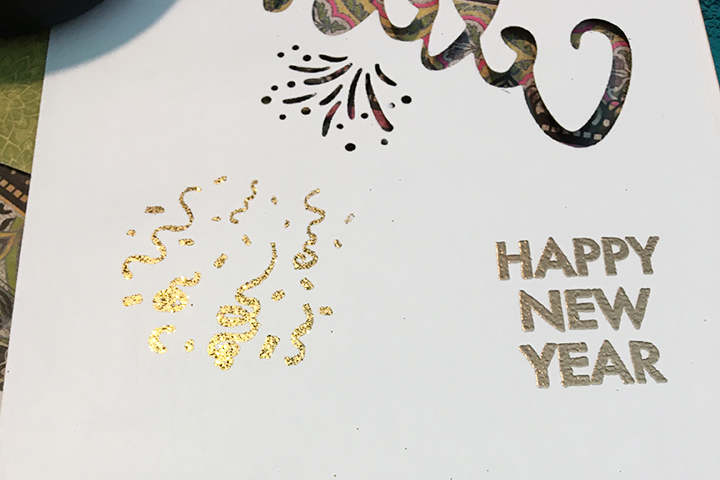
Sentiments: “Good Bye 2024” was made using four different sentiment die sets –Good Luck, Happy Birthday, Happy Easter and Mini Alphabet and Numbers. (See video for the word surgery used to create Good Bye.) “Happy New Year” has separate dies to cut out each word and a shadow die. I used four different foil and glitter cardstocks.

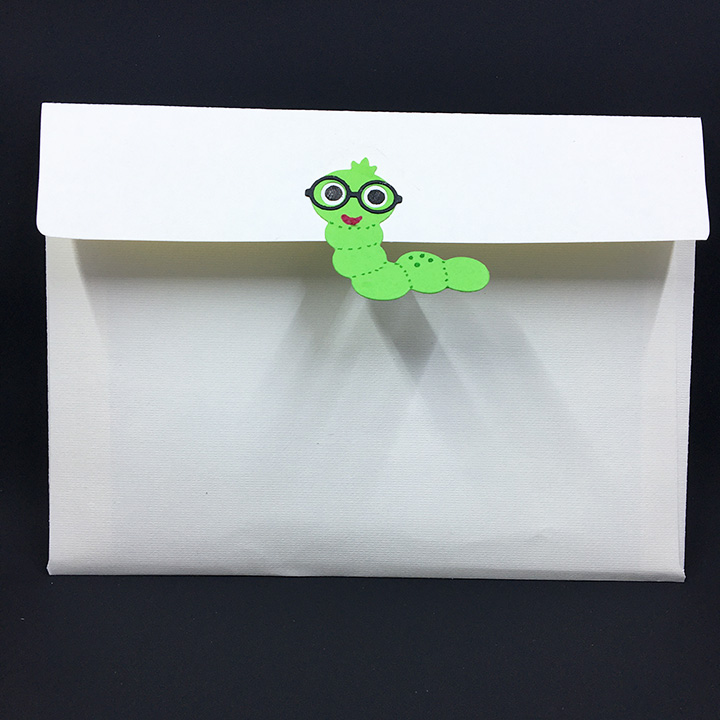
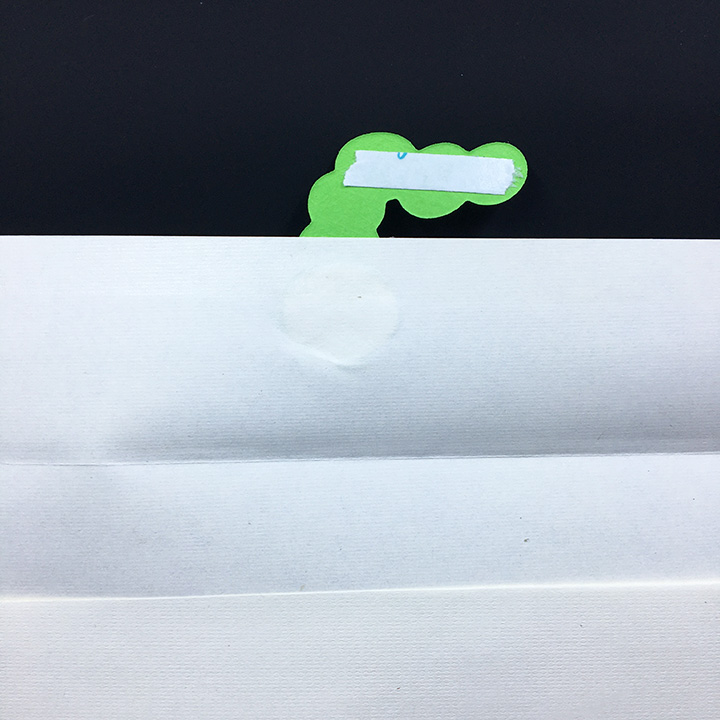
Envelope: The card fits into an A2 (4.25x 5.5-inches) size envelope. To decorate, cover the back flap with matching card papers and stamp with the “Made with Love” from the Special Delivery stamp set. (I wasn’t paying attention and stamped the sentiment with the “Love” upside-down on my envelope.)
___________________________________
Thank you for experiencing this blog post.
I hope this inspires you and makes you smile.
Please subscribe, like and leave comments 😊
Follow my YouTube channel, Instagram and Pinterest as well.
___________________________________
Disclaimer: Karen Burniston products are provided free of charge by the manufacturer for review and use. All other items were personally purchased. Compensated affiliate links used where or when possible, meaning I will receive a small percentage commission from these manufacturers at no cost to you. This will allow me to add more content to my YouTube channel and help out a lot. Thank you.
Materials Used:
Dies
- Karen Burniston in cahoots with Riley and Company – Happy New Year – 1285
- Karen Burniston in cahoots with Riley and Company – Fireworks – 1287
- Karen Burniston in cahoots with Riley and Company – Happy Easter – 1263
- Karen Burniston in cahoots with Riley and Company – Good Luck – 1262
- Karen Burniston in cahoots with Riley and Company – Mini Alphabet and Numbers – 1197
- Karen Burniston in cahoots with Riley and Company – Happy Birthday – 1030
- Karen Burniston in cahoots with Riley and Company – Katherine Label Pop-Up – 1009
Stamps
Papers
- Recollections – 8.5×11 65 lb. Cardstock – White
- Stamperia – 8×8 inch Double-Sided Papers – Backgrounds – Alterego
- Blues and Silver Foil Cardstock
- Silver No-Shed Glitter Cardstock
- Clear Plastic Packaging
- Fraser Papers for William House – A2 Envelope – Genesis Text Milkweed Smooth
Ink
- Memento – Fade Resistant Dye ink – Tuxedo Black
- Pigma – Mircon 01 Fine Tip Pen – Black
Adhesives
Tools
- Die Cutting Machine
- Paper Trimmer
- Bone Folder
- Stamping Blocks used as paperweights
- Scissors
- Paper Masking Tape
- Tweezers
- We R Memories – QuickStick
- Kat Scrappiness – Anti-Static Tool
Miscellaneous
- Simon Says Stamp! – Peppermint Pawsitively Dazzling Gems
- Riley and Company – Wobbles – Mini Action Springs