Popping The Question

Hi Crafty Friends,

Welcome to our Karen Burniston Products – KB Riley LLC December Release Blog Hop. The Design Team have come together with Karen today for a fun blog hop to celebrate the release of 11 new dies. Sneak peeks of the new release started last week, and the dies are available to order NOW!

This proposal is literally popping the question!

Karen Burniston’s December 2022 release includes the Surprise Cube Pop-Up, Slider Box and Wedding Charms die sets used to make this proposal box.

Three decorated Surprise Cubes comfortably fit inside the slider drawer. (See assembly video for Surprise cubes.) Using the smallest crosshatch rectangle from the Slider Box set to hold the big question, it was glued to one side of a cube when flat. Placing this cube in the bottom of the drawer it tends to stay inside the drawer when the other cubes pop out. (Slider Box assembly video)
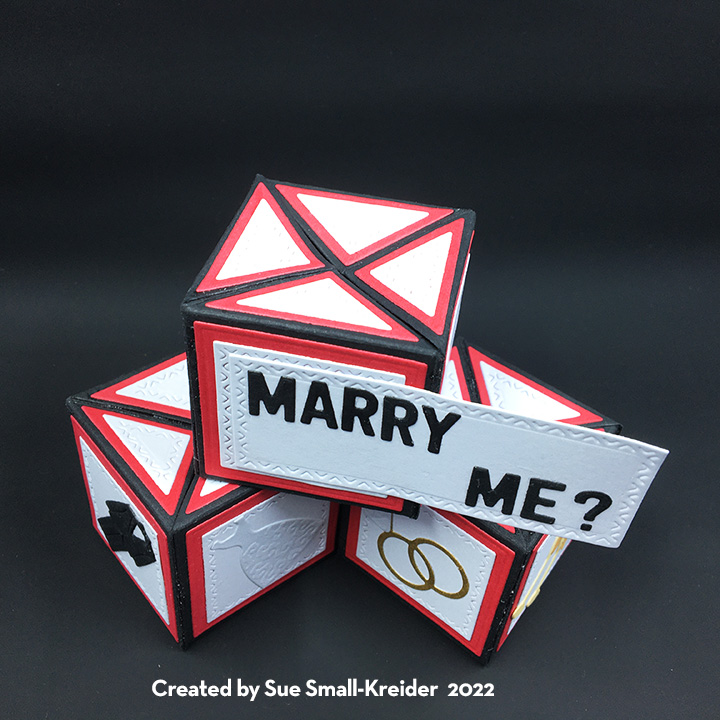
Four different charms- groom tux, bride wedding dress, double wedding rings and clicking champagne glasses – from the Wedding Charms set cover the sides of the cubes.

The tiny crosshatch squares and triangles included in the Surprise Cube set along with matting squares and triangles make for quick decorating. The Mini Alphabet letters spell out the proposal.

Not ready to pop the big question? Then try these die sets for asking someone to the prom, wishing a Happy Birthday or a Happy Christmas. The drawer will fit a gift card under the three cubes.

This release includes:

  • 2 new charm die sets
  • 1 new stand alone die set
  • 2 new Tiny House Add-Ons sets
  • 2 new Pop-up die sets
  • 1 new Woven Box Basket die set
  • 2 new Crosshatch die sets
  • 1 new Box die set

Dies are available to order now on the website.

GIVEAWAY:

To celebrate the release Karen Burniston and each of the Karen Burniston – KB Riley LLC Design Team members will be giving away a $25 Gift Certificate to some lucky person who comments on our blog posts, so make sure you join the hop and comment on everyone’s blog post. Winners will be randomly chosen from ALL of the blog hop comments received on our blog posts by Monday, 19th December 2022. Lots of chances to win some goodies, so just leave a comment on this post or any other blog hop posts to enter! Don’t forget to leave some way for us to contact you, in case you are a lucky winner!

Karen Burniston 

Lois Bak 

Sue Small-Kreider – YOU are HERE
Karen Aicken 

Jennifer Webster 

Frances Byrne 

Nicky Foden 

Sandy Diller  

Suzanne Smit

Fran Sabad 

Marigold Blessings

Weddings can be times of great joy. This wedding card inspired by traditions from India is a brightly colored card using a flower mandala as its centerpiece in marigold colors. 

The marigold petals are three die-cut layers using the free die set from Die-cutting Essentials Issue 78. 

To create the card base, I used a 7-inch tall by 12 inches wide piece of double-sided cardstock. The piece is scored and folded at 1 inch, 3 ½ inches, 8 ½ inches and 11 inches.

The inside sentiment was printed digitally onto printable 8 1/2 x 11 inch vellum and adhered with glue dots.

For the final decoration Nuvo drops were added onto the card front and the flower center.

Thank you for reading this blog post. Please like and leave a comment. 😊

Materials Used:

Dies

Stamps

  • Unknown brand cabbage rose clear stamp possibly from an advent calendar box from Craft Stash

Nuvo Drops

  • Vintage Drops – Post Box Red and Yellow Brick Road
  • Crystal Drops – Bright Gold and Red Berry

Papers

  • First Edition 12×12 Storyteller paper pad
  • Printable vellum

Miscellaneous

Luscious Wedding Wishes

Hi, it’s Sue here from the Dies R Us Design Team with an interactive wedding card.

This card is primarily made with Karen Burniston dies focusing on the Cake Pop-Up in a 3 3/4 inch x 8 3/4 inch card base. (I used a green leafy coated card stock for the base and coordinating mosaic tile cardstock inside.)

Cut out two of each of the cake tier pieces, two of the three scalloped edging pieces and two of the bride and groom piece. (I used shimmer cardstock for all but the groom pieces.) Fold tier pieces on scored lines as shown in the photos. Glue each tier together following the photos.

It is easier to decorate the cake before attaching it to the card. (I added some embellishment drops to the scalloped edges that needed to dry overnight.) Glue one set of bride and groom together on to tab at cake top. Glue the second set on to back side of cake top. Adhere the scalloped edging on to each tier of cake, starting and stopping each scalloped piece at the center fold of each tier.

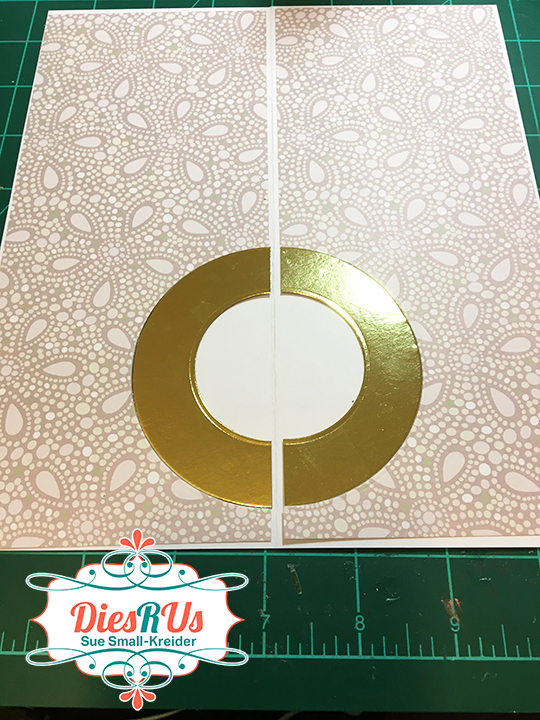
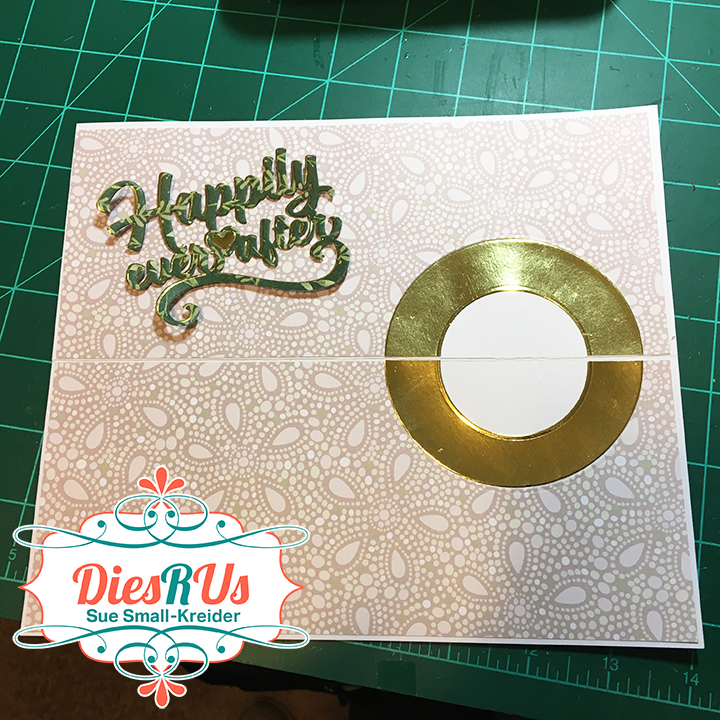
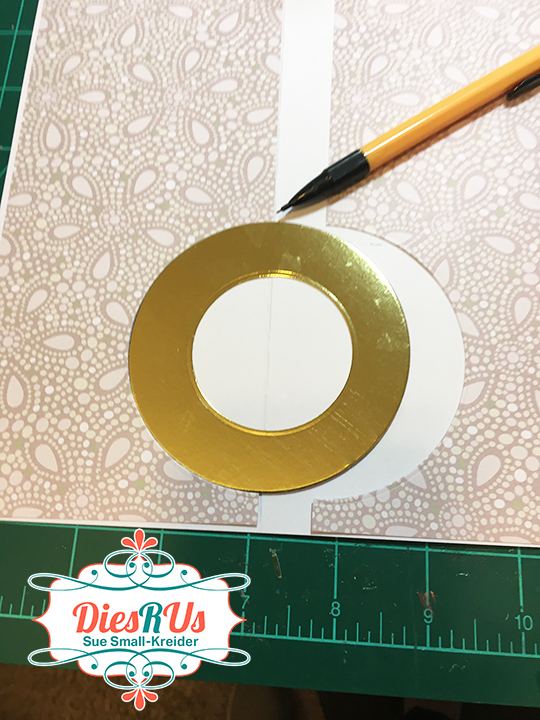
Cut a 3 1/2 inch circle from gold mirror and then cut a 2 inch circle from the center of the larger circle. Cut in half and glue on either side of the card base fold. (Because I used inside decorative panels, I cut out the 3 1/3 circle from my panels so the card would have no catch points and lessen the bulk of the card.) Play with the layout of your decorative pieces before gluing the cake to the gold circle. Align the cake center fold with the card base fold. Place glue on the lowest tier’s folded tabs and glue in place. Fold card closed and firmly press cake to card base. Wait until glue has set to open.

The sentiments for the card front are Karen Burniston’s Word Set 12 -Anniversary and Happily ever after that I cut twice so that I could off-set the gold and green letters and to be able paper piece the gold heart into the green words. The gold borders on the card front are from another Karen Burniston dies set of Party Border Blends.

Hope this fun card has provided some inspiration for your crafting. 😊

SUPPLIES Used from Dies R Us:

Dies

Miscellaneous

Other Supplies:

  • Papers by BoBunny and Recollections’ Shimmer Cardstock
  • Colored and mirror cardstock scraps
  • Nuvo Dream Drops – Cloud 9
  • Stampin’ Up – Crumb Cake ink pad
  • Neenah Social – A7 envelope – Bare white techweave

Happily Ever After

Hi, it’s Sue here from the Dies R Us Design Team with an interactive wedding card.

This card is primarily made with Karen Burniston dies focusing on the Cake Pop-Up in a 7 inch x 5 inch card base. (I used an off-white shimmer card stock for the inside of the card and took mica spray-painted shimmer card panels for the front and back of the card.)

Cut out two of each of the cake tier pieces, two of the three scalloped edging pieces and two of the bride and groom piece. (I used shimmer cardstock for all but the groom pieces.) Fold tier pieces on scored lines as shown in the video. Glue each tier together following the video.

It is easier to decorate the cake before attaching it to the card. (I added some embellishment drops to the scalloped edges that needed to dry overnight.) Glue one set of bride and groom together on to tab at cake top. Glue the second set on to back side of cake top. Adhere the scalloped edging on to each tier of cake, starting and stopping each scalloped piece at the center fold of each tier.

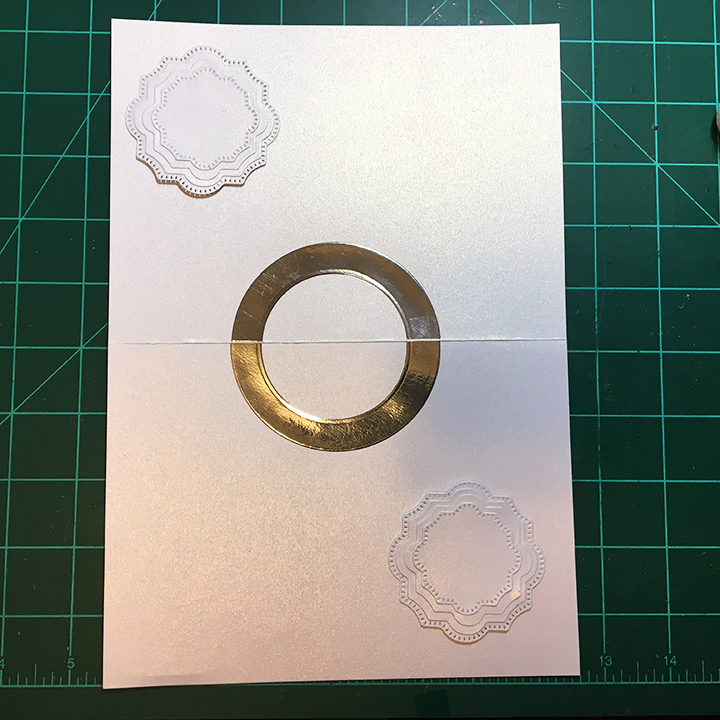
Cut a 3 1/4 inch circle from silver mirror and then cut a 2 1/4 inch circle from the center of the larger circle. Cut in half and glue on either side of the card base fold. Play with the layout of your decorative pieces before gluing the cake to the silver circle. Align the cake center fold with the card base fold. Place glue on the lowest tier’s folded tabs and glue in place. Fold card closed and firmly press cake to card base. Wait until glue has set to open.

I used the fancy layered label and tiny hearts dies from the Paper Frames Pop-Up set to decorate the inside of the card. (To make the tiny hearts be visible I coated them in a peachy translucent embellishment drops that had to dry overnight.)

The sentiments for the card front are dies from my stash and the “Happily ever after” is a Karen Burniston die that I cut twice so that I could paper piece the red heart into the blue words. The gold swags on the card front are from another Karen Burniston dies set of Party Border Blends.

Hope this fun card has provided some inspiration for your crafting. 😊

SUPPLIES Used from Dies R Us:

Dies

Miscellaneous

Other Supplies:

  • Simply Creative Mr & Mrs steel cutting die
  • Momenta Firefly’s Celebrate Happy Birthday die set 35516 R7
  • Papers by BoBunny and Recollections’ Shimmer Cardstock
  • Colored and mirror cardstock scraps
  • Nuvo Dream Drops – Cloud 9
  • Nuvo Jewel Drops – Peach Sobert
  • “Congratulations” stamp by Jennifer Ellory from Cardmaking & Papercraft issue 178
  • Stampin’ Up – Crumb Cake ink pad
  • Neenah Social – A7 envelope – Bare white techweave
  • Nuvo Mica Mists – Pecan Peach, Nebula Blue, Silver Smoke and Antique Gold

Don’t forget to come join in the fun at the Dies R Us Challenge Blog. There’s a new challenge theme offered on the 1st and 15th of each month and one lucky randomly drawn winner will receive a gift voucher prize to the Dies R Us Store.  

 For your convenience, all the important Dies R Us links are provided below.

click below for:

STORE

CHALLENGE BLOG

FACEBOOK

INSPIRATION BLOG

FRIENDS OF DIES R US PINTEREST PAGE

Celebrating Mr. & Mrs.

wedding-cake-front-e1564794722688.jpg

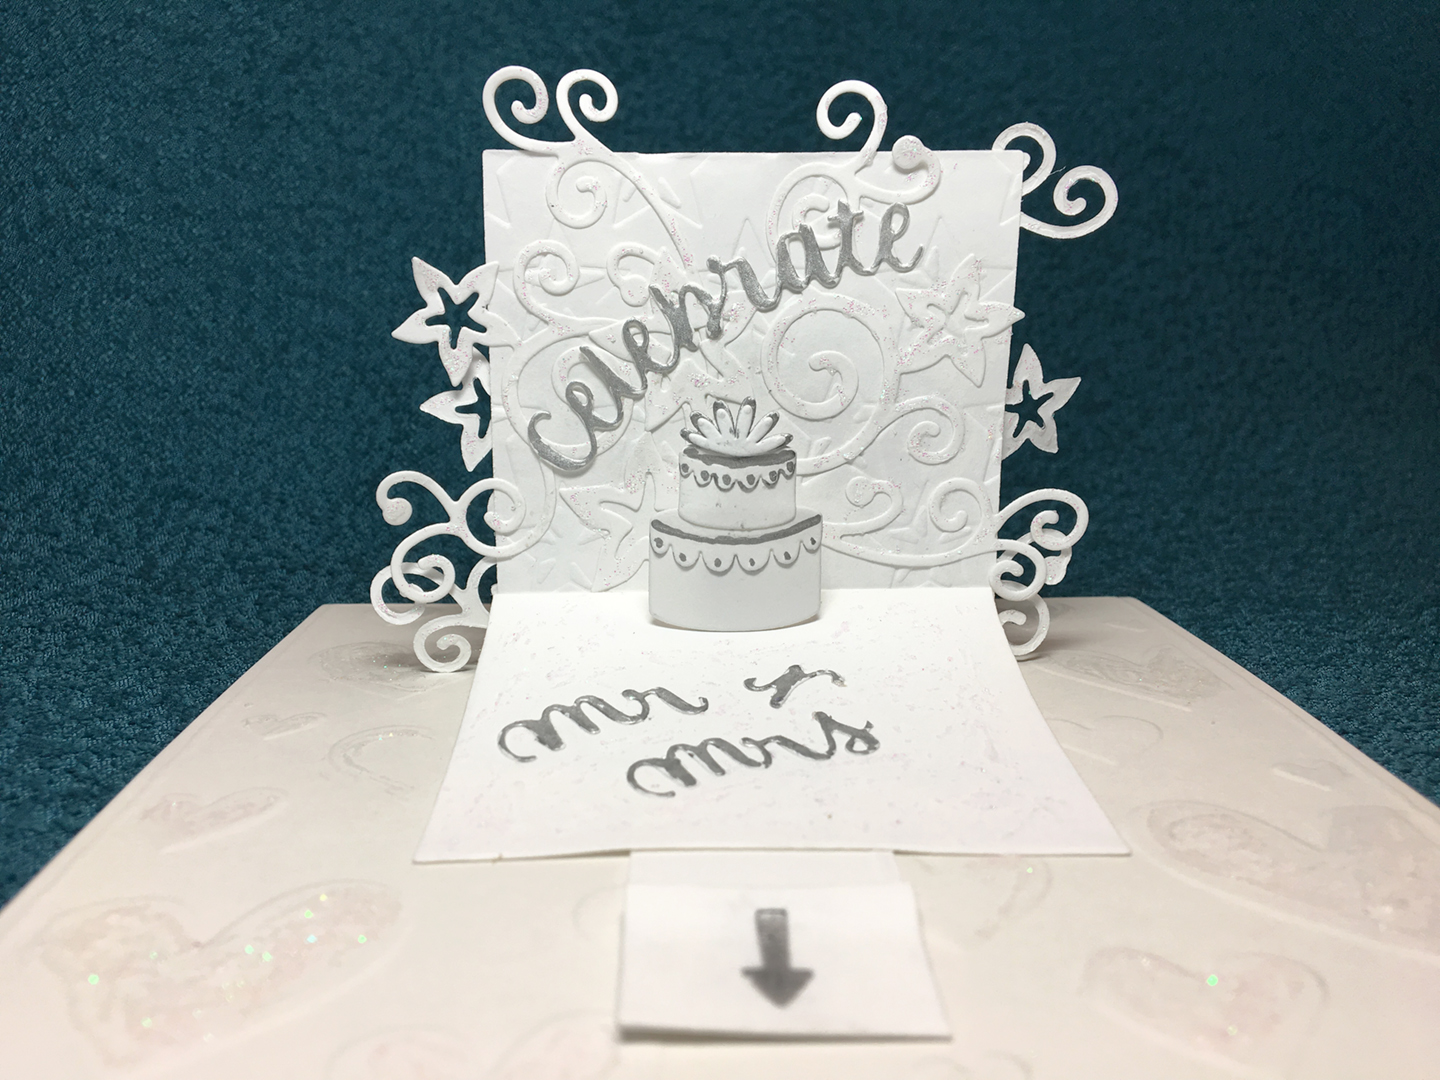
Weddings, the formal ceremony and celebration of two people becoming one.

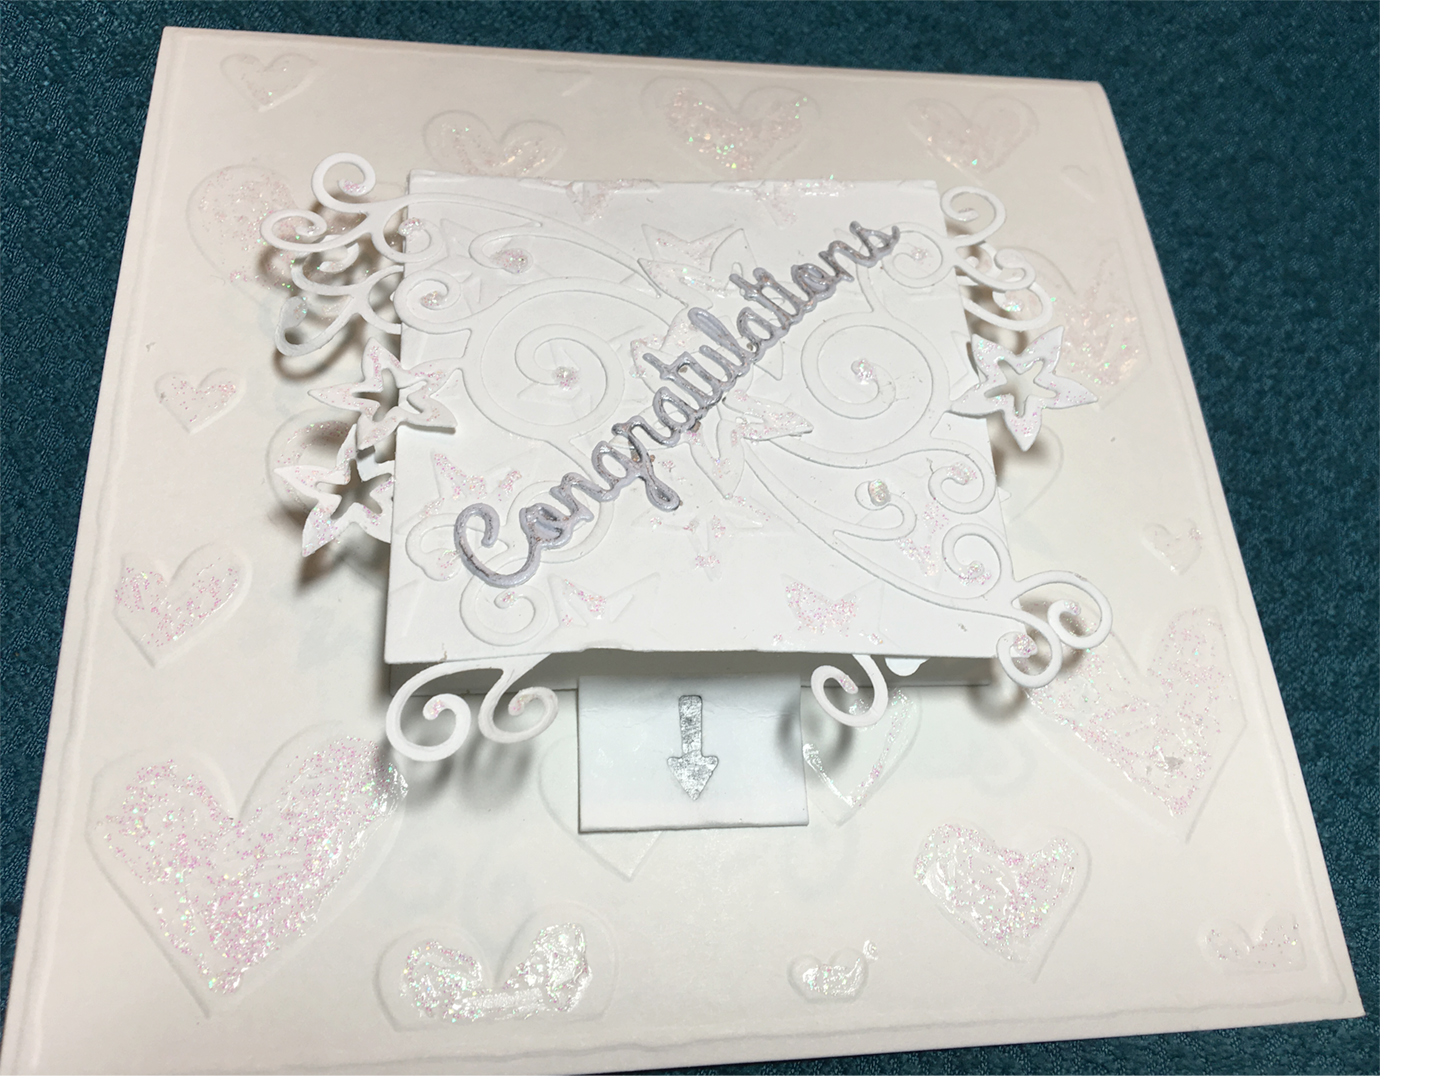
This card was created using Karen Burniston’s Frame Pull Pop-Up die set for the pop-up and Poppy Crafts Star Flourish die and star embossing folder for decorations.

WEDDING Cake-Front Angle

The base card with hearts is one from DCWV’s Embossed Box of Cards 5 1/2 x 5 1/2 inches.WEDDING Cake-Pop-Up

I used a silver metallic pen to color the die-cut letters and cake accents. Nuvo Glitter Drops were used to add a bit of sparkle to embossed hearts and pop-up flourishes.

Inside tabs cut to hold a gift card.

SUPPLIES USED:

Dies & Embossing Folder

Paper

Miscellaneous