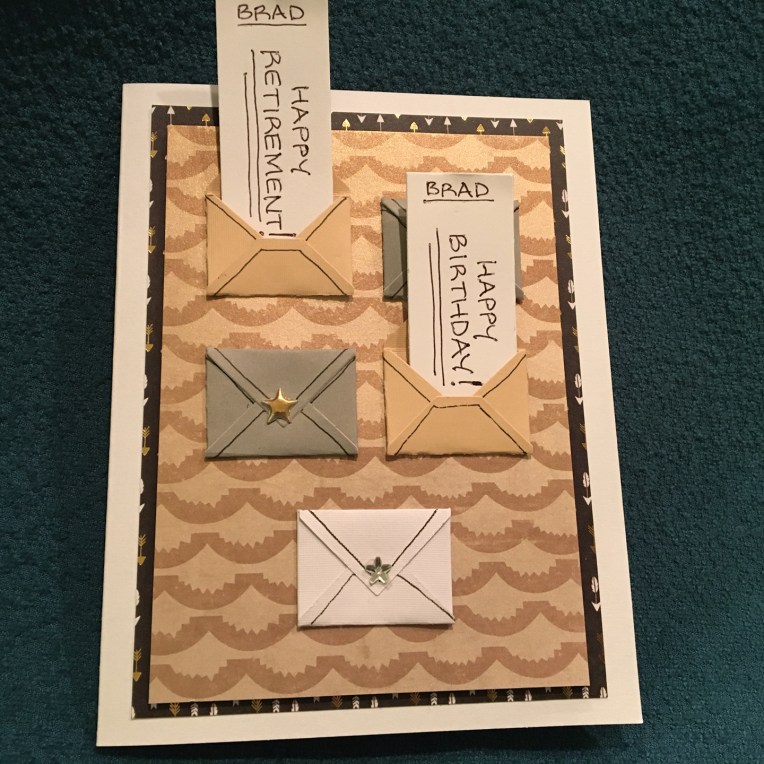
Get on board the Birthday Train! This was my first attempt at using Karen Burniston’s Train Pivot Panels and companion Train Elements. Having made other of KB’s pivot panels I found it an easy assembly. (If you haven’t made a pivot panel card before, please look at her assembly videos.)

I used bright primary colors for the card using lots of scraps bits for the words and tiny decoration pieces. “Enjoy” and “ride” are double cut from red and blue papers and off-set to give a shadow effect. The card base is from Karen Burniston’s Circle Tag Book Pop-up. The red grosgrain ribbon hides the tiny portion of train’s “cow catcher” and tracks that show beyond the rounded edge.
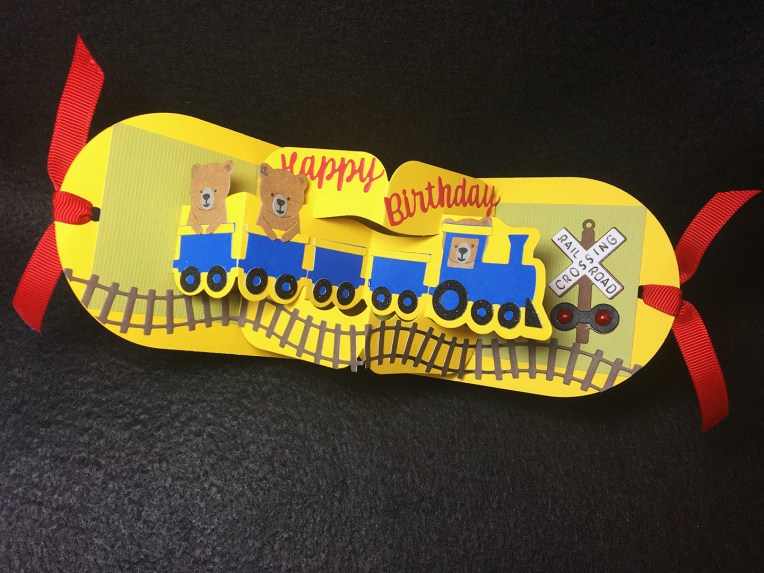
Two pearl-like domed dots were used for the railroad crossing sign.(I removed these dots and replaced with red circles of cardstock when I sent the card to a two year old because of the fear he would try to eat them.) Bears are from KB’s Winter Animals die set.
SUPPLIES USED:
Dies
- Karen Burniston in cahoots with Riley and Company – 1106 – Train Pivot Panels Die Set
- Karen Burniston in cahoots with Riley and Company – 1107 – Train Elements Die Set
- Karen Burniston in cahoots with Riley and Company – 1103 – Enjoy the Ride Die Set
- Karen Burniston in cahoots with Riley and Company – 1003 – Word Set 2 – Birthday Die Set
- Karen Burniston in cahoots with Riley and Company – 1016 – Winter Animals
Paper:
- Cardstock scraps from my stash including black glitter cardstock for wheels
Miscellaneous:
- Black and Gold gel pens
- Tombow Multi Liquid Glue
- Red Grosgrain Ribbon
- Red Pearl Dot Stickers from Dollar Tree


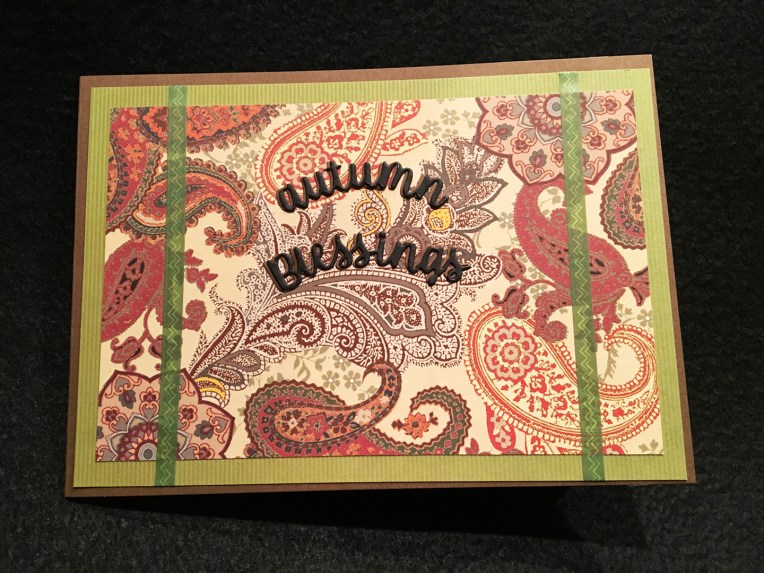
 Autumn leaves are falling. This simple shadow box card is made using
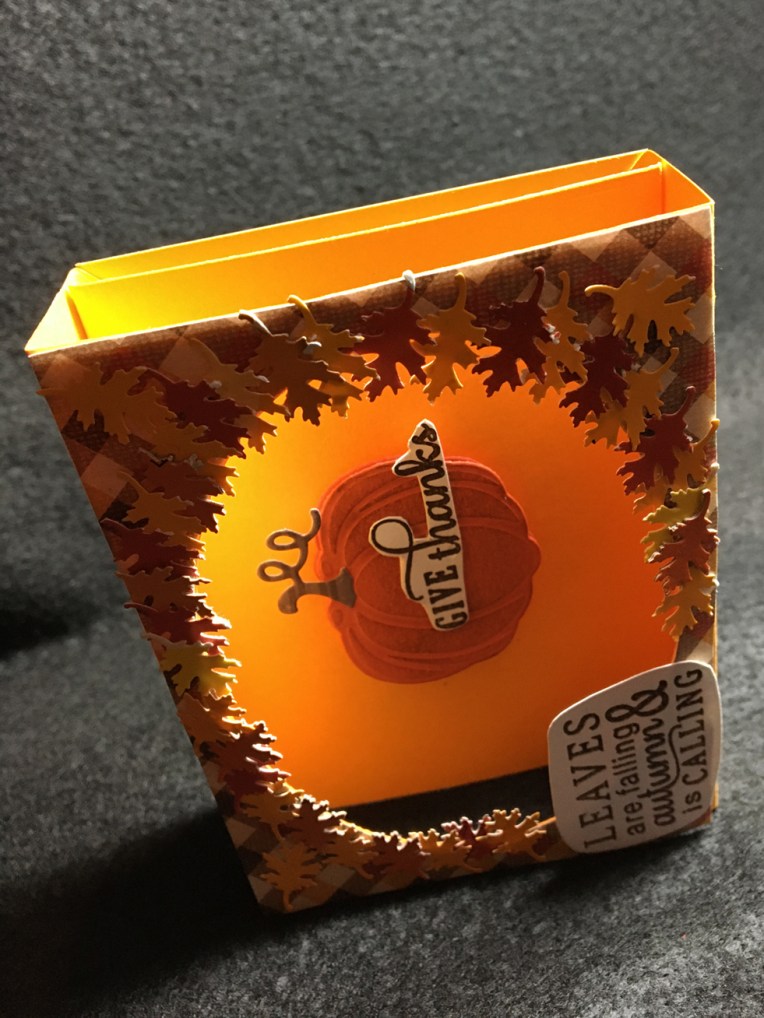

 Shadow box cards can be as simple or as complicated as you want to make them. Let It Snow is of medium difficultly. This die set, along with strong double-sided tape, makes it quick to cut and assemble a four-panel shadow box with depth and character. You can choose to color or not.
 Step 7: Assembly – start with blue background and peel off backing of one shadow box tab tape on inside of box. Line up long side of blue paper to folded edge of tab.
 Step 8: Peel off tape on back panel same side as blue panel and line up with fold of shadowbox tab.
  Repeat with other three panels butting the edge of new panel up to folded edge of previous panel until all panels are adhered to inside of shadow box.
 Step 9: Peel off tape on Front panel and line it up on opposite side of shadow box to be equal distance from front opening as other side of panel.
  Repeat with remaining three panels.
 Step 10: Peel off tape on inside of shadow box tab and adhere blue panel.
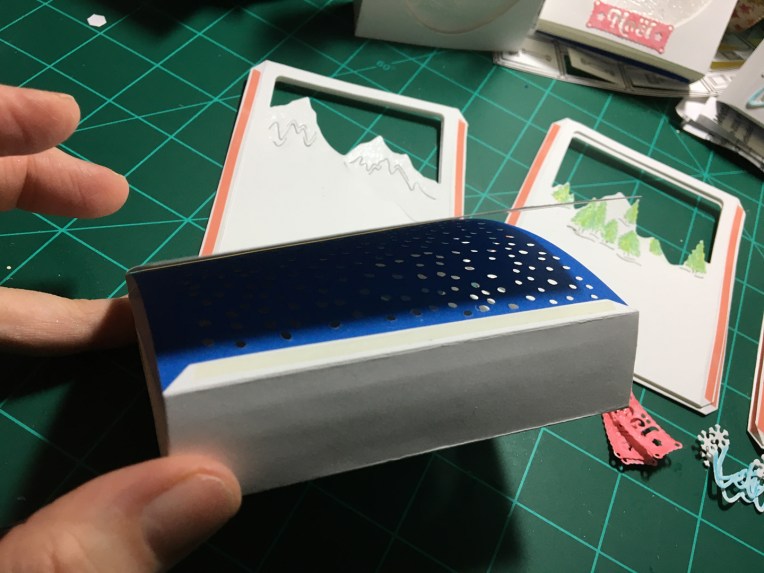 Step 11: Peel off tape on outside of shadow box tabs and adhere white card panel.