
It’s time for the September 2024 Karen Burniston Design Team Challenge with the theme of Seasons.
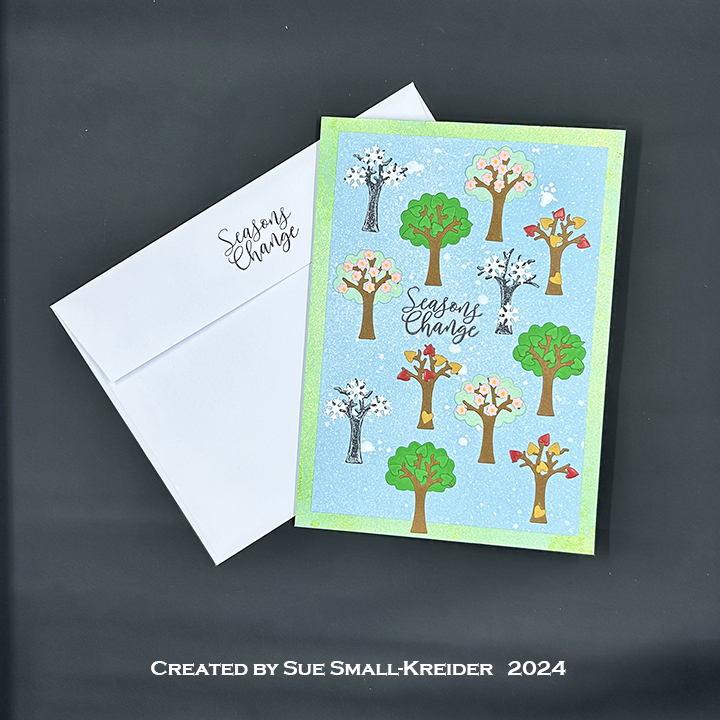
This card could be used for retirement, thinking of you, and encouragement depending on what extra sentiment is added to the card. Watch the tutorial video below. You may also want to watch the assembly video for the Square Spinner Pop-Up die located at the bottom of this linked page.
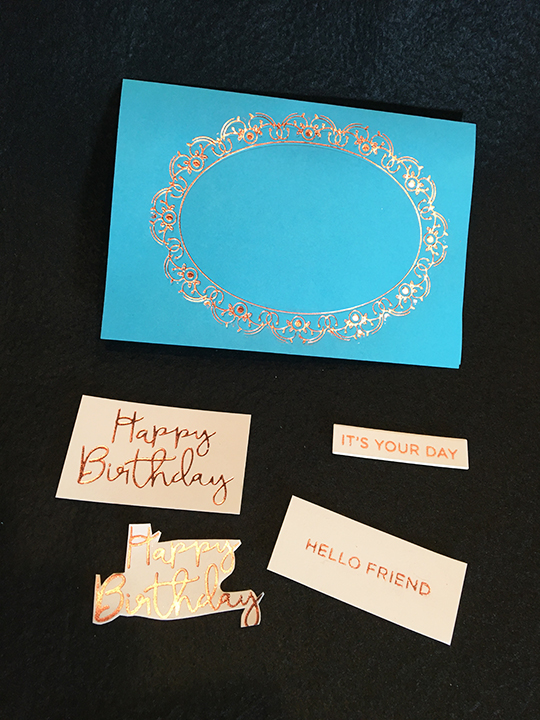
The cardbase is a purchase A7 size (5×7-inches) The inside decorative papers are 4 3/4 x 6 3/4-inches. The outside panels have a 5×7-inches base and a 4 1/2 x 6 1/2-inch topper. The front panels were sprayed with white ink on the blue cardstock and green mica on the green cardstock.
___________________________________
Thank you for experiencing this blog post.
I hope this inspires you and makes you smile.
Please like and leave comments 😊
___________________________________
Materials Used:
Dies
- Karen Burniston in cahoots with Riley and Company – Tree Add-Ons – 1273
- Karen Burniston in cahoots with Riley and Company – Landscape Scene – 1141
- Karen Burniston in cahoots with Riley and Company – Circles – Crosshatch – 1057
- Karen Burniston in cahoots with Riley and Company – Spinner Square Pop-Up – 1042
Stamps
Papers
- Concord & 9th – Cardstock – Harbor & Sea Glass
- The Paper Studio – 8.5×11 Clear Vellum
- The Paper Studio – 8.5×11 Pattern Paper – Pastel Abstract
- Black, Brown, Green, Orange, Pink, Red, White and Yellow Cardstock
- Park Lane Paperie – A7 Cardbase and Envelope – White
Ink
- StazOn – Solvent Ink – Jet Black
- Avery Elle – White Spray Ink
- Nuvo Mica Mist – Fresh Pear
- Pigma – Mircon 01 Fine Tip Pen – Black
- Scrapbook.com – Glitter Brush Marker – Orange Juice
- Sharpie – Permanent Marker – Ultra Fine Tip – Yellow
- Sakura – Gelly Roll Pen – Medium – White
- Nuvo – Aqua Shimmer – Glitter Gloss
Adhesives
- Neutral PH Adhesive by LINECO
- Fine-Tip Glue Bottle
- Double-Sided Tape – 1/2-inch wide
Tools
- Die Cutting Machine
- Bone Folder
- We R Memories – QuickStick
- Stamping Platform
- Brutus Monroe – Stick & Stamp Mat
- Scissors
- Pencil
- Paper Masking Tape


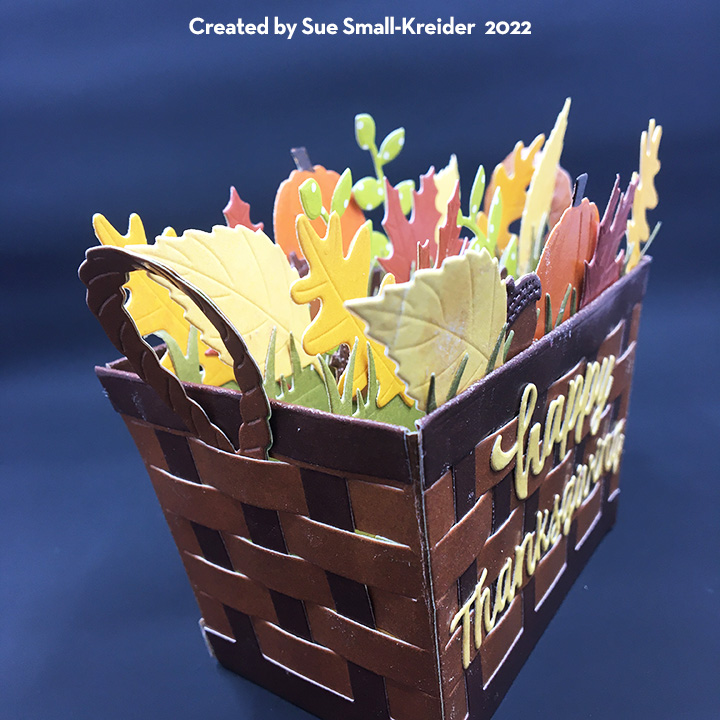
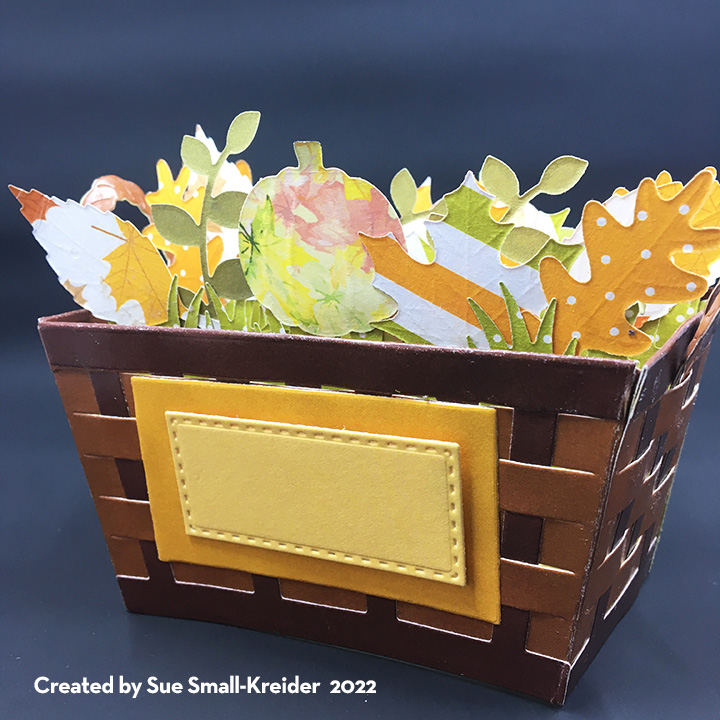


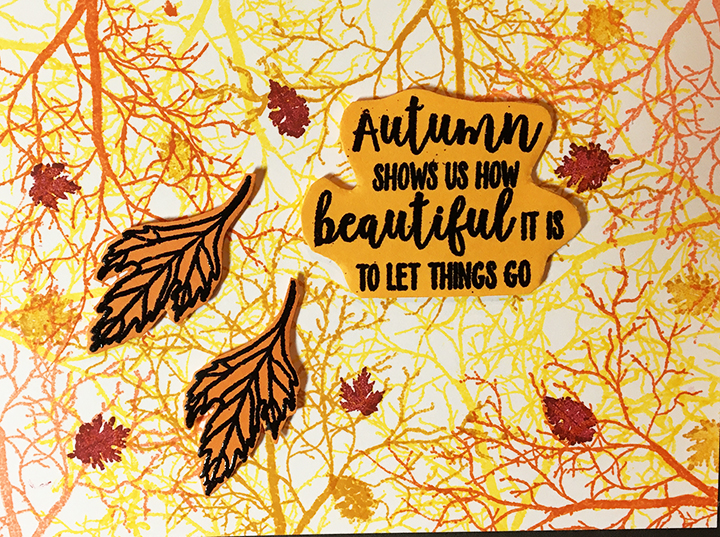


 Autumn leaves are falling. This simple shadow box card is made using


