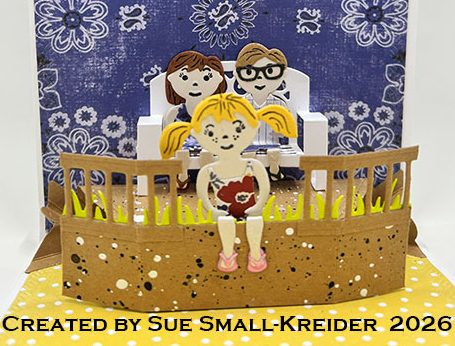
Watching Fireworks Pop-Up Card

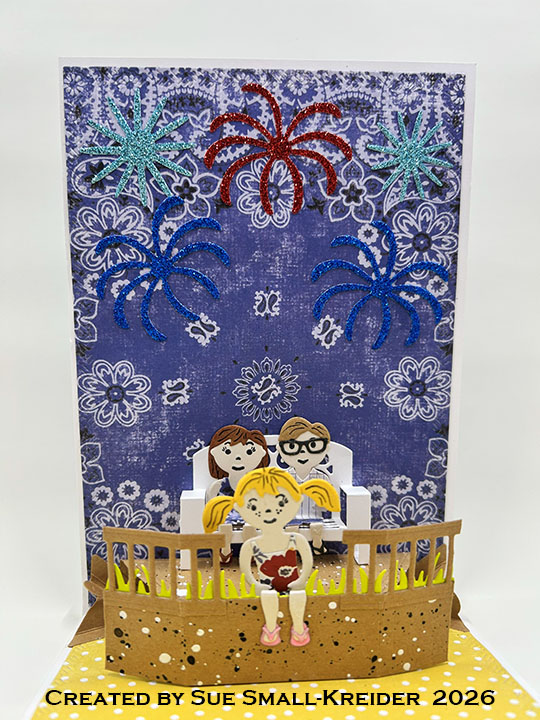
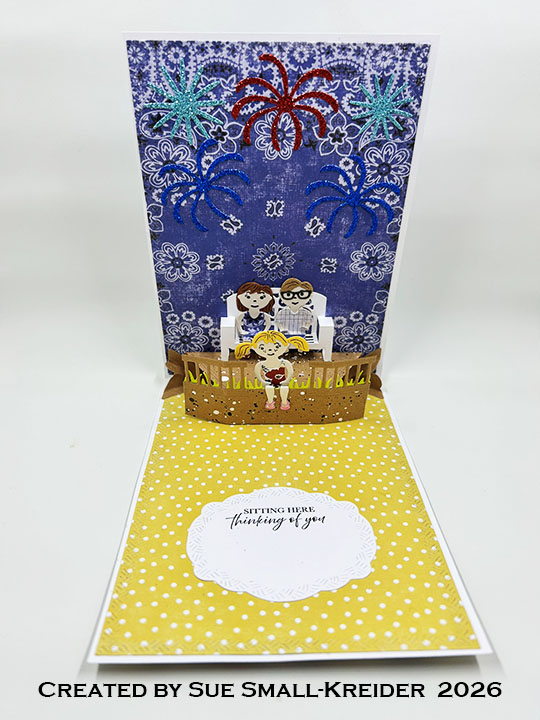
Using Karen Burniston‘s new July 2026 release Paper People Summer Styles, Little Bench Pop-Up, Gazebo Stage Add-Ons as well as previously released Grass Stage Add-Ons, Stage Pop-Up, Display Helpers, Fireworks, and Rectangles and Labels – Crosshatch, I made a 5×7-inch card that celebrates watching fireworks from the back deck with your family. It uses alternative methods for using the dies.It also uses two new stamp sets – Beer and Soda Sayings and Garden Greetings.
Watch the video below to learn how I made this card.

Cardbase: Cut a 5×7-inch rectangle and a 5×7.25-inch rectangle scored at .25-inches. Fold and glue tab to back of smaller rectangle to form a top-fold A7 size cardbase. Cut four of the largest crosshatch rectangle die in the Rectangles and Labels – Crosshatch from patterned paper and glue to the four panels of the cardbase.
Paper People: Cut three figures using the body die in the Paper People Summer Styles set. Stamp faces on them using the Fun Faces1 stamp set. Watch the video above to learn more about how I styles this family of three using just the dies in this die set. (I accidentally mixed up my body dies between the original Paper People set and the new one and so the original body shape with the very thin waist was used for the little girl. The feet are a bit different so the flip flops look big on her.)
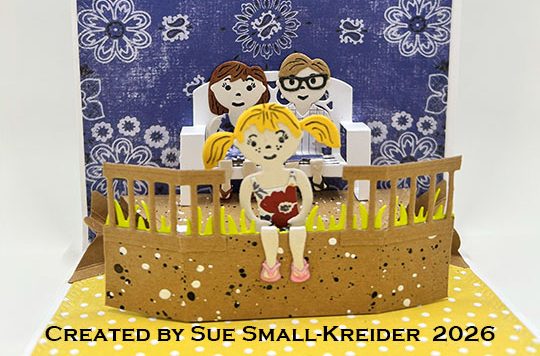
Deck: (My original idea was to have a half gazebo on this card, but the roof and side panels only work for a free-standing gazebo, hence the deck.) Cut one base piece, one side piece and one polygon decorative piece from the Stage Pop-Up die set. Cut one grassy side piece from the Grass Stage Add-Ons set. Cut one railing from the Gazebo Stage Add-Ons. (In hindsight, I would recommend gluing the grass strip whole to the brown side strip, but not to train any of the folds. Add railing as shown in the video. Also cut a rectangle the size of the deck instead of the polygon decorative piece. Trim the siding piece to the size of the rectangle.) Add two Display Helpers to either side of the deck to keep the card open.

Bench Pop-Up: This is an alternative way to use the Little Bench Pop-Up. Cut one bench and trim off the table strip as shown in the video above. Assemble as shown in video. Add glue to bottom of legs and to the back of bench to attach bench to deck and blue background. (Suggest bending Paper People bodies to fit bench, before styling them with clothes. This will allow you to avoid bending through three layers of clothing having to do “knee surgery” to get them to fit and bend up when card is closed.)
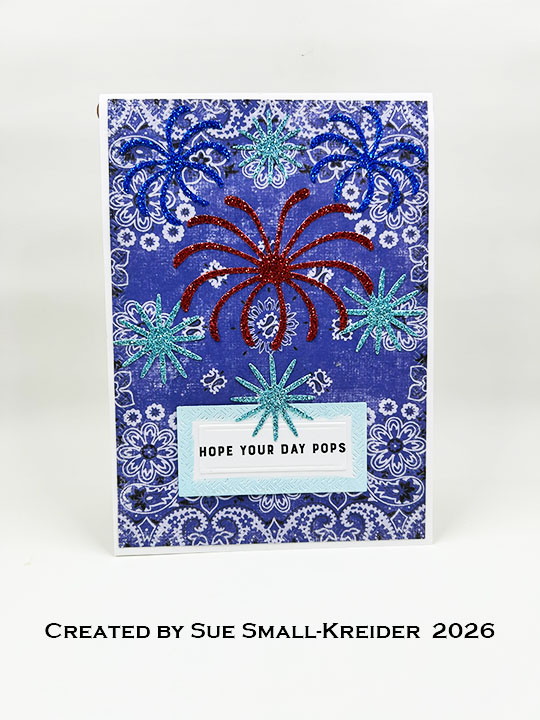
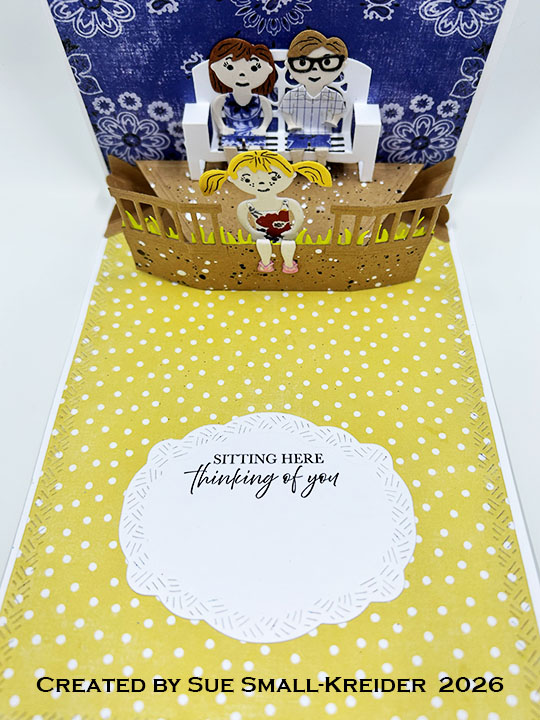
Sentiments: The front sentiment “Hope your day pops” comes from the Beer and Soda Sayings stamp set. Using the fancy label die from the Rectangles and Labels – Crosshatch for the inside sentiment of “Sitting here thinking of you” which comes from the Garden Greetings stamp set. The fireworks on the card front and inside are cut from glitter cardstock using the Fireworks die set.

Envelope: The card fits into an A7 (5×7-inch) envelope.

___________________________________

I hope this inspires you and makes you smile.

Please subscribe, like and leave comments 😊

Follow my YouTube channel, Instagram and Pinterest as well.

___________________________________

Disclaimer: Karen Burniston products are provided free of charge by the manufacturer for review and use. All other items were personally purchased. Compensated affiliate links used where or when possible, meaning I will receive a small percentage commission from these manufacturers at no cost to you. This will allow me to add more content to my YouTube channel and help out a lot. Thank you.

Materials Used:

Dies

Stamps

Papers

  • DCWV – 6×6 inch Glitter Stacks – Brights & Pastels
  • Recollections – 8.5×11 65 lb. Cardstock – Kraft
  • Simple Stories – 6×8 inch Double-Sided Cardstock – Simple Vintage Linen Market
  • The Paper Studio – 8.5×11 65 lb. Cardstock – White

Ink

  • Catherine Pooler – Bottled Ink – Pearl Shimmer
  • Hero Arts – Acrylic Spray – Opaque White
  • Hero Arts – Silk Ink – Bronze
  • Memento – Fade Resistant Dye Ink – Tuxedo Black
  • OLO Marker – N-G9 Neutral Gray & RV 0.2 Bubble Gum
  • Pigma – Mircon 05 Fine Tip Pen – Black
  • Scrapbook.com – Shimmer Glitter Brush Marker – Frosty Blue
  • Spellbinders – Splatter Effects – Raven
  • Stampin’ Up – Stampin’ Blends Marker – Light Copper Clay

Adhesives

Tools

  • Die Cutting Machine
  • Paper Trimmer
  • Bone Folder
  • Stamping Platform
  • Stamping Blocks used as paperweights
  • Scissors
  • Tweezers
  • Paper Masking Tape

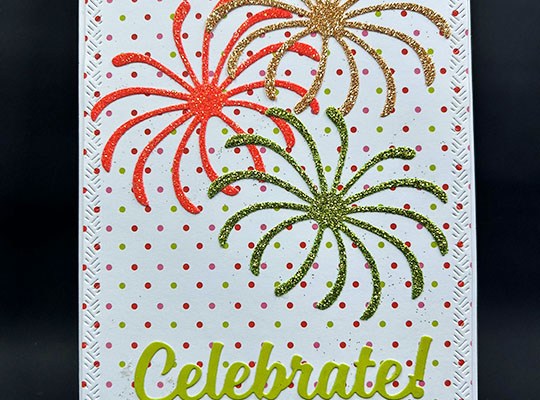
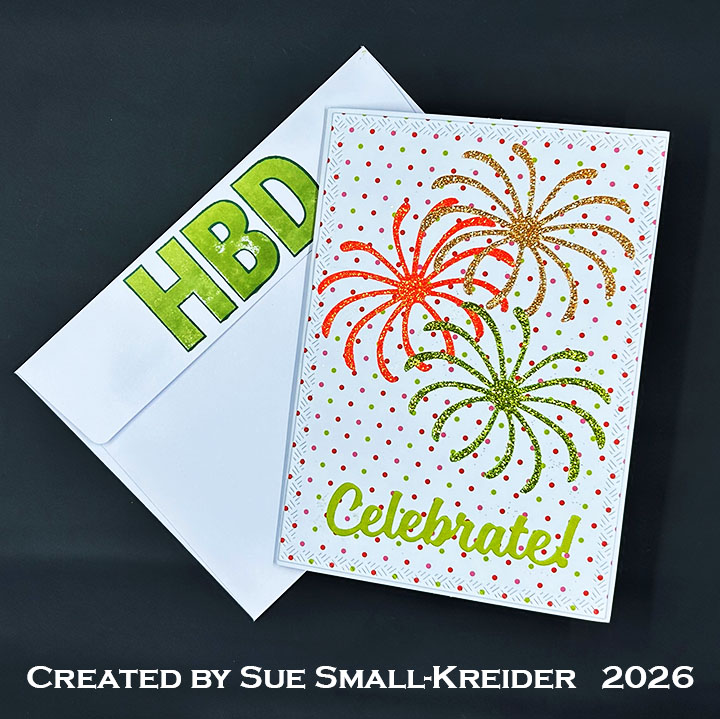
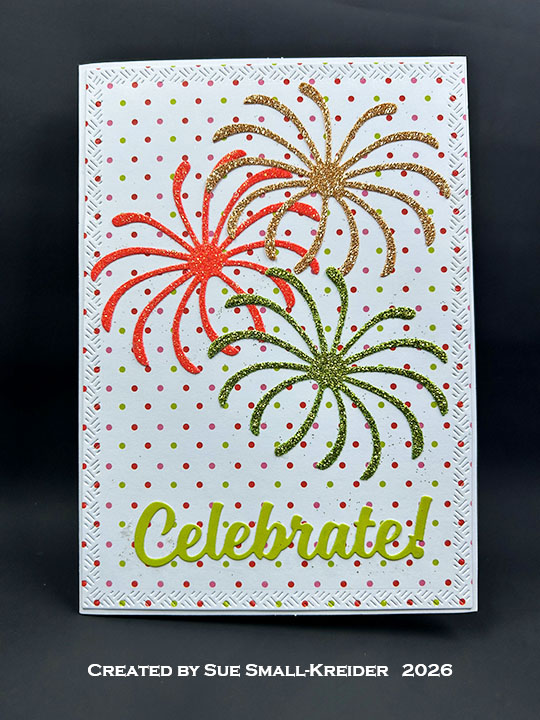
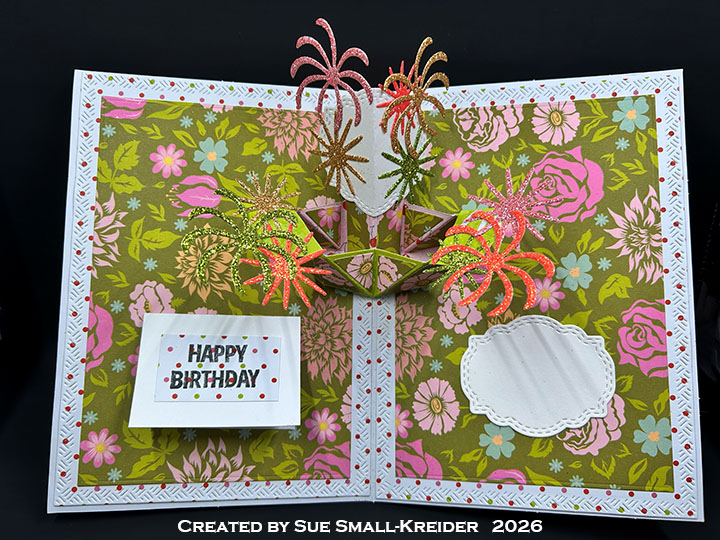
Fireworks Pop-Up Birthday Card

This card was made for Craft Roulette #302 whose parameters were: a card on card project, unicorn farm colors, light(s) element and label(s). I used Karen Burniston dies and Craft Roulette stamps for this pop-up birthday card.

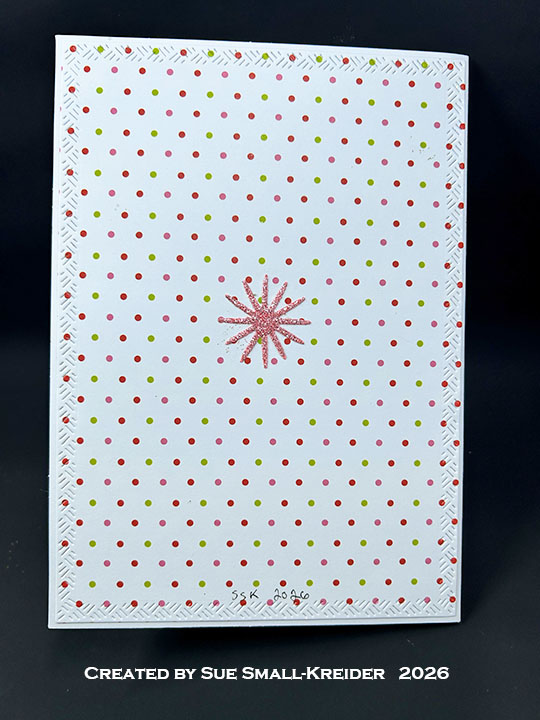
Cardbase: I used a purchased American size A7 (5×7-inches) cardbase and matching envelope. The card base is covered with decorative paper panels inside and out using Karen Burniston’s Rectangles and Labels – Crosshatch dies.

Pop-Up: Karen Burniston’s Triple Platform Pop-Up was used to create the pop-up inside that supports the glitter cardstock Fireworks. (Watch the assembly video at the bottom of the linked page for the Triple Platform Pop-Up.)

Sentiments:Celebrate!” is a Karen Burniston die cut in green. The Happy Birthday sentiment inside is from Craft Roulette’s Funn Sentiments #1.

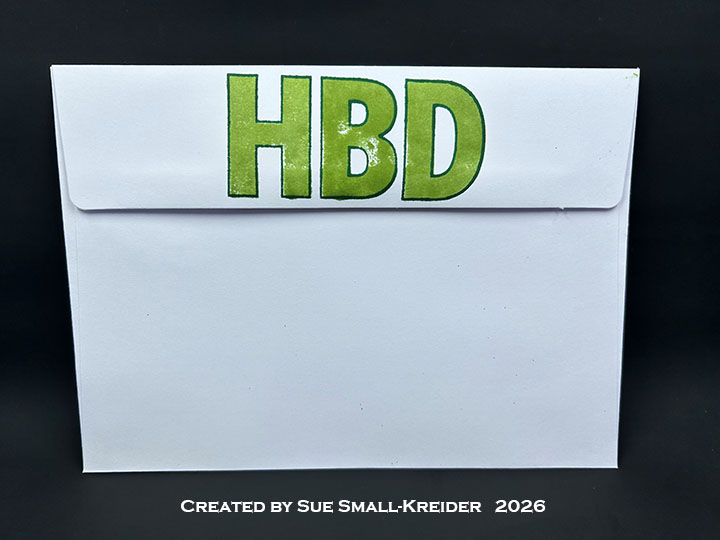
Envelope: The card fits into an A7 (5×7-inches) size envelope with the back flap stamped with “HBD” in two shades of green ink. The stamp is part of the Craft Roulette set used previously.

___________________________________

Thank you for experiencing this blog post.

I hope this inspires you and makes you smile.

Please subscribe, like and leave comments 😊

Follow my YouTube channel, Instagram and Pinterest as well.

___________________________________

Disclaimer: Karen Burniston products are provided free of charge by the manufacturer for review and use. All other items were personally purchased. Compensated affiliate links used where or when possible, meaning I will receive a small percentage commission from these manufacturers at no cost to you. This will allow me to add more content to my YouTube channel and help out a lot. Thank you.

Materials Used:

Dies

Stamps

  • Craft Roulette – Clear Stamps – Funn Sentiments #1

Papers

  • DCWV – 6×6-inch Glitter Cardstock – Pastels
  • Scrapbook.com – 6×8-inch Double-Sided Cardstock – Patterned CollectionBerry Sweet
  • Simple Stories – 12×12-inch Double-Sided Cardstock – Garden Party Collection Tea Party
  • Park Lane Paperie – A7 Cardbase & Envelope – White

Ink

  • Catherine Pooler – Green Mini Ink Pads – Deck The Halls & Succulent
  • Memento – Fade-Resistant Dye Ink – Tuxedo Black
  • Pigma – Mircon 01 Fine Tip Pen – Black

Adhesives

Tools

  • Die Cutting Machine
  • Scrapbook.com – Magic Mat
  • Stamping Block
  • Stamping Platform
  • Paperweight
  • Scissors
  • Scrapbook.com – Mint Tape
  • Tweezers

Good Bye 2024-Hello 2025!

It’s the Karen Burniston design team challenge for December 2024 using the theme of “Happy New Year.” For this challenge I chose to make a top-fold A2 size card with pop-up fireworks and the sentiment “Happy New Year” on a wobble spring.

Watch the process video to see how I made this card.

(Most of the instruction on how to make this card is in the video, but I’ve listed some measurements and sets used below.)

Card Back

Cardbase: Take an 11×4.25-inch rectangle and fold in half to create an A2 size top-fold card. Cover all four panels with decorative paper.

Pop-Up Fireworks: (I’ve used the double Katherine Label Pop-Up mechanism in these other cards – World Card Making Day Card, Flying By Pop-up Birthday Card, Interactive Money Holder Halloween Cards and Do What Brings You Joy.)

Sentiments: “Good Bye 2024” was made using four different sentiment die sets –Good Luck, Happy Birthday, Happy Easter and Mini Alphabet and Numbers. (See video for the word surgery used to create Good Bye.) “Happy New Year” has separate dies to cut out each word and a shadow die. I used four different foil and glitter cardstocks.

Envelope: The card fits into an A2 (4.25x 5.5-inches) size envelope. To decorate, cover the back flap with matching card papers and stamp with the “Made with Love” from the Special Delivery stamp set. (I wasn’t paying attention and stamped the sentiment with the “Love” upside-down on my envelope.)

___________________________________

Thank you for experiencing this blog post.

I hope this inspires you and makes you smile.

Please subscribe, like and leave comments 😊

Follow my YouTube channel, Instagram and Pinterest as well.

___________________________________

Disclaimer: Karen Burniston products are provided free of charge by the manufacturer for review and use. All other items were personally purchased. Compensated affiliate links used where or when possible, meaning I will receive a small percentage commission from these manufacturers at no cost to you. This will allow me to add more content to my YouTube channel and help out a lot. Thank you.

Materials Used:

Dies

Stamps

Papers

  • Recollections – 8.5×11 65 lb. Cardstock – White
  • Stamperia – 8×8 inch Double-Sided Papers – Backgrounds – Alterego
  • Blues and Silver Foil Cardstock
  • Silver No-Shed Glitter Cardstock
  • Clear Plastic Packaging
  • Fraser Papers for William House – A2 Envelope – Genesis Text Milkweed Smooth

Ink

  • Memento – Fade Resistant Dye ink – Tuxedo Black
  • Pigma – Mircon 01 Fine Tip Pen – Black

Adhesives

Tools

  • Die Cutting Machine
  • Paper Trimmer
  • Bone Folder
  • Stamping Blocks used as paperweights
  • Scissors
  • Paper Masking Tape
  • Tweezers
  • We R Memories – QuickStick
  • Kat Scrappiness – Anti-Static Tool

Miscellaneous

  • Simon Says Stamp! – Peppermint Pawsitively Dazzling Gems
  • Riley and Company – Wobbles – Mini Action Springs

Celebrating the New Year of 2025!

It’s Sneak Peak Week for Karen Burniston’s October 2024 release of new dies and sentiment stamps. These dies will be available for purchase on October 28, 2024 on the KB Riley LLC website.

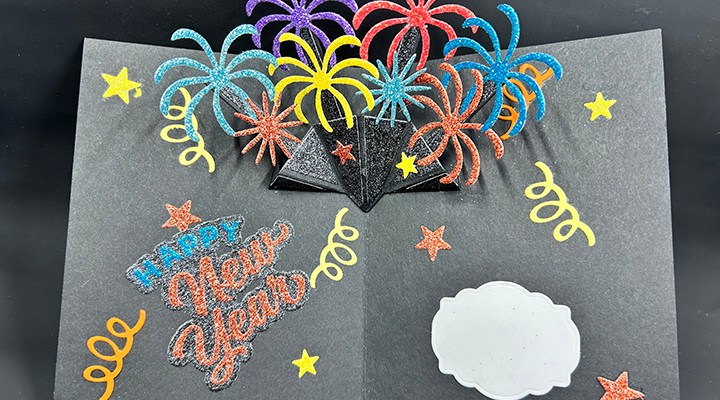
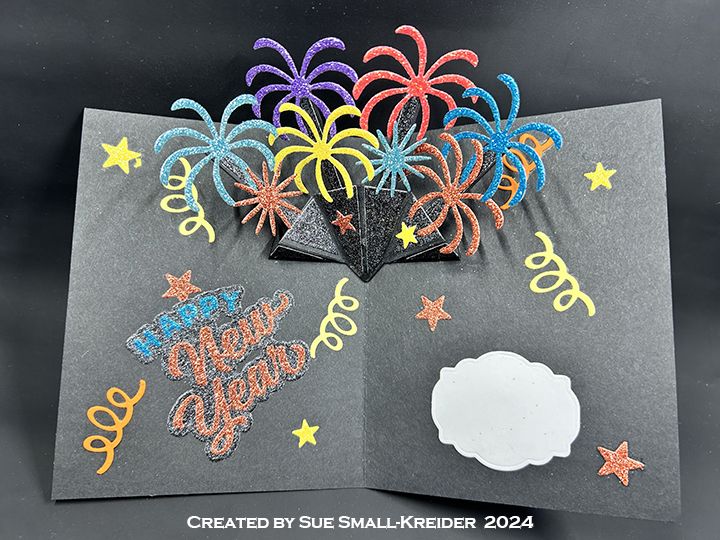
Celebrate the new year early with this glittery card that fills the night sky with fireworks and a fun celebration.

Watch the process video to see how this card was made.

Cardbase: The cardbase is an 8.5x 5.5-inch rectangle of black cardstock that was scored and folded in half to form a side-fold A2 (4.25x 5.5-inches) card.

Fireworks Pop-Up: Inside the card is a fireworks pop-up made with the Fireworks and Photo Fan Pop-Up sets.

Sentiments: “2025” was cut using the Numbers dies set while the “Happy New Year” used the new layered Happy New Year set. The card is decorated with stars from the Fireworks set and confetti streamers from the Photo Fan Pop-Up set.

Envelope:  The card fits into an A2 (4.25x 5.5-inches) size envelope.

___________________________________

Thank you for experiencing this blog post.

I hope this inspires you and makes you smile.

Please subscribe, like and leave comments 😊

Follow my YouTube channel, Instagram and Pinterest as well.

___________________________________

Disclaimer: Karen Burniston products are provided free of charge by the manufacturer for review and use. All other items were personally purchased. Compensated affiliate links used where or when possible, meaning I will receive a small percentage commission from these manufacturers at no cost to you. This will allow me to add more content to my YouTube channel and help out a lot. Thank you.

Materials Used:

Dies

Papers

  • American Crafts – 12×12 Patterned Paper – Starry Night – 320409
  • DCWV – Mat Stack 6×6 – Glitter Cardstock – Glitter Pastels
  • DCWV – Mat Stack 4.5×6.5 – Glitter Cardstock – The Spooky Time
  • Black and White Cardstock
  • A2 Envelope

Ink

Adhesives

Tools

  • Die Cutting Machine
  • Paper Trimmer
  • Score Board
  • Stamping Blocks used as paperweights
  • Scissors
  • Paper Masking Tape
  • Glue Eraser