How does Santa deliver presents to places where there is no snow for his sleigh? I think he goes in his trusted vintage white convertible with Rudolph to those tropical places. This is the sixth house card in my series of “A Week of Christmas Houses” using Poppy Stamps 2020 Winter House Pop-Up Easel die set.
This double easel card is designed as a slimline card to fit a #10 envelope. The car and Santa are part of the Spellbinders’ Sunday Drive collection.

I found both the Poppy Stamps and Spellbinders sets easy to use following the images on the packaging but recommend having a pair of tweezers handy to glue and place the tiny details. I also recommend having a small container or bag to put your die cut pieces into as you cut them out. They are quite easy to lose on your workspace or get dropped onto the floor.
To make sure the Fired Brick Distress ink I used under the Ho Ho Ho did not bleed onto the white car, I clear heat embossed the piece which adds some texture and shine to the license plate.
Because both die sets for this card are designed to represent snow and cold weather, I had to modify the die cut pieces. For Santa, I cut the sleeve off his shirt and used colored papers to have him wearing a more causal tropical shirt and created his arm by tracing around the outside of the skeleton’s arm in another add-on set for the Sunday Drive collection. On the house I trimmed off any of the snow on rooflines and used the poinsettia flowers from the Sunday Drive collection to plant in front of the house. To fit in a #10 envelope the tiny tips of the roof edge had to be trimmed off the card base.

Once again, I used peach organza ribbon to create some interest at the windows of the house. The door and roofs are inked dark with Walnut Stain Distress Ink. The door wreath is from the Tonic Studios set and the palm tree towering over the house is from a Karen Burniston pop-up die set. Nuvo drops were used for the doorknob and flower centers.
The welcome mat, which acts as the easel stop, was stamped and heat embossed using a stamp from a retired Stampin’ Up set. I used a blend of Ranger Black Sparkle and Recollections Ebony Detail Embossing powders that give the welcome mat a snowy sparkle. Once heat embossed, the mat was weathered using Antique Linen Distress Ink on a sponge dauber and cut out with the coordinating die. Foam squares where used to adhere the mat to card and make it tall enough to act as an easel stop.
The “Merry Christmas” is cut from heavy black cardstock glued down. A personal message can be written behind the house.

Finished off the card by stamping its envelope with some hints as to what’s inside using a “Magical Christmas Wishes” sentiment in dark green ink.
See the more the series of “A Week of Christmas Houses”
Day 1 – From Our House to Your House
Day 4 –Keeping the Home Fires Burning
Day 6 – Santa Delivers to the Tropics
2019 – 12 Days of Christmas Trees
Other Sunday Drive cards:
A Snowy Sunday Drive with Santa
SUPPLIES:
Dies
- Spellbinders – etched die set –Sunday Drive – S4-1053
- Spellbinders – Sunday Drive with Santa Etched Dies – S3-401
- Spellbinders – Halloween Sunday Drive Etched Dies – S3-403
- Poppy Stamps -Winter House Pop-Up Easel Set – 2394
- Karen Burniston in cahoots with Riley and Company – Palm Tree – 1039
- Tonic Studios – Dimensions – The Toy Emporium Die Set -1855e
Stamps
- Winter Woodland Stamp set by Sheena Douglas from Creative Stamping magazine Issue 62, December 2018.
- Stampin’ Up – At Home with You – stamps & die set 143681 (Retired)
Papers
- Scraps of card stock from stash
- Matte silver cardstock
- Heavy White Cardstock 110# weight 8 ½ x 11 inches
Ink/Embossing Powder
- VersaMark – Watermark Stamp Pad
- Ranger – Embossing Powder – Black Sparkle
- Recollections Detail Embossing Power- Ebony
- Recollections Detail Embossing Power- Clear
- Ranger – Distress Ink – Walnut Stain
- Ranger – Distress Ink – Antique Linen
- Ranger – Distress Ink – Fired Brick
- Stampin’ Up Classic Stamin’ Pad – Tranquil Tide
Miscellaneous
- Foam squares
- Cosmic Shimmer Acrylic Glue/PVA Glue
- American Crafts – Metallic Marker – M – Silver -62212


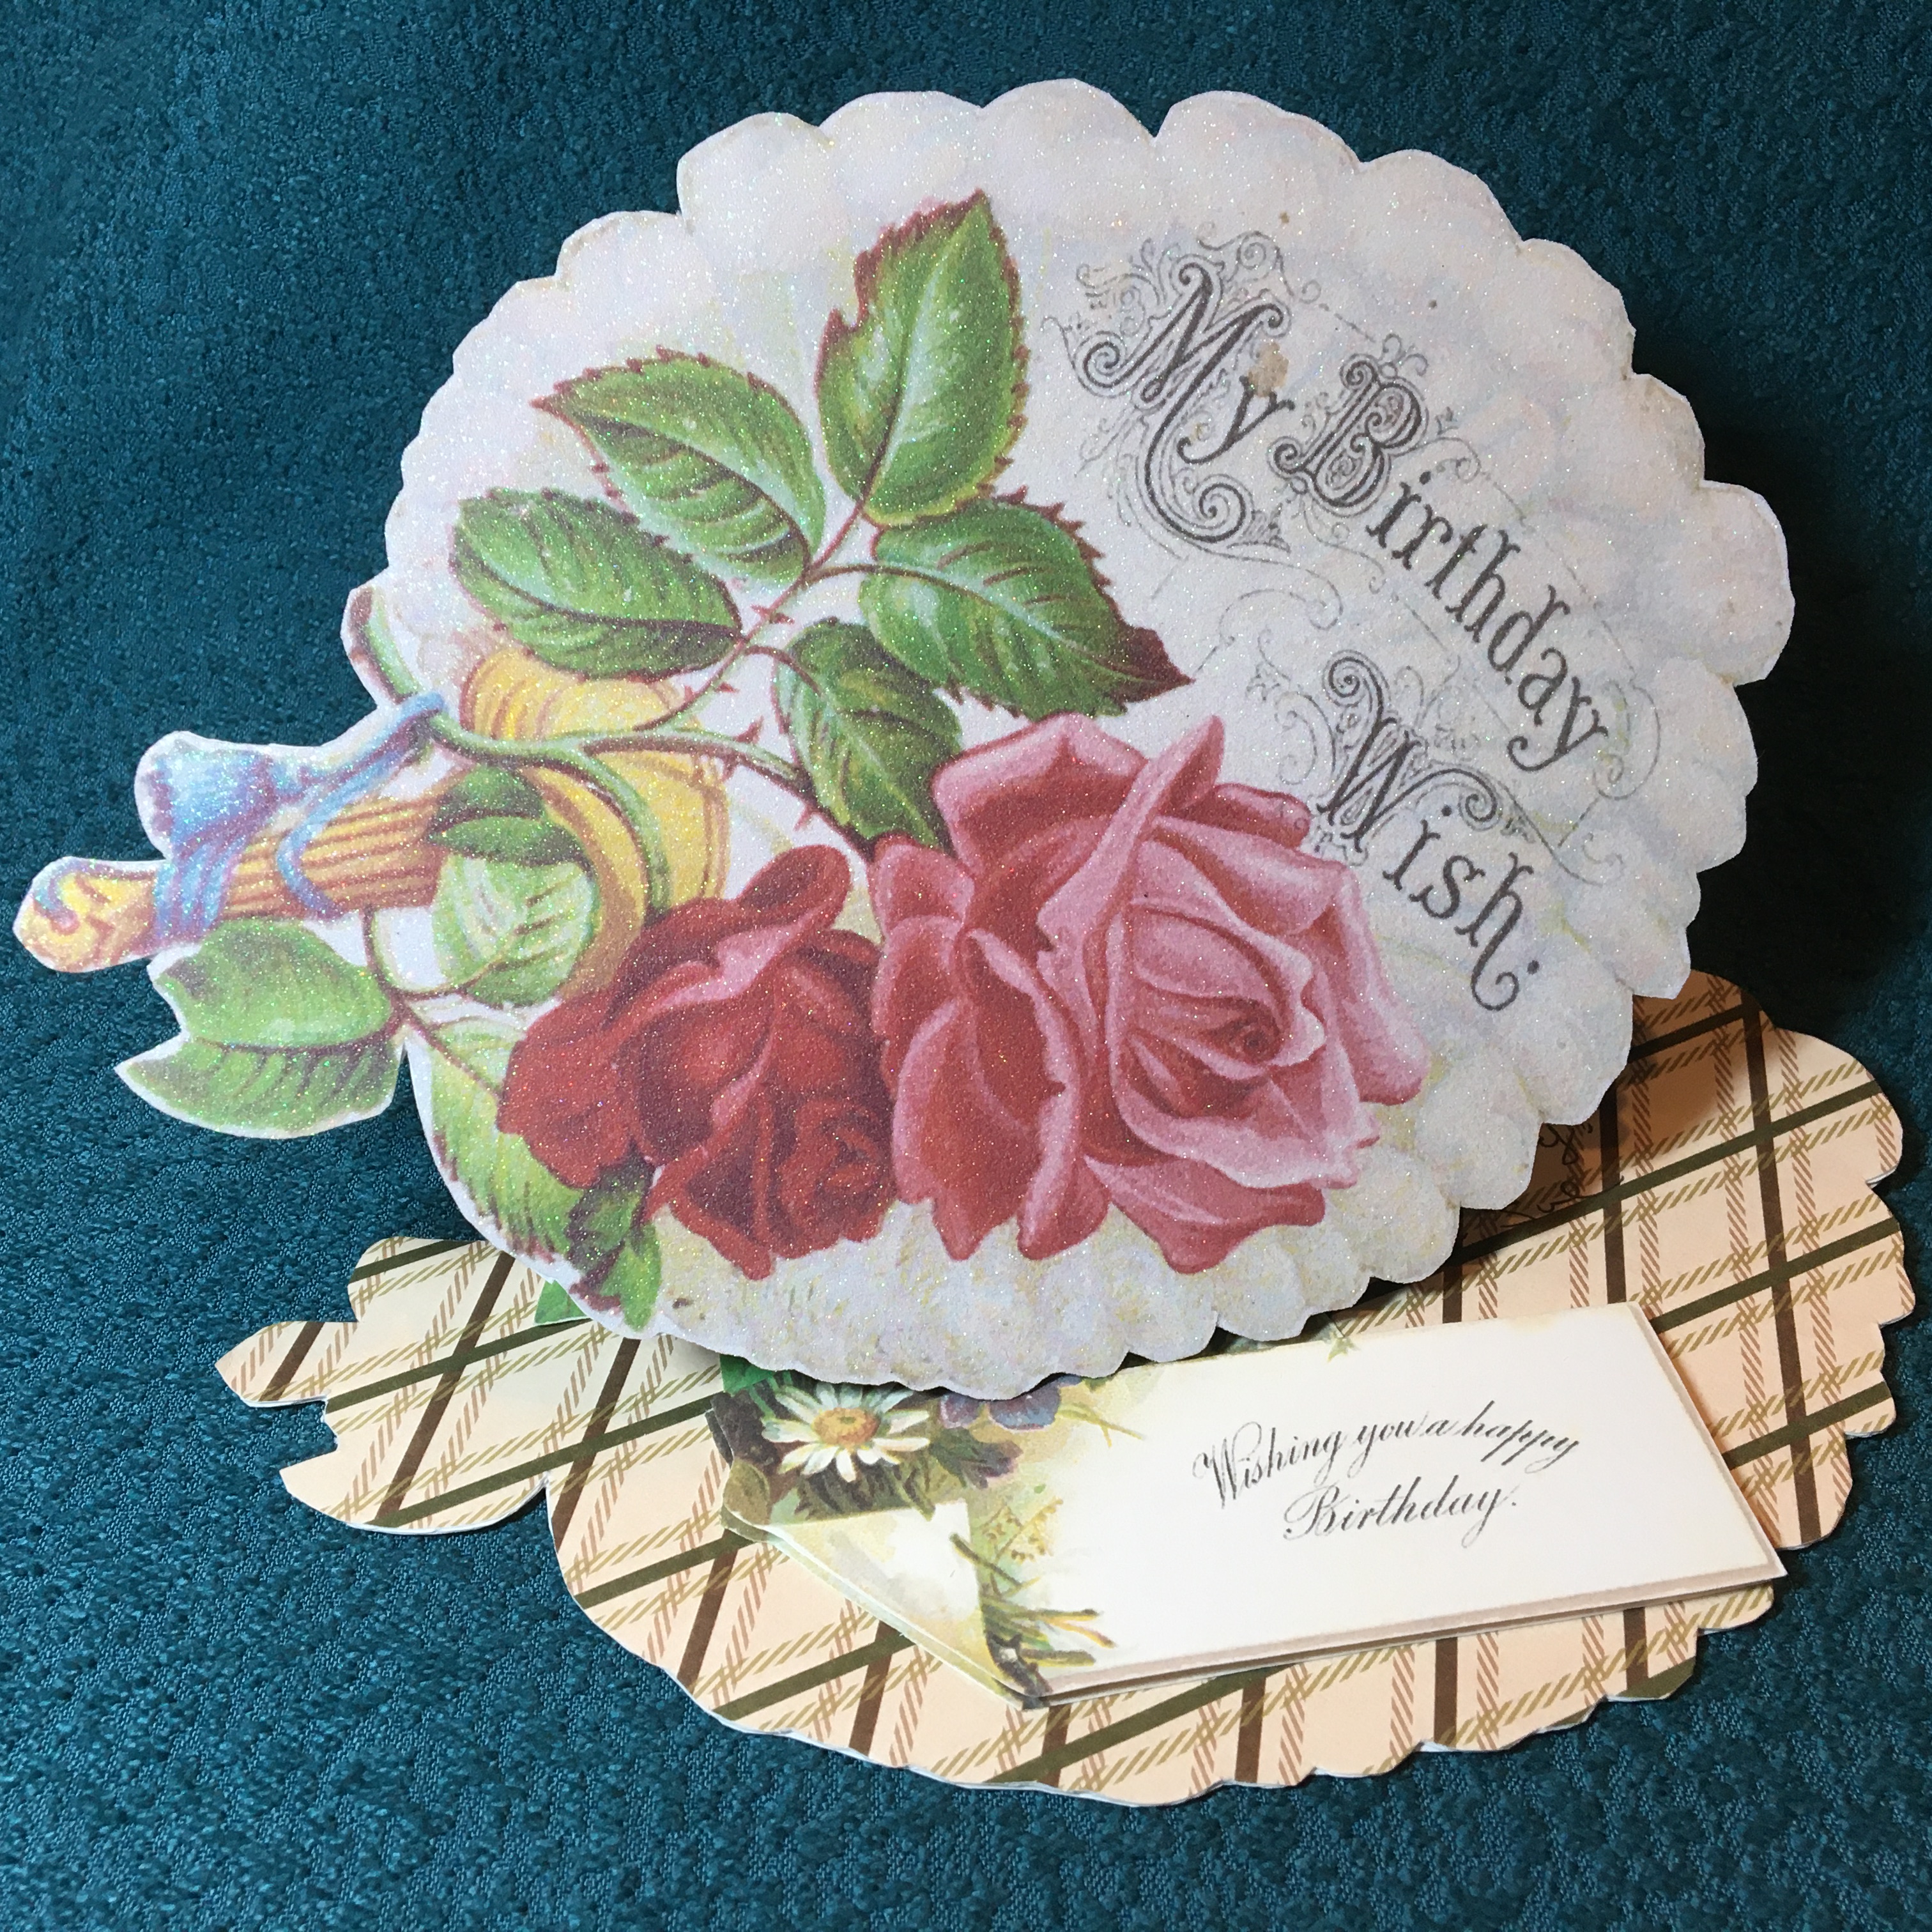
 Celebrating Mother with May flowers is a tradition. I was happy to see that Anna Griffin’s new teacup die set includes the ability to emboss flowers onto the edges and side of the cup and saucer.


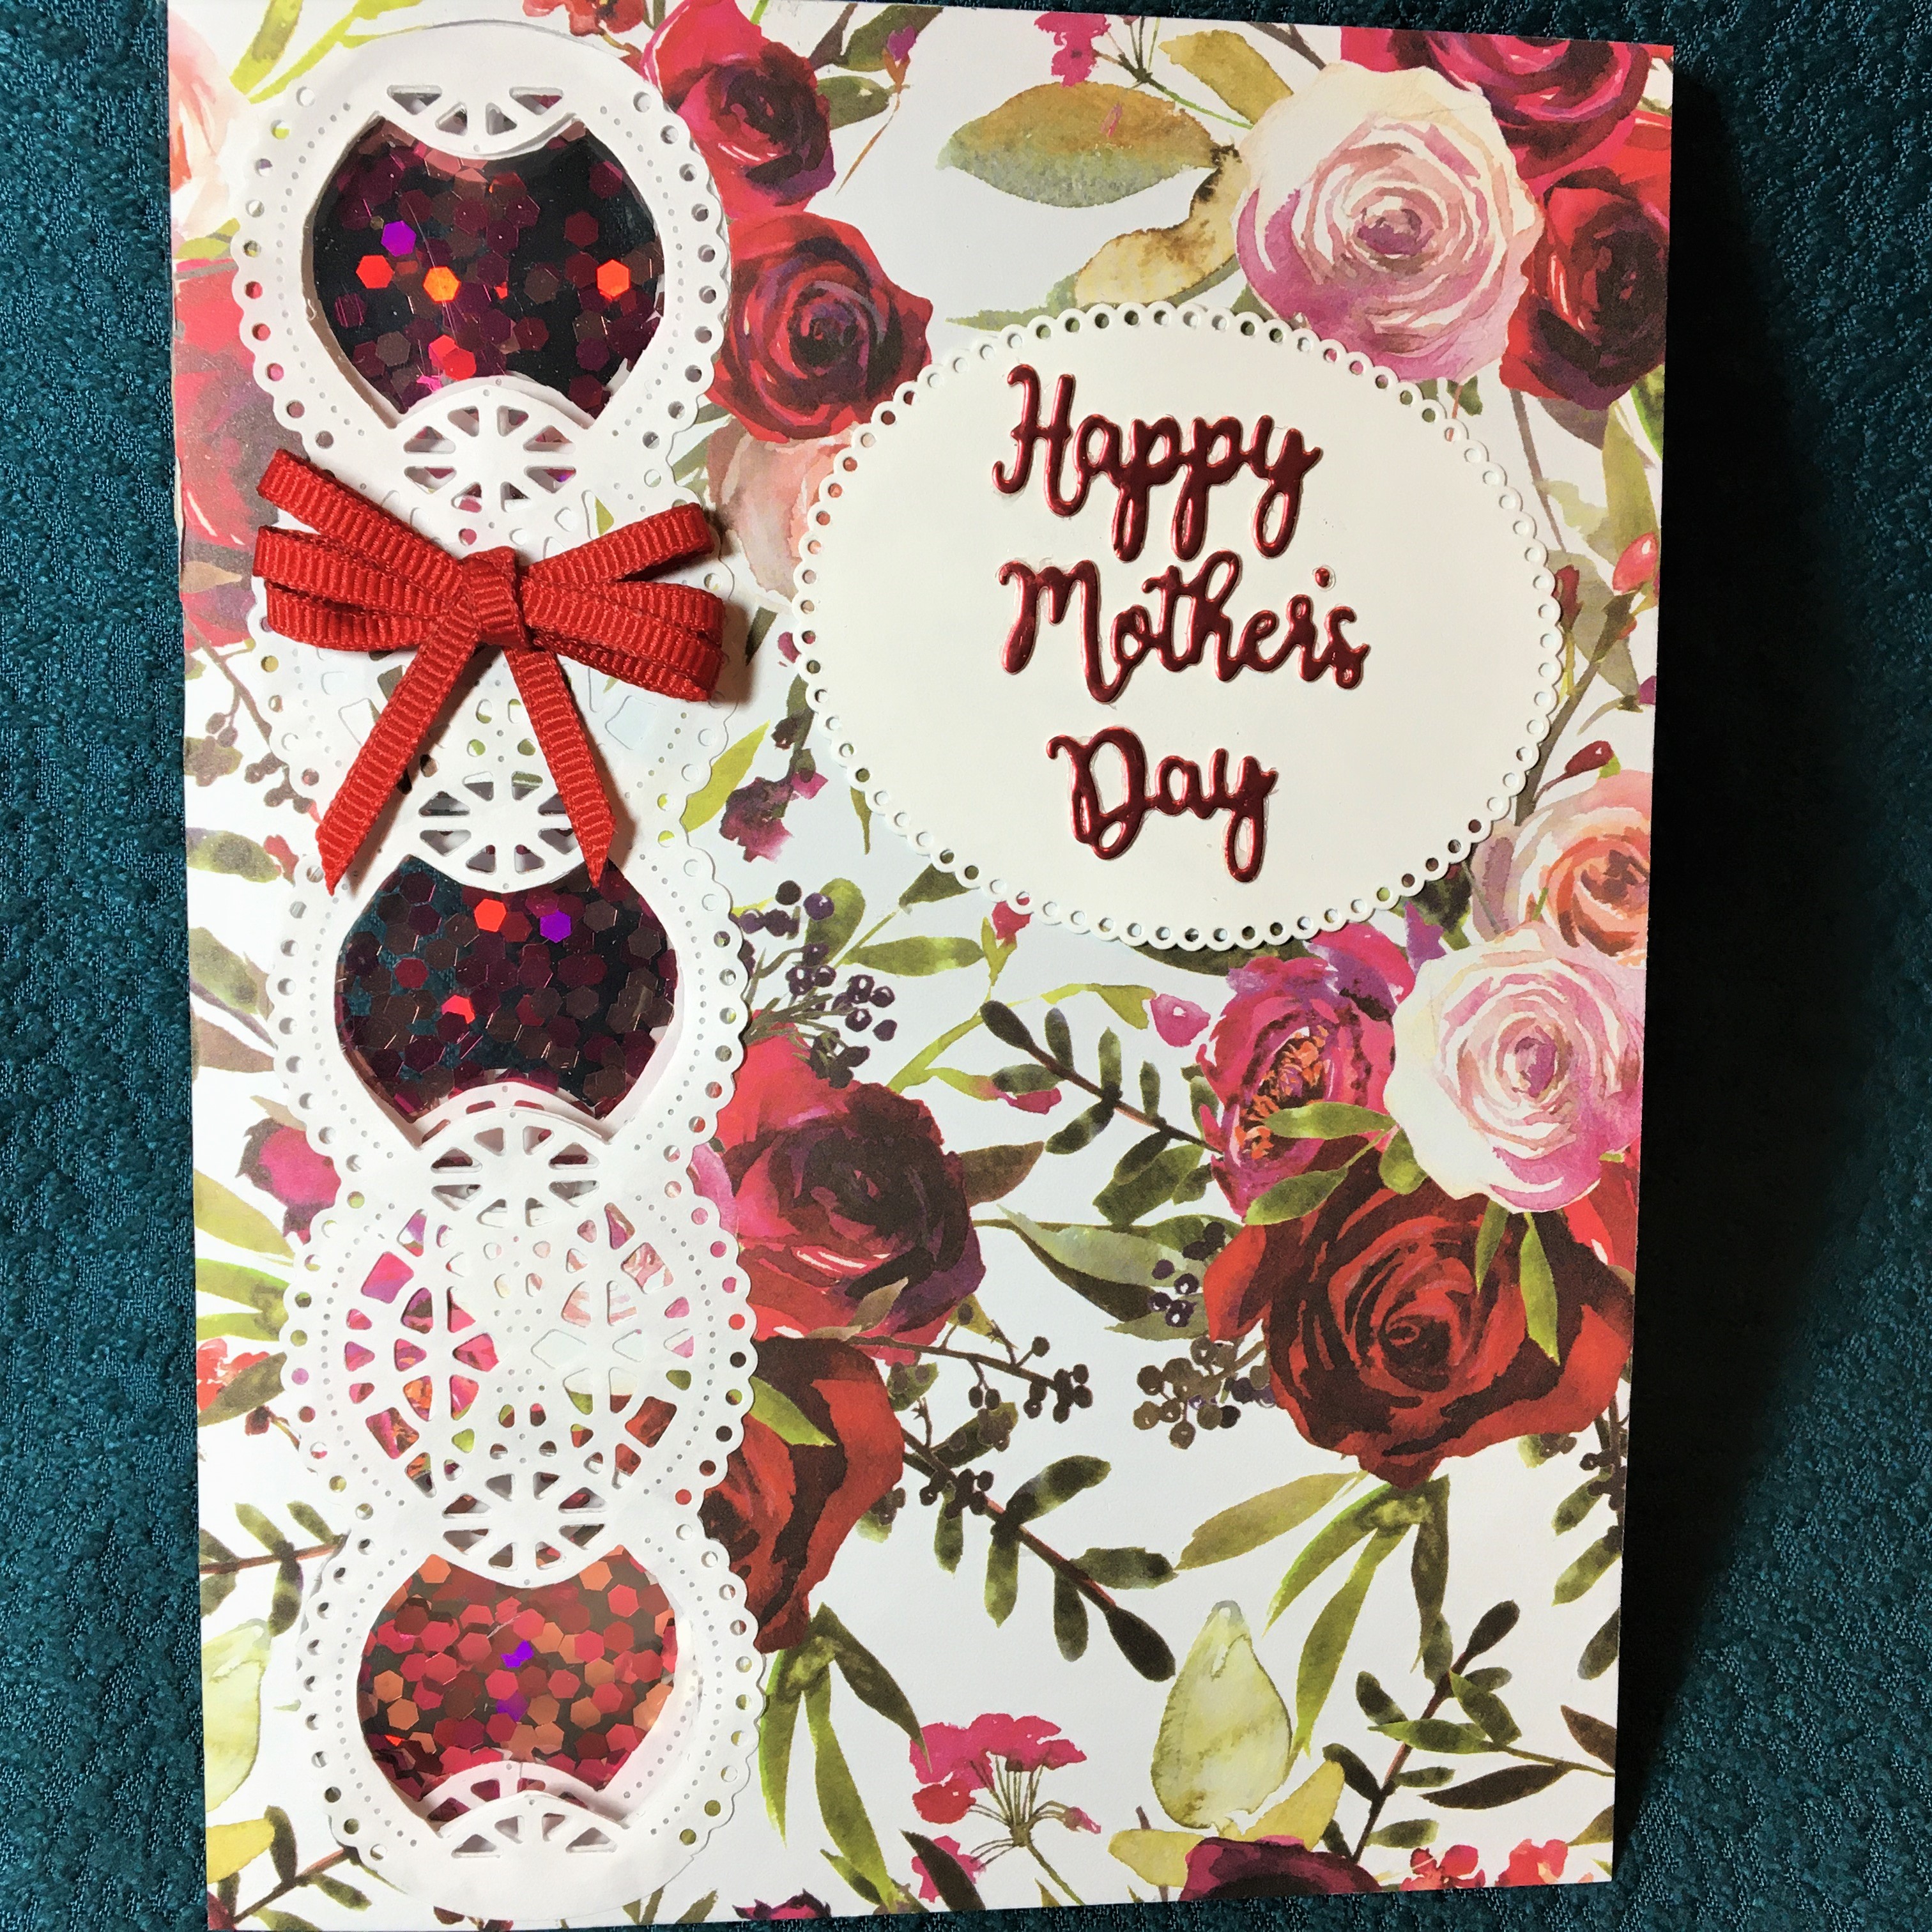
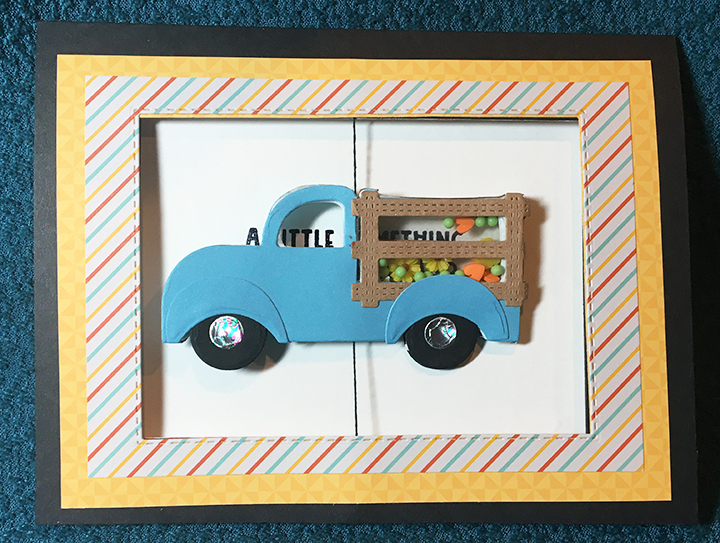
 Because the glitter is very clingy with static to the acetate, I decide to use this quality in my design and my shakers are only the thickness of some recycled cardboard box cut into a square and the circle die-cut out. I adhered a strip of acetate to the inside of the back panel of card base with double-sided tape. The cardboard squares were glued to back of card over the circle openings. With the card on a flat surface I put pinches of glitter into the cardboard circles and then added glue to edges of cardboard and dropped a square of acetate over each cardboard square to seal up the shaker. (If I had it to do over, I would have used the temple to mark out the cardboard and make it one long panel instead of squares.)
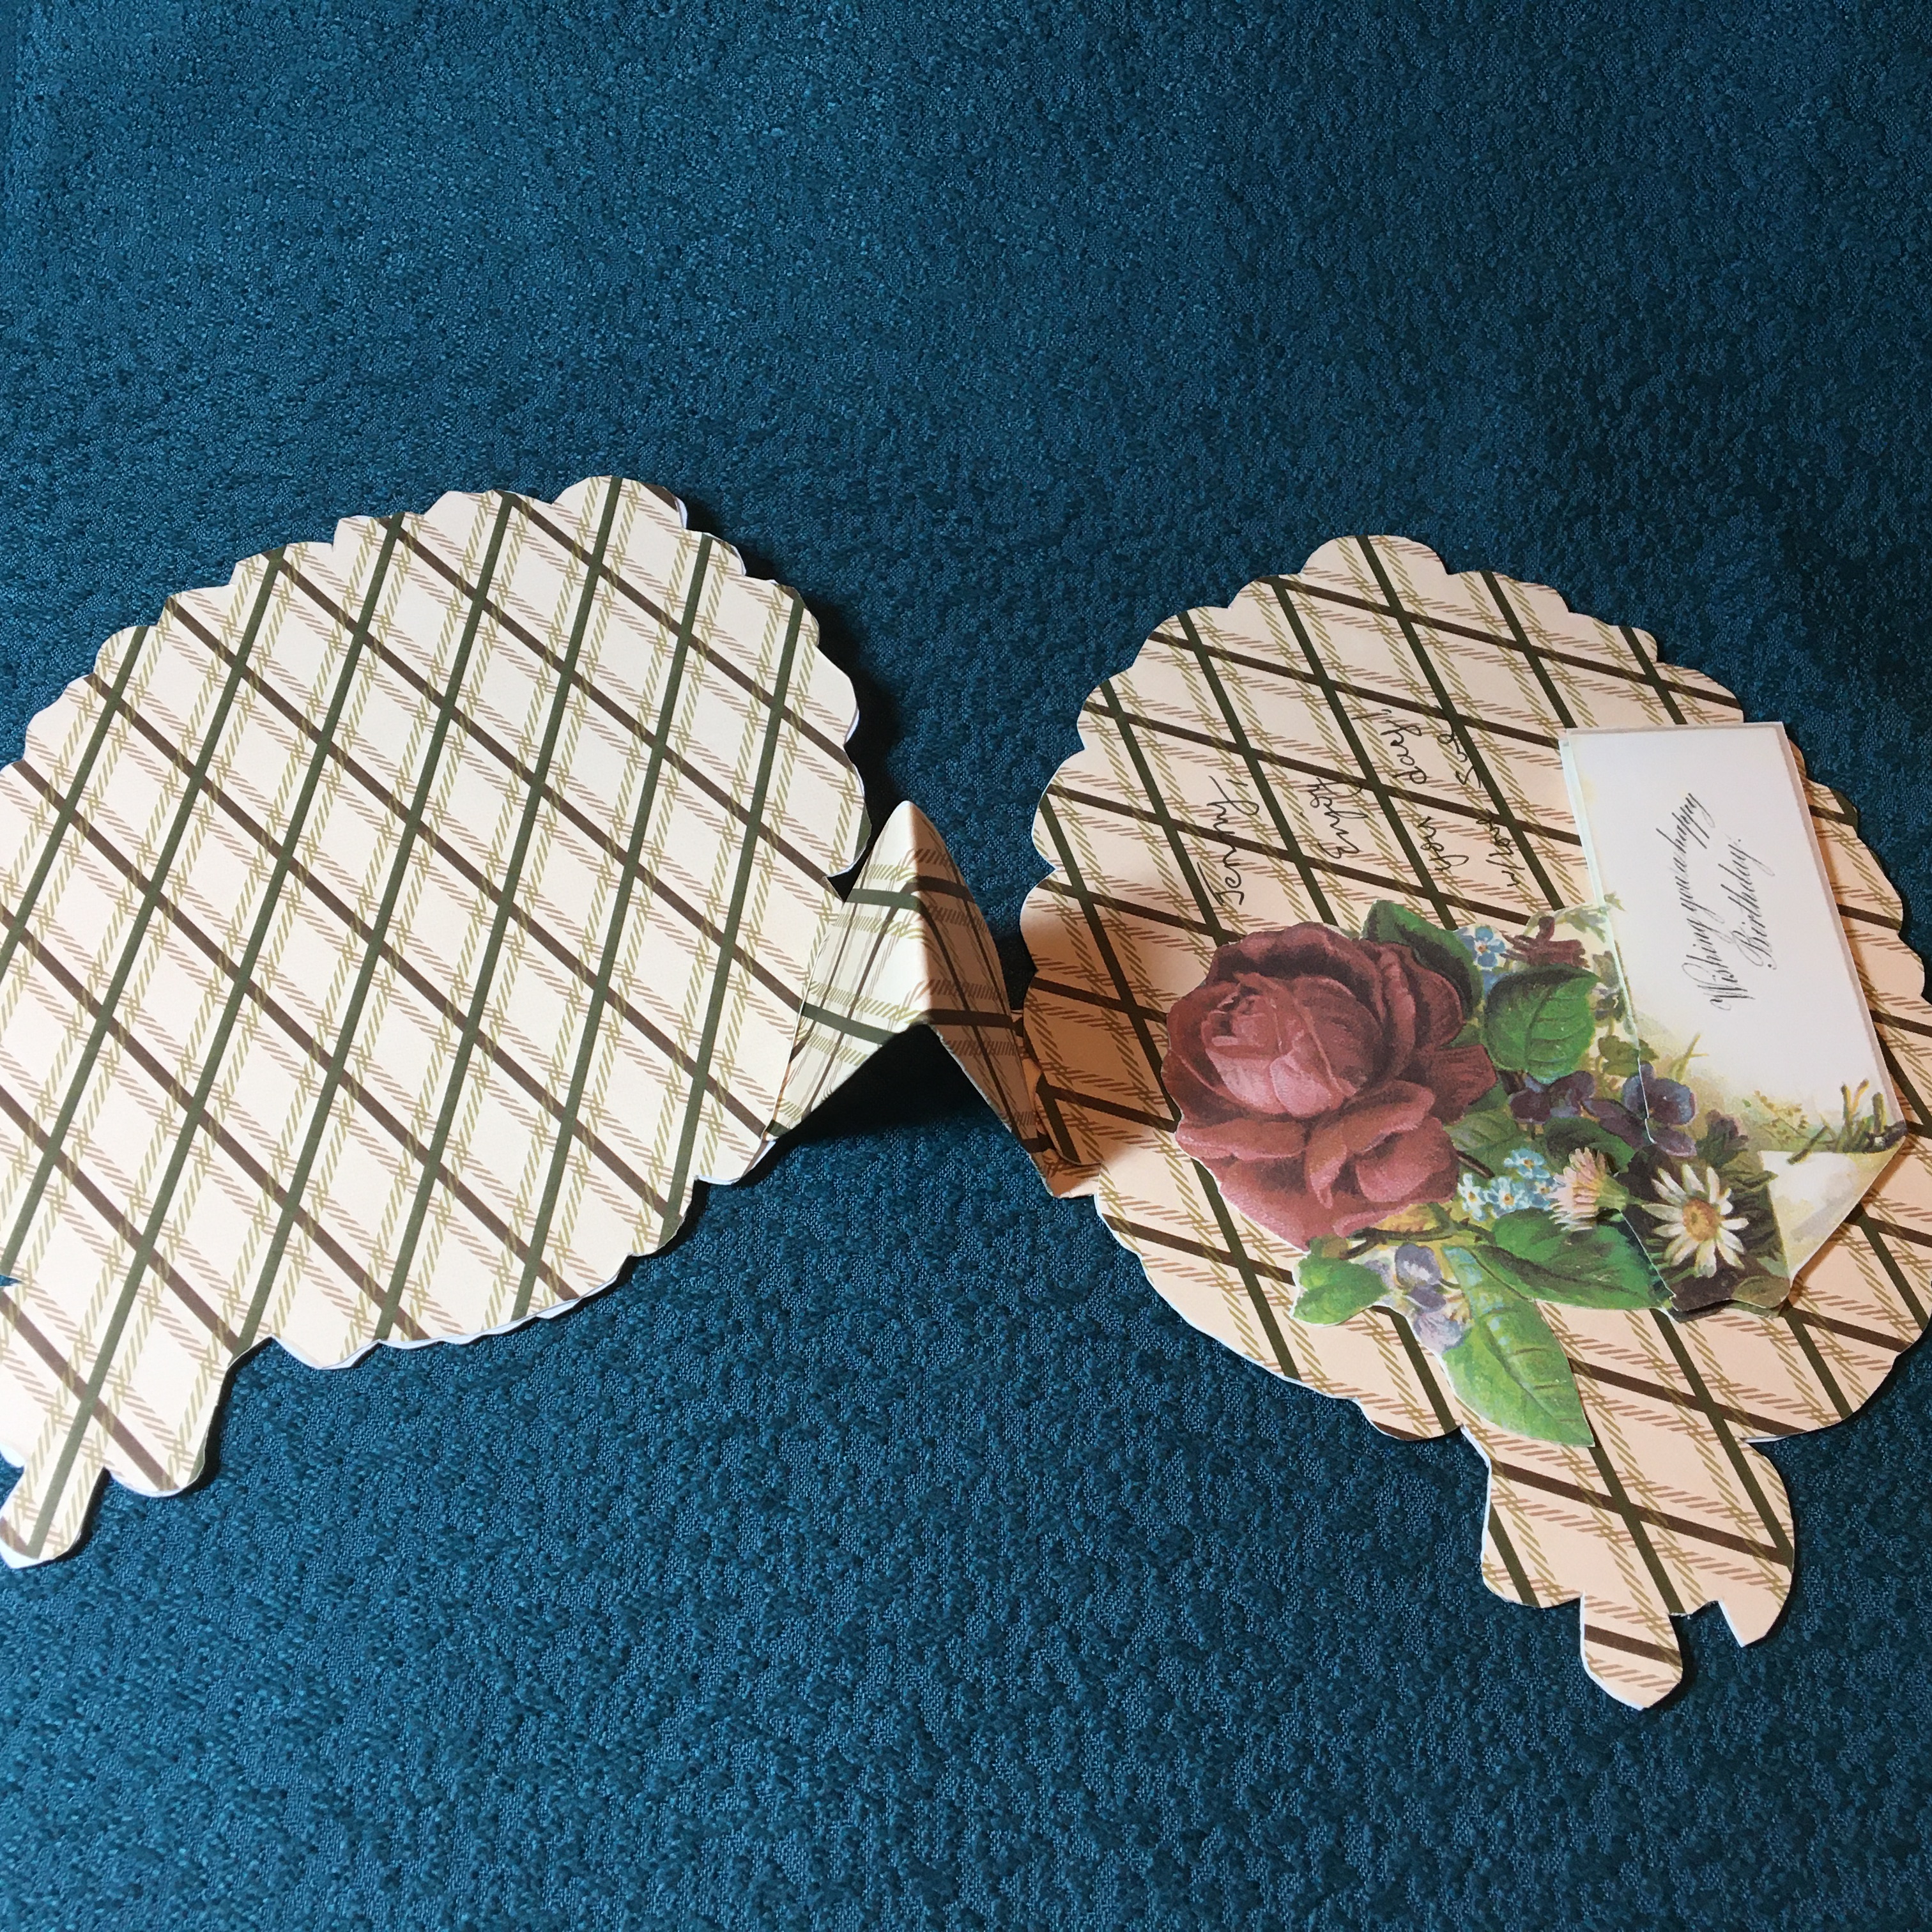
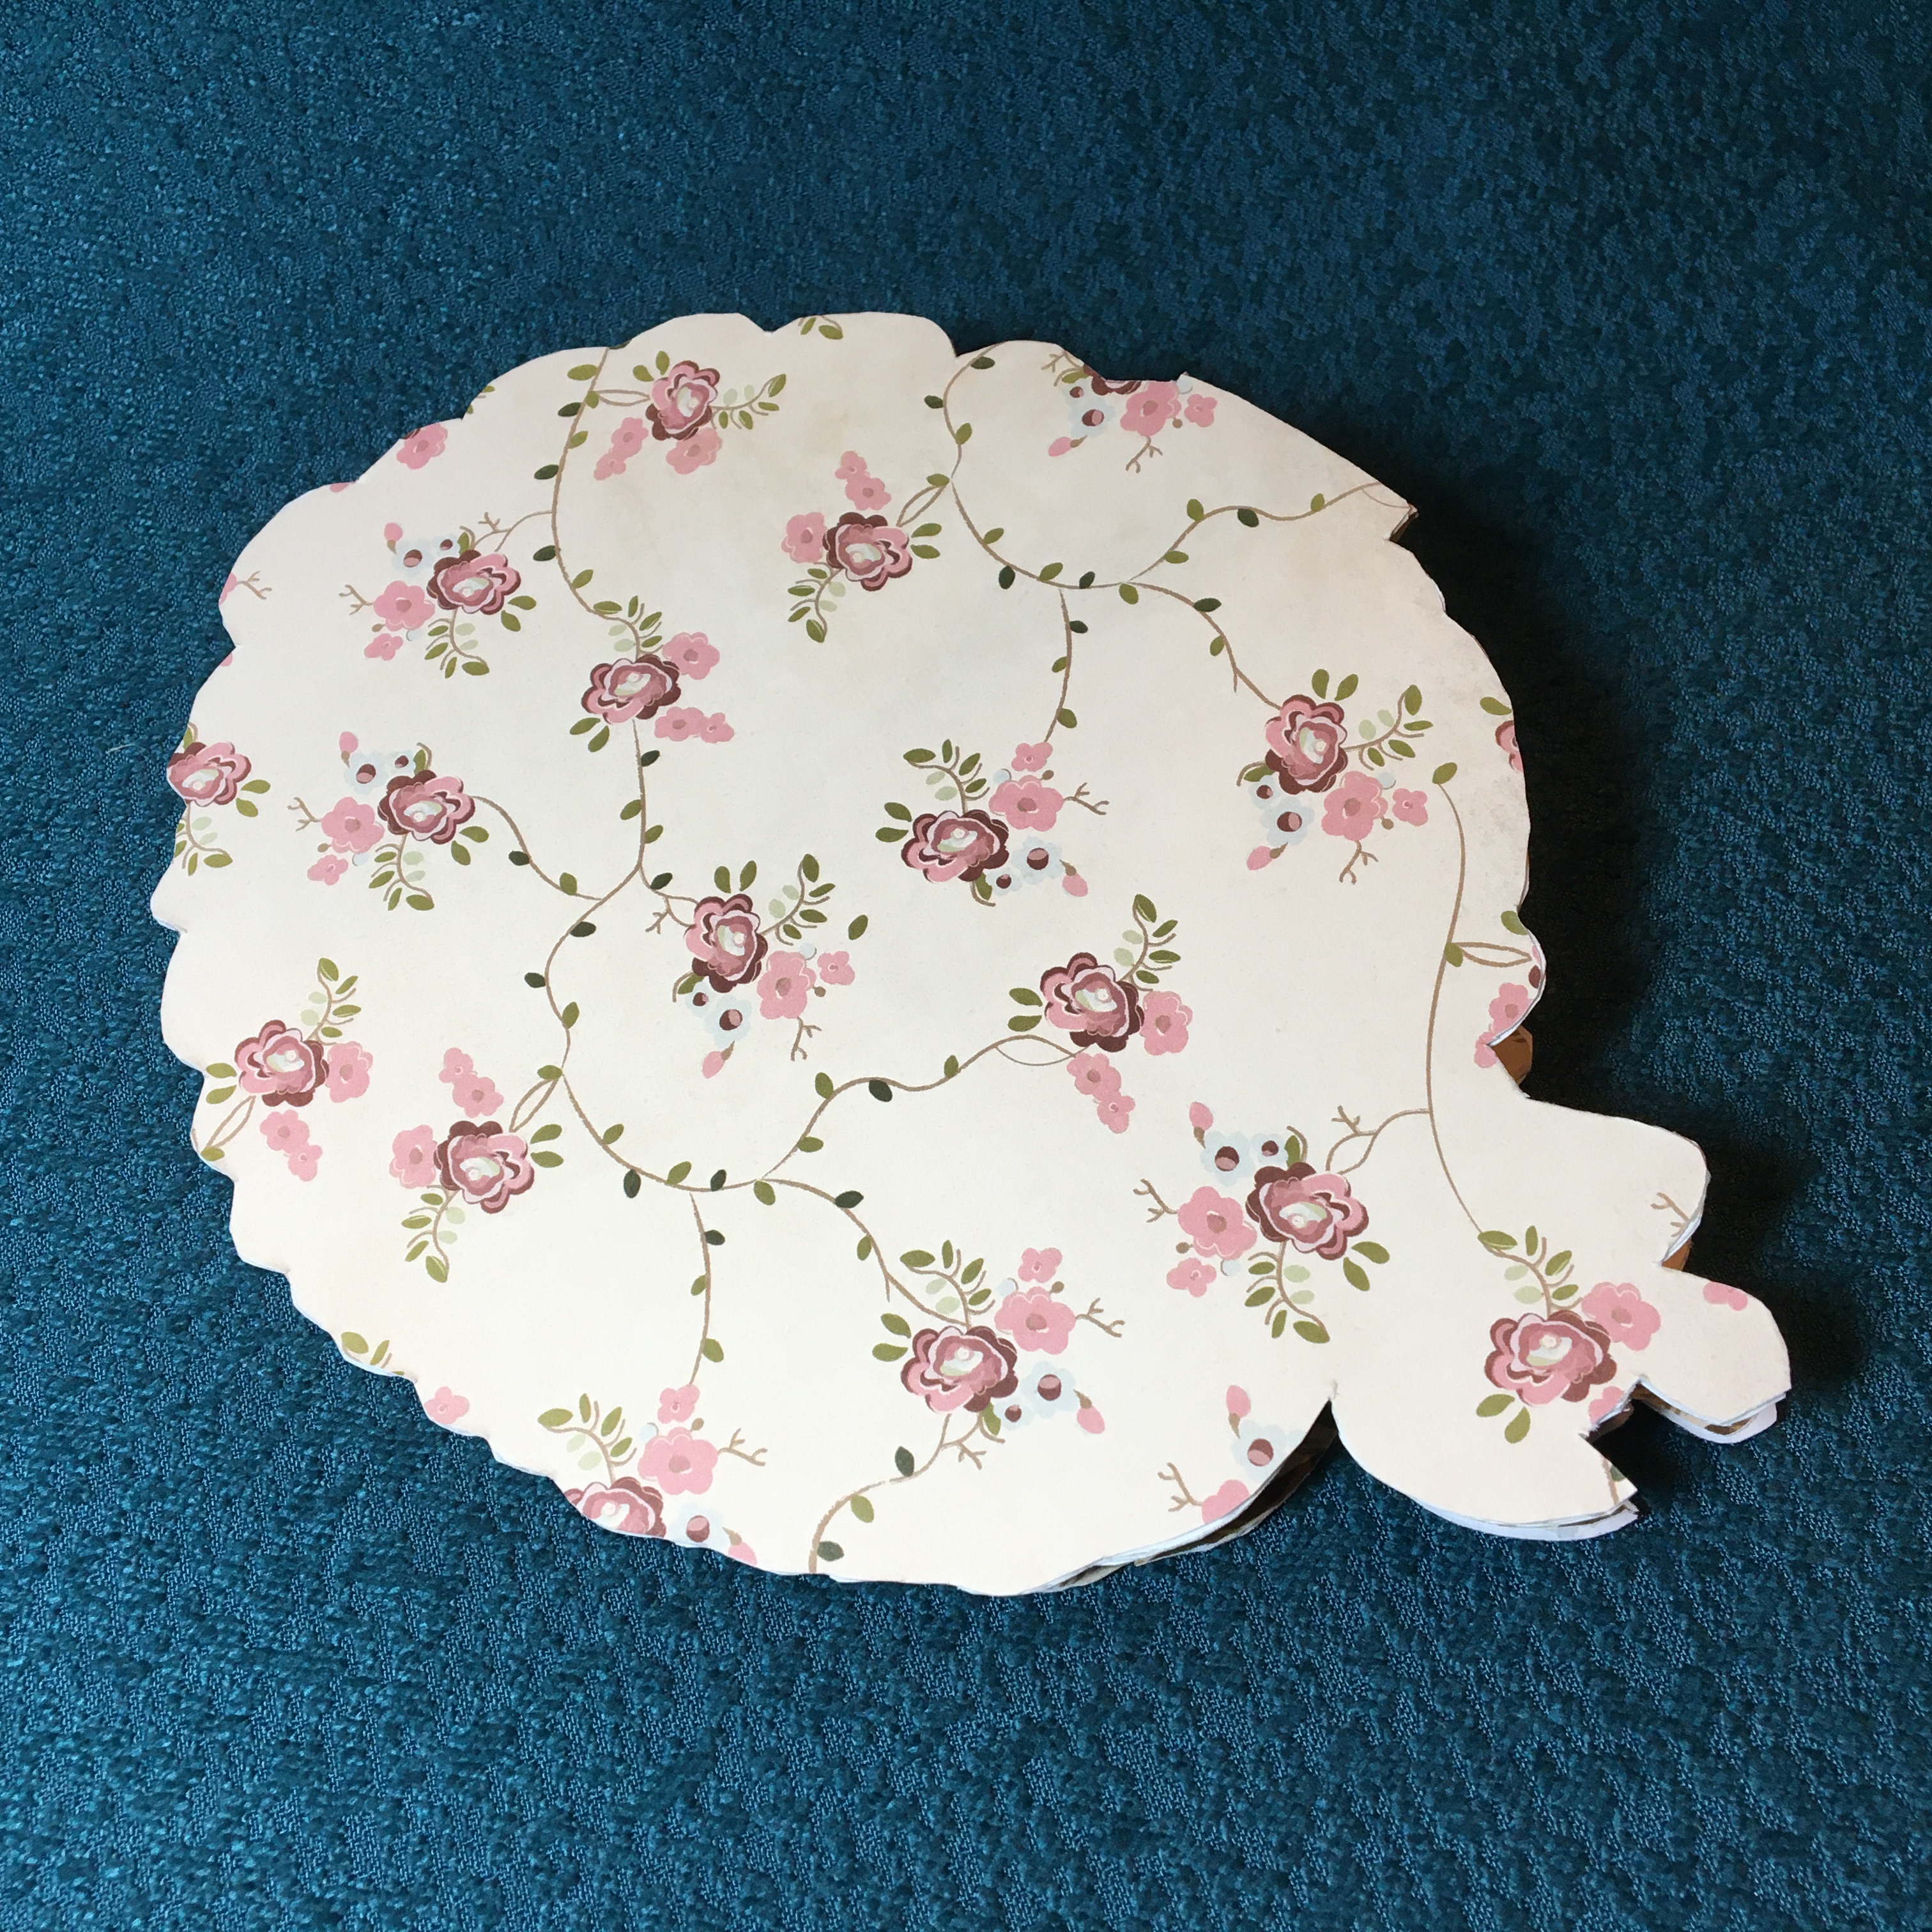
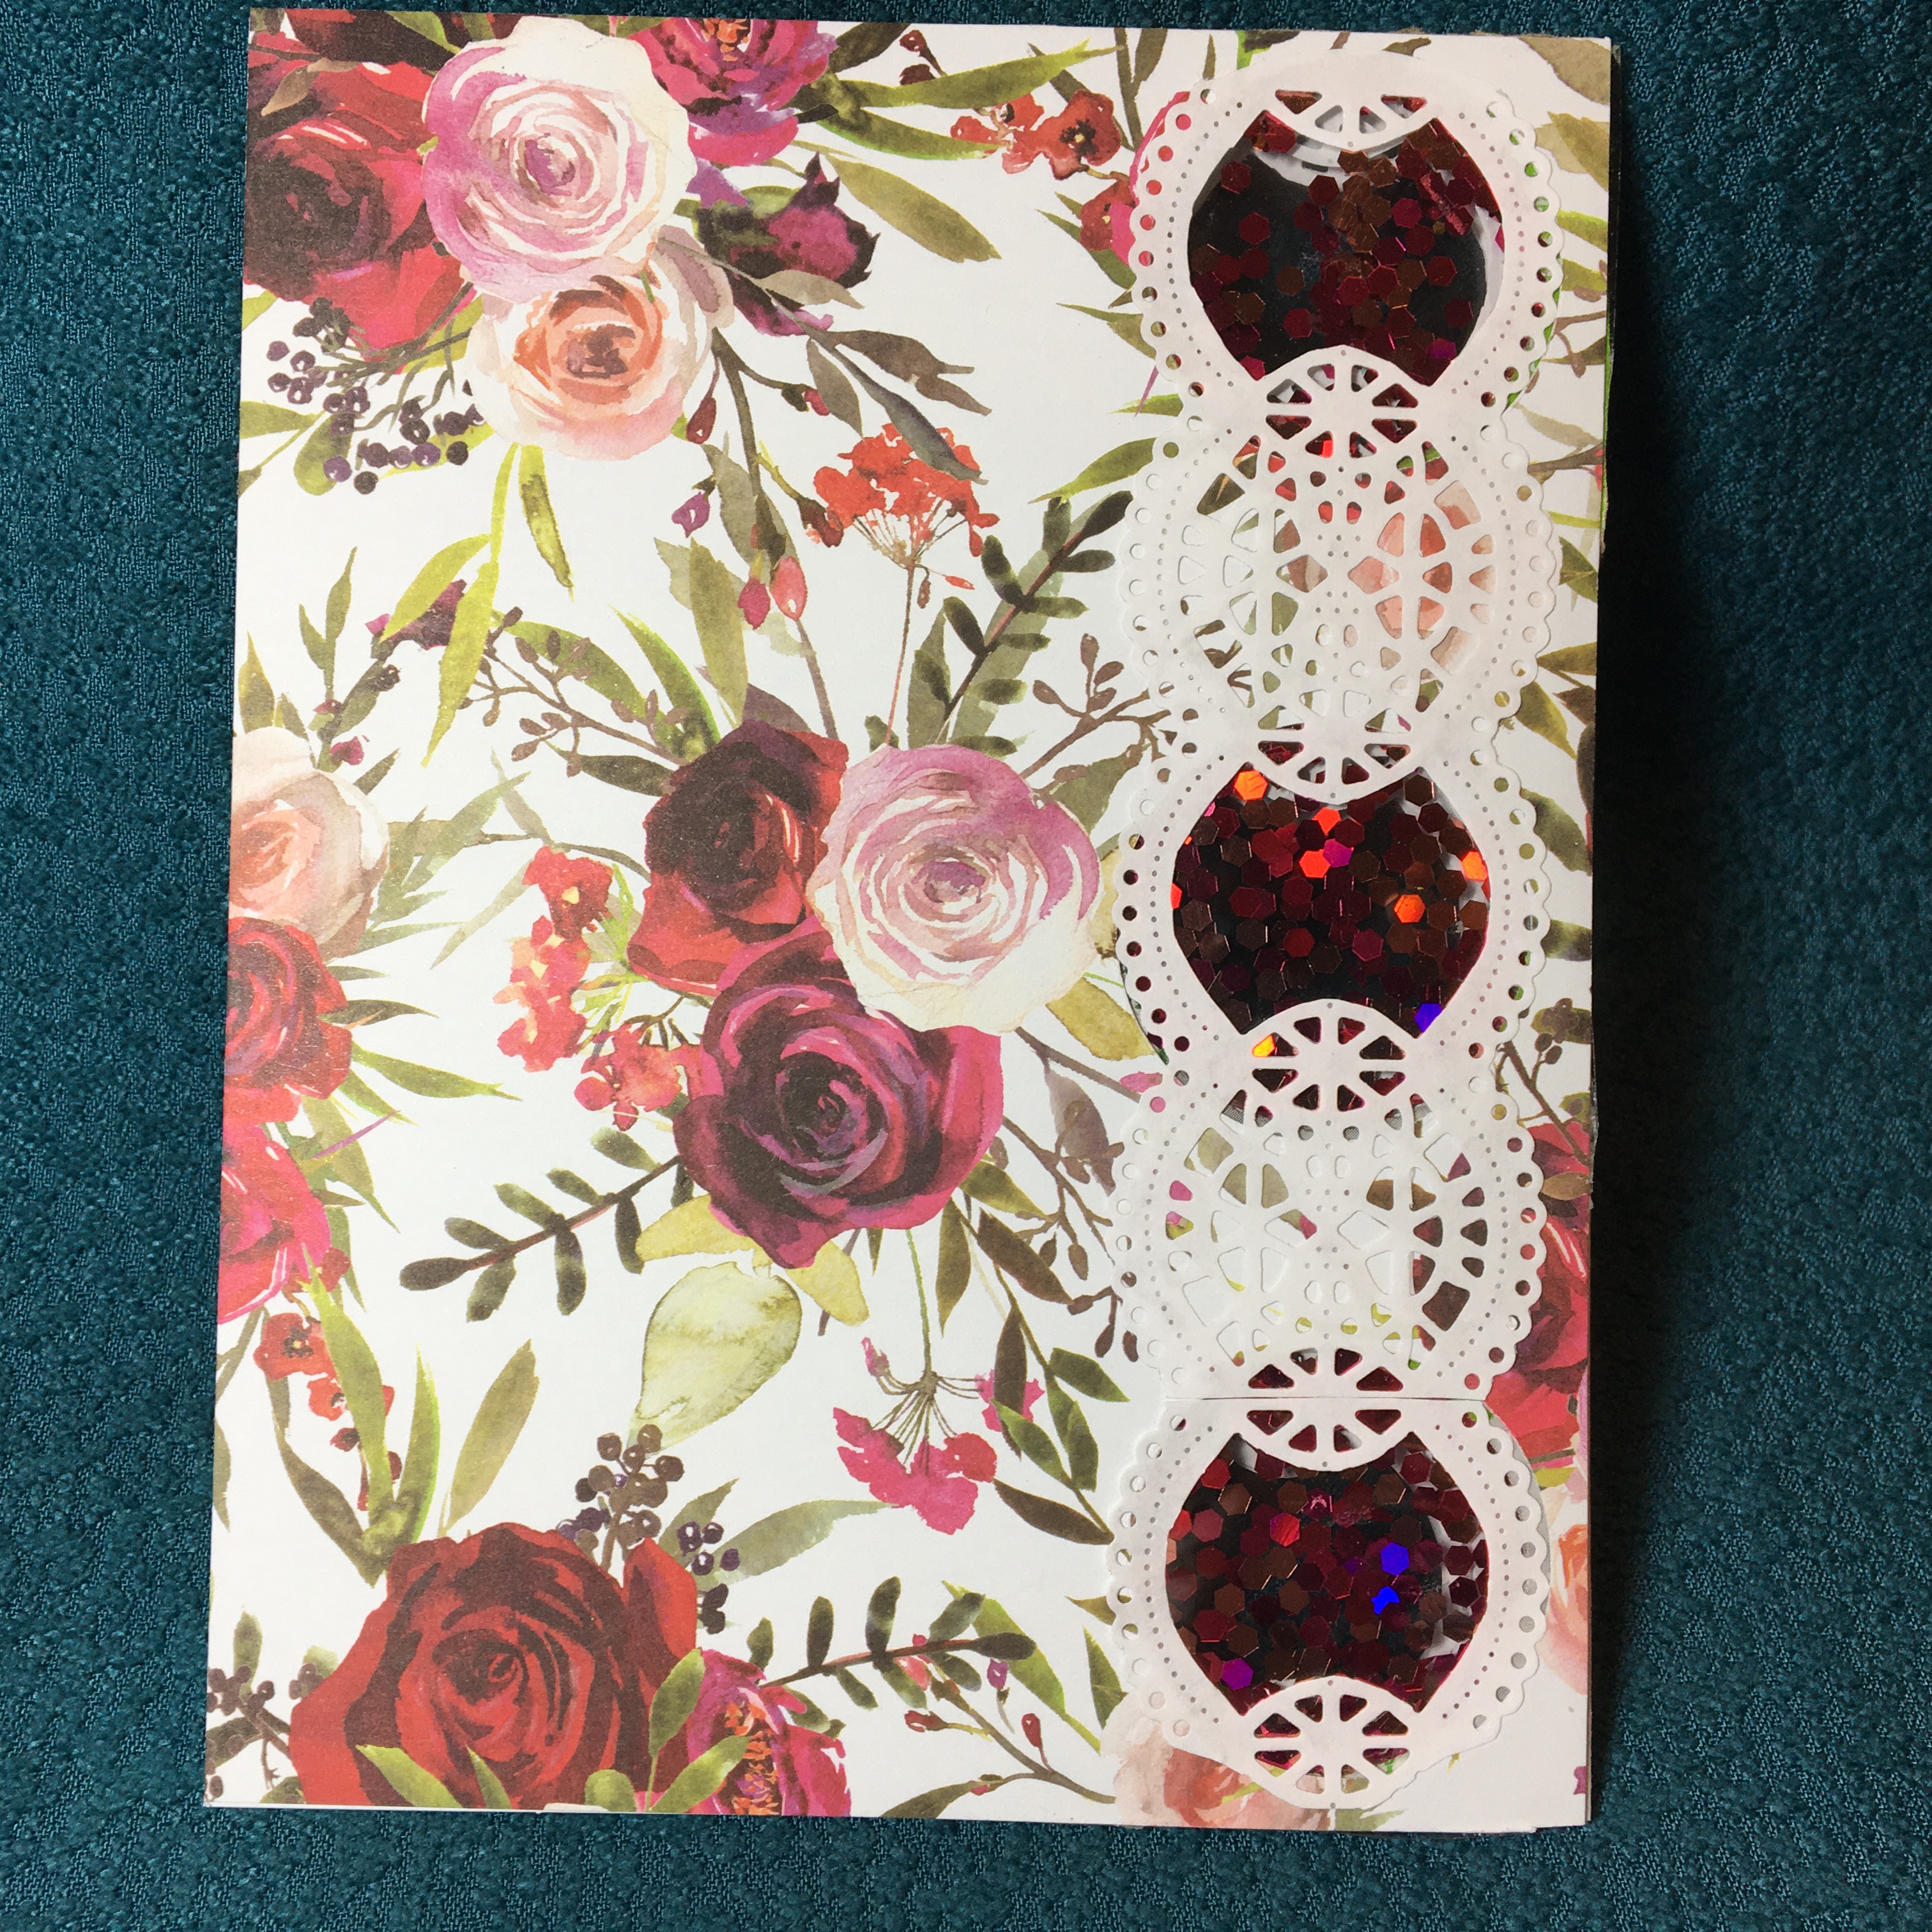 Next, I traced as best I could the shaker circles onto the back side of the two outer printed cardstock panels and the two inner patterned paper pieces. With printed sides place together and taped with removable tape, I cut both outer panels together. Repeated the same process with inner pattern paper. Using double-sided tape and a few drops of glue, I adhered the outer panels and the inner papers lining up all the shaker holes. To hide the small gaps, I die cut four strips of scalloped lace from thin white paper using an un-named die by Joanna Sheen in my stash. There are five circles in the lace, I cut out the top, middle and bottom inner circles to correspond with the shaker circles. I glued the four lace pieces over the inner and outer panels’ circles.
 The front of the card has a die cut scalloped oval with “Happy Mother’s Day” die cut from a recycled chocolate’s box. A multi-looped button is from tiny grosgrain red ribbon from my stash.
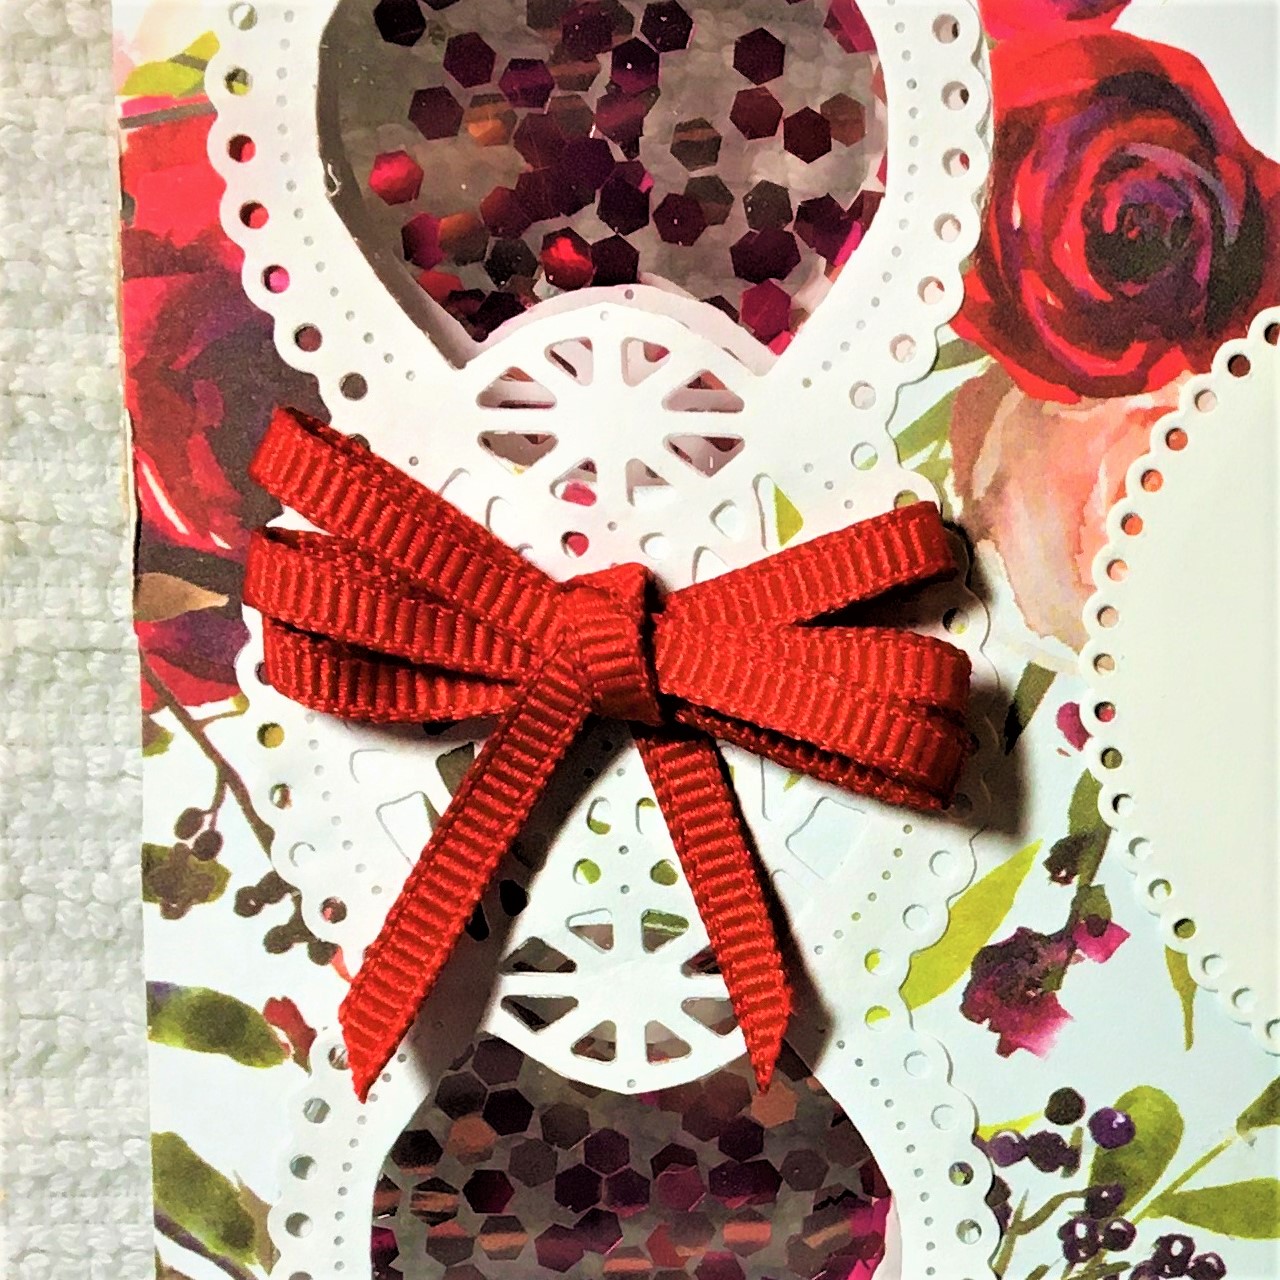 Materials:
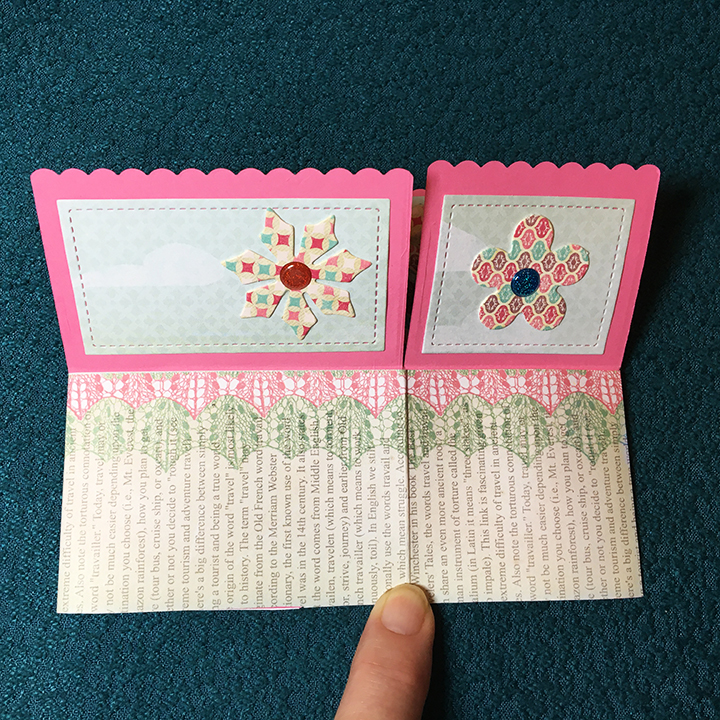
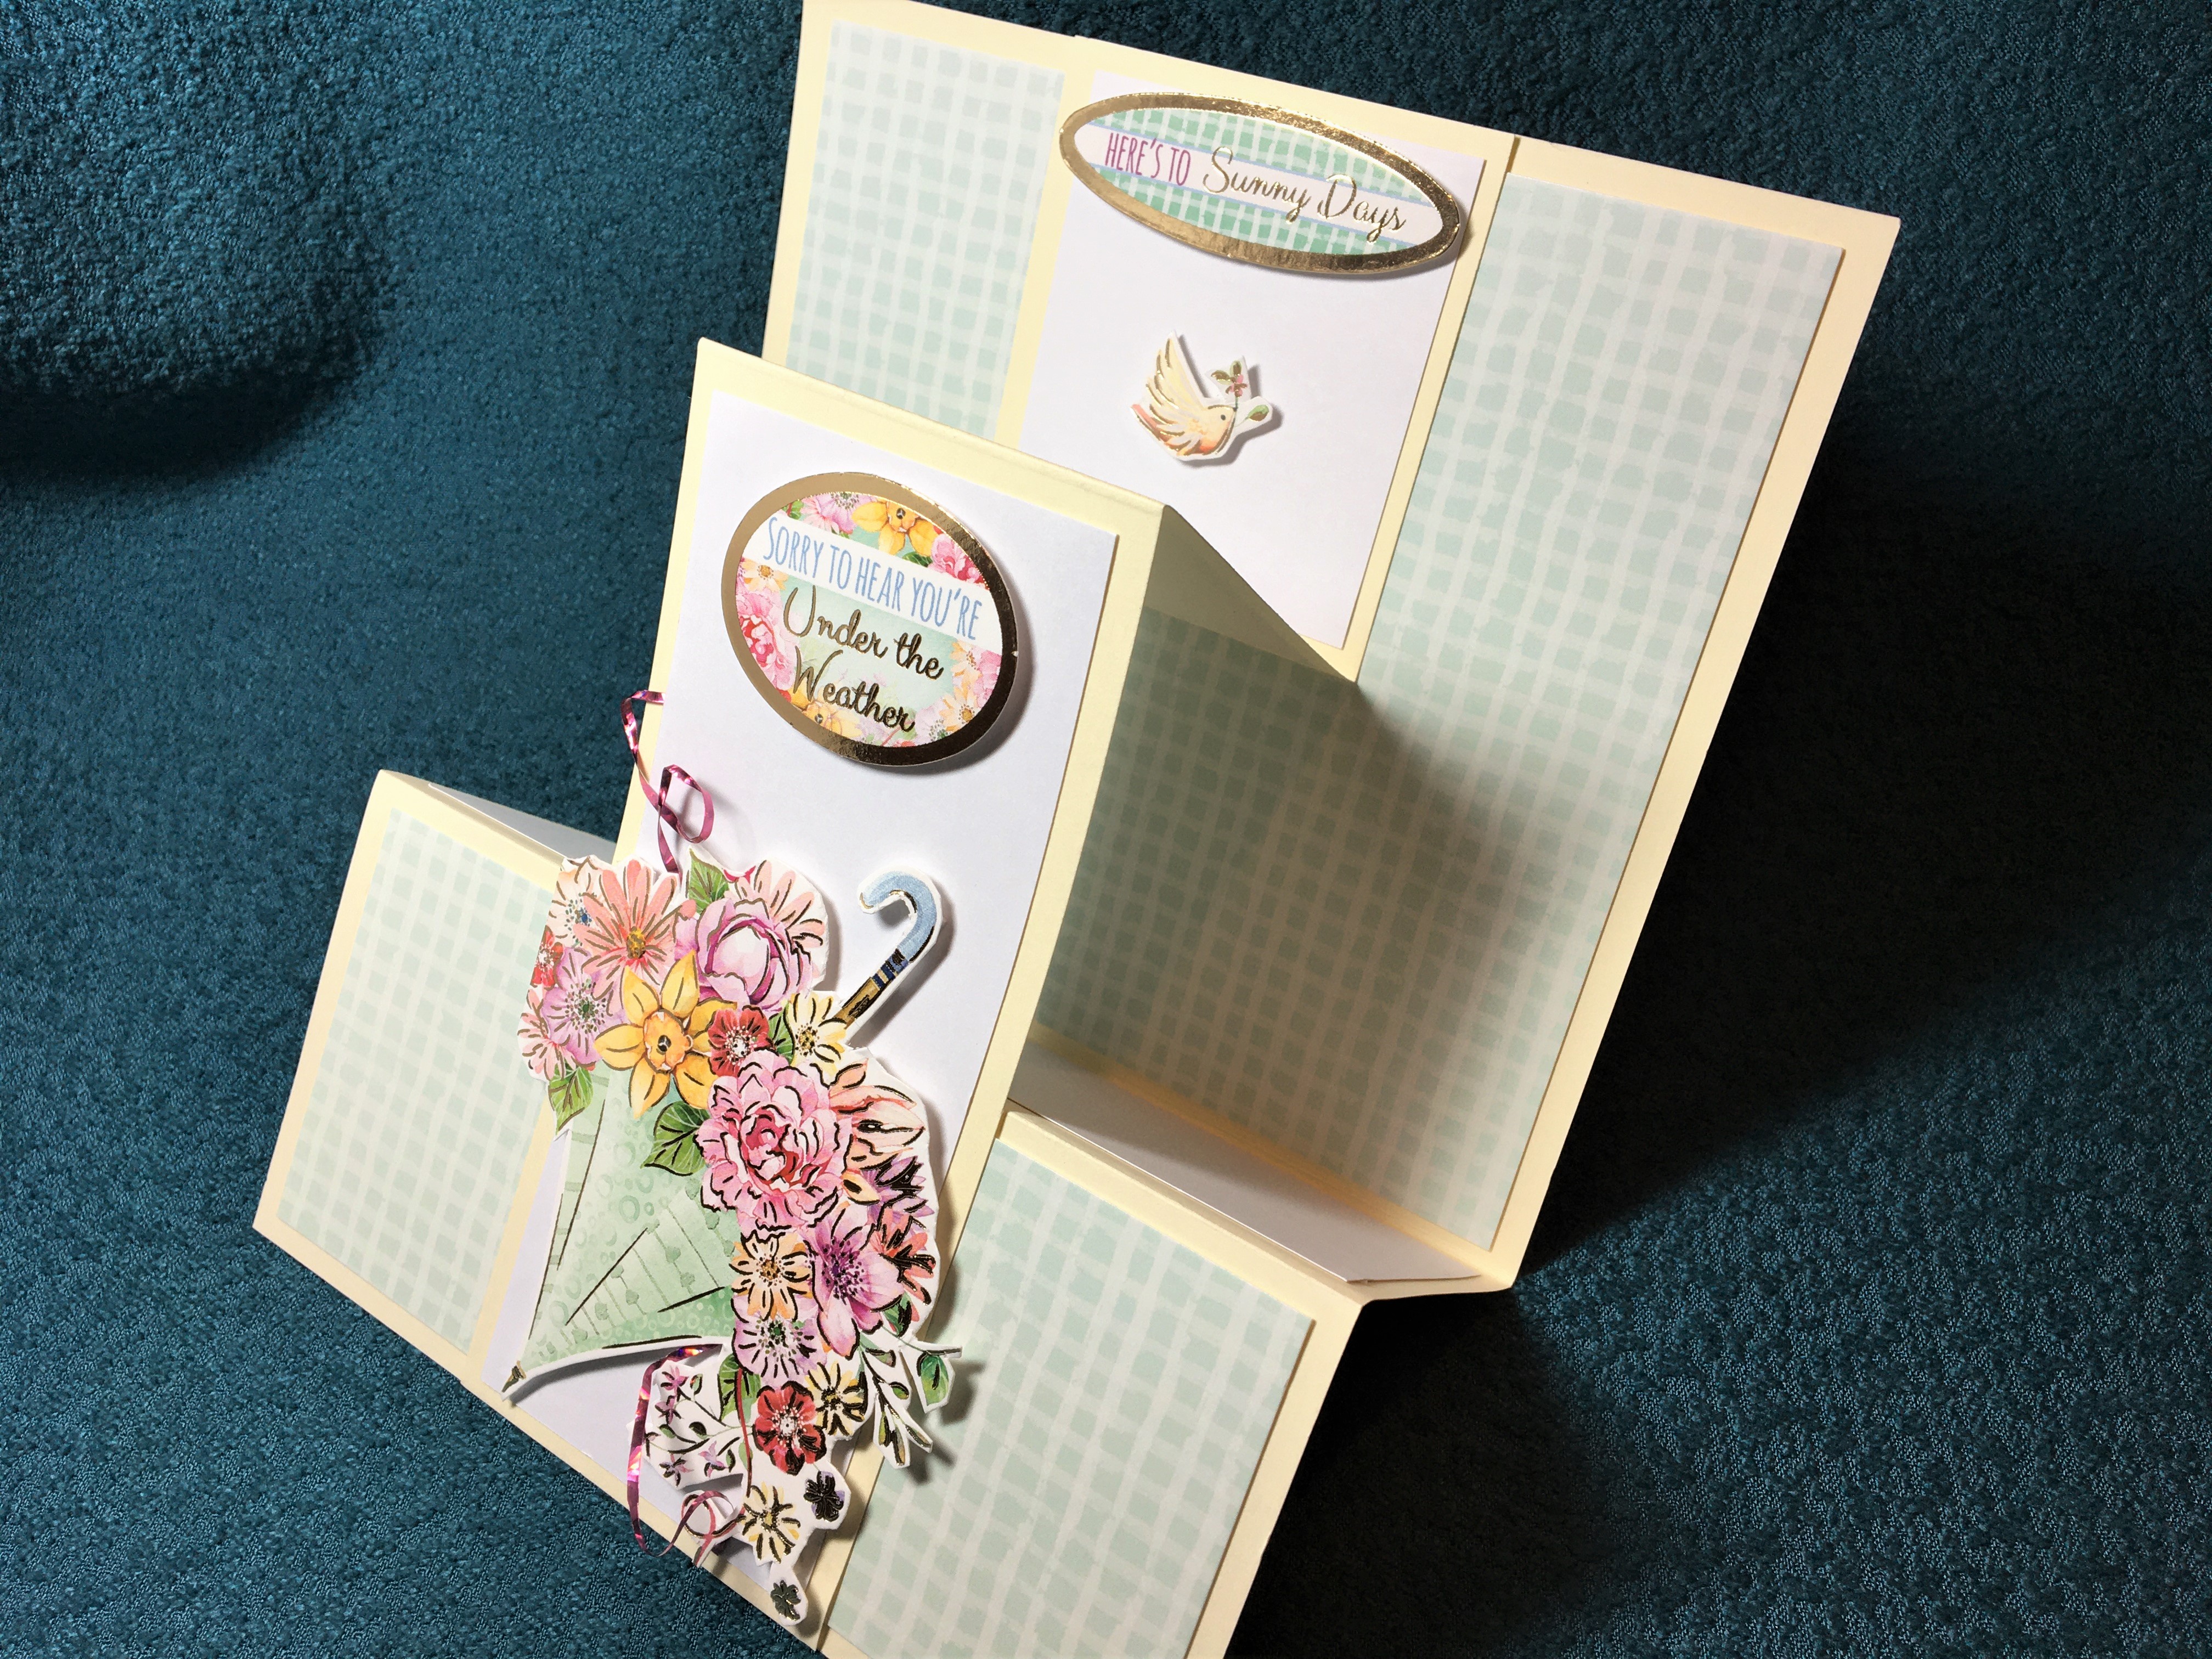 This is a double Z-fold card turned sideways using Hunkydory’s Happy Days – Adorable Scorables set and an 8.5 inches x 11 inches (21 cm x 28 cm) piece of cream card stock.
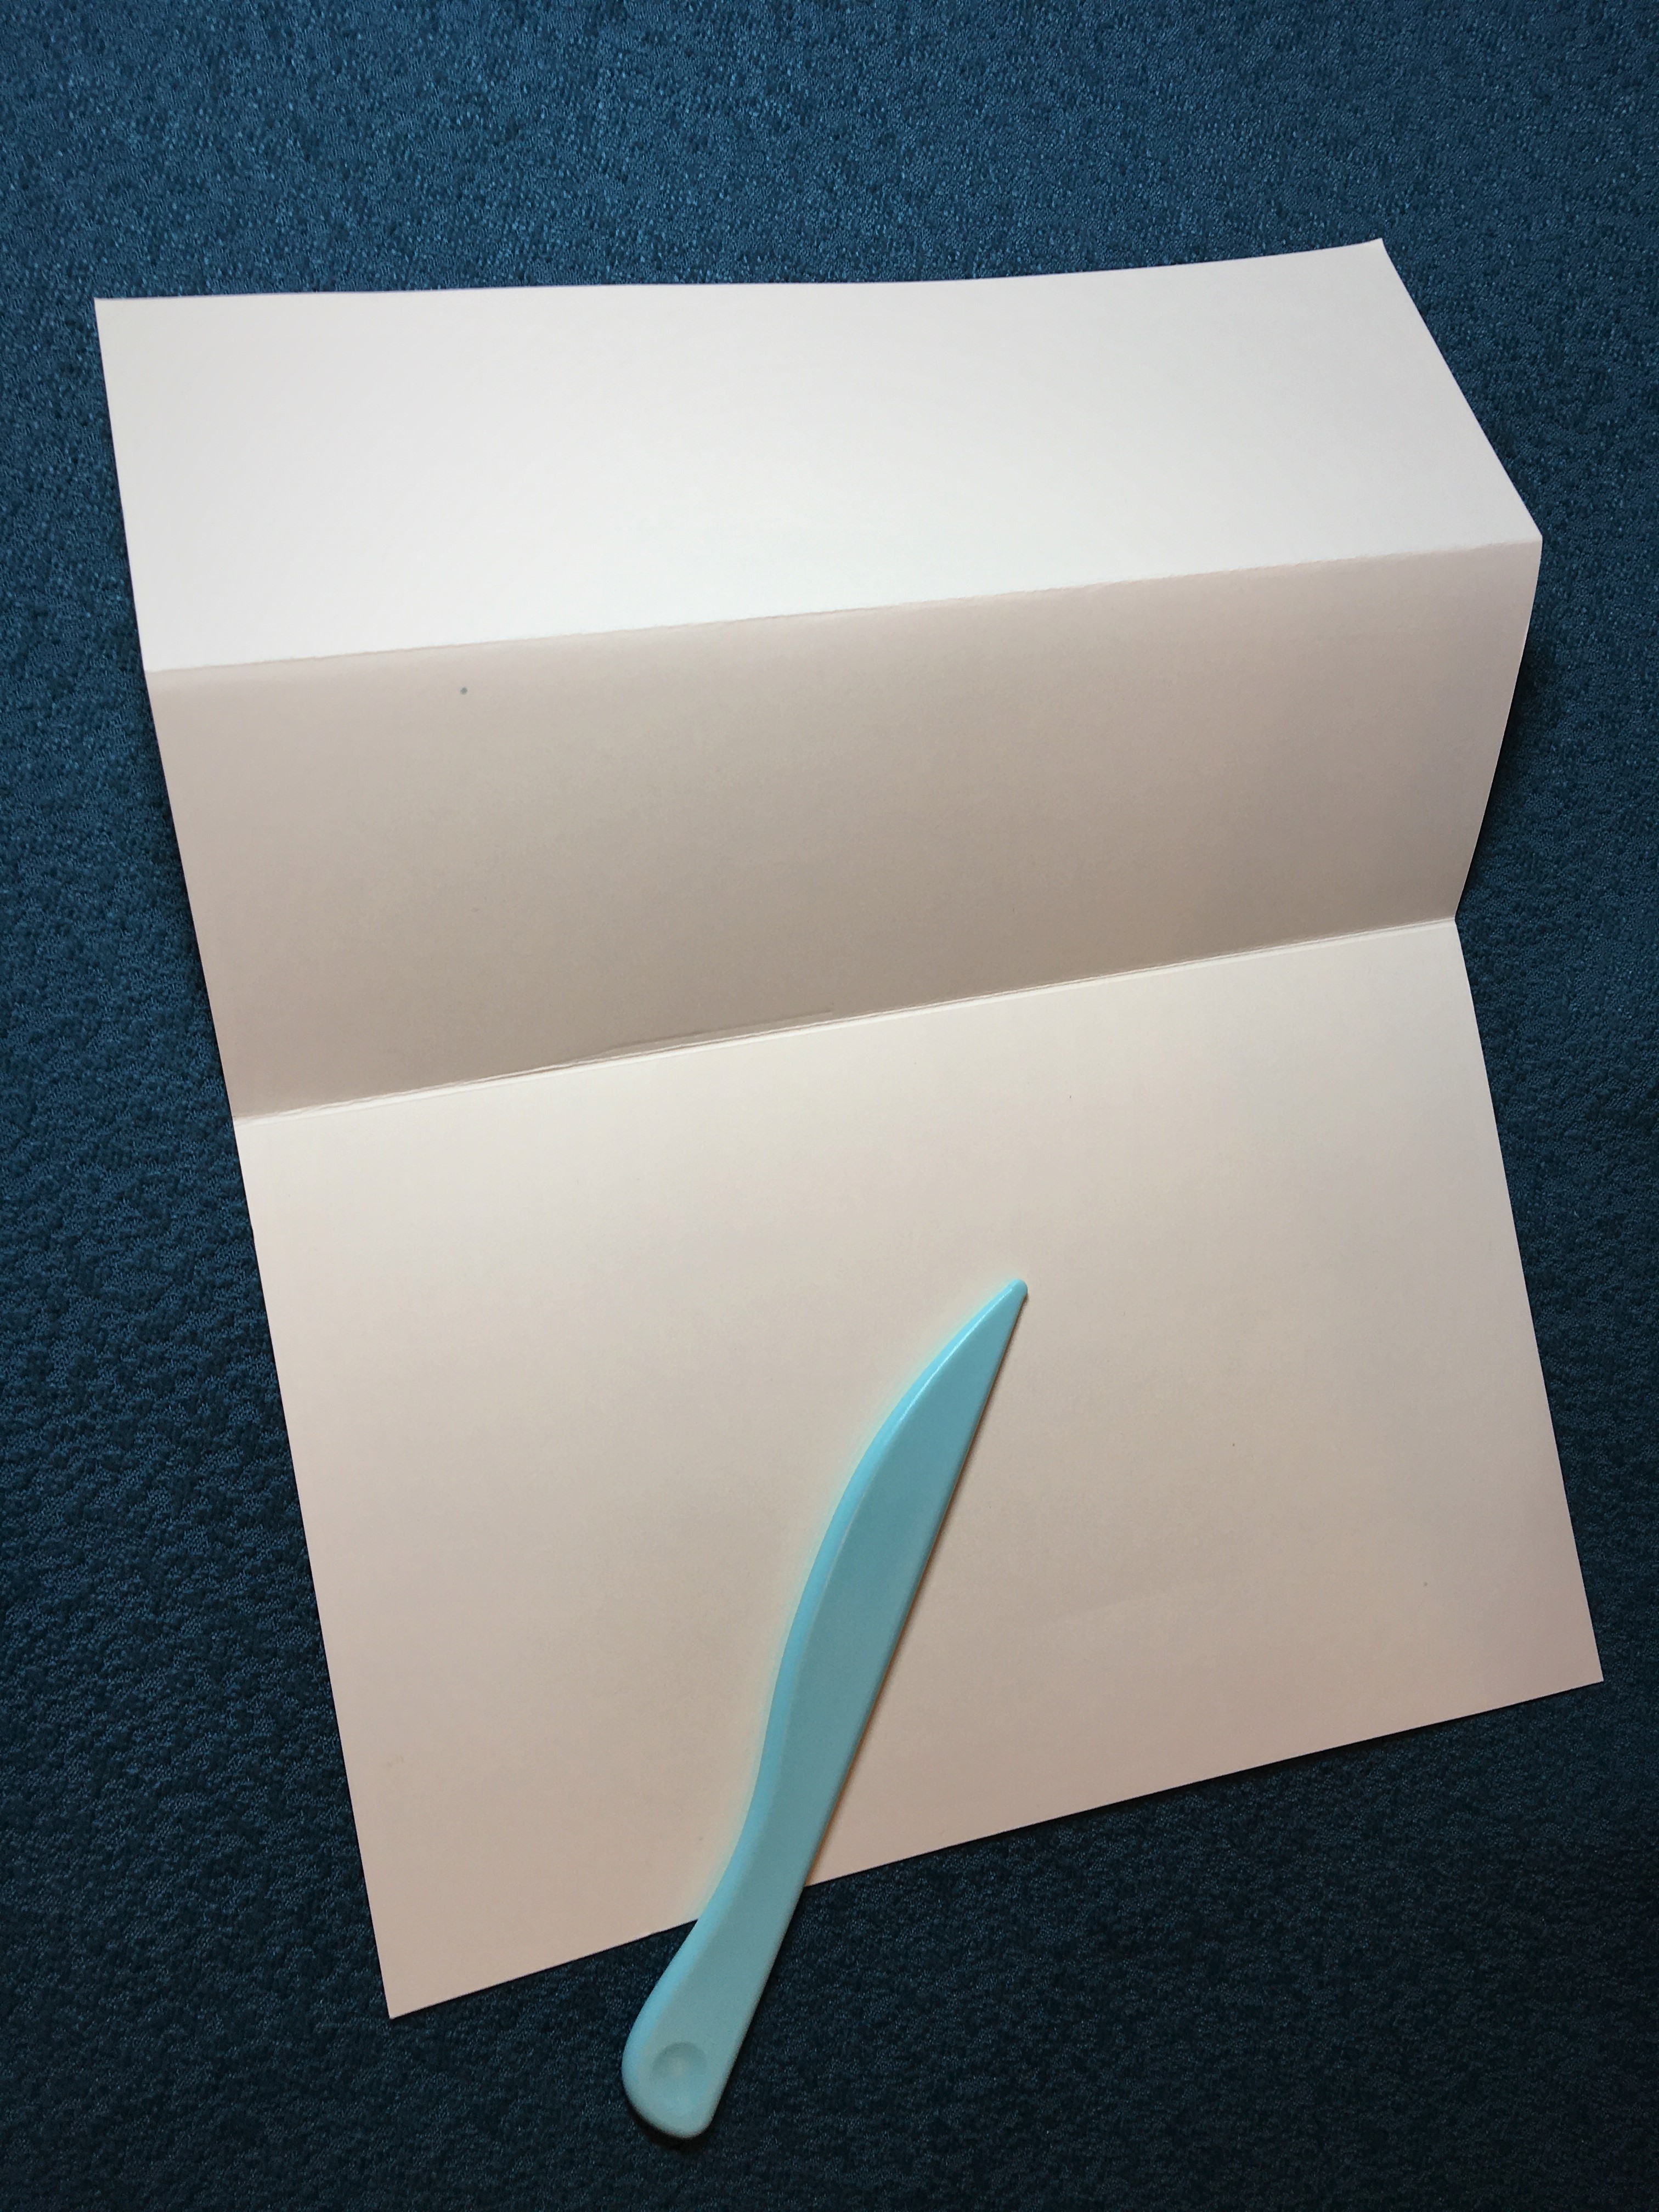 1 Fold in half to make 5.5 x 4.25 inches (140 x 107 mm) card. Burnish fold. Fold front in half to make 2.75 x 5.5 inches (70 x 140 mm) panel. Burnish fold.
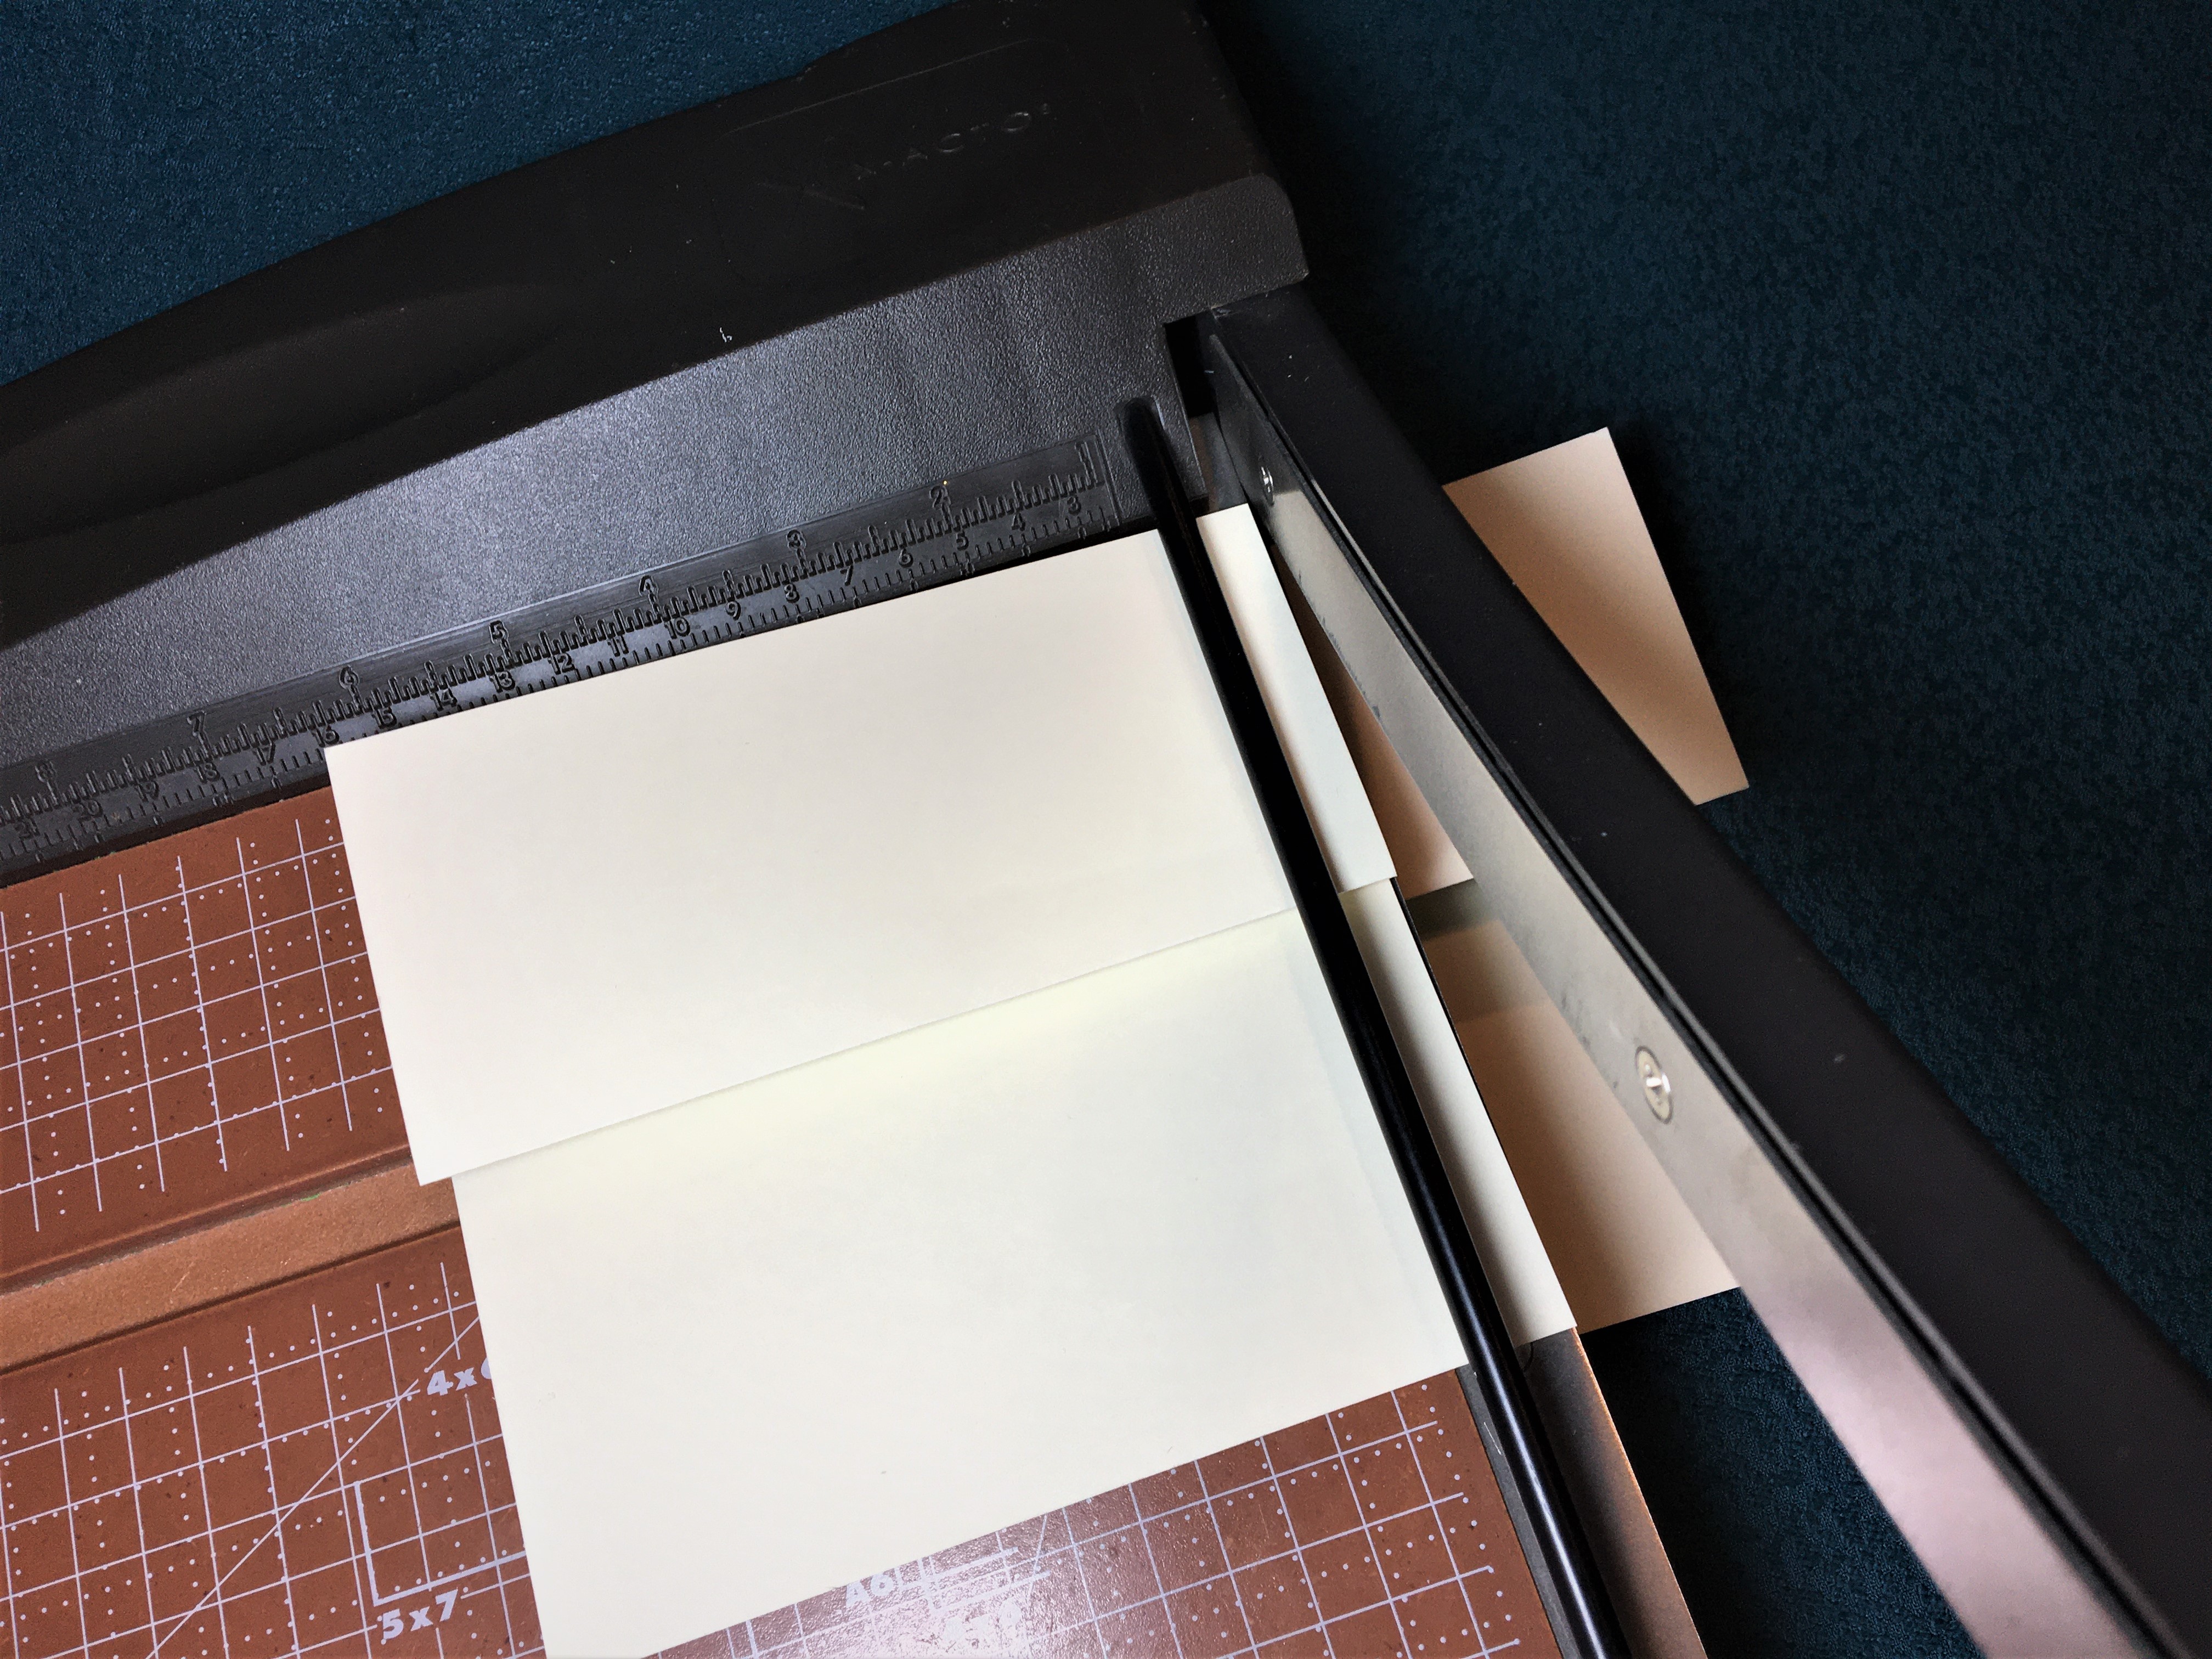 2 Cut folded card at 2.5 inches (63 mm) from the side.
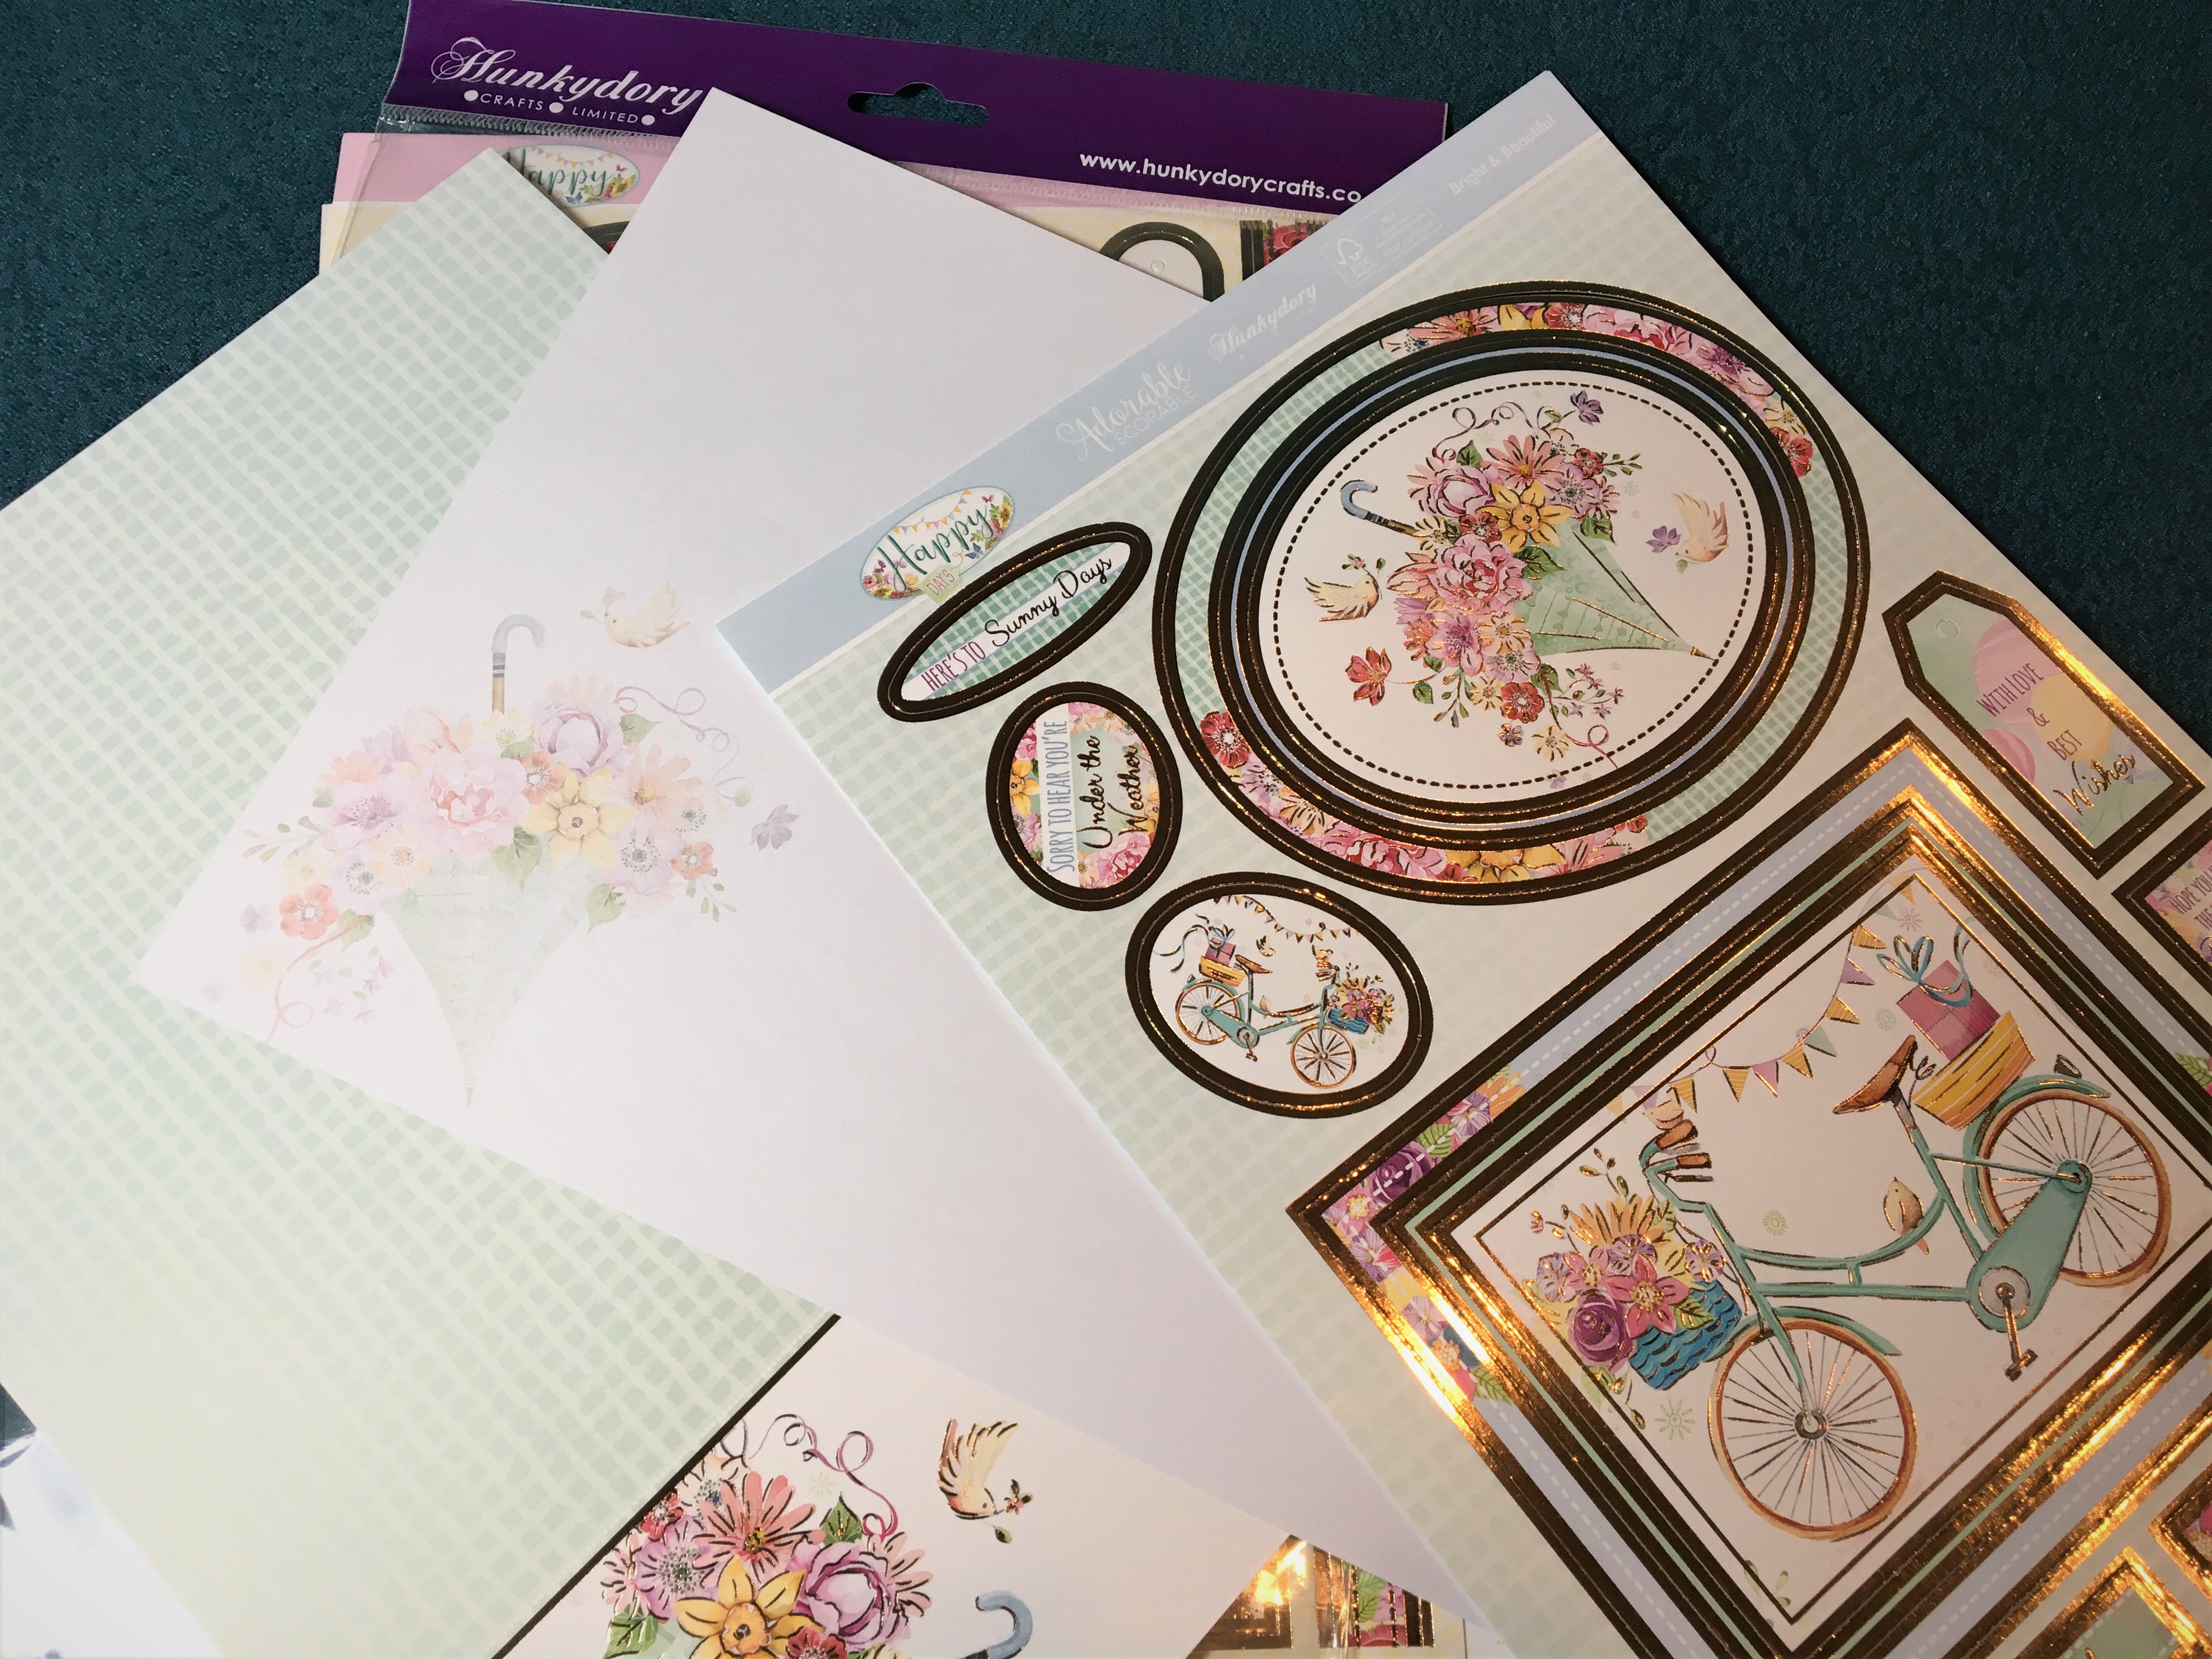 3 Pick your papers.
 4 Cut from pattern paper two pieces – 5.75 x 5.25 inches (146 x 133 mm) and 2.5 x 5.25 inches (63 x 133 mm). Cut four pieces of white – 2.5 x 5.25 inches (63 x 133 mm), 2.25 x 5.25 inches (58 x 133 mm) and two at 2.25 x 2.5 inches (58 x 63 mm)
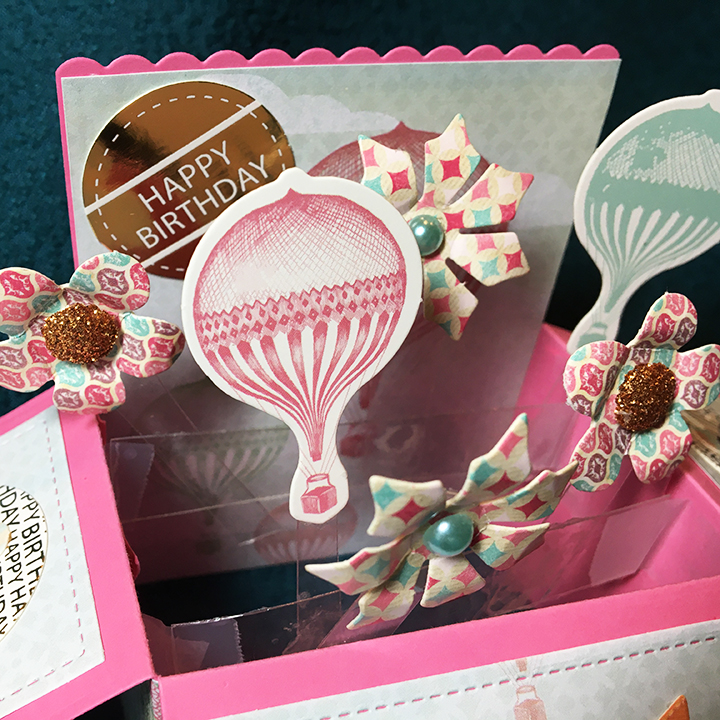
 5 Fussy cut out front umbrella. Create thin ribbon by sticking back-to-back holographic tape and cutting into thin strips.
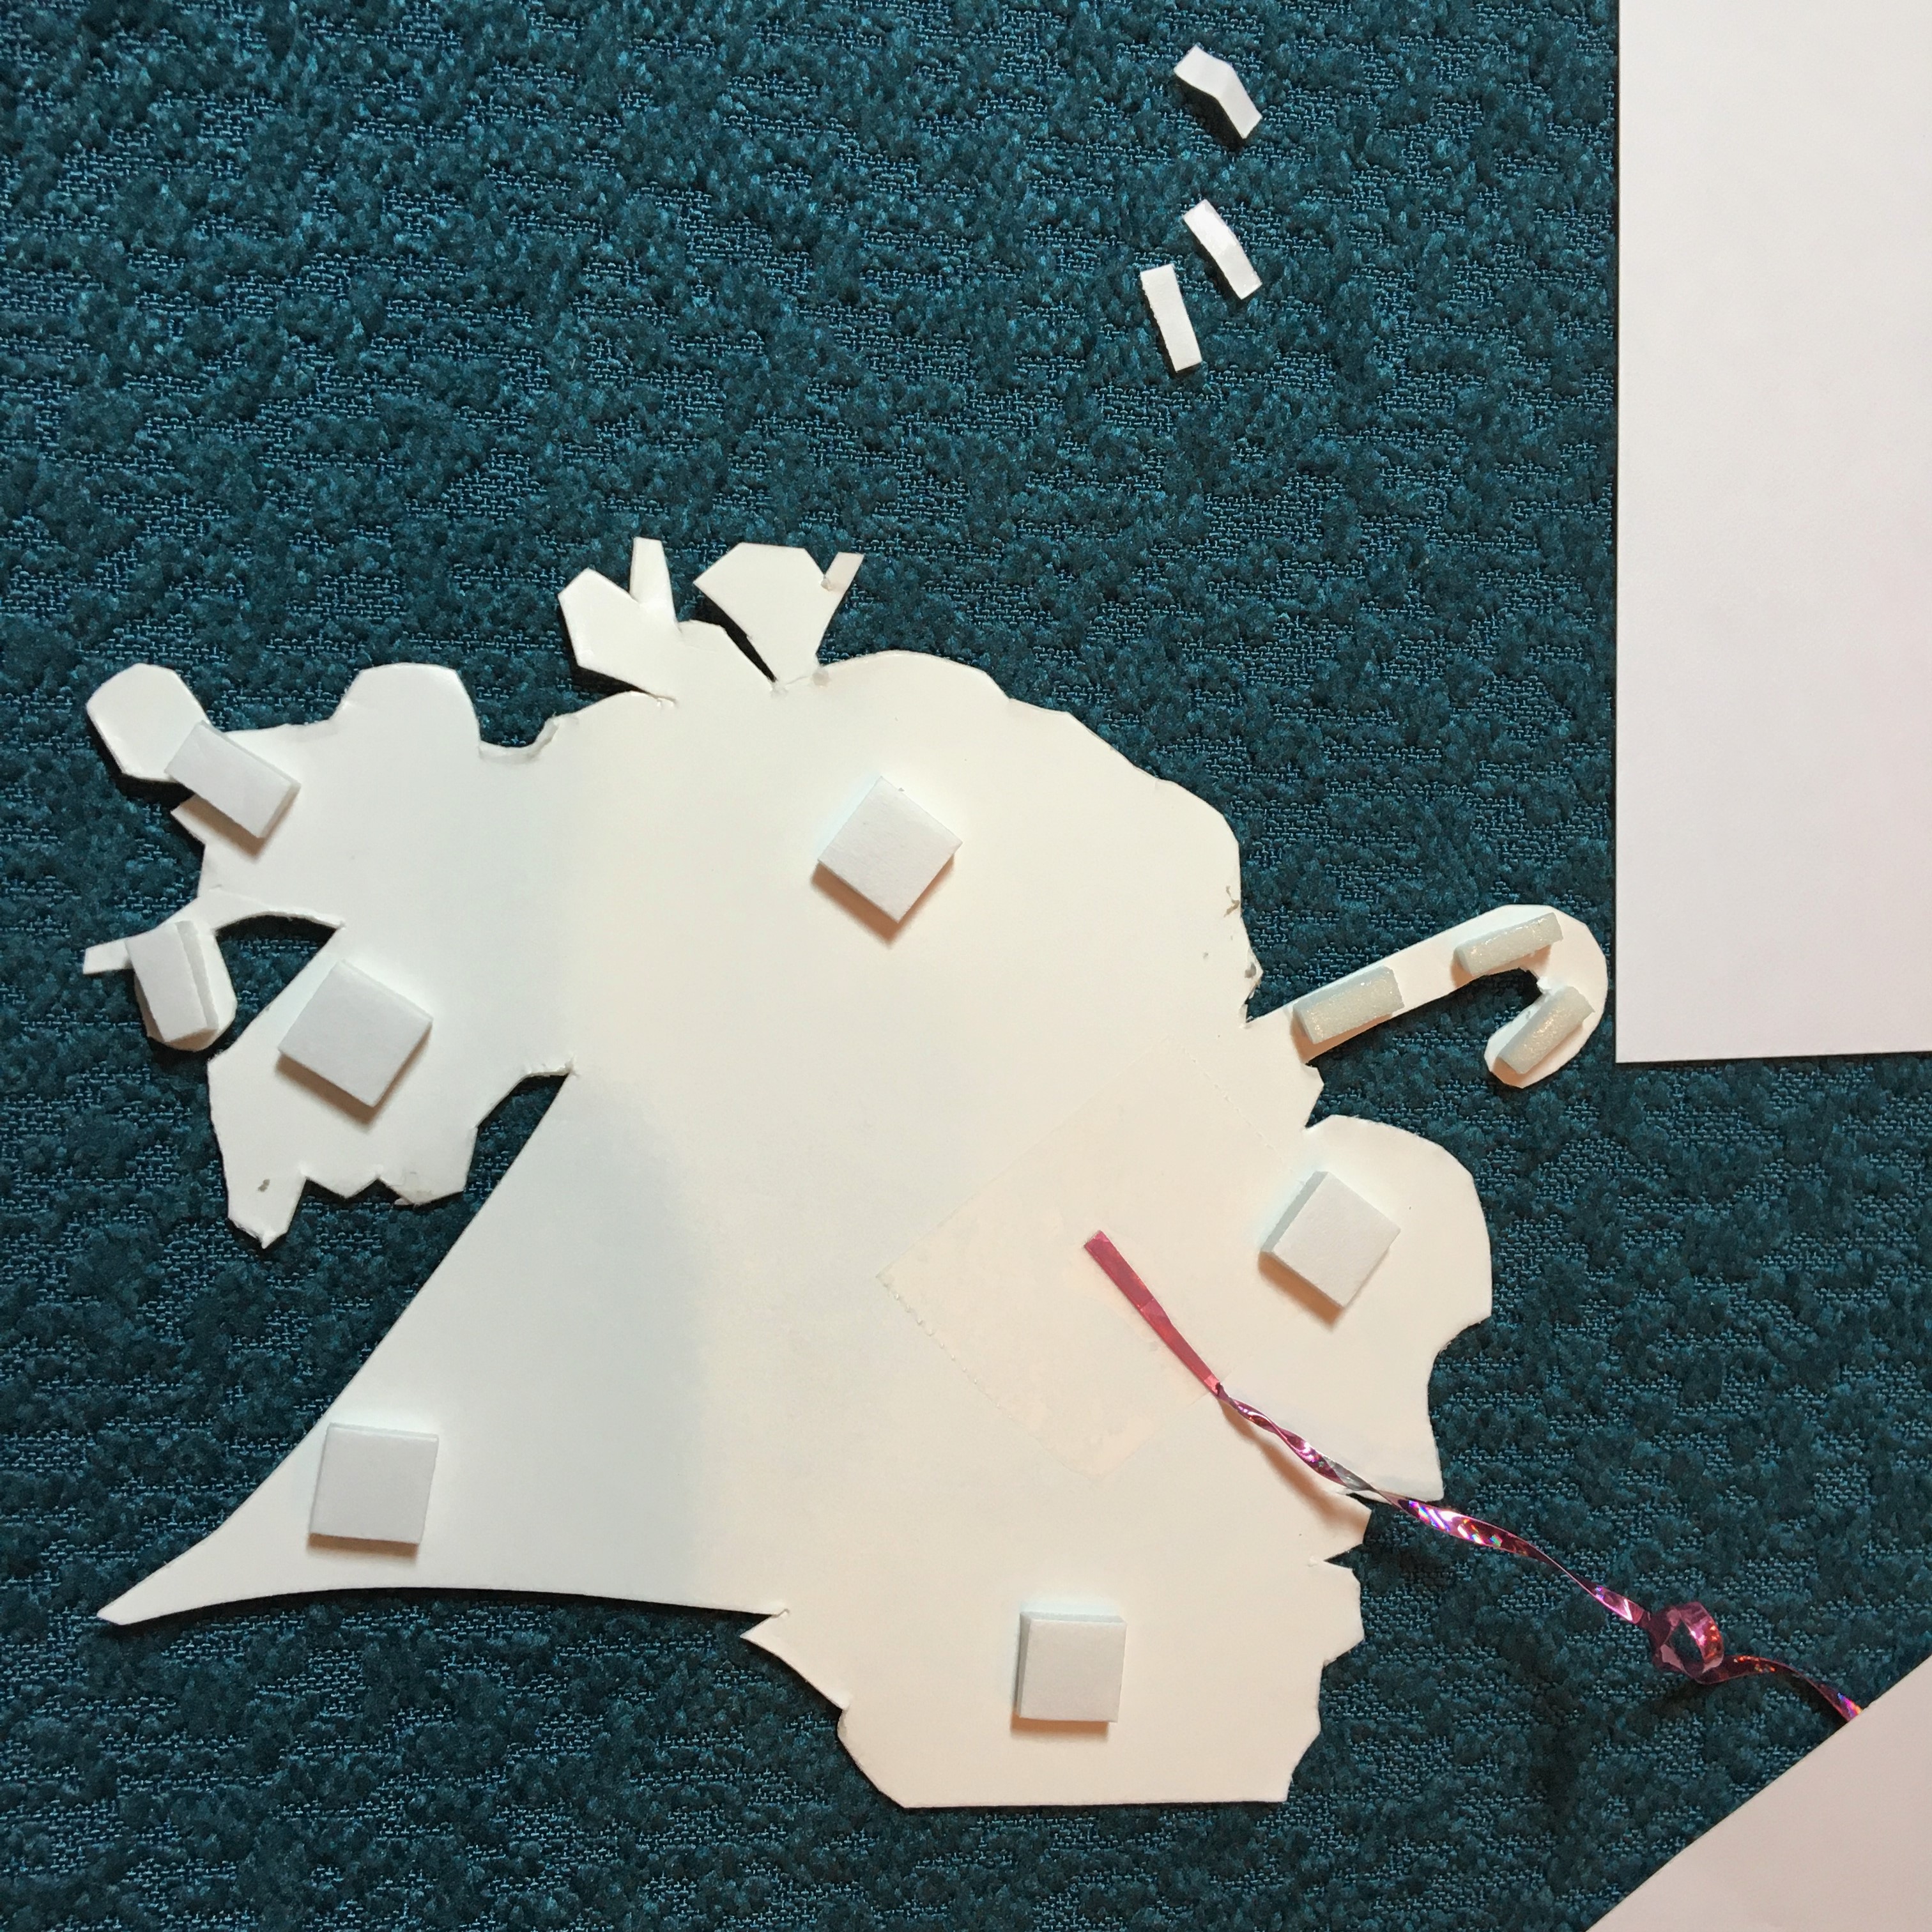 6 Figure-out placement of ribbon and tape on backside. Place foam squares on back.
 7 Adhere umbrella to white card (2.25 x 5.25 inches). Tape ends of ribbon to back of white card.
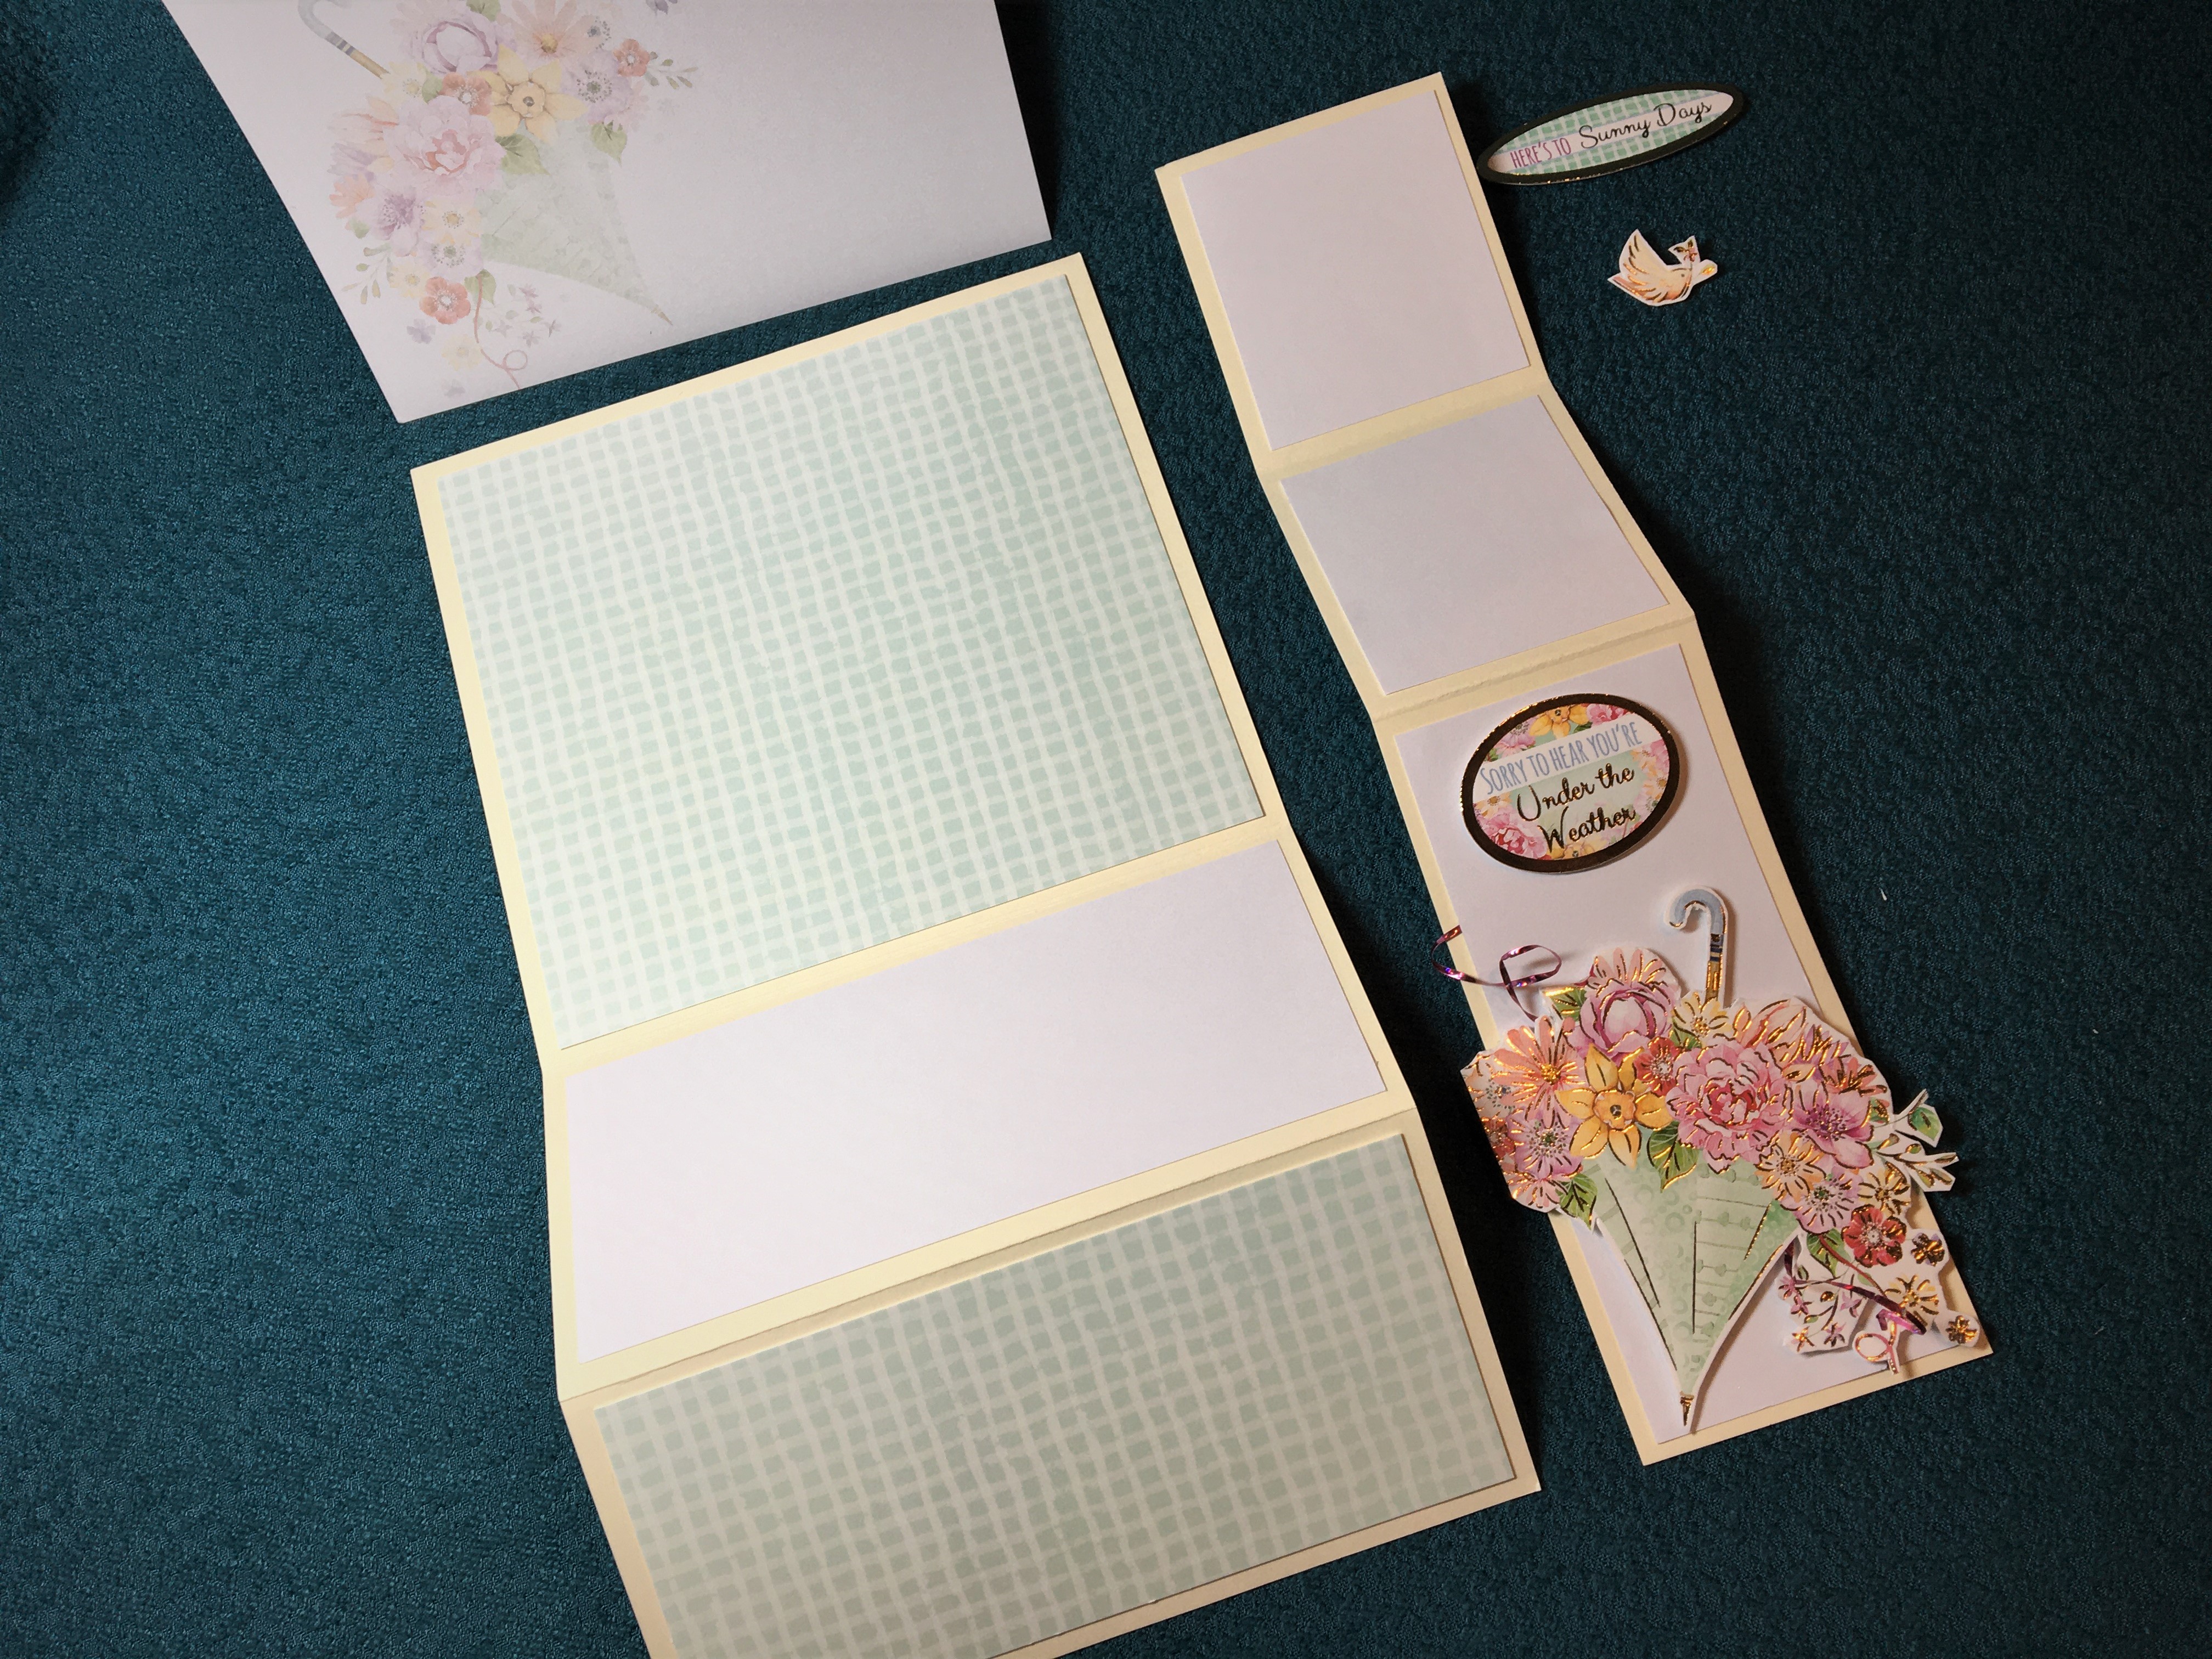 8 Adhere patterned and white papers to appropriate spaces. There should be an 1/8 inch (3 mm) bit of cream card showing all around each of the top layered pieces. Adhere sentiment with foam squares above umbrella.
 9 Add several rows of double-sided tape to the back edge section making sure the tape does not extend above fold marks.
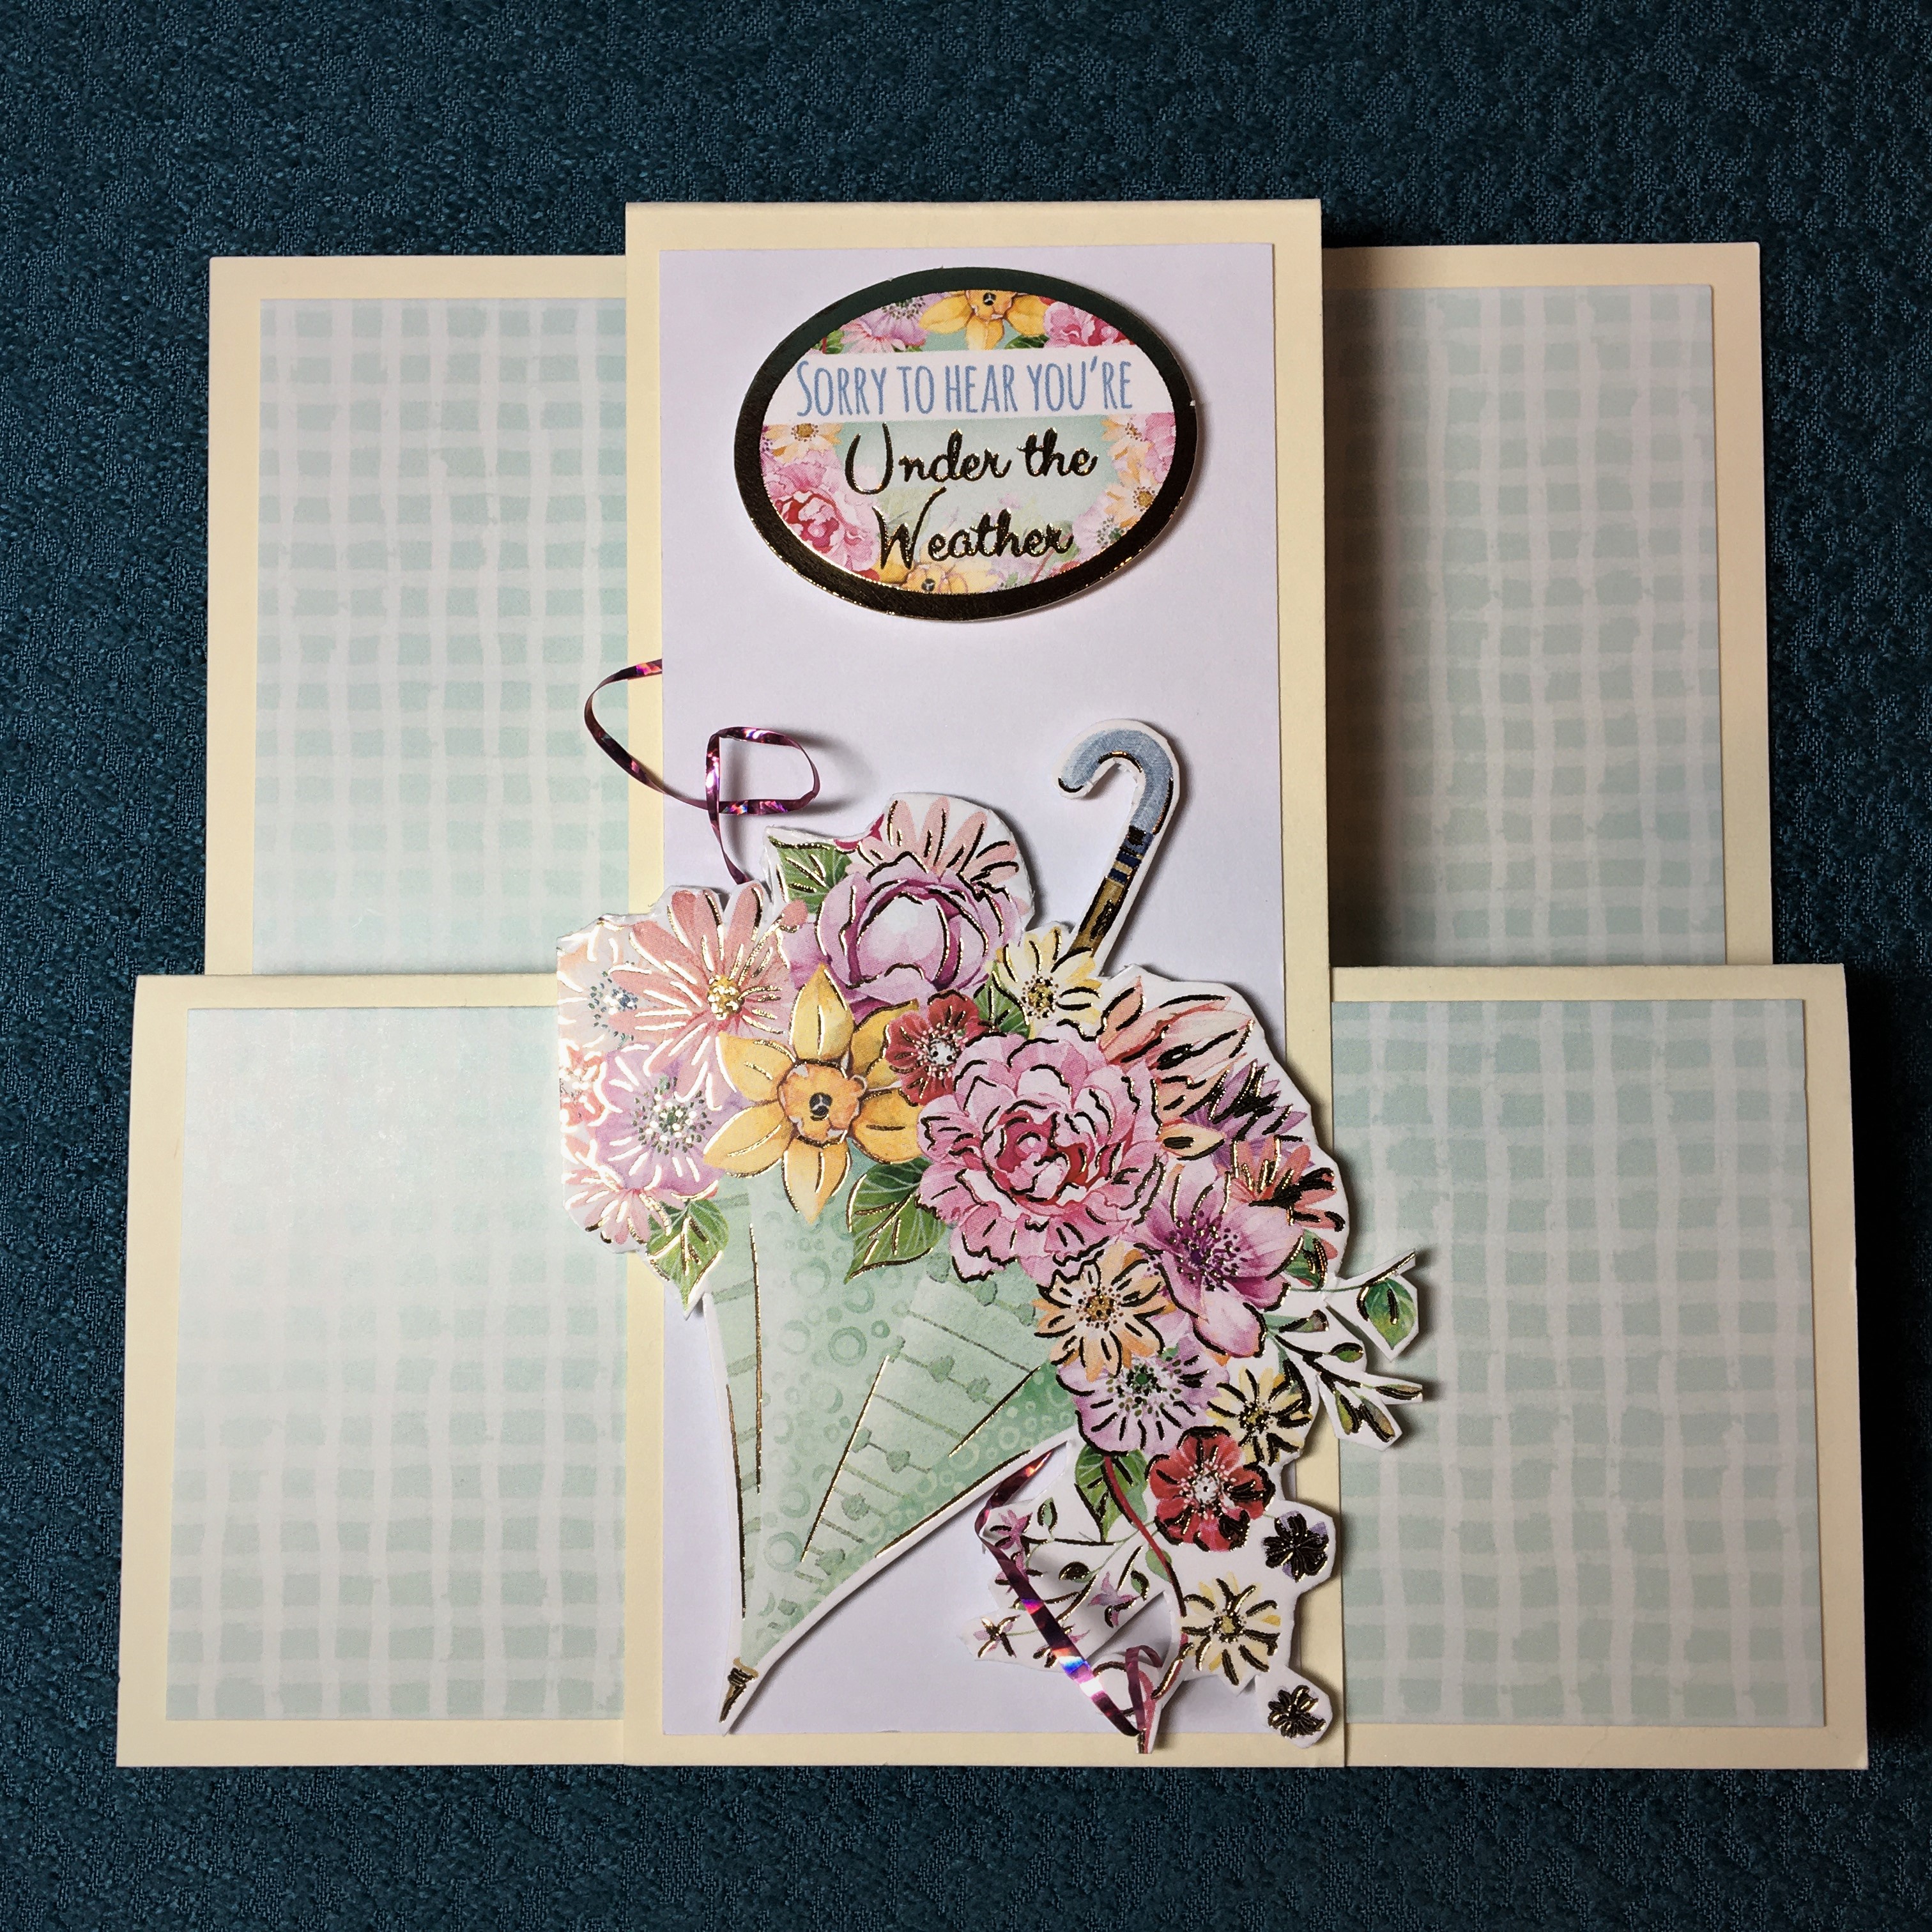 10 Peal off tape from behind umbrella section and adhere to front of car. Next pull off backing tape from back section and press card folded shut to adhere back of center layer to back layer of card.
 11 Add back sentiment and bird decoration.
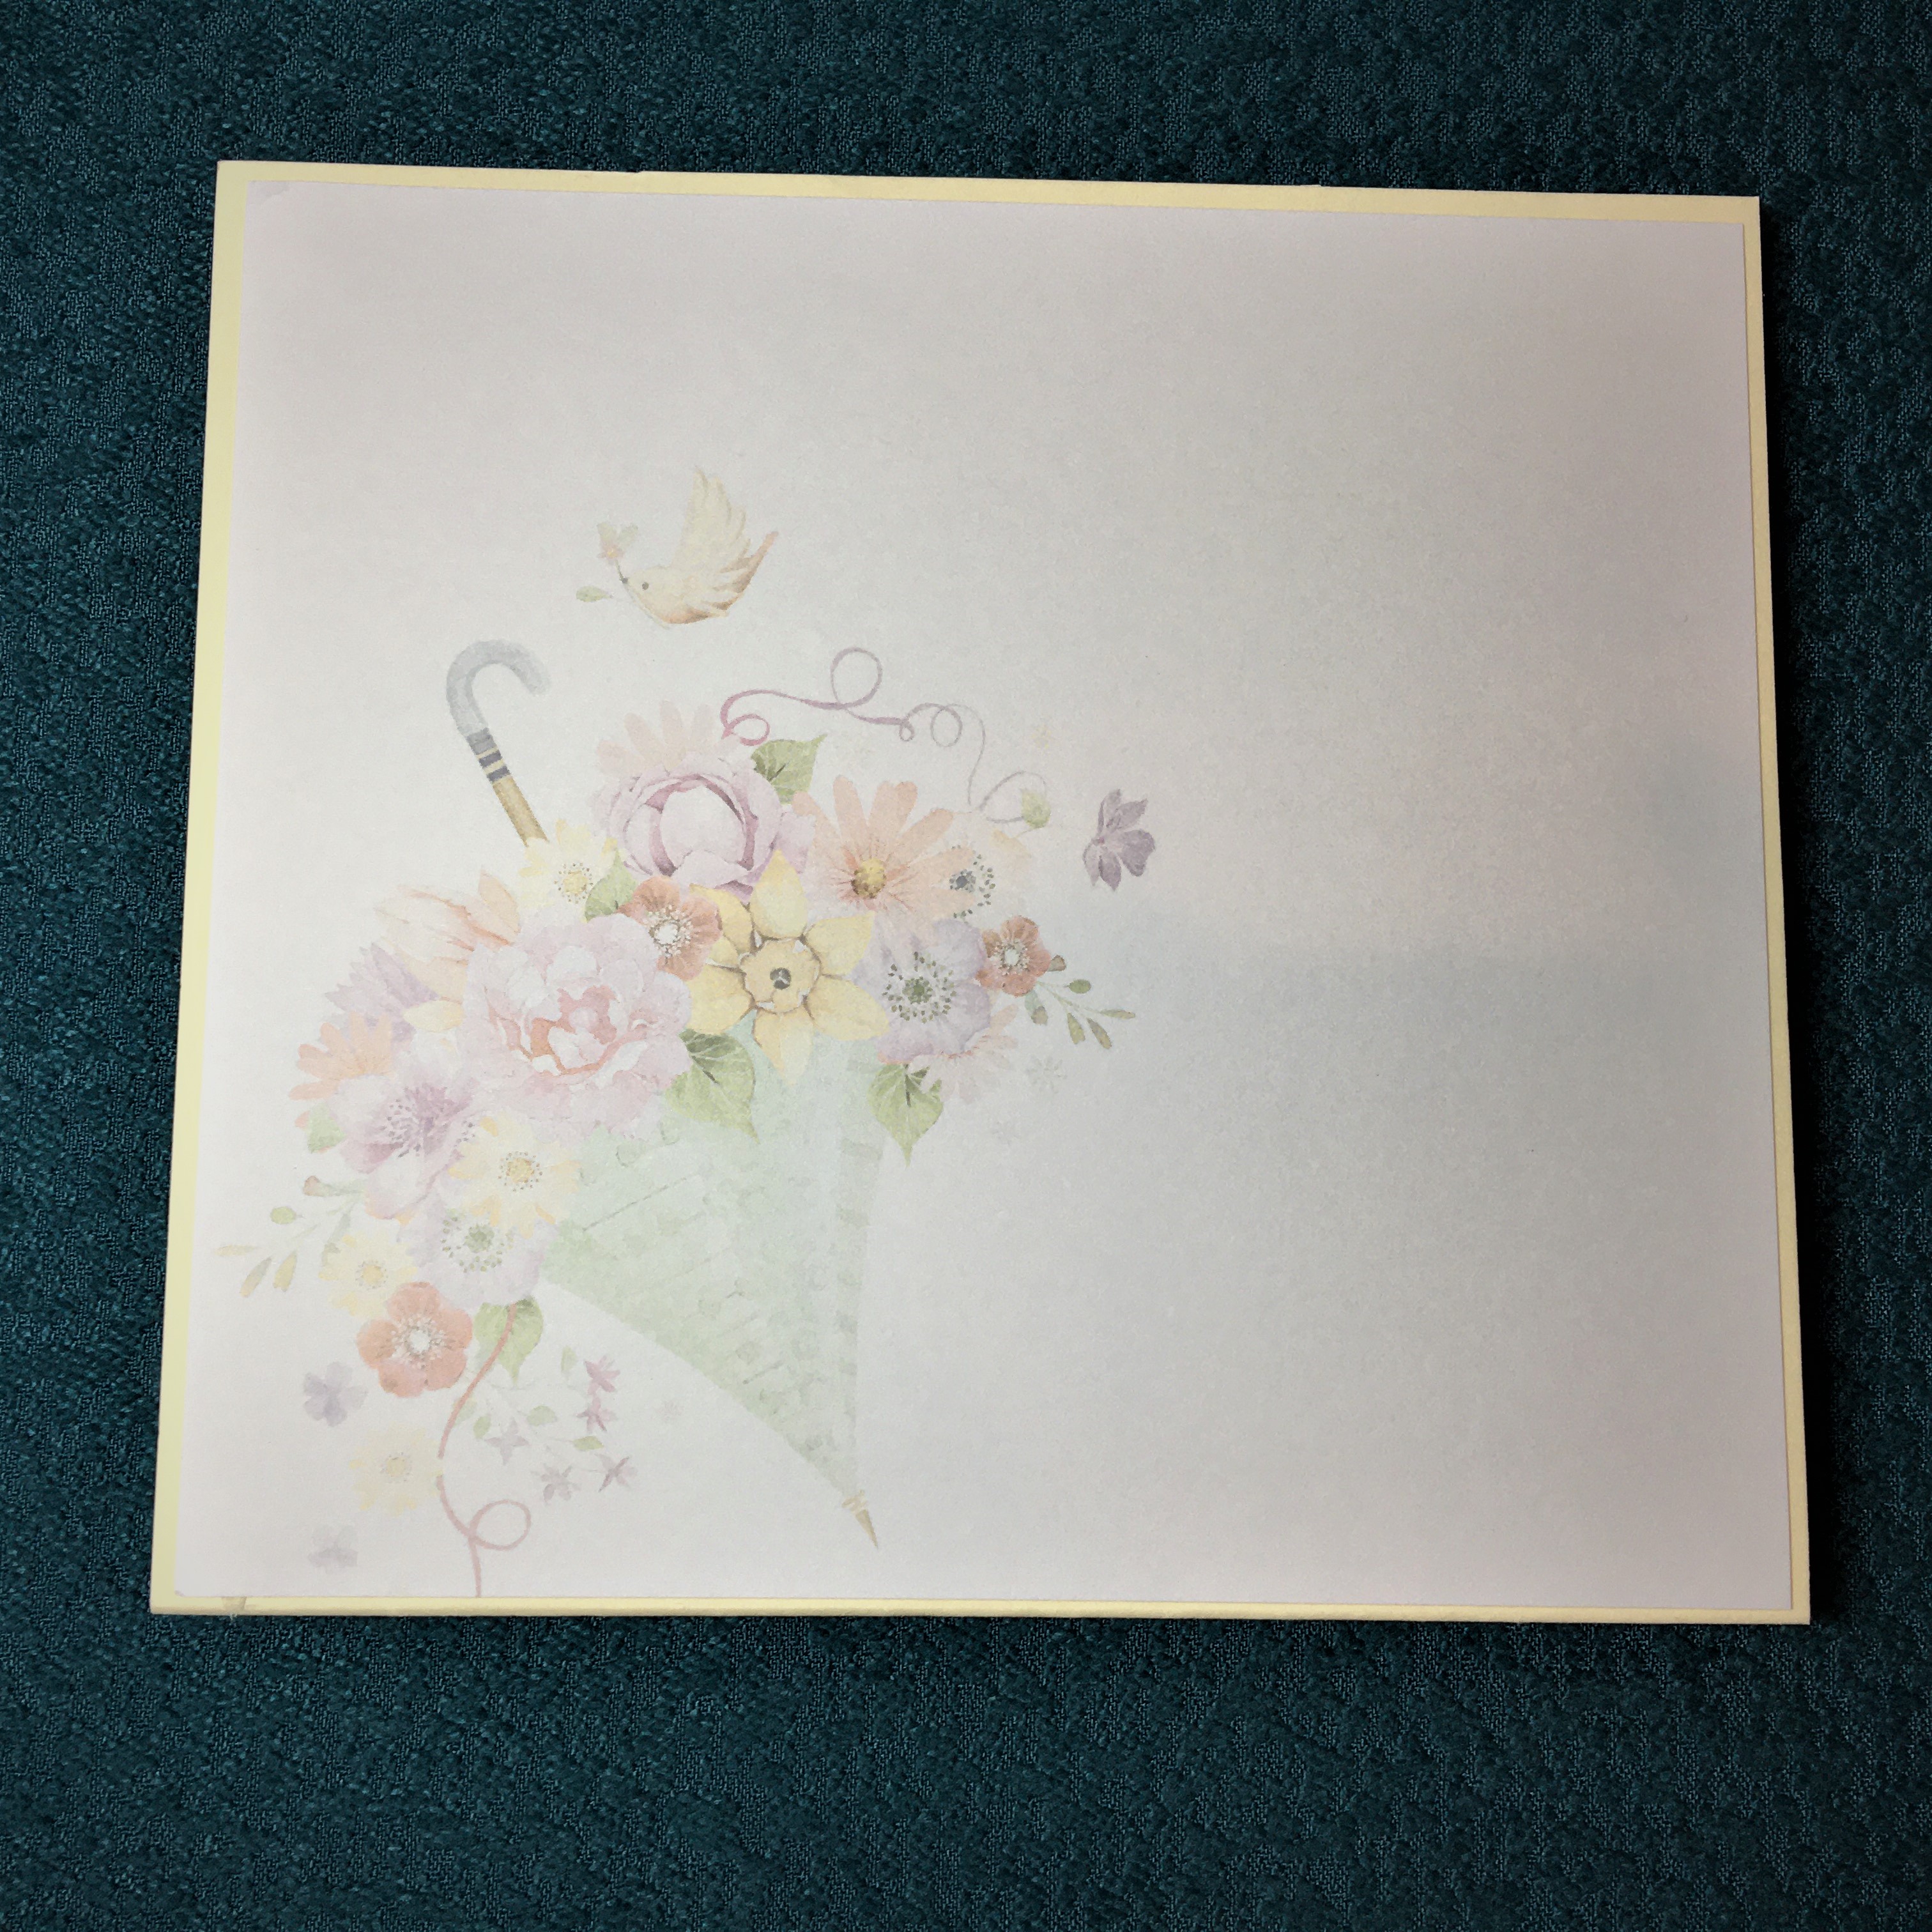 12 Adhere back paper to back of card as a place for a personal message.