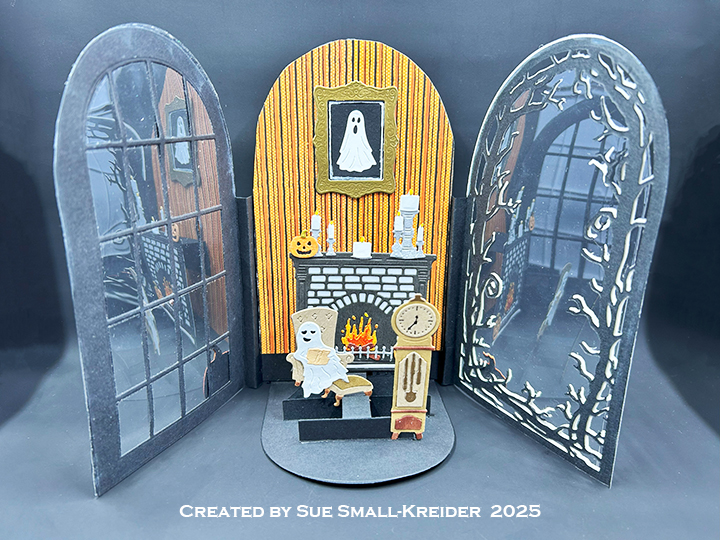
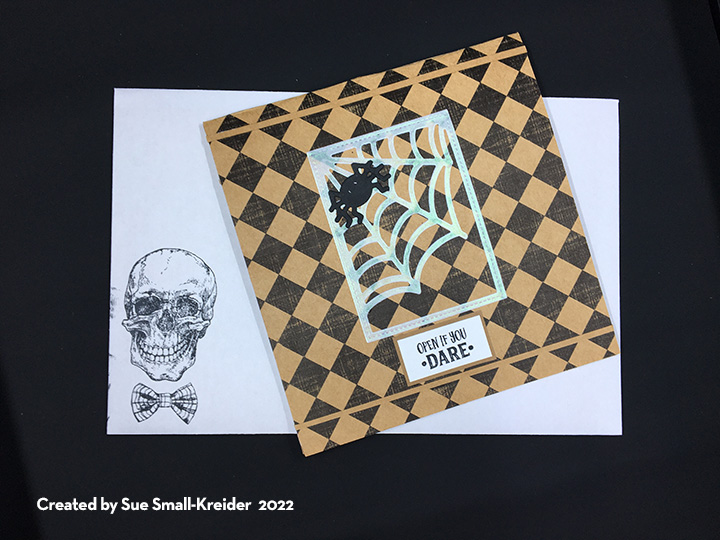
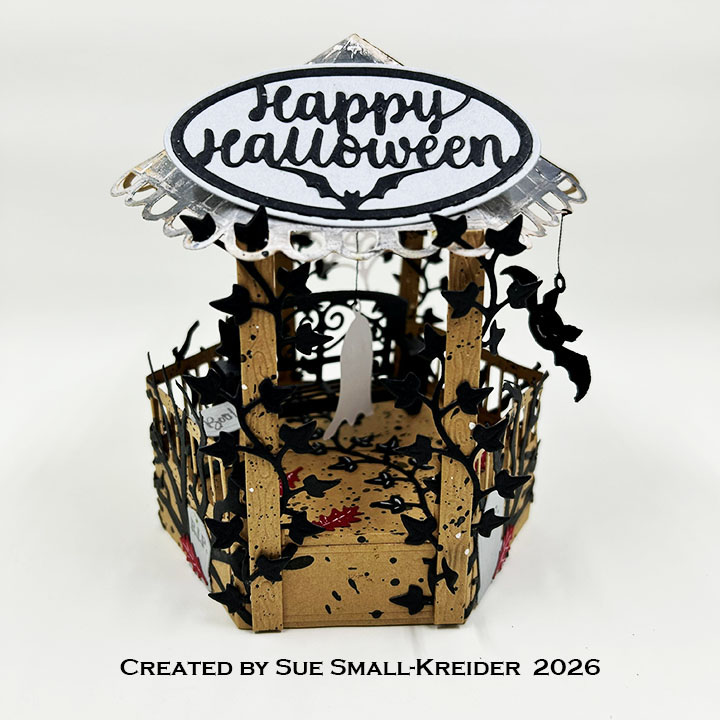
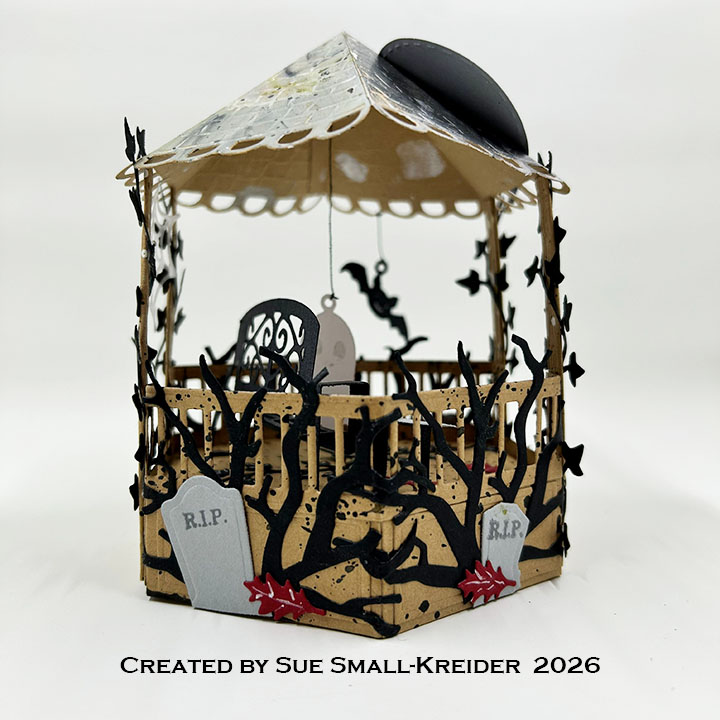
It’s time for Sneak Peek Week for Karen Burniston‘s July 2026 release of ten new die sets and five new stamp sets. This pop-up Halloween card features the new Gazebo Stage Add-Ons and Little Bench Pop-Up as well as the previously released Tree Pop-Up, Halloween Scene, Halloween Charms, and Stage Pop-Up. New dies and stamps will be available on July 23, 2026 on Karen Burniston’s website.

Stage Pop-Up Base: (Watch the assembly video at the bottom of the linked page for Stage Pop-Up.) Using the Stage Pop-Up die set and a medium weight kraft cardstock, cut two of the large stage pieces, two of the side strips, and four of the polygon decorator shapes. Assemble stage. Splatter drops of black, brown and white paint onto stage. Stamp sentiments before adding to the base.
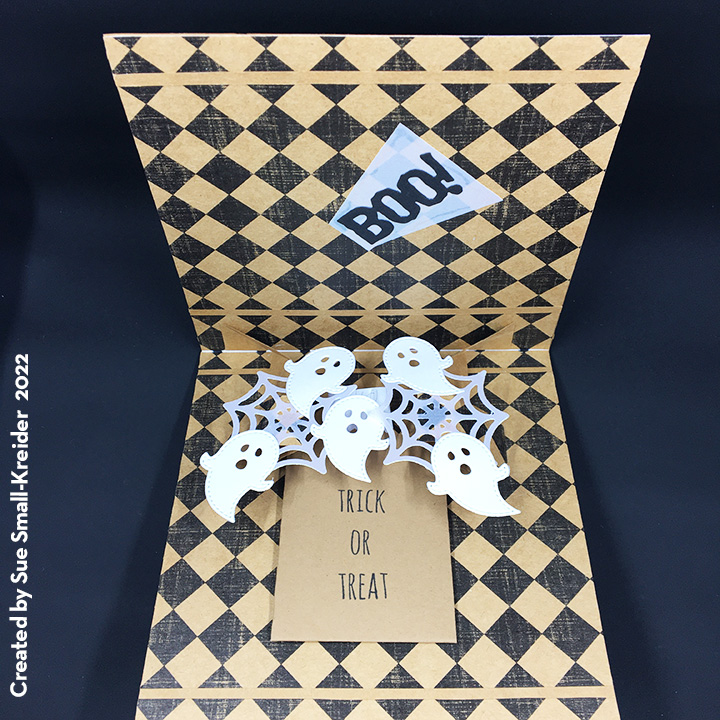
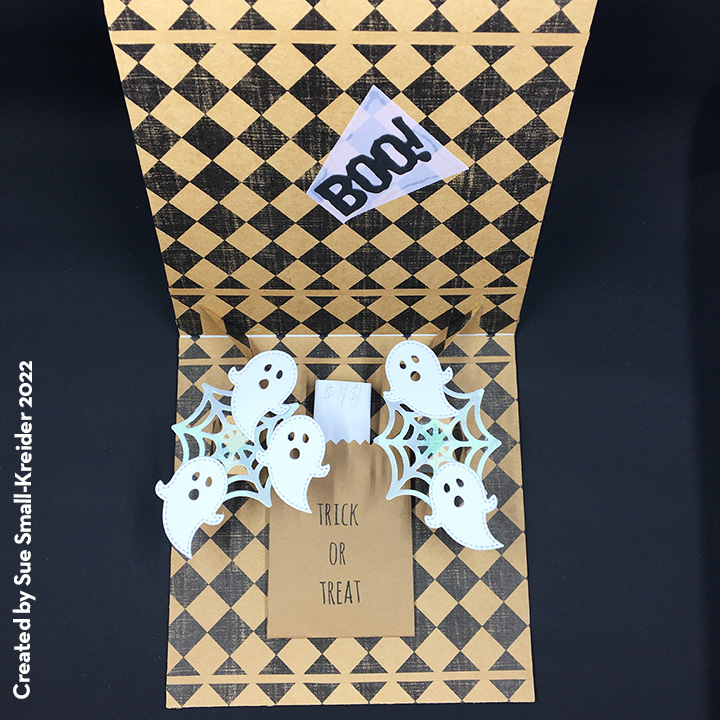
Bench and Table: Using the Little Bench Pop-Up set, cut the bench from a black sparkle cardstock and fold as shown on the packaging and glue in place with the bench on one side of the Stage Pop-Up center fold and the table on the other. (Watch the assembly video for the Family Room Pop-Up to see how bench and table /sofa and chair are added to base.) I used a tiny tombstone with “Boo!” stamped on it for the table top.

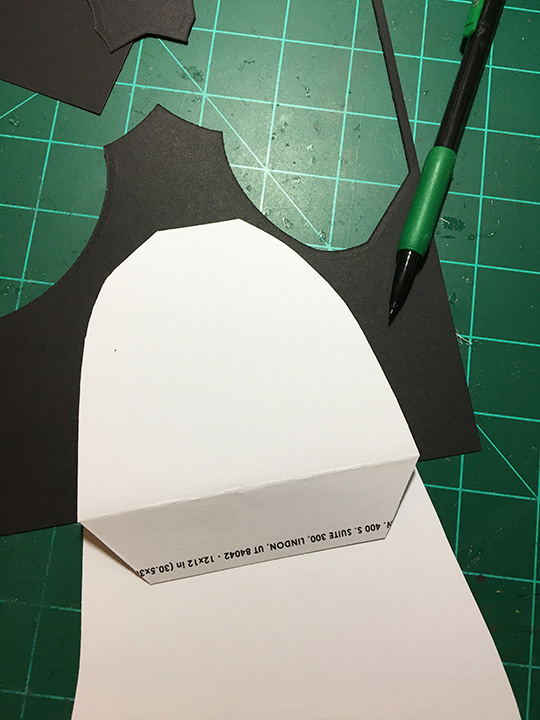
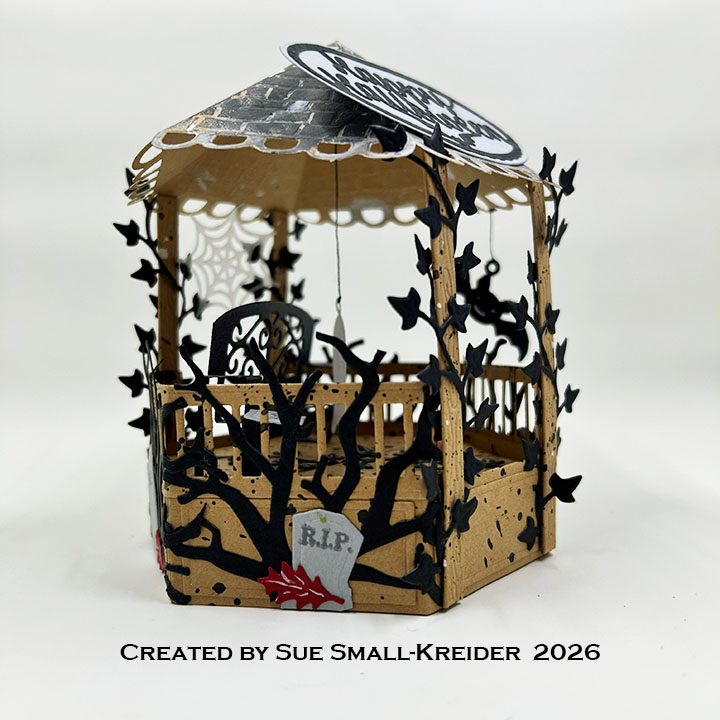
Gazebo Stage Add-Ons: Using the Gazebo Stage Add-Ons set, cut four of the woodgrain posts and two railings from kraft cardstock. Cut two of the scalloped roof pieces from kraft cardstock. Paint the roof with white, black and brown paints. Assemble the gazebo as shown on the packaging – adding the two posts to each roof section and then attaching the roof sections together. Cut four of the vine die from the Little Bench Pop-Up set in black. Weave the vine decorations around the four posts before gluing posts to the stage base.
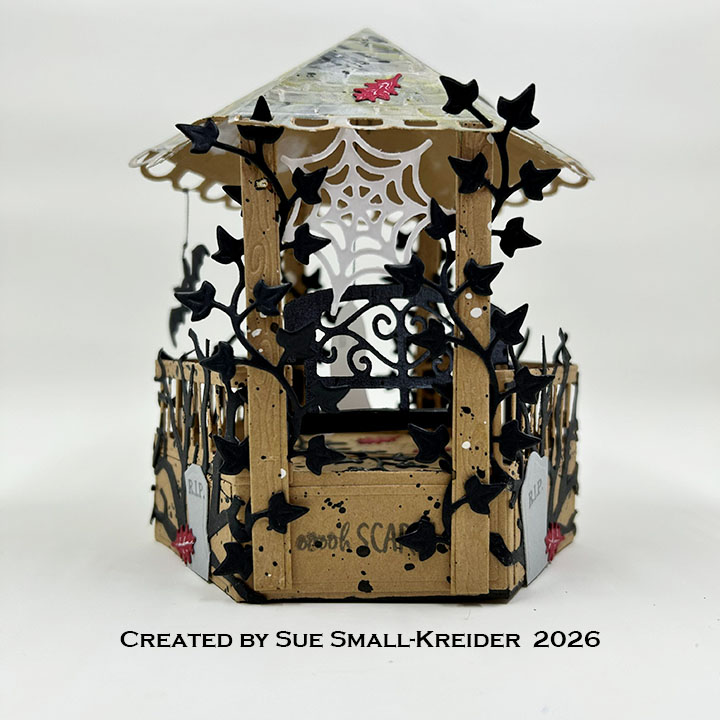
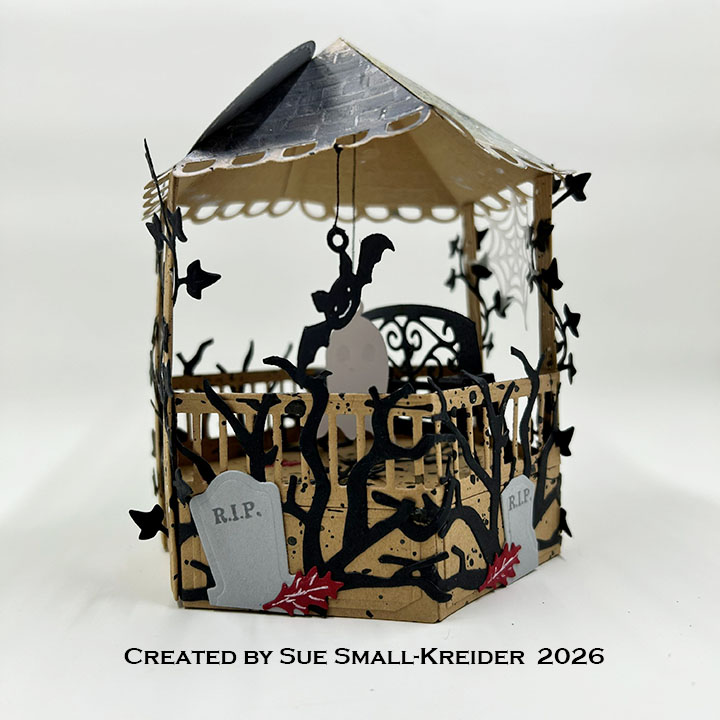
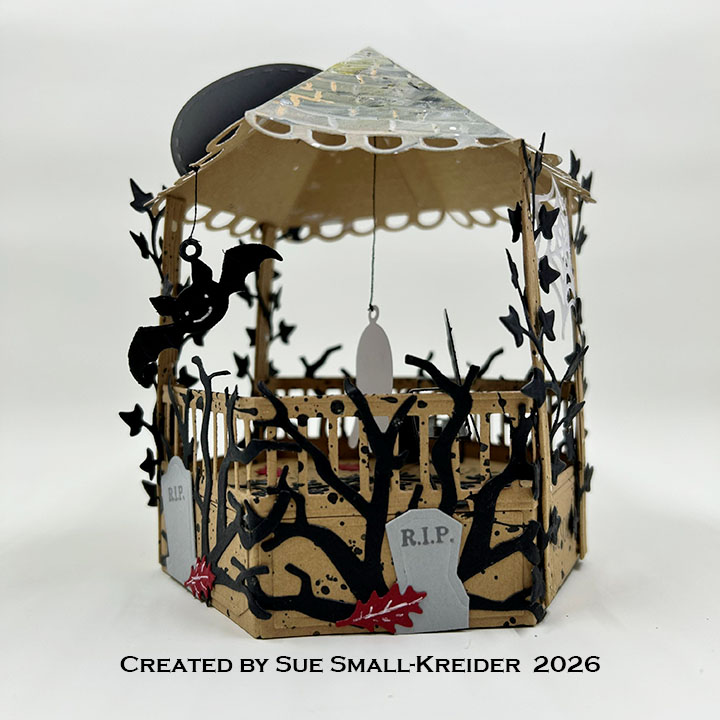
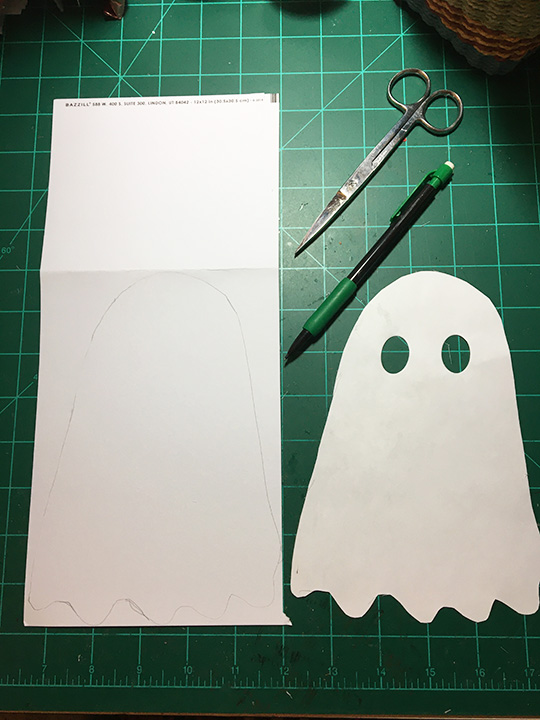
Ghost, Spiderweb and Bat: From the Halloween Charms, I cut the ghost and bat charms. The ghost and spiderweb are cut from pearlescent vellum which shimmers. The spiderweb is from the Halloween Scene set. Thread was used to suspend the ghost and bat from the roof.
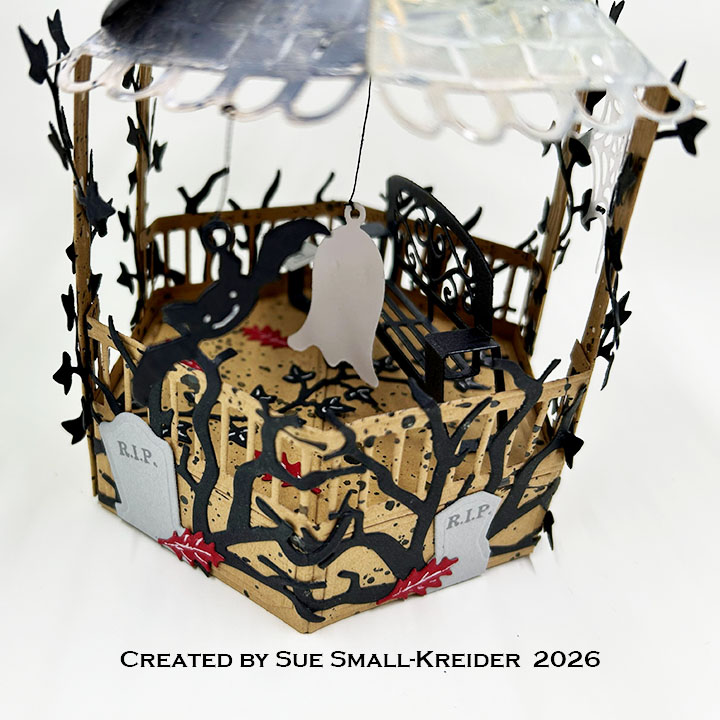
Tombstones and Bushes: Cut four trees from black using the Tree Pop-Up die. Trim off trunks of trees and add to the railing sides of gazebo. From the Halloween Scene set, cut two sets of tombstones from gray cardstock and stamp “R.I.P.” from the Halloween Phrases stamp set. Trim the tombstones apart and glue onto sides. Add red oak leaves cut from the Tree Pop-Up to tombstone bases.
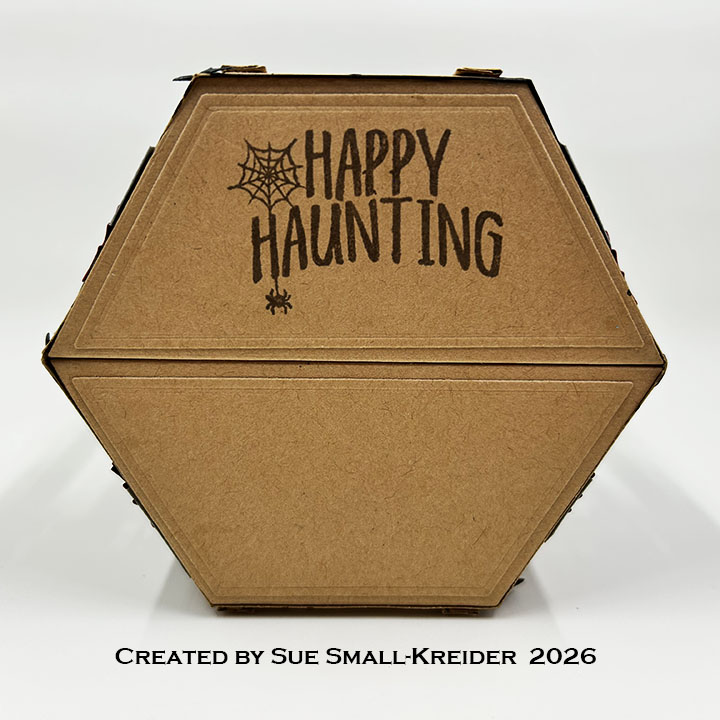
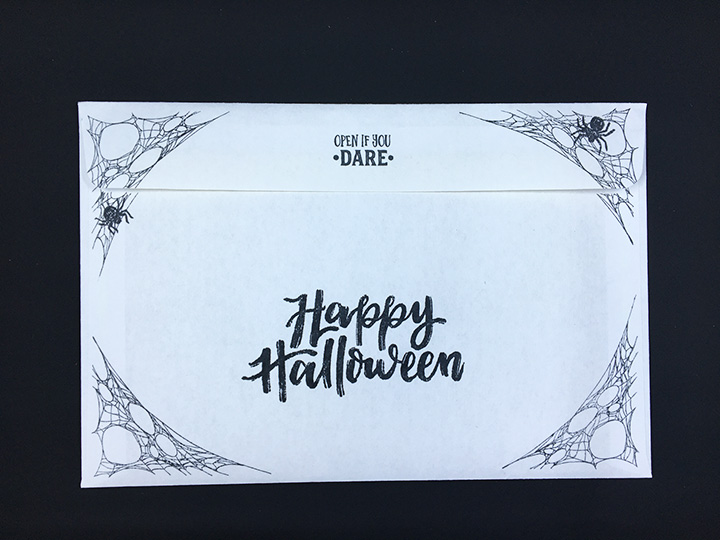
Sentiments: “Happy Haunting” ” Boo!” “ooooh SCARY!” is from the Halloween Phrases stamp set. The oval “Happy Halloween” is cut using the Halloween Charms die set.
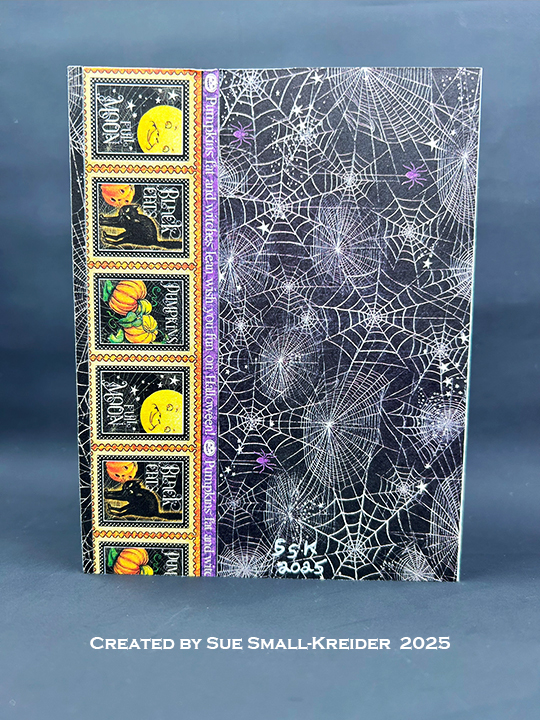
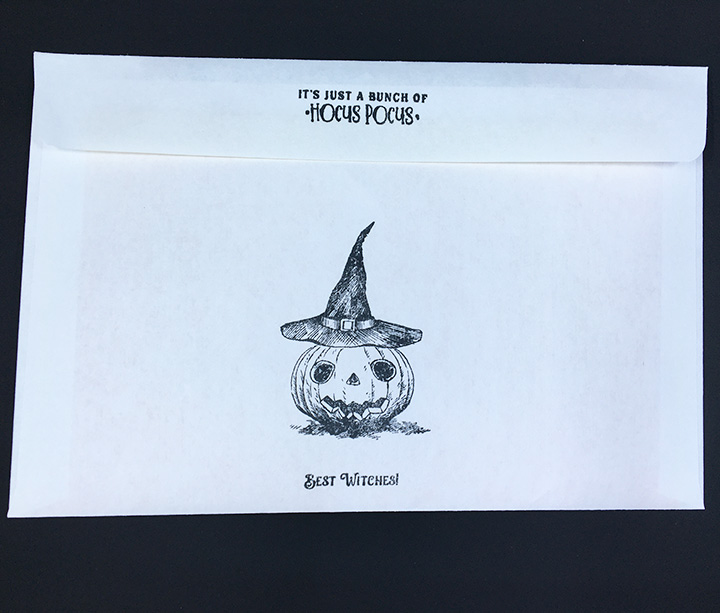
Envelope: The card fits into a catalog (6×9-inches) size envelope.
___________________________________
Thank you for experiencing this blog post.
I hope this inspires you and makes you smile.
Please subscribe, like and leave comments 😊
Follow my YouTube channel, Instagram and Pinterest as well.
___________________________________
Disclaimer: Karen Burniston products are provided free of charge by the manufacturer for review and use. All other items were personally purchased. Compensated affiliate links used where or when possible, meaning I will receive a small percentage commission from these manufacturers at no cost to you. This will allow me to add more content to my YouTube channel and help out a lot. Thank you.
Materials Used:
- Karen Burniston in cahoots with Riley and Company – Little Bench Pop-Up – 1341
- Karen Burniston in cahoots with Riley and Company – Gazebo Stage Add-Ons – 1340
- Karen Burniston in cahoots with Riley and Company – Stage Pop-Up – 1332
- Karen Burniston in cahoots with Riley and Company – Halloween Charms – 1058
- Karen Burniston in cahoots with Riley and Company – Halloween Scene – 1014
- Karen Burniston in cahoots with Riley and Company – Tree Pop-Up – 1005
Stamps
Papers
- Concord & 9th – 8.5×11 Cardstock – Dove
- Lawn Fawn – 8.5×11 Vellum – Pearlescent
- Recollections – 8.5×11 65 lb. Cardstock – Kraft
- Seguras – 5.5×4.25 105lb Cardstock – Anthracite
- Black and Red Cardstock
- Catalog (6×9) Envelope – White
Ink
- Memento – Fade Resistant Dye ink – Gray Flannel, Rich Cocoa
- Pigma – Mircon 005 Fine Tip Pen – Black
- Sakura – Gelly Roll Pen – Medium – White
Adhesives
Tools
- Die Cutting Machine
- Paper Trimmer
- Bone Folder
- Stamping Blocks used as paperweights
- Scissors
- We R Memories – QuickStick
- Ruler
- Scrapbook.com – Mint Tape
- Tweezers
- We R – Precision Press Mini – Stamping Platform
Miscellaneous
- Black Thread