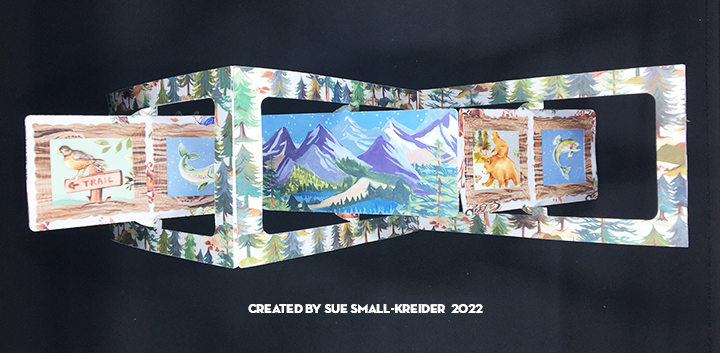
Designed for a gentleman who use to take his sons up to a mountain cabin in the 1960s, this card should help evoke memories of good father and son times.

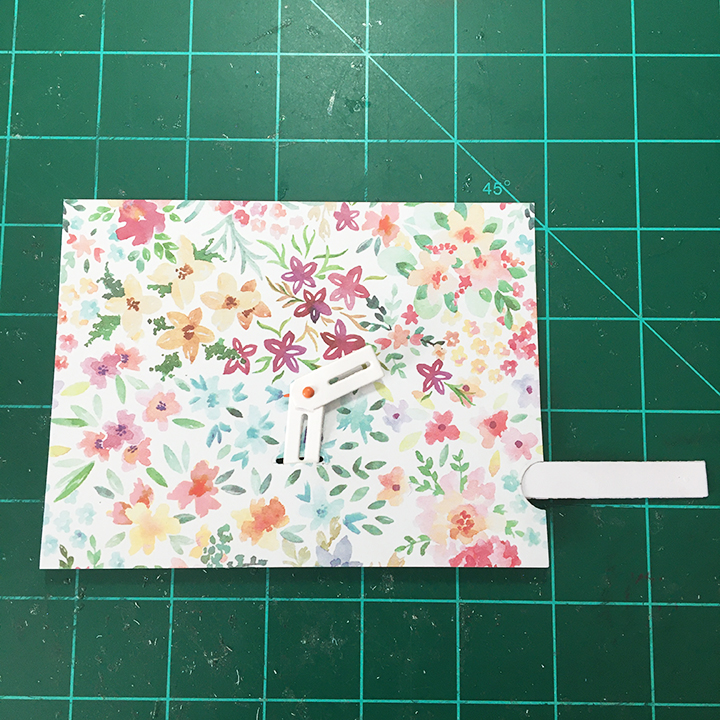
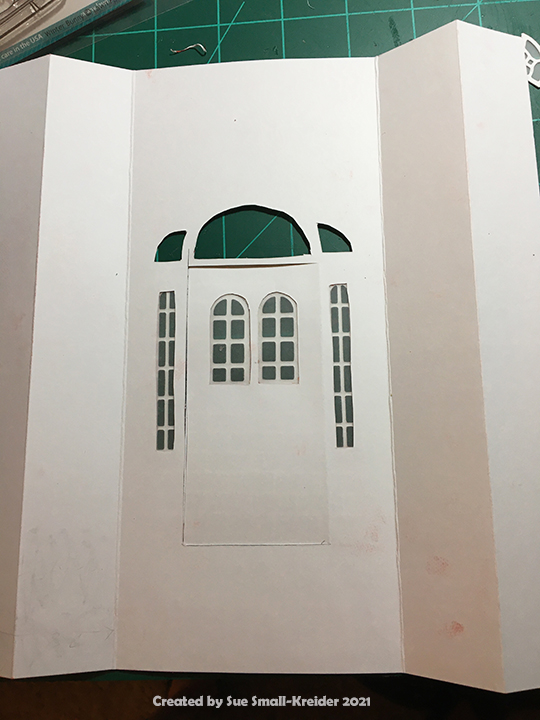
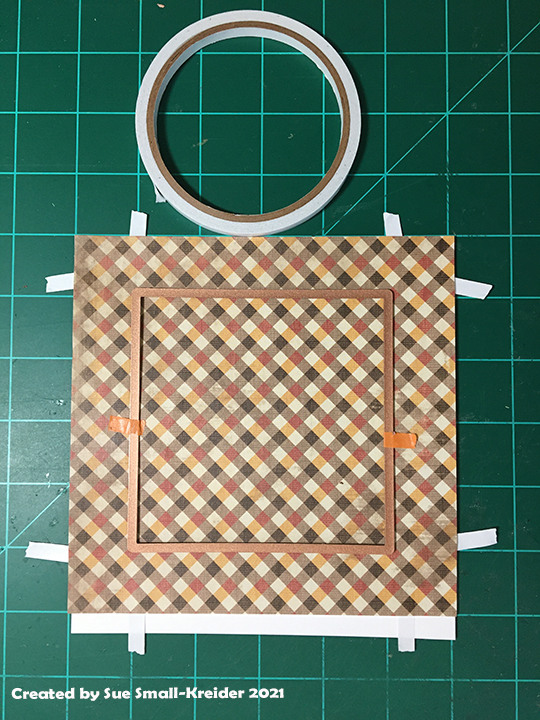
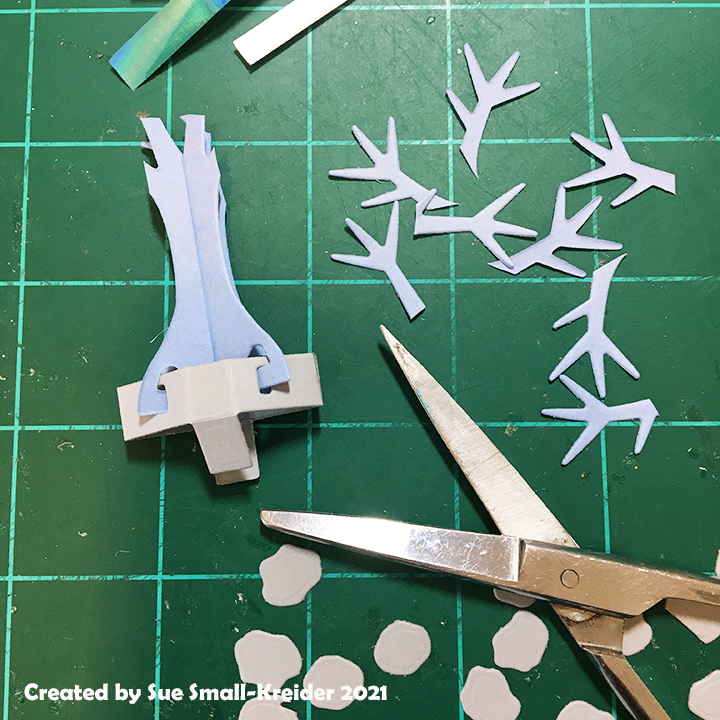
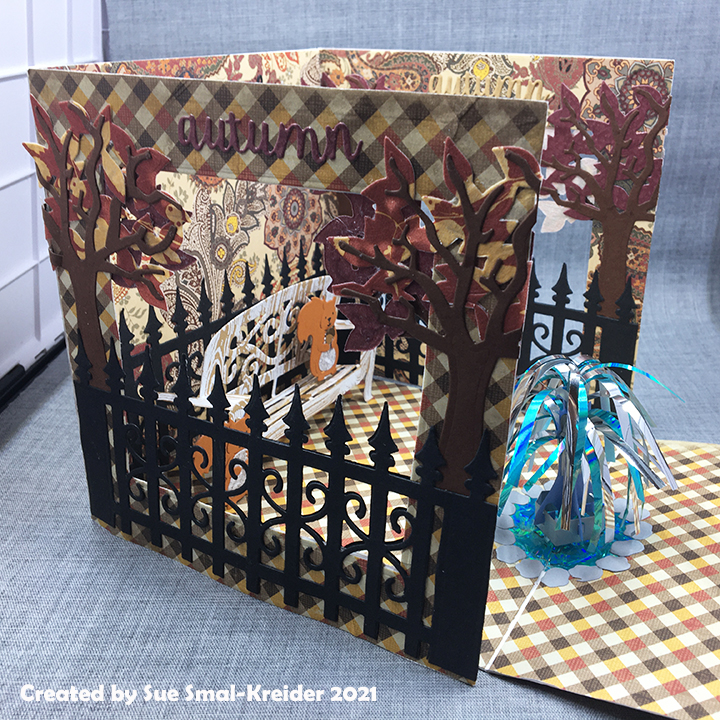
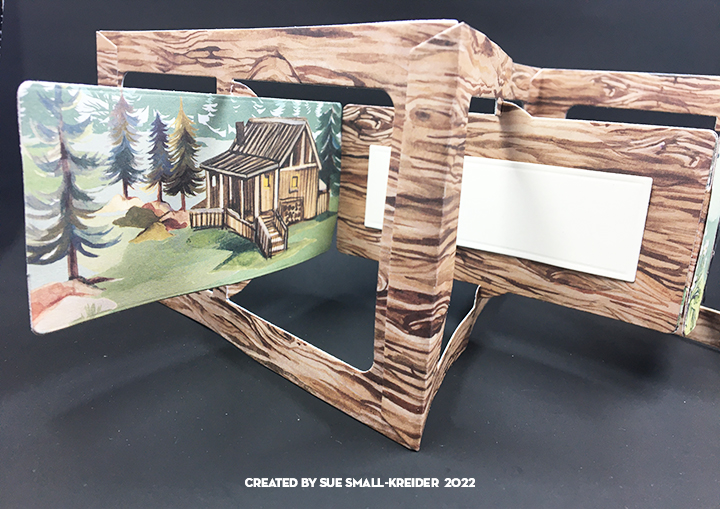
The mechanism for this triple panel accordion card is by Karen Burniston. The 12-inch by 12- inch double-sided paper pad in the In The Forest Collection by Clare Therese for Craft Consortium has a page with three narrow panorama scenes that work for the main panels. The smaller framed animals are from the cover of the 6-inch by 6-inch pad of papers from the same collection while the wood grain paper is from the larger pad. The large panorama scenes were cut with scissors from the die-cut frames and glued to the woodgrain frames’ center panels that pivot.

To make the card frame sturdy the woodgrain paper was glued to the back of the scenic paper. I followed the assembly video for the accordion fold card. (I found it useful to layout the card and its decorative pieces before gluing as sometimes a tab that connects the various panels needs to be hidden by a decorative piece so the order of gluing all the tabs together needs to be thought through before assembly.)
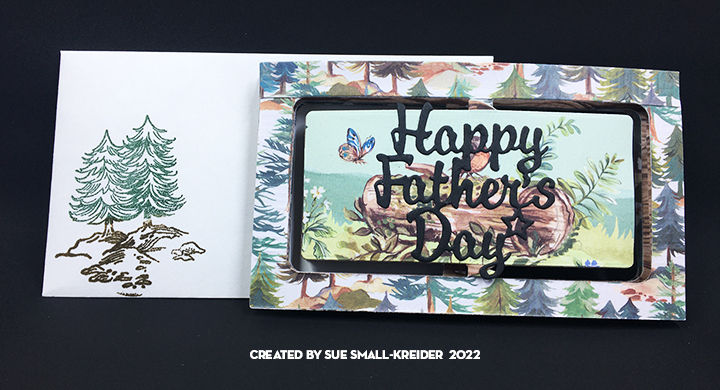
For the black “Happy Father’s Day” I used another Karen Burniston die and glued it in place letting the edges of some letters overhang the panel but making sure they would not impede the pivot mechanism. The small white rectangle can be written on with a personal message and then glued to the card. It is cut with a rectangle die from another coordinating Karen Burniston die set.

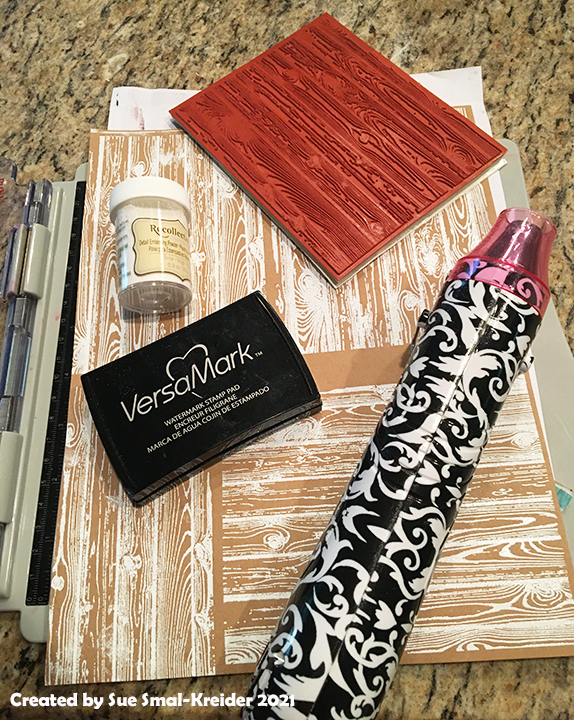
The card fits into a mini slimline envelope which has been stamped on the front with pine trees in both green and brown ink. The back of the envelope has a trail signpost stamped in brown ink. The stamps are coordinating ones from the In The Forest Collection by Clare Therese for Craft Consortium.
Thank you for reading this blog post. Please like and leave comments 😊
Materials Used:
Dies
- Karen Burniston in cahoots with Riley and Company – Happy Father’s Day – 1164
- Karen Burniston in cahoots with Riley and Company – Landscape Rectangle Accordion – 1198
- Karen Burniston in cahoots with Riley and Company – Short Rectangles – Crosshatch – 1199
Stamps
- Craft Consortium – Clear Stamps – In The Forest by Clare Therese
Inks & Pigments
- Stampin’Up – Classic Stampin’ Pad – Soft Suede and Tranquil Tide
Papers
- Craft Consortium – Premium Quality Papers – 12” x 12” – In The Forest by Clare Therese
- Craft Consortium – Premium Quality Papers – 6” x 6” – In The Forest by Clare Therese
- Mini Slimline Envelope – white
- Black and white cardstock scraps
Miscellaneous