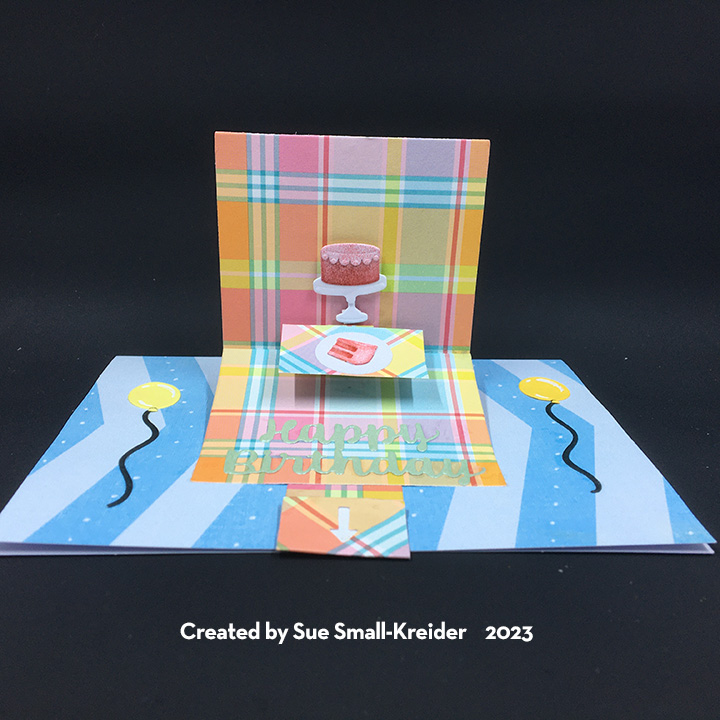
It’s time for the May 2024 Karen Burniston Design Team Challenge with the theme of From the Vault. I used for inspiration a 2021 Thanksgiving card and made it into a spring card.


My new card uses a similar cardbase to the original, but I skipped the foundation and the fourth fold.


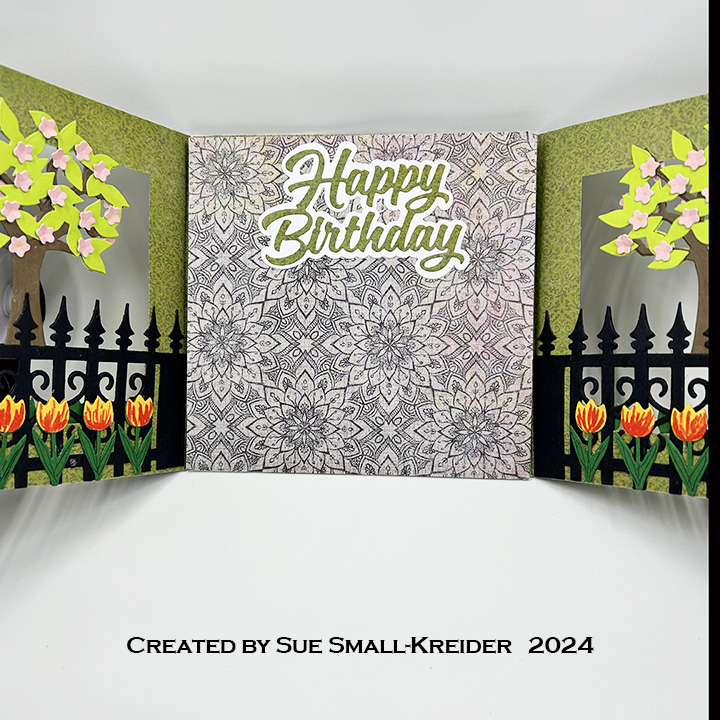
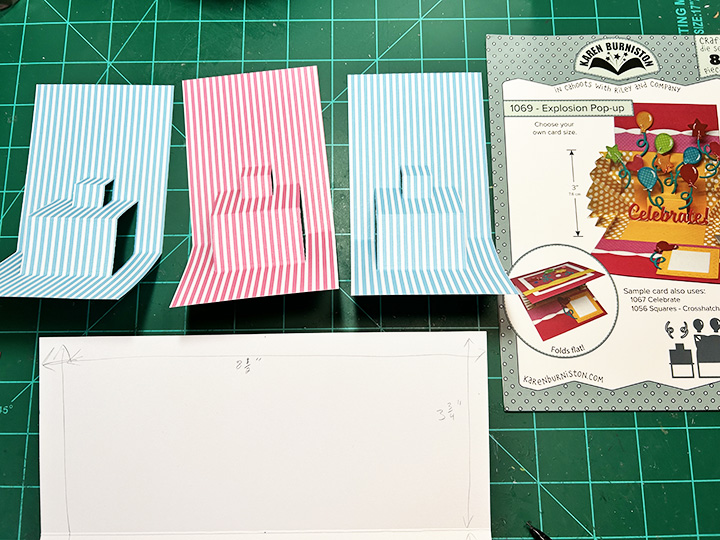
Cardbase: Cut from medium-weight cardstock three rectangles 6 1/4 x6-inches and one 6-inch square. Cut five 6-inch squares of decorative green paper Using double-sided tape on the back of four of the decorative panels adhere to both sides of two of the 6 1/4 x6-inches rectangles. Cut out windows from the center of these two covered panels using the largest Square Crosshatch die. Attach window panels to opposite sides of the 6-inch square. Adhere last 6 1/4 x6-inches rectangle to bottom of the 6-inch square. Cover the hinge flaps with a decorative paper. (This will be the back of the folded close card. On my card it is pink.) Cover the 6-inch square inside with green decorative paper and the bottom square with a grass like paper. On the back side of grass covered square cover with a stone wall patterned paper.
Trees: Use the tree and leaf dies in the Tree Pop-Up set to cut five of each die. Glue leaves to trees. Die-cut 16 times the flower die in the same set from pink. Using a tiny ball flower shaping tool, push each flower into stiff foam to shape petals. Top of trees will be glued to each side of window frame panels and tree trunk will be sandwiched in between the fence pieces. (You will use two trees per window panel.) Wait to glue onto cardbase until one layer of fence is adhered to cardbase.
Fence: From the Iron Fence Pop-Up set, cut eight of the fence die in black. Trim off the end post on one piece and then trim off just before the fifth pence post a section of fence from a second piece to made a fence that is wide enough to span the 6-inch cardbase panels. Made five of theses fence sections. Glue a section to the bottom edge of one of the window panels. Attach a tree. Glue a fence to other side of window panel matching all the scrollwork up. Adhere remaining tree and fence to 6-inch square panel.
Tulips & Tree Flowers: Add six dots of glue to tree leaves on one panel and place tiny pink flowers in glue using the pointed tip of QuickStik to firmly attached to leaves. Continue with each of the five trees until flowers are all attached.
Cut from green cardstock 25 of the tulip base die in the Garden Charms set. Trim off charm loop from flower bases. From yellow cardstock cut 50 tulip flower tops. Glue a yellow top to front and back of all the flower bases. To create the flaming streaks of color, use a red brush marker starting at the bottom of the yellow tulip and drawing up to the points following the curves of the tulip shape.

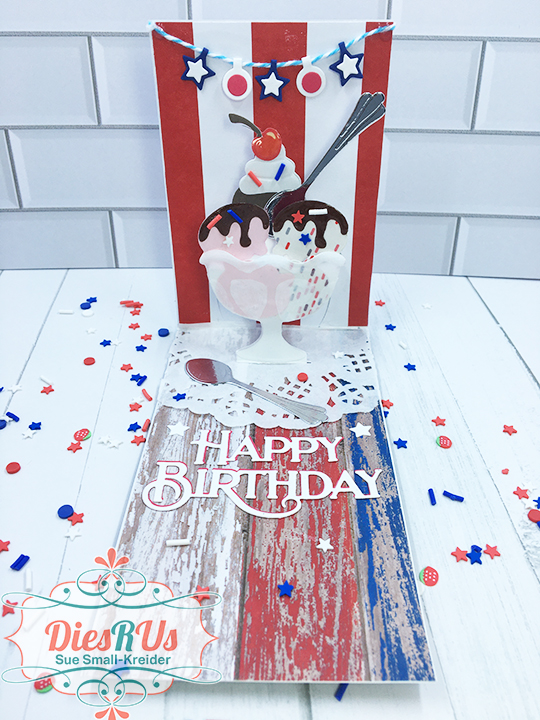
Sentiments: Both the shadow die and word die were used for the “Happy Birthday.” The inside sentiment of “Happy Spring” is a words-only die.
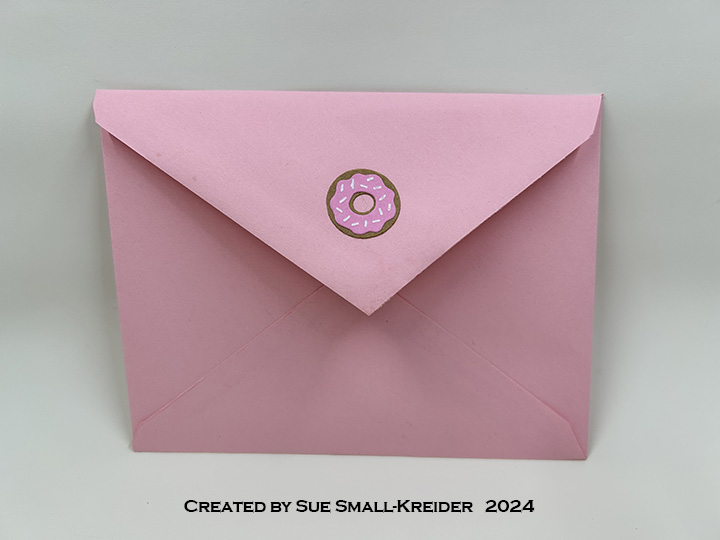
Envelope: The card will fit in a catalog envelope of 6×9-inches.
Thank you for reading this blog post. I hope this inspires you and makes you smile. Please like and leave comments 😊
Materials Used:
Dies
- Karen Burniston in cahoots with Riley and Company – Happy Birthday Shadow – 1179
- Karen Burniston in cahoots with Riley and Company – Iron Fence Pop-Up – 1172
- Karen Burniston in cahoots with Riley and Company – Garden Bench Pop-Up – 1170
- Karen Burniston in cahoots with Riley and Company – Garden Charms – 1085
- Karen Burniston in cahoots with Riley and Company – Happy Spring – 1084
- Karen Burniston in cahoots with Riley and Company – Squares – Crosshatch – 1056
- Karen Burniston in cahoots with Riley and Company – Happy Birthday – 1030
- Karen Burniston in cahoots with Riley and Company – Tree Pop-Up – 1005
- Karen Burniston in cahoots with Riley and Company –Woodland Animals – 1001
Papers
- Core’dinations – 12×12 Single-Sided Textured Cardstock – Light green Crosshatch
- Honey Bee Stamps – 6×8.5 Double-Sided Premium #65 Cardstock – Grain and Grunge
- Hot off the Press – 12×12 Double-Sided Paper Pack – Spice Market
- Colored and White Cardstock
Ink
- Pigma – Mircon 01 Fine Tip Pen – Black
- Ranger – Tim Holtz – Distress Ink- Frayed Burlap
- Scrapbook.com – Glitter Brush Marker – Red, Blush & Mint
- Sharpie – Permanent Marker – Fine Tip –Green
- Sharpie – Permanent Marker – Ultra Fine Tip – Green
- Stampin’ Up – Stampin’ Blends Markers – Light Daffodil Delight
Adhesives
- Neutral PH Adhesive by LINECO
- Fine-Tip Glue Bottle
- Double-Sided Tape -1/2-inch wide
Tools
- Die Cutting Machine
- Scoring Board
- Bone Folder
- Craft Mat
- We R Memories – QuickStik
- Sponge Dauber
- Stamping Blocks used as paperweights
- Scissors
- Pencil
- Paper tape
- Flower Shaping Ball Tool
- Stiff Foam for flower shaping