Snowy Hourglass

I loved playing with my grandmother’s small egg timer filled with white sand as a child and when I saw The Greetery’s Hourglass dies, I knew I wanted to make several.

To begin, I watched the how to video for the hourglass to get ideas on how to use the die sets. I decided on the cut-out version and cut out 11 hourglass frames from white cardstock. Then I cut out a out a whole hourglass insert using the larger die from the insert set. By mistake I cut the tent fold hourglass from the smaller inset die, but I made it work as I assembled the card. (To cut the tent fold hourglass, fold your cardstock in half and place the top edge just over the fold, so that it won’t cut into the cardstock when cut.) Cut one piece of acetate using the largest insert die.

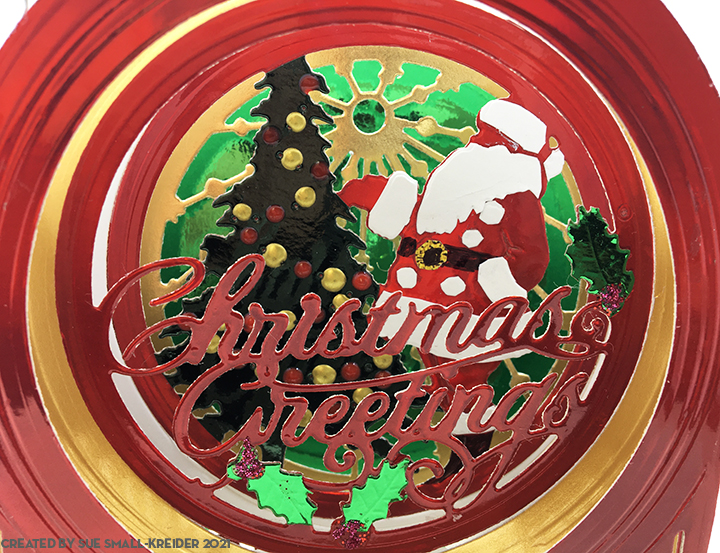
Next, I adhered sheets of matte gold adhesive foil onto the front and back of a piece of white cardstock before cutting the frame of the hourglass from it. The last items I cut where the Christmas Time in the Country trees, cabin, smoke, snowflakes, stars, and snowbanks from colored scraps of cardstock. Using watercolor pencils and a water brush to color the cabin before assembling it with a scrap of yellow foil paper to go behind the windows. I popped the cabin up on another square cardstock scrap to give it dimension in the hourglass. The trees were cut from brown paper.

The ink blending of the large hourglass insert was done with a large ink blending brush which I also used to ink up the insert 10 insert frames that I had glued together and the eleventh frame that would be the frame to go over the acetate. Once the large insert piece was dry, I glued down the scene pieces weaving the smoke around the tree branches. Next, I sprayed the scene with white ink spray to create the snow fall. (The ink goes on thick, but it becomes translucent as it dries, so let it dry before going to the next set.)

Before assembling the card, stamp and heat emboss the inside sentiment on the tent fold hourglass piece. I used a Catherine Pooler stamp that was the correct size to fit in the smaller hourglass shape. (My stamping was not as solid as I had hoped, so once it was heat embossed, I had to go back and fill in the missing places with a gold gel pen.)

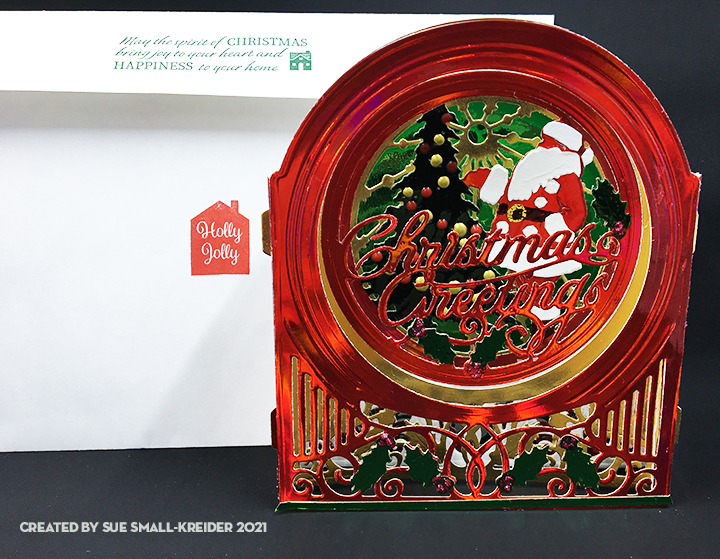
To assemble the hourglass, first glue the large, inked hourglass to the tent fold hourglass. Next, glue the stacked hourglass frames onto the large, inked hourglass. Add any extra snowflakes and stars die cut along with snowflake sequins and stars to the inside of the hourglass with a dash of fine glitter. Adhere the acetate to the top of the stacked frame and then the eleventh inked frame over the acetate. Glue the gold frame over the top of the hourglass. Shake to distribute the glitter to all parts of the hourglass scene. 

Because of the thickness of the card, I will make a small box to deliver it in from faux leather cardstock.

Thank you for reading. If you enjoyed this blog post, please like it and follow the blog. 😊

Dies

Stamps

Inks & Embossing Powder

  • VersaMark – Watermark Stamp Pad
  • Cosmic Shimmer – Detail Embossing Powder – Bright Gold
  • Ranger – Tim Holtz’s Distress Ink – Salty Ocean
  • Avery Elle White Ink Spray
  • Nuvo Highly Pigmented Watercolor Pencils – Cardinal Red and Imperial Jade

Papers

  • Heavy weight 8 ½ inches x 11 inches white cardstock
  • Colored cardstock scraps
  • Xcut – Xtras Adhesive Foil Sheets A5 – Gold – XCU 174419
  • A2 envelope

Shaker Elements

  • Prima Glitter – White
  • Button Galore & More – Sparkletz – Snowflake Sequins
  • Silver Star Sequins

Additional Supplies:

Holly Jolly Santa Greetings

What a jolly feeling the “Ho Ho Ho” of Santa brings to anyone who hears or sees it. This 3D snow globe designed by Becca Feeken for Spellbinders makes you hear the jolly old elf.

This was my first time using these die sets. I focused on using just four colors of red, green, white and gold and mostly mirror or foiled cardstock.

My Santa and tree are based off of the picture on the packaging using Nuvo Drops instead of jewels. I die cut several layers of the Santa and tree using up scraps to fussy cut the various pieces of the scene which are glued onto a red base. The belt and boots are colored with a fined-tipped black permanent marker. The belt buckle is a freehanded square of gold paper.

The holly leaves are fussy cut and glued onto the sentiment and front layers. The red berries are red glitter glue. I added a thin green stripe at the bottom of the front layer for interest.

As is my style, I stamped the back of the envelope with hints of what’s inside using red and green ink and Christmas sentiment stamps from Paper Discovery. I used a new stamping tool with my stamping platform for an even and easy stamped image. I highly recommend the Stampendable Stamping Tool.

Thank you for reading. If you enjoyed this blog post, please like it and follow the blog. 😊

Dies:

Stamps & Ink

Papers

Additional Supplies Used:

Snowy Christmas Globe

All is calm, all is bright until you shake-up the snow globe. This traditional style snow globe easel card is made with PoppyStamps/Memory Box die set with the sentiment coming from a Tonic Studios die.

This was my first go at using these dies, so I followed the package example for the assembly and easel stopper (three holly berries placed on top of tiny foam circles with holly leaves cut from thin paper.) My green base card stock was lightweight, so I double cut the base and glued together before burnishing the fold lines.

The background white circle was ink blended use a sky-blue ink and a large blending brush. Next, I spritzed with circle once with a white ink spray. The snowy ground is a specialty handmade paper I’ve had for a while. For the cabin, I used a yellow scrap for the house outline/windows. Its roof is more of the specialty textured paper. I like the variety of fir and hardwood trees in this set which can easily be cut from various shades of green and brown scraps. The scene was laid-out and then glued to together before spraying the whole scene with white ink spray a few times.

For the woodgrain globe base, I used some heat embossed stamped woodgrain paper I had made for another project. (Click here to learn more about the paper.) I cut two of the thin trim piece from gold foil cardstock and trimmed one piece to fit the top of the woodgrain base.

To assemble the snow globe, there is a white globe outline die-cut that the assembled globe is glued onto and then the woodgrain base followed by the two gold trim pieces.

The sentiment was cut three times using the Tonic Studios die. The base layer is gold foil while the top layer is a thick red cardstock that was from some packaging that I had saved. I cut the tiny green holly leaves from a green paper.

Foam circles topped with the holly berries are used as the easel stop on the bottom card base with the holly leaves cut from thin dark green paper.

A personalized message can be written inside the card base. The card fits inside an A2 envelope (4 3/8 x 5 3/4 inches.) with its back flap stamped with stamps from the Winter Stags set by Stampendous! in a dark green ink.

Thank you for reading. If you enjoyed this blog post, please like it and follow the blog. 😊

Dies & Embossing Folder:

Stamps & Ink

  • Winter Stags stamp set by Stampendous! – free gift in Creative Stamping, issue 90, Nov. 2020.
  • Stampin’ Up – Classic Stampin’ Pad – Tranquil Tide
  • Catherine Pooler – Premium Dye Ink – Party Collection – All That Jazz
  • Avey Elle White Ink Spray
  • Simon Says Stamp Large Blending Brush
  • VersaMark – Watermark Stamp Pad
  • Stampin’ Pad – Rubber Stamp – Hardwood
  • Recollections – Detail Embossing Powder – Clear

Papers

  • White and green card stock
  • Gold foil card stock
  • White textured specialty handmade paper
  • Kraft card stock
  • Colored card stock scraps
  • A2 envelope

Additional Supplies:

Nativity Snow Globe

A new babe is a joy. People came from far and near to see the sweet babe.

This card is made with the new Gemini Dimensional snow globe dies. Three layers for the nativity globe – a stenciled background, a stable middle layer and the Wisemen in front.

The background is inked using Distress Inks using the stencils that are included in the die set. The front and middle layers are colored with watercolor pencils.

The finishing touches are a gold foil star and covering the globe base with a solid blue card stock and gold label and letters.

The card fits folded into an A7 envelope which is stamped on the back with a scene stamp of the Wisemen entering Bethlehem.

Thank you for reading. If you enjoyed this blog post, please like it and follow the blog. 😊

Supplies Used:

Shake Your Snow Globe

Snow Globe Shaker-Front

This snow globe is filled with pearlessense sequins and silver star sequins and a hint of snow glitter.  I was inspired by a number of snow globe stamp and die set project cards by a variety of companies, but in the end, I made the card with affordable alternatives that I had on hand.

I stamped the pine boughs and red berry branches on a stamping platform, turning the card four times and then changing color ink and stamp for the next layer and once more for the final color and stamp change.

Next, I cut out the opening for the plastic shaker globe from the stamped card. I then stamped and cut out the house, snow man and trees. Using white glitter paper to cut the two snowy hills, I attached the house, trees and snowman using foam squares.

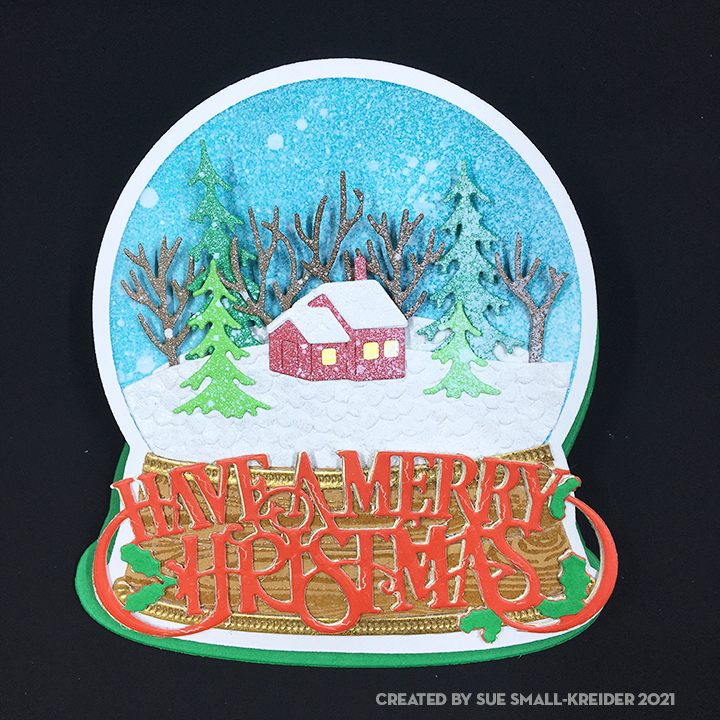
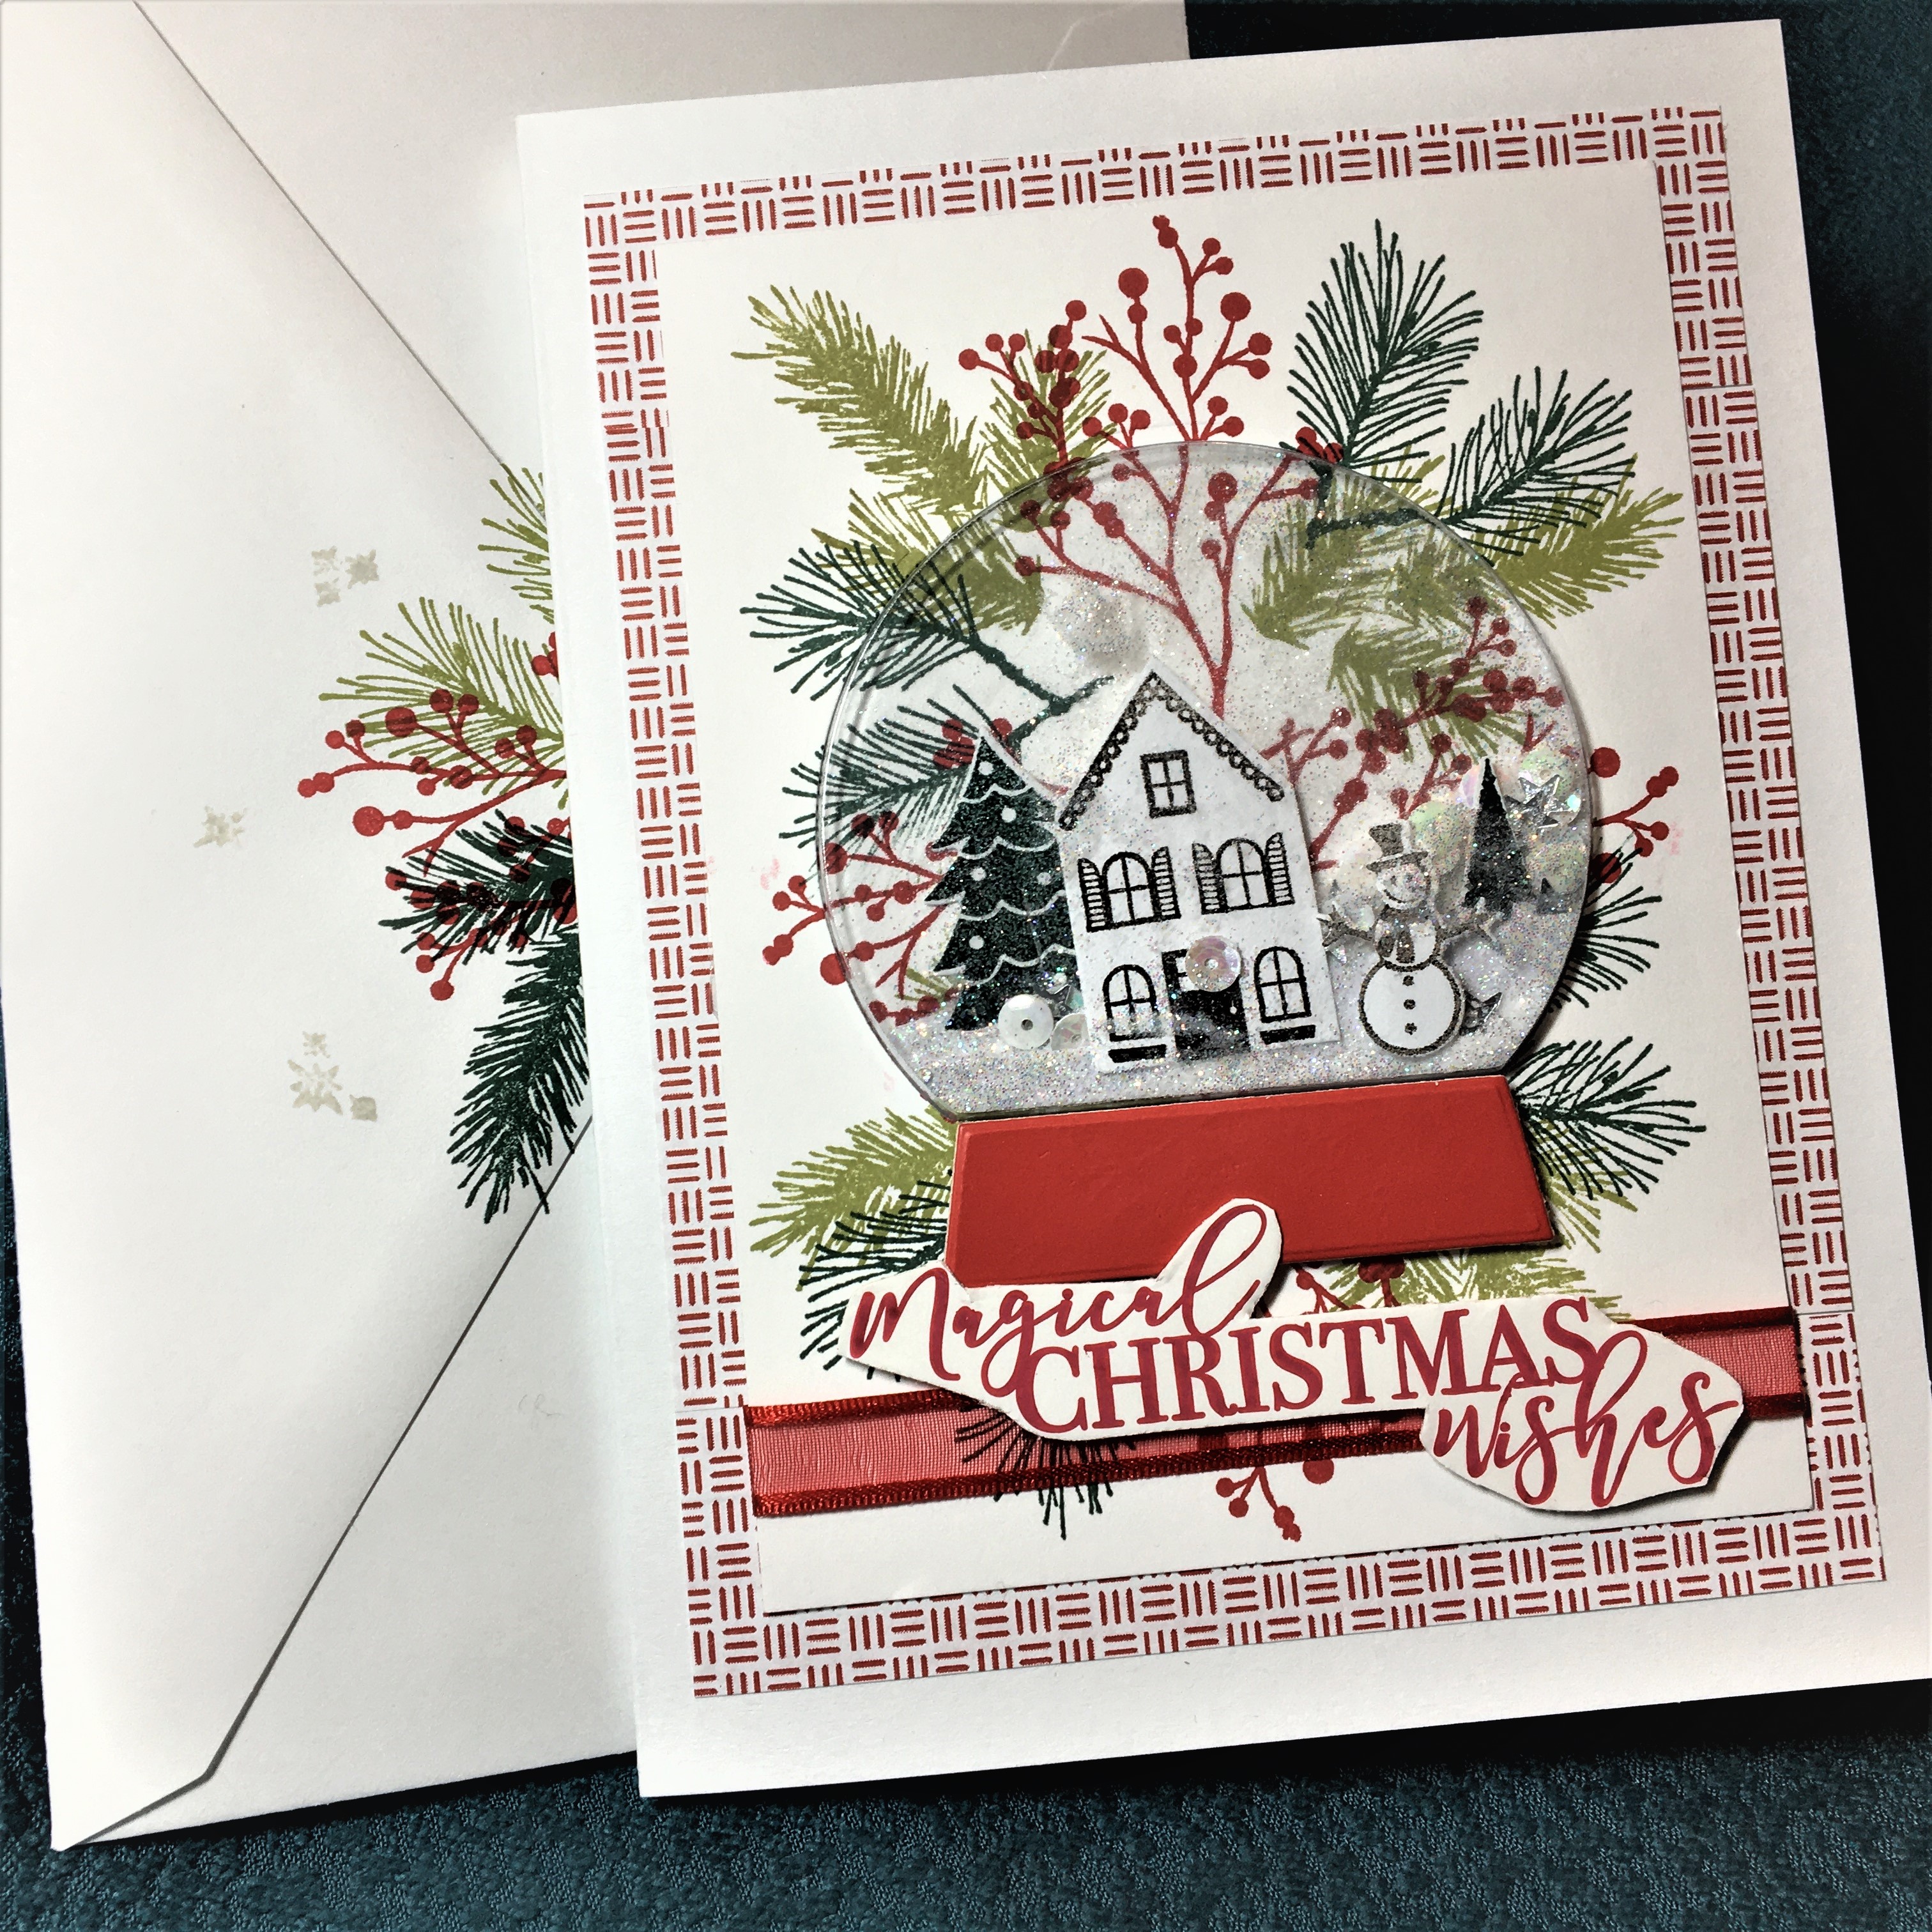
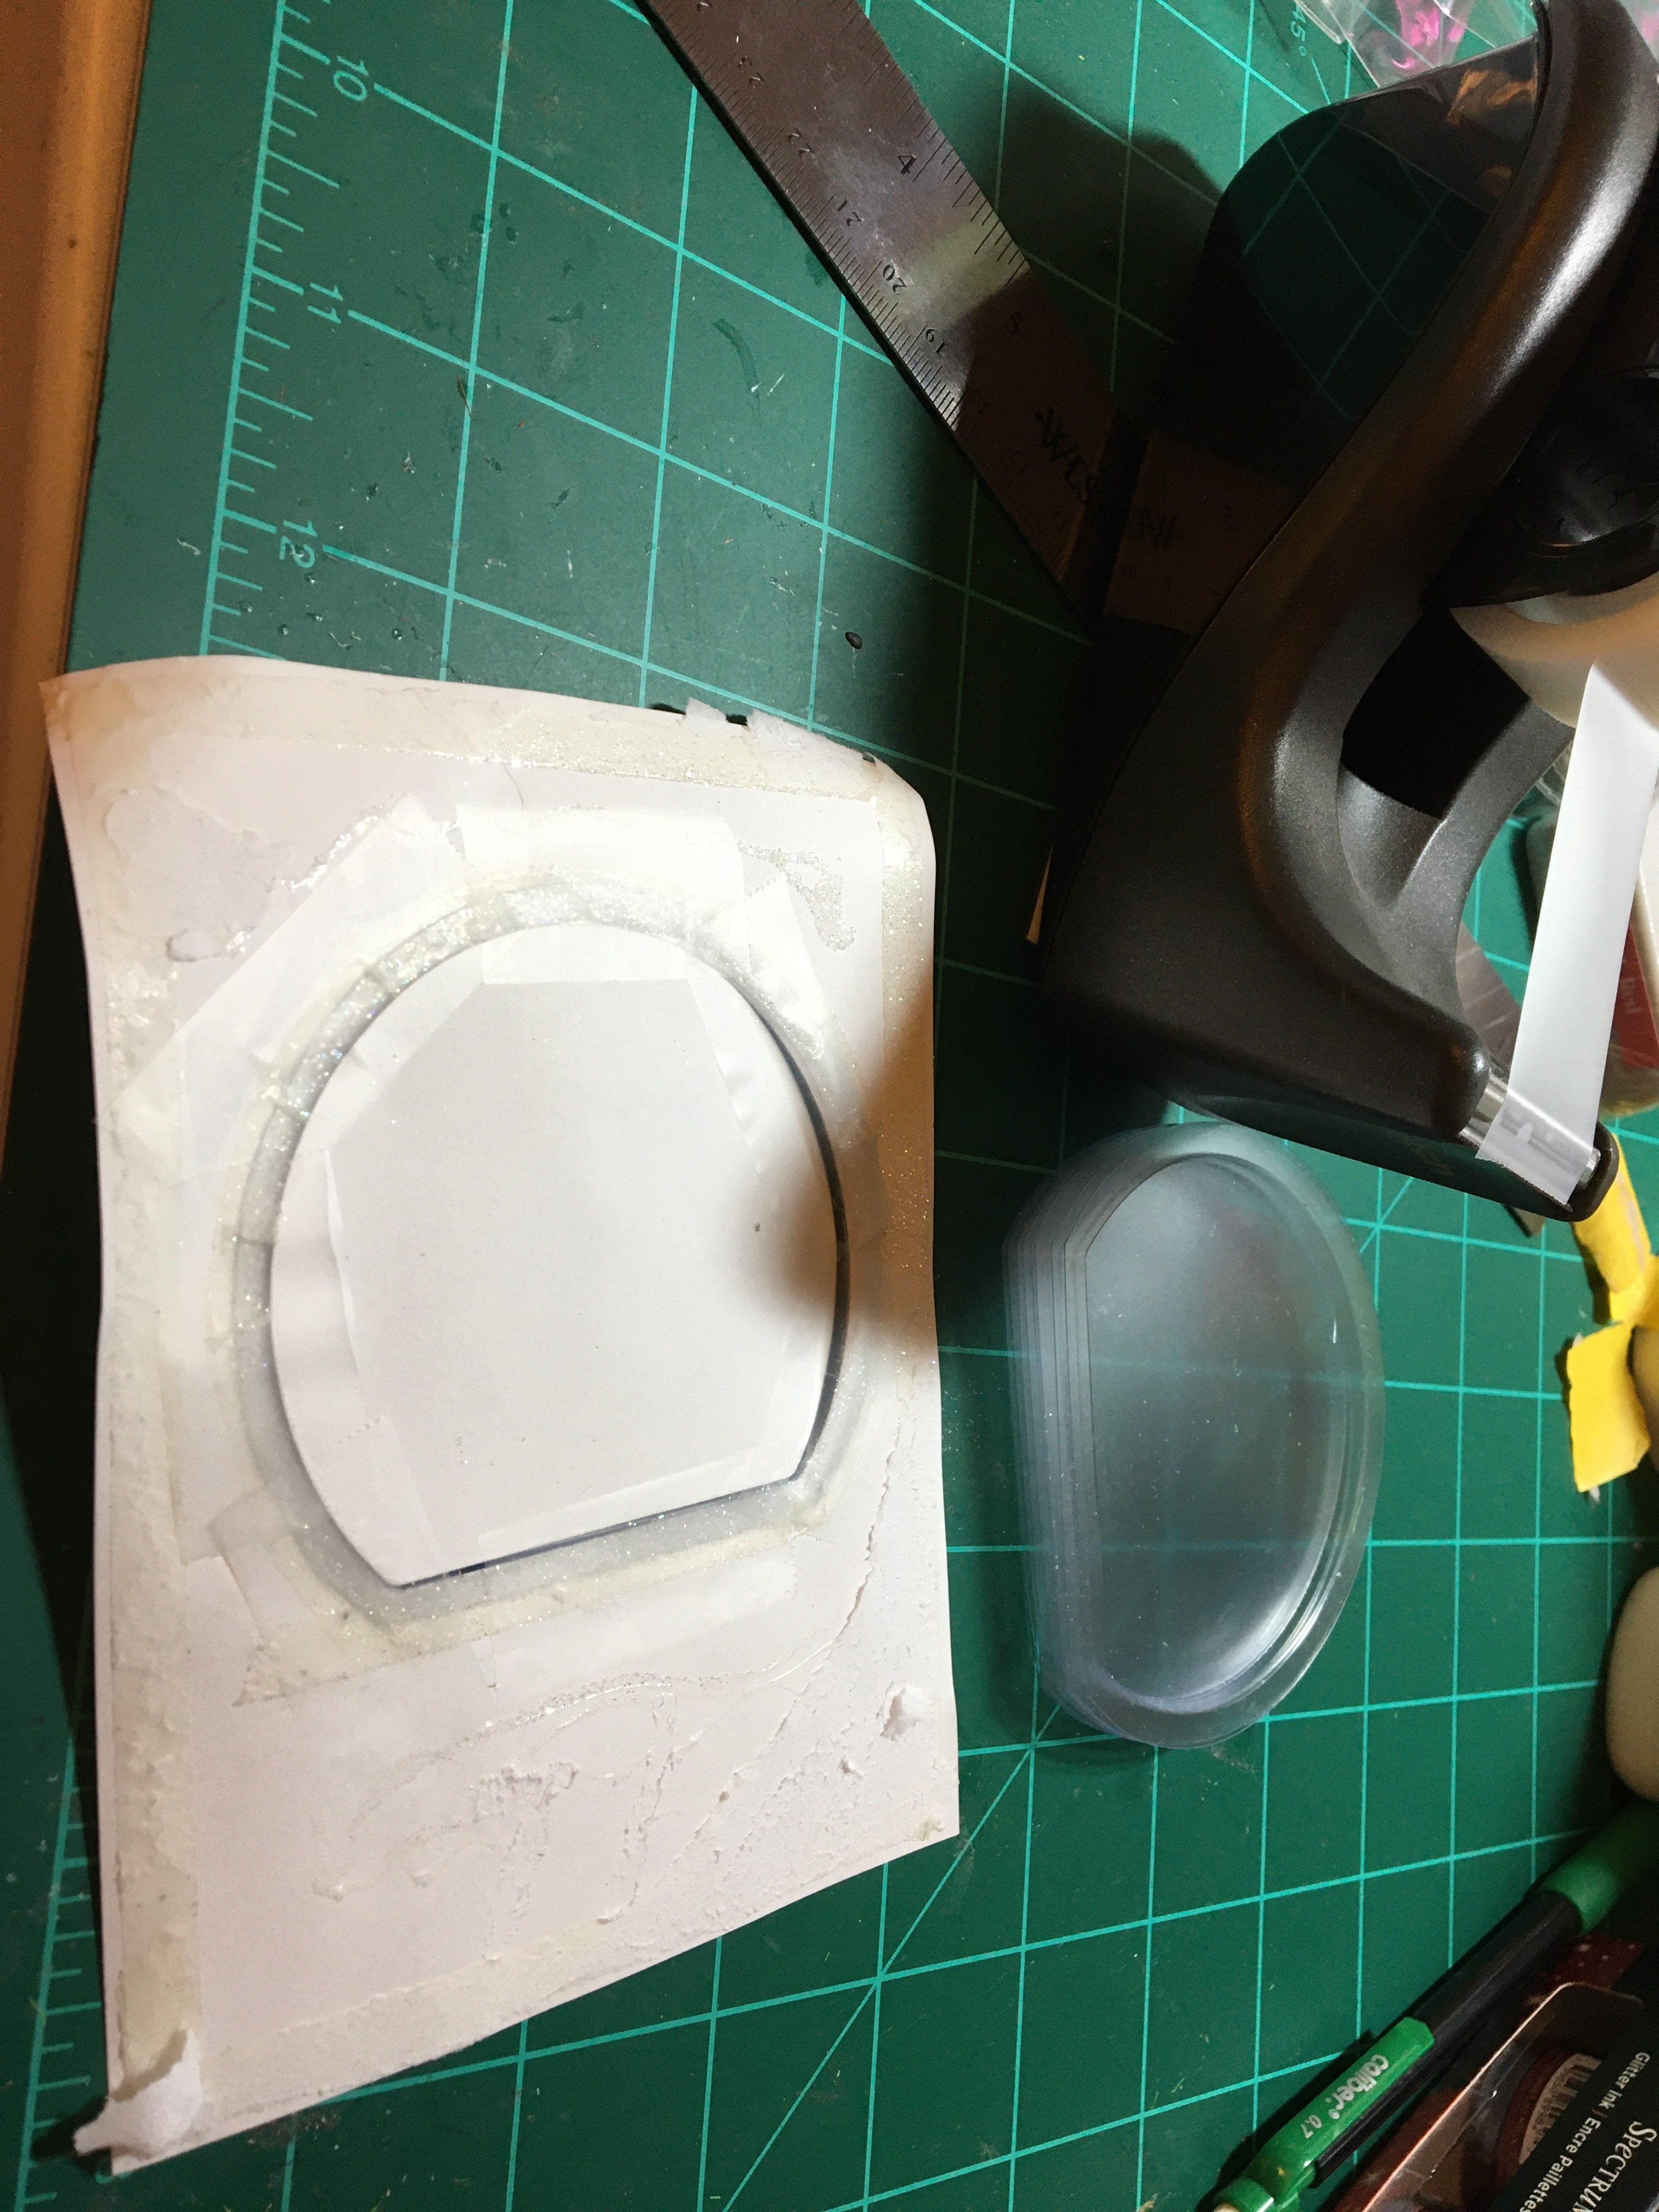
Assembling the globe: I added a few white and silver sequins and a hint of fine snow glitter. (I find the that glitter clings to most of the surfaces inside the globe and a hint gives a sparkle without fogging up the globe.) Using clear removable tape, I sealed the back of the globe with the house and hills which were attached to the stamped globe cut-out. Once the globe was sealed, it was placed into the stamped card with the globe cut out.

The red and white background paper, heavy white card stock with the red sentiment stamped on it and the red globe base where all recycled from junk mail, and packaging. A ribbon was taped to the back of the pine boughs stamped card before it was adhered with double-sided tape to the card base. The “Magical Christmas wishes” and red globe base were attached using foam squares.

Snow Globe Shaker -inside

The inside sentiment is from an old Kaisercraft clear stamp set that I was unable to find a link for.

SUPPLIES USED:

Dies

Stamps

Paper:

Miscellaneous: