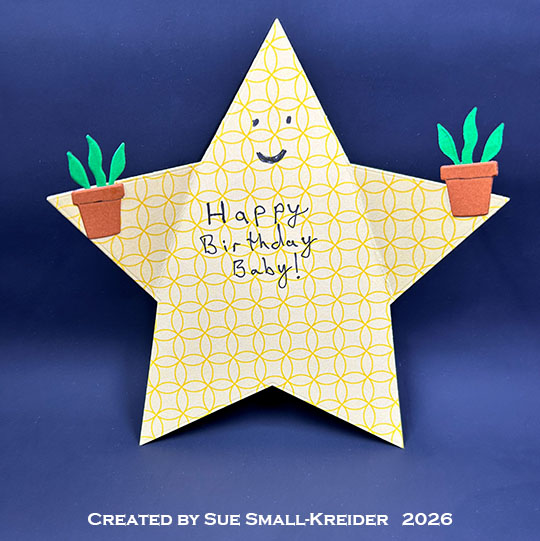
This card was made for Craft Roulette #310 whose parameters were: a tri-fold card, vegetable garden colors, nursury element and star(s)/starry. I created this 5.5×5.5-inch star-shaped birthday card using dies.
Watch the process video to see how I made this card.
Cardbase: I started with a 6×6-inch square of double-sided patterned yellow cardstock and die cut the largest five pointed star that I had in my stash. I folded two of the star points to the inside to make a rocket shape and decided to make a smiling face.
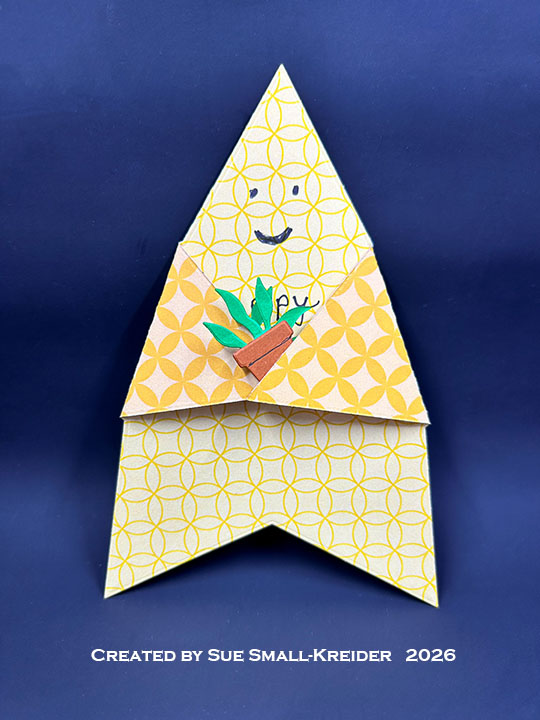
Decorations: To use the nursery parameter, I used some tiny plants for a plant nursery. (These come from the Karen Burniston Fireplace Extras 2 die set.)
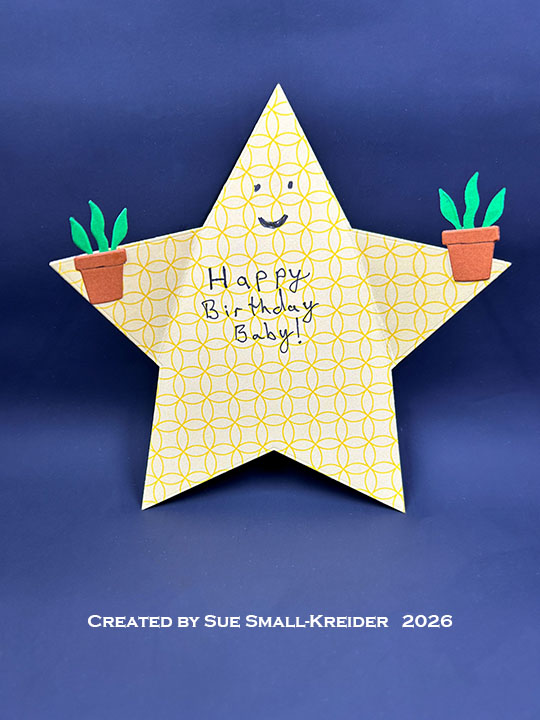
Sentiment: I hand wrote the sentiment of “Happy Birthday Baby!”
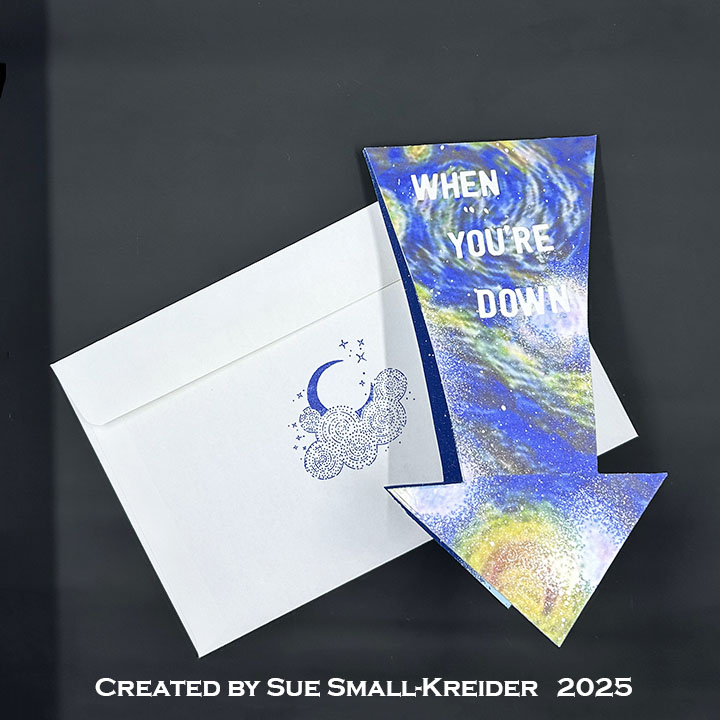
Envelope: The card fits into an A2 (4.5×5.75-inch) envelope.
___________________________________
Thank you for experiencing this blog post.
I hope this inspires you and makes you smile.
Please subscribe, like and leave comments 😊
Follow my YouTube channel, Instagram and Pinterest as well.
___________________________________
Disclaimer: Karen Burniston products are provided free of charge by the manufacturer for review and use. All other items were personally purchased. Compensated affiliate links used where or when possible, meaning I will receive a small percentage commission from these manufacturers at no cost to you. This will allow me to add more content to my YouTube channel and help out a lot. Thank you.
Materials Used:
Papers
- Fun Stamper’s Journey – 8.5×11-inch Heavy Cardstock – Pumpkin Bread
- Impression Obsession – 6×6 80lb Double-Sided Paper Pack – Basics 1 – Yellow
- Green Cardstock
- Fraser Papers for William House – A2 Envelope – Genesis Text Milkweed Smooth
Ink
- Pigma – Mircon 005 Fine Tip Pen – Black
- Sharpie – Permanent Marker – Ultra Fine Tip – Black
Adhesives
Tools
- Die Cutting Machine
- Scissors
- We R Memories – QuickStick