
This card was made for Craft Roulette #226 whose parameters included a see-thru project, jungle colors, teach(es)/teacher(s) element and tangles.

Watch the video to see how I made the card.


___________________________________
Thank you for reading this blog post.
I hope this inspires you and makes you smile.
Please like and leave comments 😊
___________________________________
Disclaimer: Karen Burniston products are provided free of charge by the manufacturer for review and use. All other items were personally purchased. Compensated affiliate links used where or when possible, meaning I will receive a small percentage commission from these manufacturers at no cost to you. This will allow me to add more content to my YouTube channel and help out a lot. Thank you.
Materials Used:
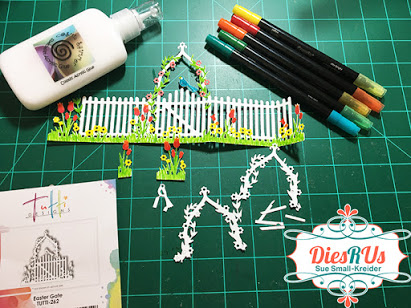
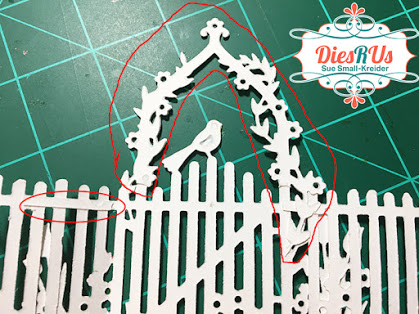
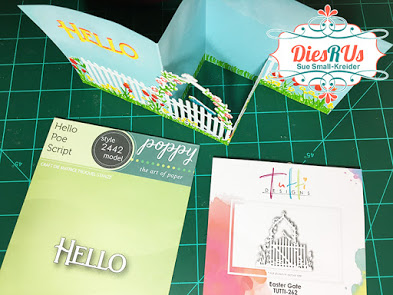
Dies
- Made To Surprise by Sam Calcott – Terrific Towers
- Tutti Designs – Coral Reef Corner
- Karen Burniston in cahoots with Riley and Company – Thank You – 1066
Stencils
- Creative Expressions – Water Elements DL Stencil
- Sheena – Treasures of the Deep -8×8″ Stencil Tentacles
Stamps
- Craft Roulette – Clear Stamps – The Basics
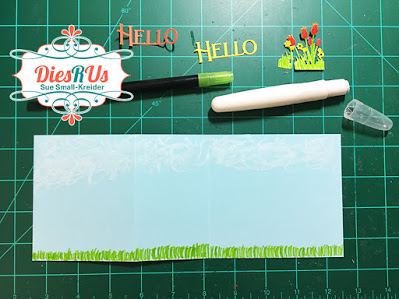
Papers
- Concord & 9th – 8×8 inch Cardstock – Powder
- 8.5 inch Acetate Sheet
Ink
- Ranger – Tim Holtz – Distress Ink- Black Soot
- Ranger – Tim Holtz – Distress Oxide – Cracked Pistachio & Speckled Egg
- Pigma – Mircon 01 Fine Tip Pen – Black
Adhesives
- Neutral PH Adhesive by LINECO
- Fine-Tip Glue Bottle
- Double-Sided Tape – 1/8-inch wide
Tools
- Die Cutting Machine
- Stamping Blocks used as paperweights
- Scissors
- Paper Masking Tape
- Gel Plate (to hold cardstock while stenciling)
- Ink Blending Brush
- Sponge Tool


